Skip to search Skip to navigation menu Skip to main content Selecting option will reload page

Category: Summer Crafts

Make Your Own Paper Plate Frisbees


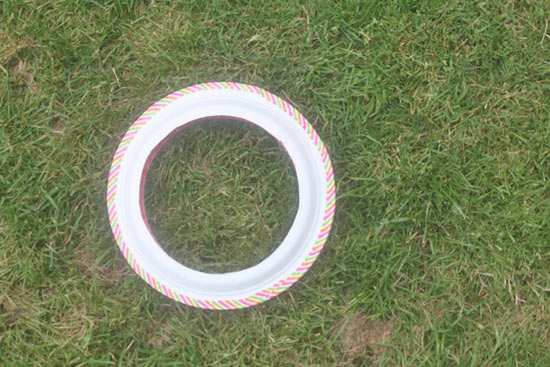
Frisbee is probably the more quintessentially summer game, am I right? The word summer conjures up images of people hanging around a sunny park tossing the Frisbee back and forth and for good reason, it’s a ton of fun! This craft creates a simple Frisbee out of some very simple household supplies. Easily personalized, this is a great craft for picnics, BBQ’s and parties and is especially fun if you use colorful and bright washi tape for the construction!

Difficulty level: Easy
Time required: 10 minutes or less

Things you’ll need:
Paper plates
Washi tape
Scissors

Things to do:
1. Using the scissors, cut a large circle out of each of the paper plates, leaving only the curved rims intact.
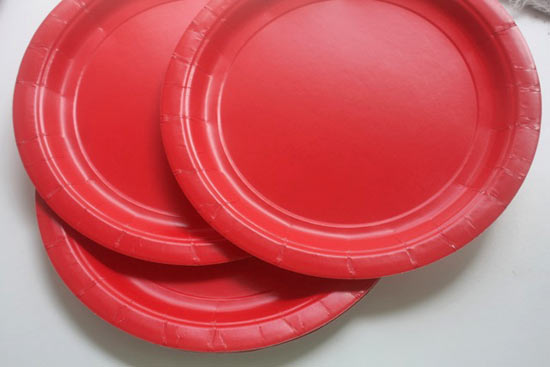

2. Lay two paper plates together, right sides together
3. Run a strip of washi tape around where the two edges meet and fold down on either side to secure the two plates together.

4. Additionally, you can decorate the plates with markers or stickers!
5. Give it a toss and watch it fly!
Continue Reading

How to Make God’s Eyes


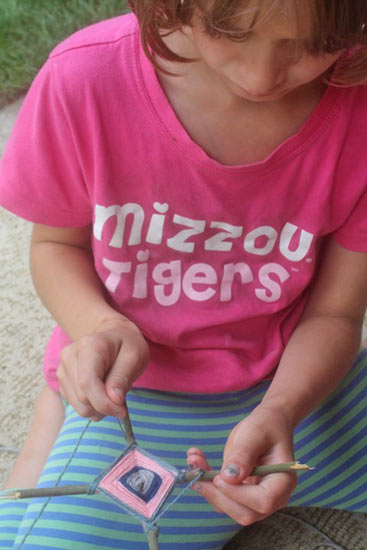
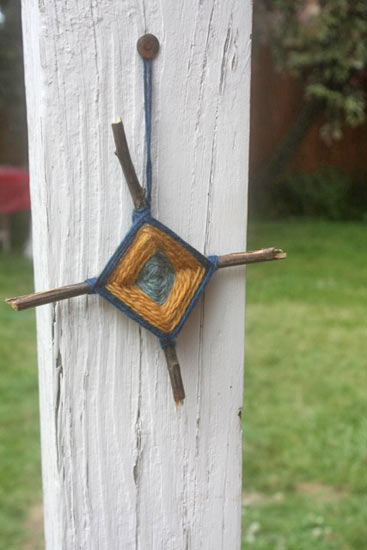
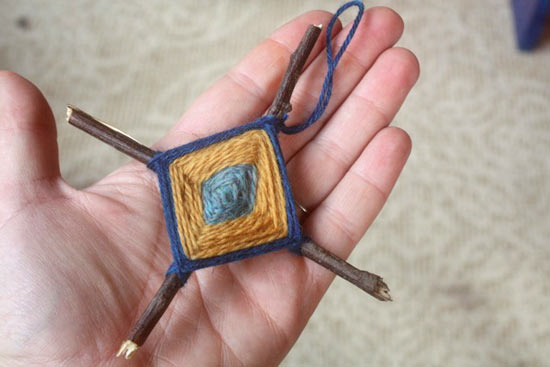
An old camp favorite, these little string and stick works of art are so satisfying to make. Perfect for a hot lazy afternoon, you can make these with whatever materials you have on hand. While here we used small sticks, you can scale them up with larger sticks or use craft sticks or dowels. This is a great stash busting project as well as you can use any weight and amount of yarn to create them. I bet you’ve forgotten how fun these little babies are to make!

Time required: 30 minutes
Difficulty level: Easy, great project for the kids!

Things you’ll need:
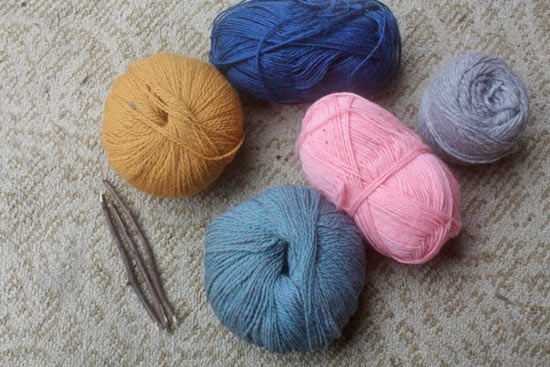
Yarn, rattail cord or embroidery thread
Scissors
Sticks or dowels

Things to do:
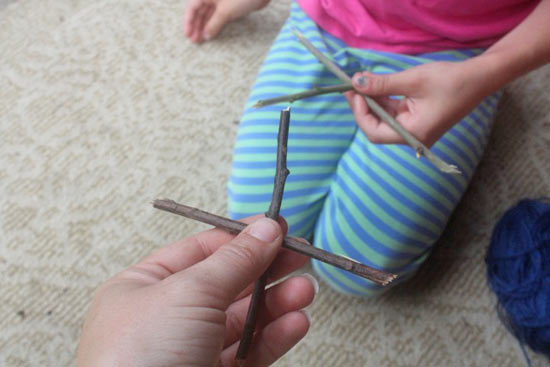
1. Hold the two sticks to form an X, pinching with your thumb and forefinger to hold them in place.


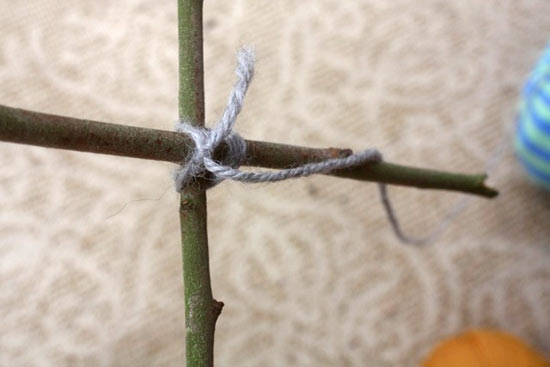
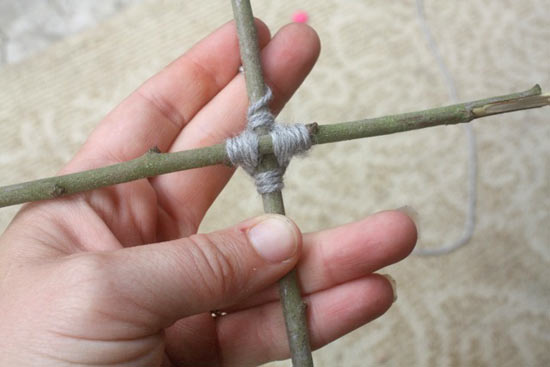
2. Wrap the yarn around at the join, over-under0over-under for several rounds until the X is secure.


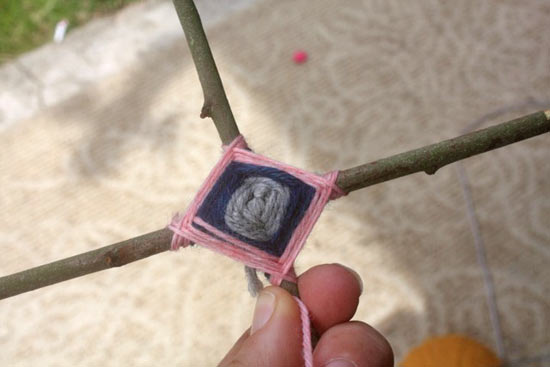
3. Begin your wrapping pattern, going over and around the back of one stick and then, as you come back to the top, bringing it across at an angle to the next, repeating the process as you go around the X.


4. Repeat this until you are ready to switch yarn. Tie the new yarn to the old yarn so the knot falls on the back side of one of the sticks and continue the wrapping pattern.

5. Continue until you have filled up as much of the stick as you want. Cut the yarn and tie off, using the tail as a hanger if desired.


Continue Reading
Change Your Country
Please select your country, this will change the site to your country's currency:

Cancel