When we bought our house, the garden had been ignored for so long that all that was left was an expanse of weedy grass and one solitary tree. And it will be a long time yet before we whip it fully into shape. But until all our new plantings grow in and our dreamed of pergola is built, I wanted to highlight the one original aspect of the garden that was worth saving, the ancient ornamental cherry that shades one corner of the yard. It has become a meeting place in our neighborhood; with kids and grownups alike lounging in the broad shade it casts. So in addition to the comfortable chairs we’ve tucked under it’s branches, I wanted to dress up our beautiful tree a bit with a fun outdoor chandelier.
Used brass light fixtures can be found by the heap in charity shops and construction resale shops such as The Habitat Store, but most people pass them by without a second look. They are, after all, often tacky and overly ornamental for most homes. But with a little spray paint and some battery-operated lights, they can be turned into an ethereal garden feature that your guests will love.
Things you need:
Brass chandelier (does not matter if it’s working)
Needle nose pliers
Wire cutters
Spray Paint
Cardboard or newspaper
Battery operated LED tealights
Screw in hook
Things to do:
1. Begin by removing as many wires as you can. You wont need them and they may get in the way if left where they are. Use the wire cutters and pliers to cut our any exposed wiring you can see.
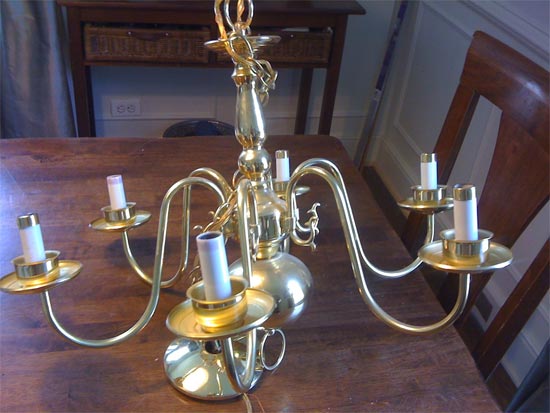
2. Remove the fake candles that the bulbs screw into from the arms of the lamp, keep the small brass cups that they sit in however. If they are not securely fastened to the lamp, pull them off to paint separately.
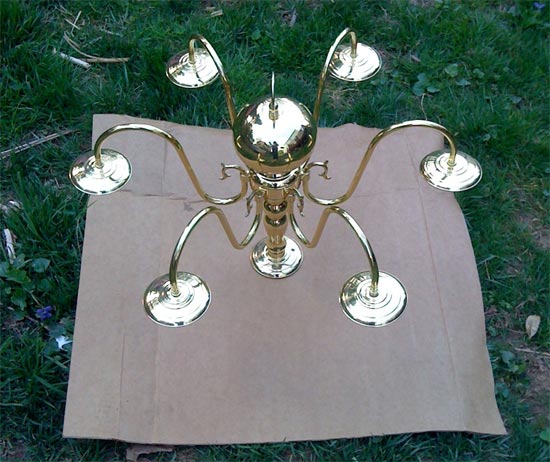
3. Spread out newsprint or cardboard and set the lamp on its side in the middle. Using short, thin bursts, paint the visible areas of the lamp with a coat of paint. Allow to dry before repositioning the lamp to expose unpainted areas.
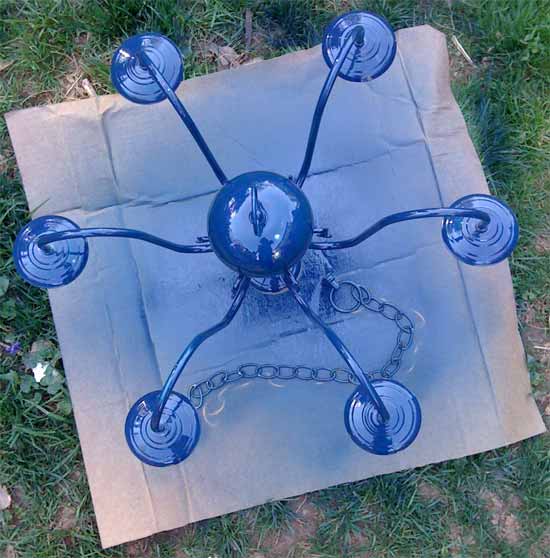
4. Continue shifting and painting the lamp until the entire thing has two or three coats of paint. If you have removed the brass cups, paint those in and out as well before gluing them back in place with super glue or epoxy.
5. Screw the hook into place on a strong branch where you want to lamp to hang. Take into account how far down the lamp will swing and the weight of your lamp when choosing a branch.
6. Loop the chain in place over the hook; adjusting the height by changing which link on the chain is on the hook. Drop the tea lights into each of the cups and enjoy!