Skip to search Skip to navigation menu Skip to main content Selecting option will reload page

Category: DIY Primitive Decor

EASY DIY Rustic Carrot Display| Easter | Spring

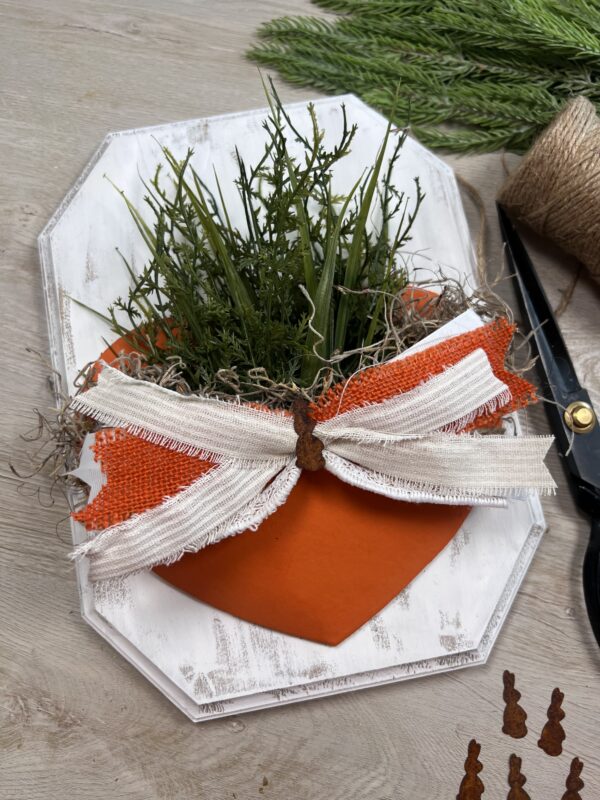
This handmade rustic spring carrot display is a delightful way to welcome the season into your home. Perfect for decorating a shelf, hanging on a wall, or showcasing as a unique seasonal centerpiece, it adds a charming, handcrafted touch to any space.

https://youtube.com/shorts/_gUi8HS5rsI

Difficulty level: Beginner
Time required: 25 Mins
Age range: 8+

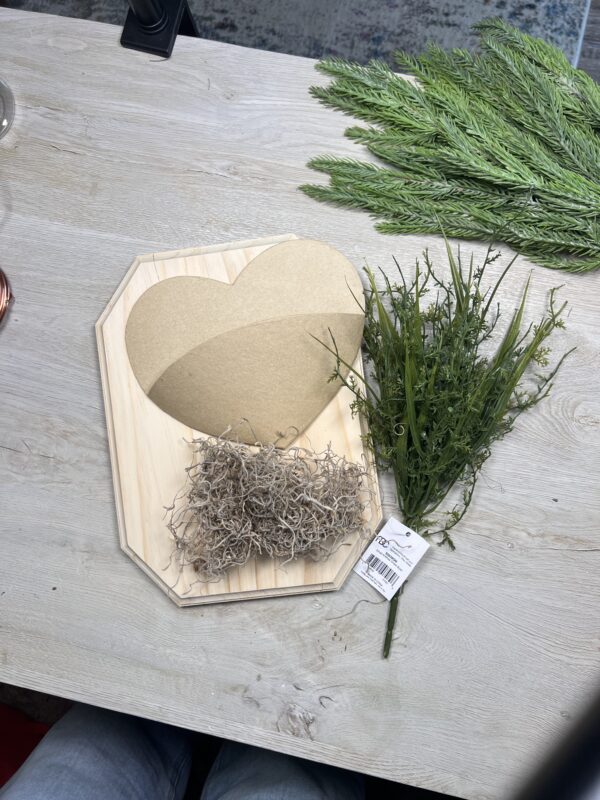
What You’ll Need:
Unfinished Beveled Wooden Plaque
Paper Mache Heart with Pocket
Small Artificial Grass Bush
4 oz Natural Dried Spanish Moss
FolkArt Wicker White Acrylic Paint
Harvest Orange Apple Barrel Acrylic Paint
Nutmeg Brown Apple Barrel Acrylic Paint
1-1/2″ Orange and Gold Fringe Burlap Ribbon
2″ Cream and Ivory Striped Linen Ribbon
Natural Jute Twine
22 Gauge Paddle Green Floral Wire
Rusty Tin Easter Bunny Cutouts
Paint Brush
Scissors
Hot glue gun

Find all materials here:
https://factorydirectcraft.pro/catalog/advanced_search_result.php?keywords=FBrstccrrtppprmchdsply
Let’s grab your supplies, channel your inner artist, and let’s get crafting!
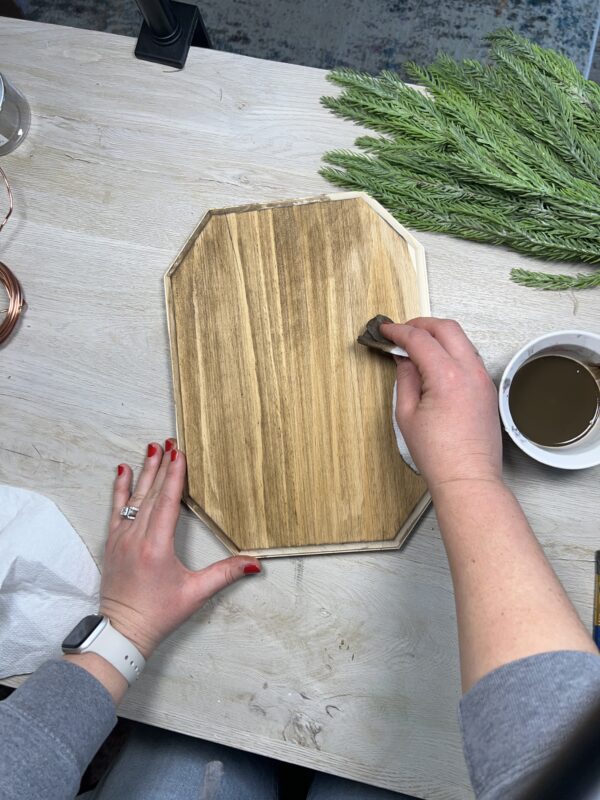
Step 1: Prep the Plaque

I used a staining method with brown acrylic paint and a touch of water. Simply mix the paint and water together, then apply it to the wood using a paper towel for a soft, rustic finish.
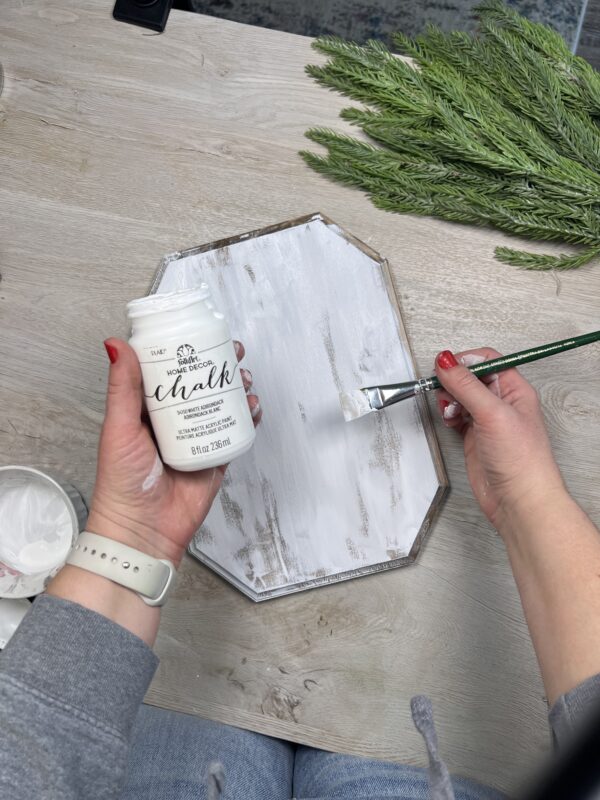
Once the brown paint stain is dry, apply a layer of chalk paint or any top color of your choice. Instead of full coverage, lightly brush it on to let the brown show through, creating a rustic effect.
Step 2: Prep the “Carrot”

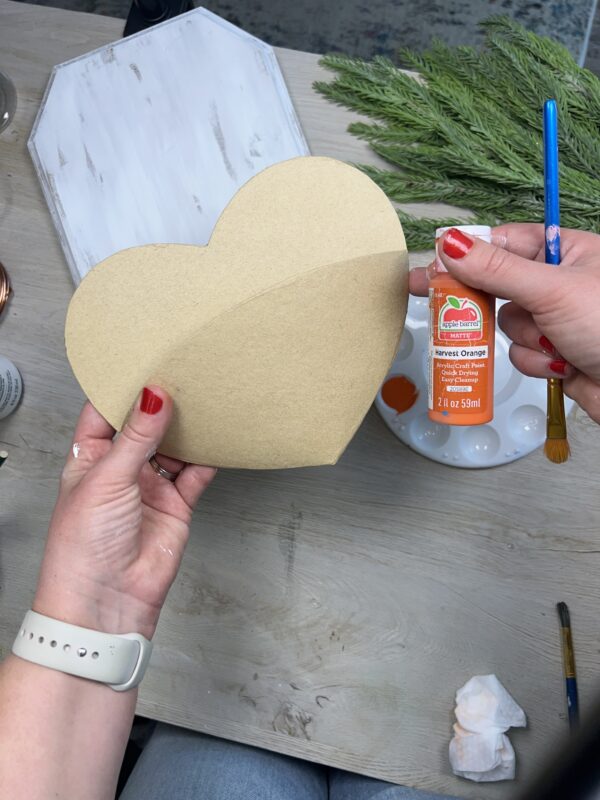
Grab your havert orange paint and the heart pocket. Apply a full coverage over the heart, inside and out. This will be the “Carrot” and the main focus of the piece.
Step 3: Add Rustic Touch

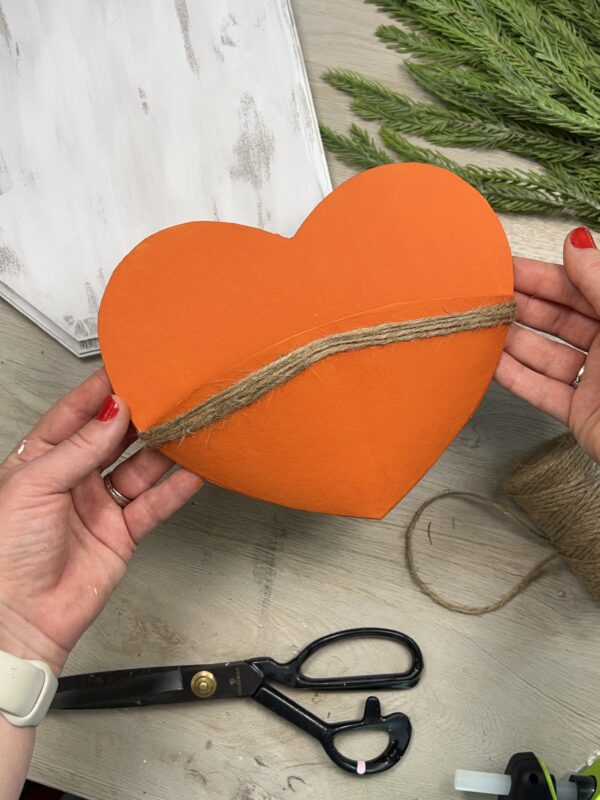
Wrap twine around the top edge of the heart’s outer pocket to create a charming rustic accent for the carrot.
Step 4: Add the Greenery

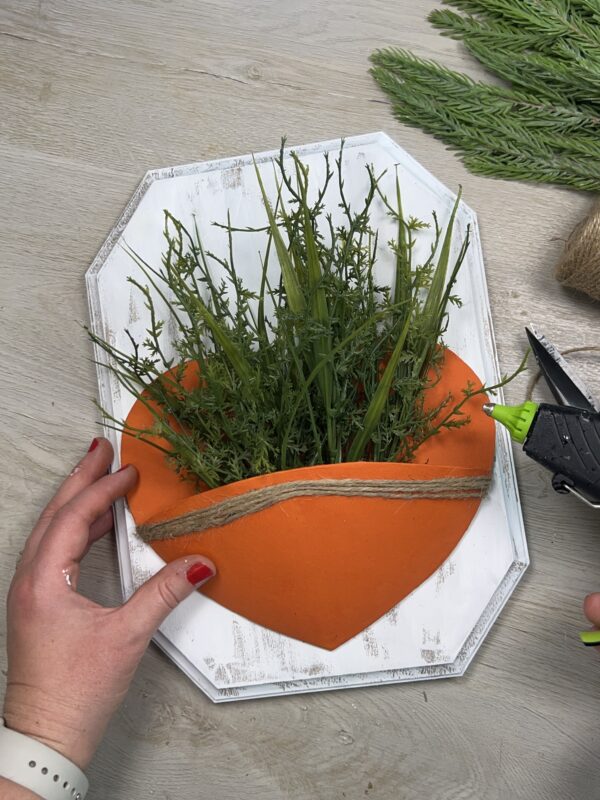
This Small Artificial Grass Bush , It’s the perfect greenery for the “carrot.” No need to cut the stem, but if you prefer, you can use wire cutters. I simply bent the stem, tucked the greenery into the heart’s pocket, and secured it with glue!
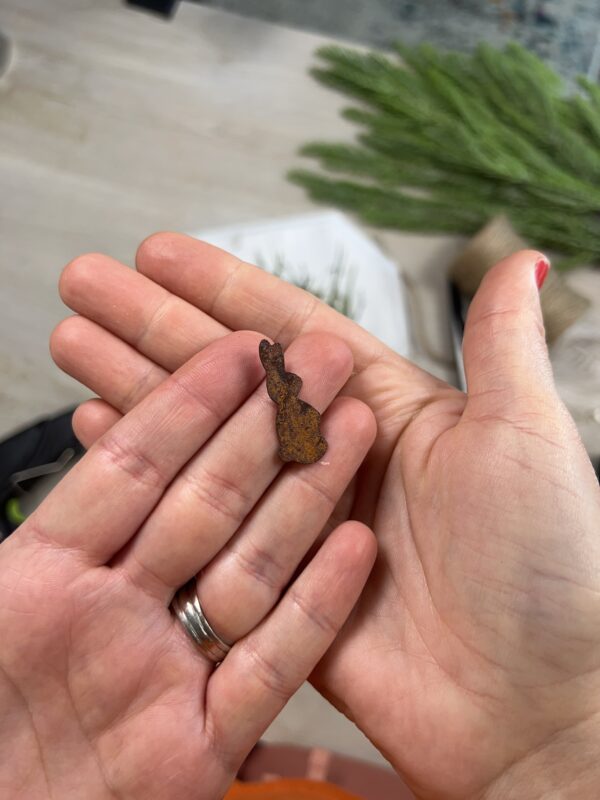
I mean how cute is this Rusty Bunny Accent Piece!!
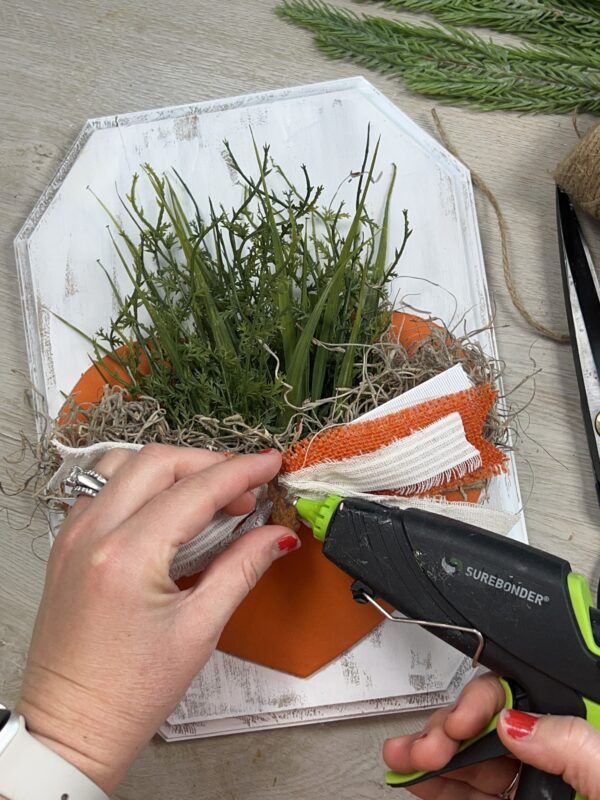
Step 5: Add the finishing touches

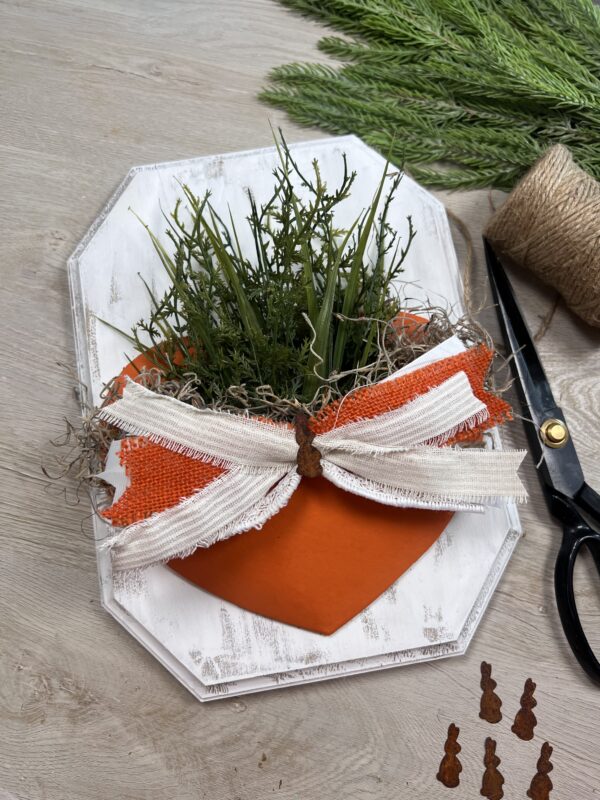
Grab your ribbon and bunch them together with the floral wire. Hot glue the bundle in place on the front of the heart pocket. In the middle, glue the sweet little rustic bunny for a finishing touch.
Continue Reading

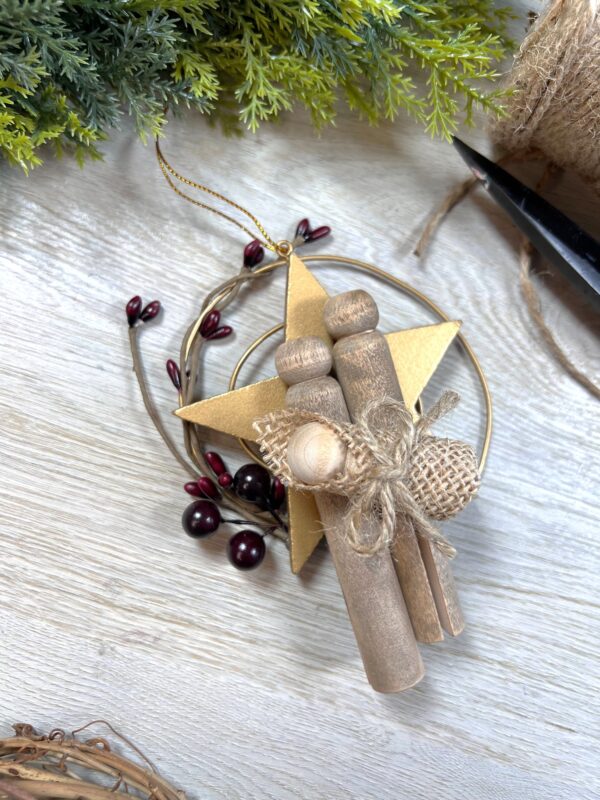
Easy Christmas Nativity Family Ornament – DIY

Learn how to make handmade Christmas ornaments that are fun and easy to create! These DIY ornaments are perfect for holiday gifts or adding a personal touch to your Christmas decor. Show off your unique style and spread holiday cheer with these creative and festive crafts!

Difficulty level:Beginner
Time required:20 Mins
Age range:8+

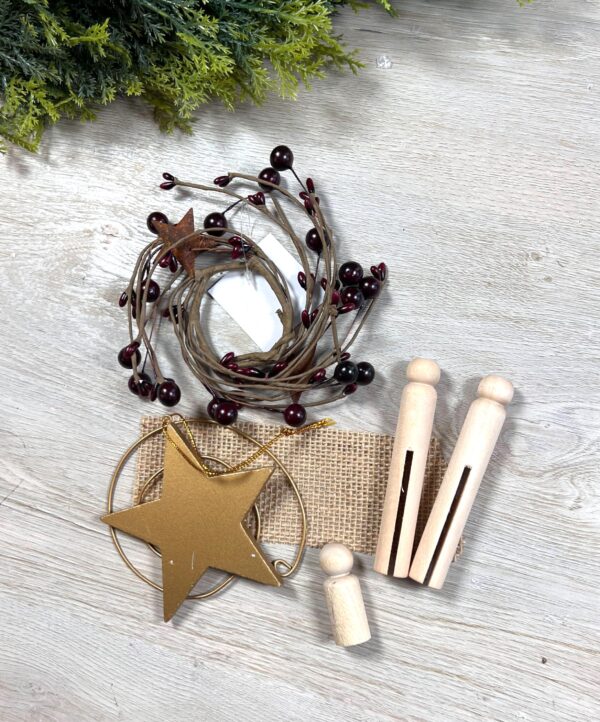
Materials Needed:
Gold Metal Swirl Wood Star Ornament
1pkg –Round Peg Wood Clothespins
Unfinished Wood Peg Doll Bodies
7″ Burlap Fabric Squares
Nutmeg Brown Apple Barrel Acrylic Paint
Rusty Star and Burgundy Pip Berry Candle Ring
Paintbrush
Hot Glue Gun
Water
Paper towel
Scissors / Wire Cutters

Find all materials here:
https://factorydirectcraft.pro/catalog/advanced_search_result.php?keywords=FBntvtyxmasornmnt

Let’s grab your supplies, channel your inner artist, and let’s get crafting!

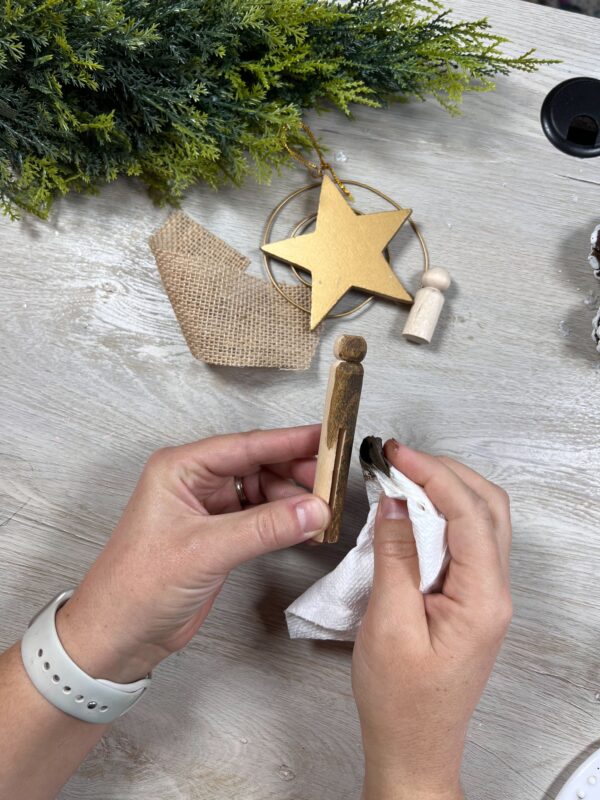
Step 1: Prep the Clothespins

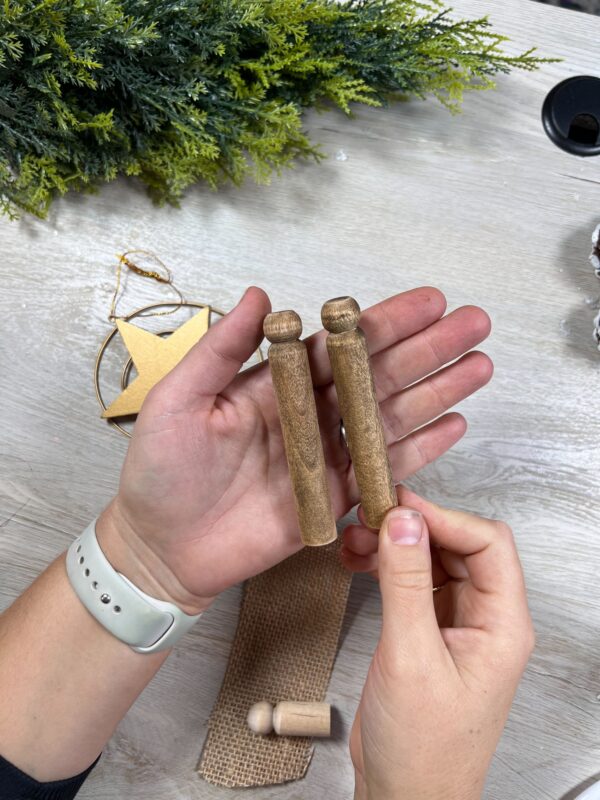
Stained 2 of the peg Clothespins. I used a staining method with brown acrylic paint and a touch of water. Simply mix the paint and water together, then apply it to the wood using a paper towel for a soft, rustic finish.

This technique allows the wood grain to show through beautifully, adding a natural charm.

Step 2: Prep the ‘baby’ wood peg

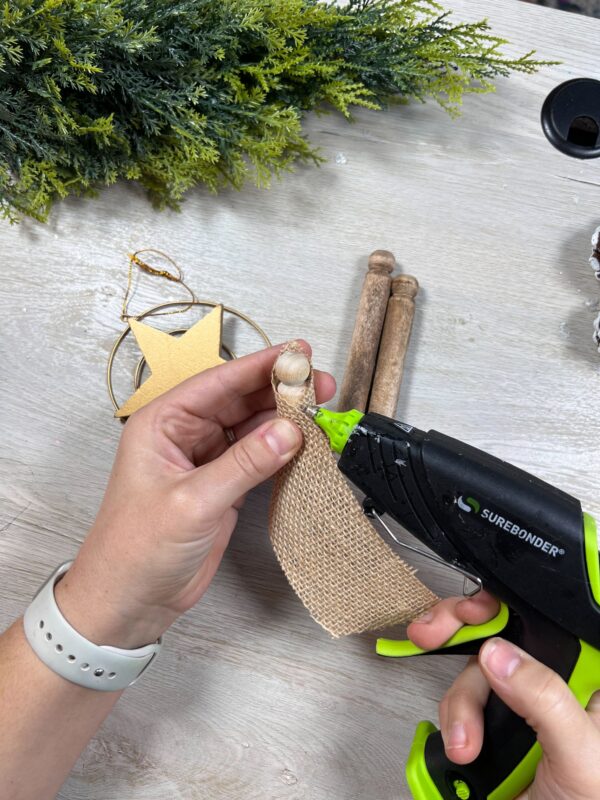
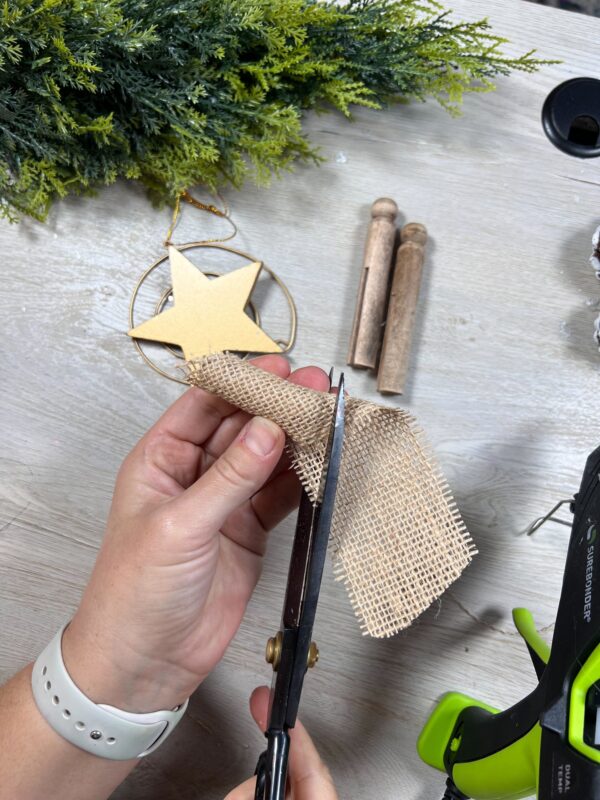
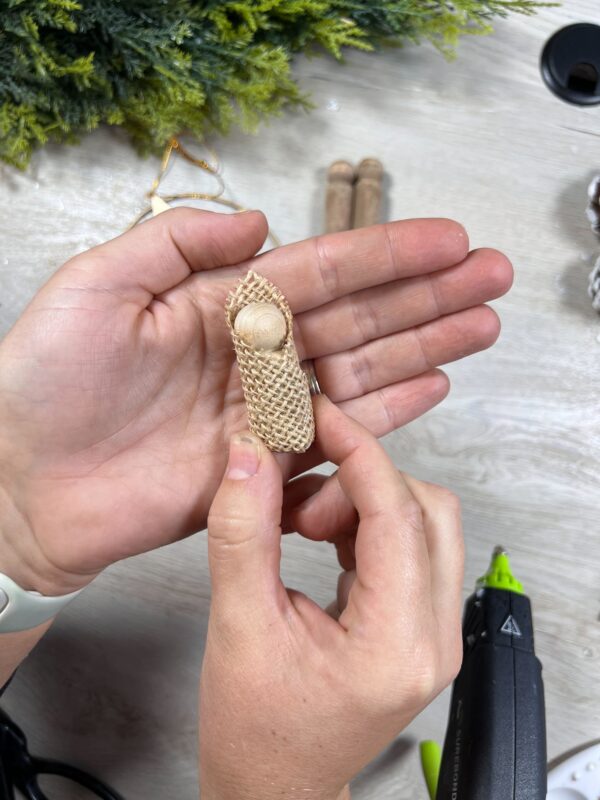
Take a small wooden peg to serve as the baby, leaving it unfinished for contrast with the “mom” and “dad.”

Next, use a burlap square or ribbon. Place the peg’s head at one corner, letting a bit of the peg show at the top. Wrap it around snugly and secure it with hot glue. Trim as needed for a neat finish.

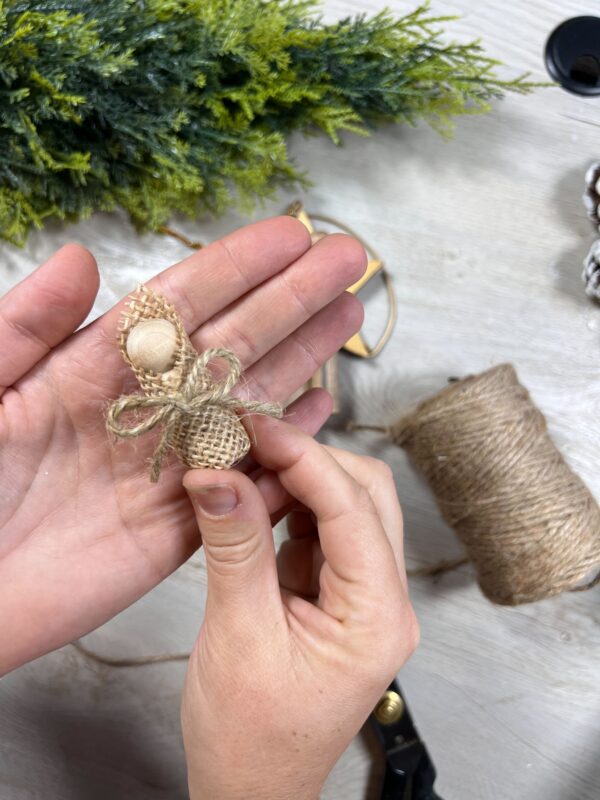
I wanted to add a little accessory to the baby, so here i took a bit of twine and tied a little bow to hot glue on the body.

Step 3: Assembling the Ornament

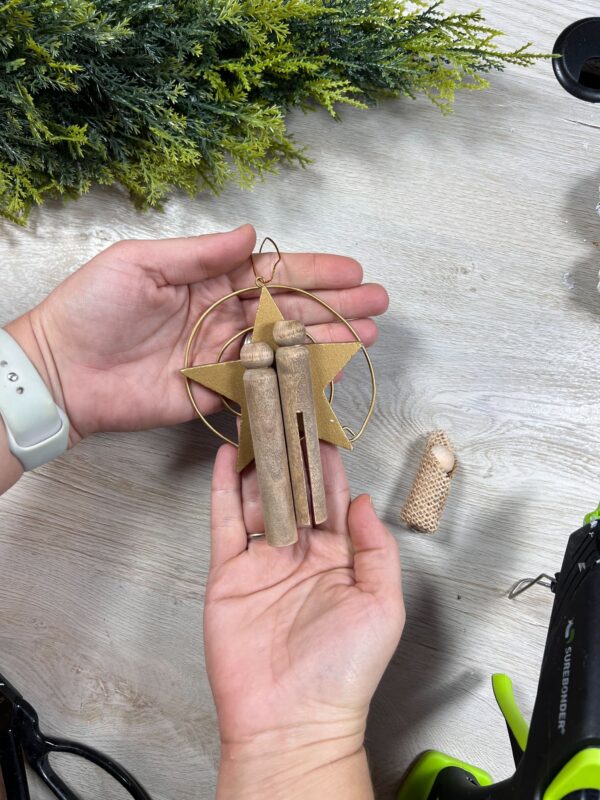
Take your star ornament and the two stained wooden clothespin pegs. Glue the “dad” peg higher on the star, positioning it so the clothespin slot faces forward to resemble pants.

Next, glue the “mom” peg slightly lower, with the smooth surface facing forward to resemble a dress.

Grab your ‘baby’ and hot glue it in place at a angel making it look like that parents are holding the baby in their arms.

Step 3: Add the Accessories

I used a candle ring with various-sized berries to add the finishing touches. I snipped 3-4 pieces from the ring, and the wired stems made it easy to twist around the star ornaments’ “swirl” section. I adjusted some to stick out to the side and secured everything with hot glue.

Continue Reading
Change Your Country
Please select your country, this will change the site to your country's currency:

Cancel