Skip to search Skip to navigation menu Skip to main content Selecting option will reload page

Category: Winter Crafts

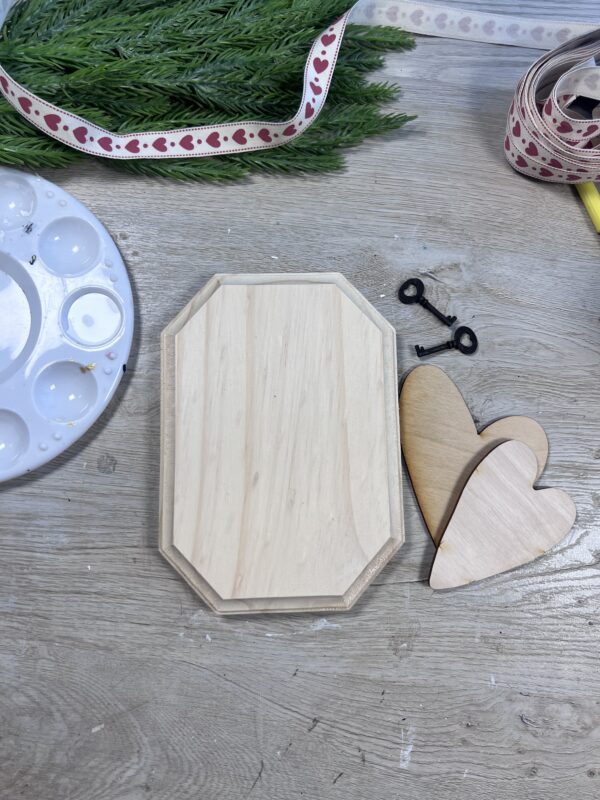
A Cozy Valentine Plaque With Layered Hearts

There’s something special about a handmade Valentine decor-soft colors, simple textures, and details that make a piece feel personal. This layered Valentine plaque is one of those crafts that looks beautiful on a shelf, tiered tray, or hung on the wall, and it’s easy enough to create in an afternoon.

What You’ll Need:

Let’s grab your supplies, channel your inner artist, and let’s get crafting!
Step 1: Paint the Plaque

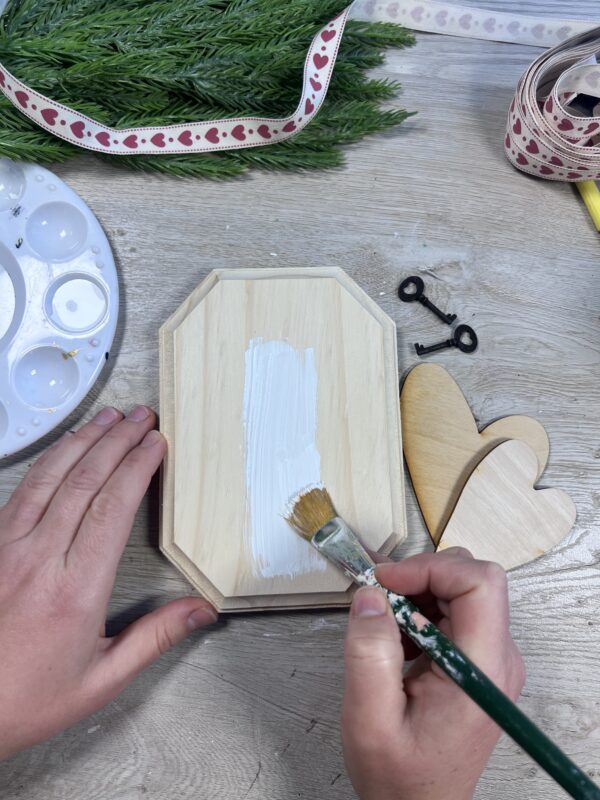
Start by painting your wooden plaque in a soft neutral color like white, cream, or light gray. Here i chose to paint it white with our Apple Barrel Acrylic Paint. Once dry, lightly sand the edges and surface if you want a worn, farmhouse-style finish.
Step 2: Paint the Hearts

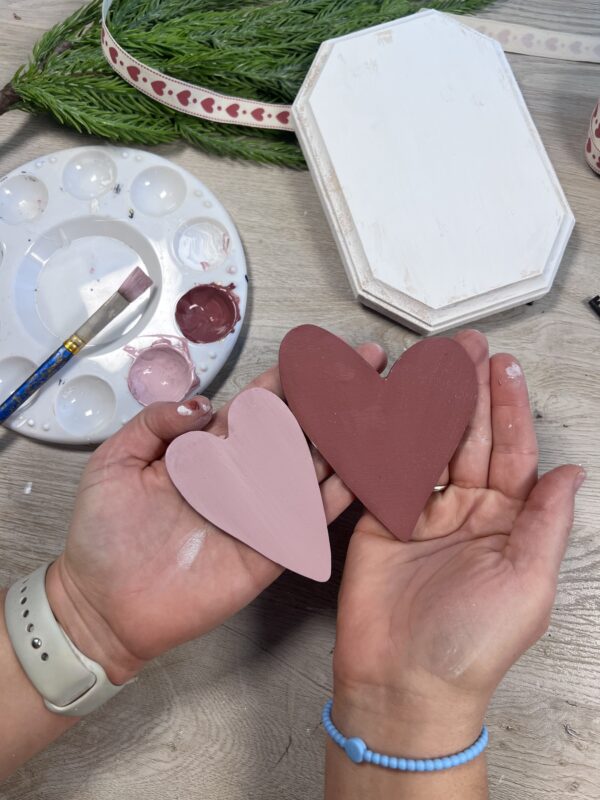
Here i chose to paint the hearts with our Tapestry Wine Apple Barrel Acrylic Paint -think dusty rose, blush pink, mauve, or deep berry. One heart i painted with the color as is. The 2nd heart i added a bit of white paint to help get the lighter color desired. Let them dry completely.
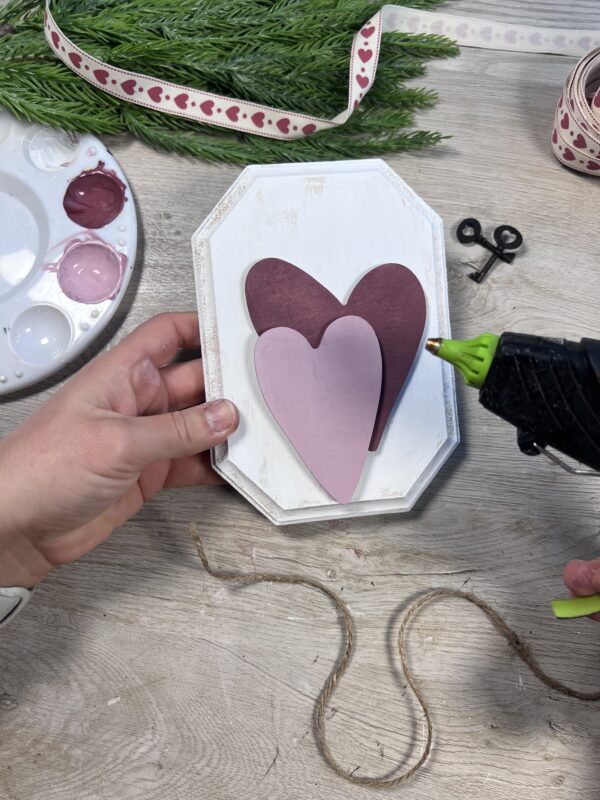
Step 3: Arrange and Attach

Place the hearts on the plaque, slightly overlapping until the arrangement feels balanced. Once happy, place and glue them securely in place.
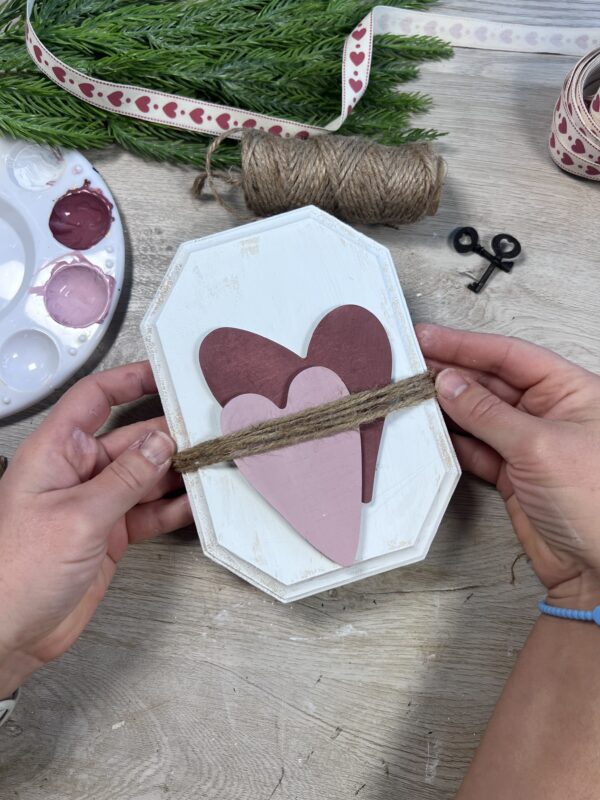
Step 4: Add Texture with Twine and Ribbon

Wrap jute or twine horizontally around the plaque. This adds rustic texture and helps anchor the design. You can also attach a small charm or tag to the twine-something simple that adds a touch of meaning, like a tiny key or a word tag.
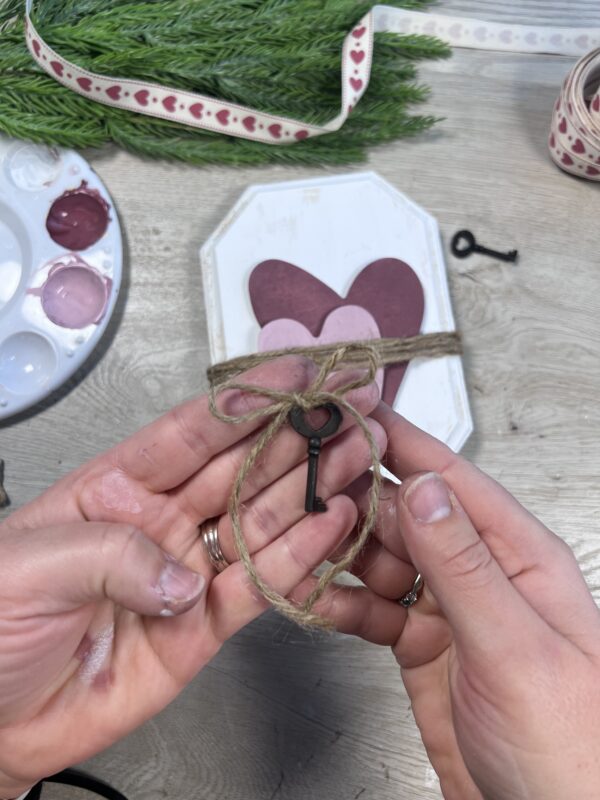
Attach a small key charm to the twine tying them into a bow. Glue in place. Here i also took our canvas tags and wrote the word “LOVE”. I then crumbled it up and straightened it out. Took the wax and blender tool to help age the tag for a rustic look.
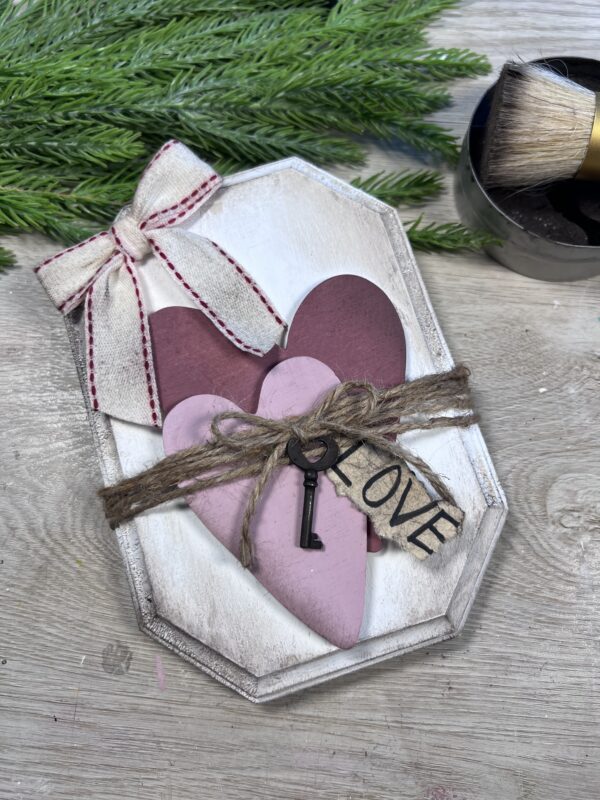
Step 5: Final Touches

A little extra sanding, add a premade bow to the top can make all the difference or just leave it as is. Once finished, your Valentine plaque is ready to display or gift.
Continue Reading

DIY Rustic Christmas Pine Tree Plaque

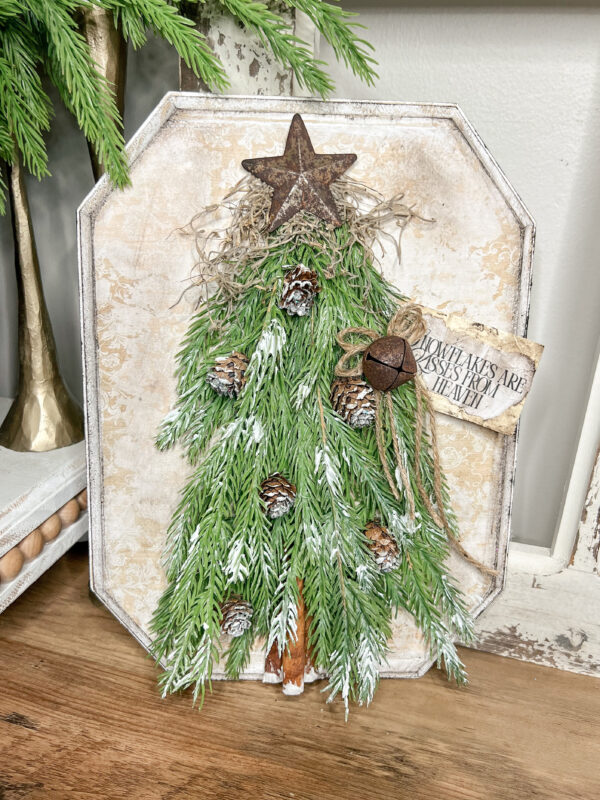
Christmas crafting- There’s nothing quite like combining natural textures, rustic touches, and heartfelt sayings to create a piece that feels warm and welcoming. This DIY Wooden Plaque Craft does just that – transforming a simple plaque and a few festive accents into a charming holiday decoration you’ll love displaying (or gifting!) all season long.

This is a unique way to display a winter tree for the season. So much texture, character and rusty chic vibe.

What You’ll Need:
Unfinished Beveled Wooden Plaque
Artificial Spruce Bundle of Soft Wispy Norfolk Pine Sprigs
3″ Natural Dried Cinnamon Sticks
Mini Rusty Tin Dimensional Barn Stars
Aleene’s True Glittered Snow
Silver Glittered Mini Pine Cones
Vintage-Inspired Manila Cardstock Hang Tags
Natural Spanish Moss
White Apple Barrel Acrylic Paint
25 mm Rusty Tin Jingle Bells
Natural Jute Twine
Paint brush
Antique Wax
Blender
Hair dryer (optional)
Scissors

Materials needed:
https://factorydirectcraft.pro/catalog/advanced_search_result.php?keywords=FBchrtmspntrplqwntr

Free printable:
https://i.pinimg.com/1200x/0e/8b/fe/0e8bfee9eda18ae09e6217c95ce59227.jpg

Let’s grab your supplies, channel your inner artist, and let’s get crafting!

Instructions:

Prepare your Plaque
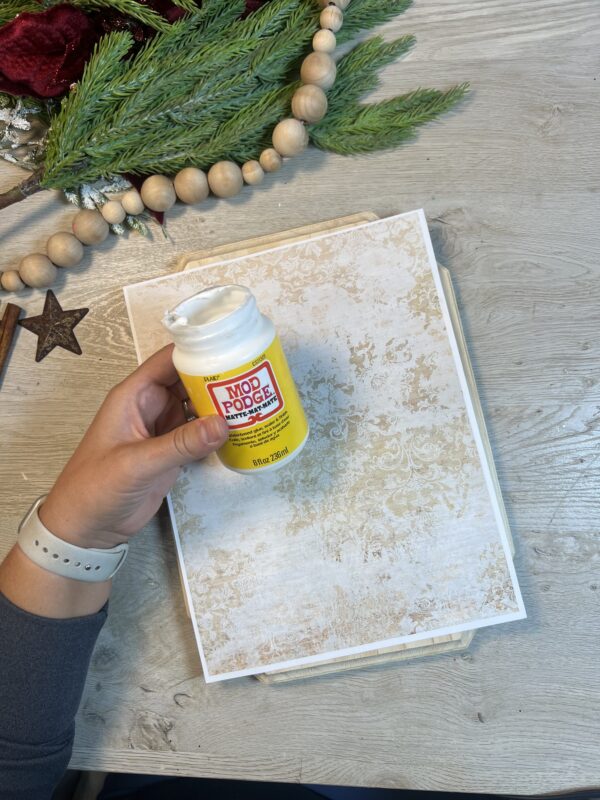
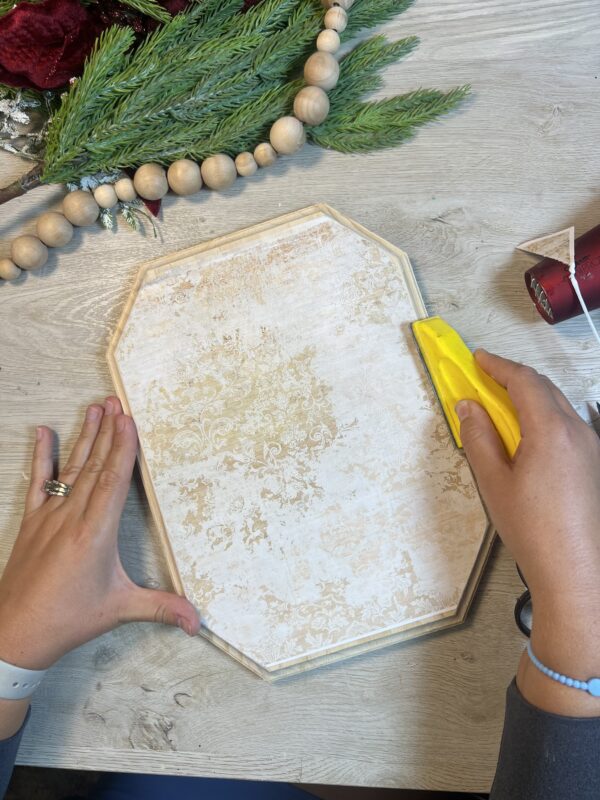
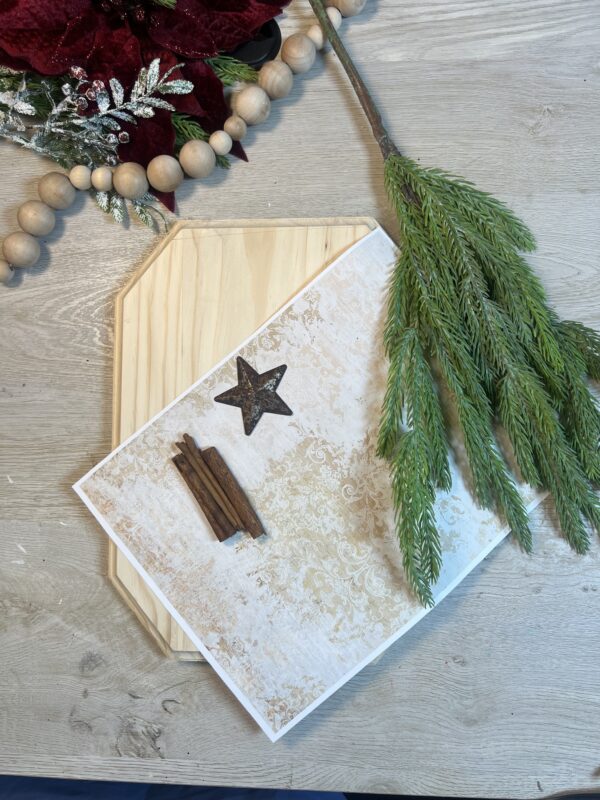
Apply a layer of Mod Podge to the front of your plaque, then carefully place your free printable on top. Smooth out any bubbles, and use a hairdryer to help it adhere more quickly.

Use a small hand sander to smooth the edges of the plaque and remove any excess paper. Then, lightly paint around the edges and back with white paint. I didn’t go for full coverage-leaving some brush strokes and natural wood showing gives it a nice rustic look.

Create your Tree:
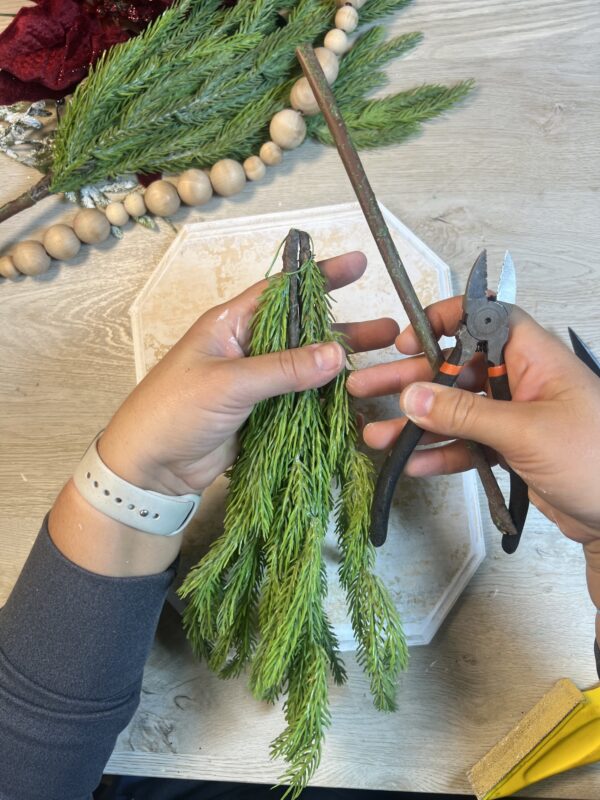
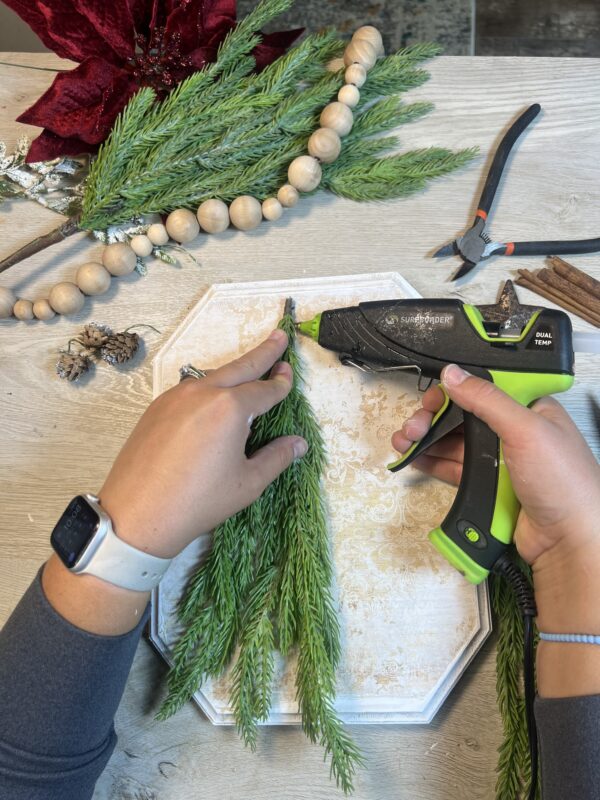
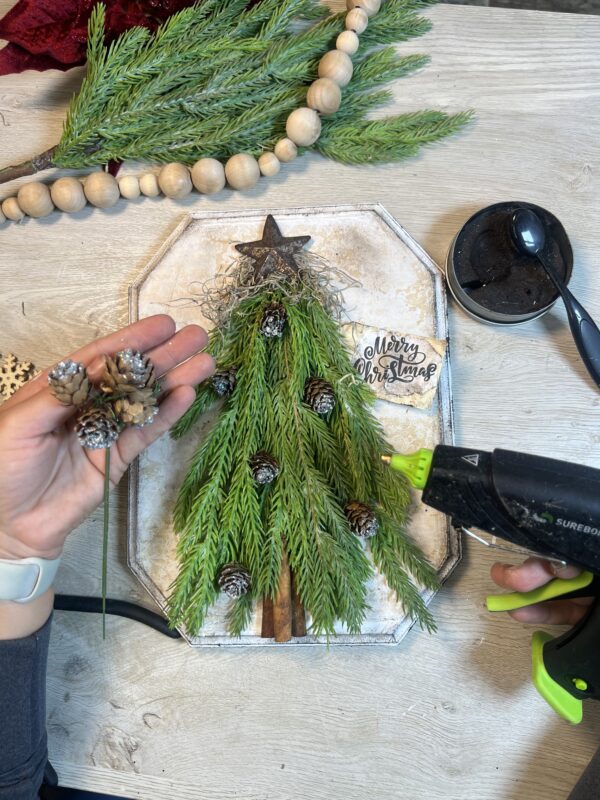
Here you will grab the Artificial Spruce Bundle of Soft Wispy Norfolk Pine Sprigs. Next, take one sprig and use wire cutters to remove the stem. Trim off any leftover wire pieces-you’ll only need the pine portion for this project.

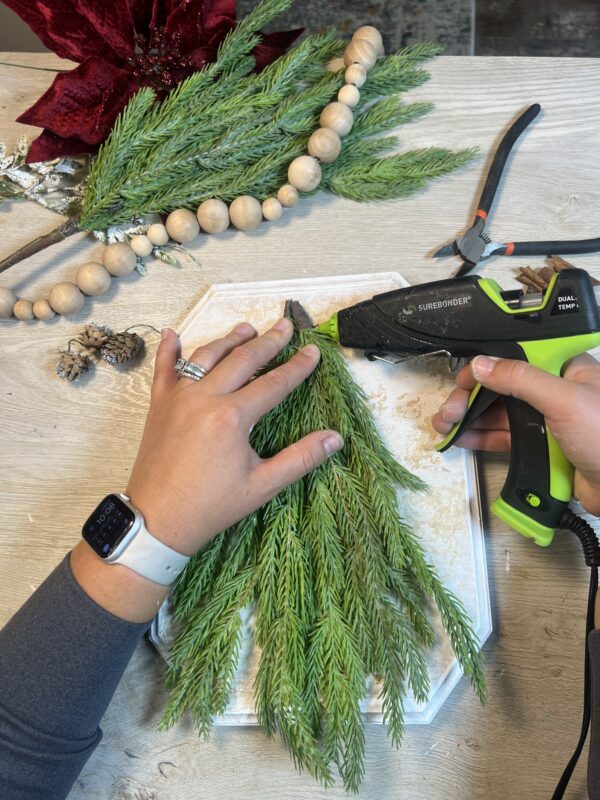
You’ll likely end up with two separate pine pieces from the sprig. Using a hot glue gun, attach them to the top center of the plaque-this will start forming your pine tree shape.

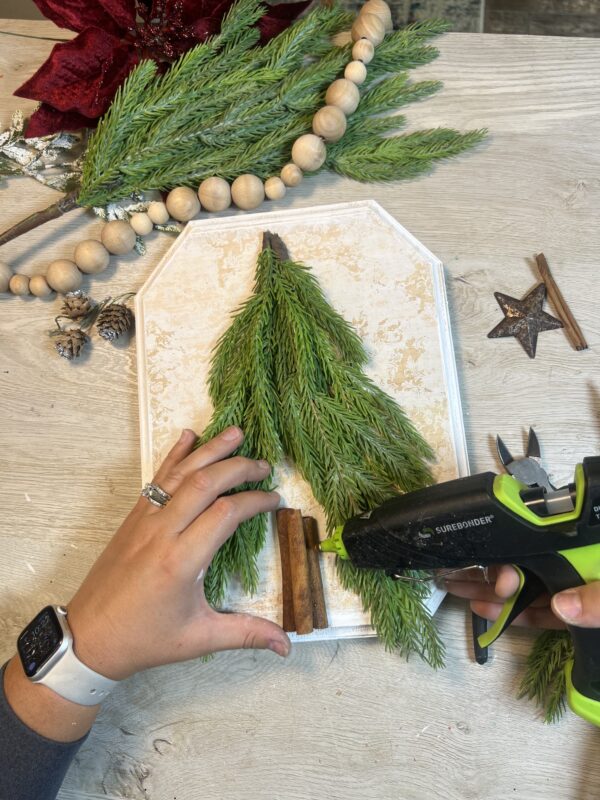
You will want to trim the bottom at the pine will most likely be hanging over the bottom of the plaque. You want them just right at the edge.

For the tree trunk, I used three cinnamon sticks from our pack and hot glued them to the bottom center of the plaque. You may need to trim a small section of the pine sprigs in the middle and reattach them slightly higher so the “tree trunk” isn’t completely covered.

Dress up the Tree

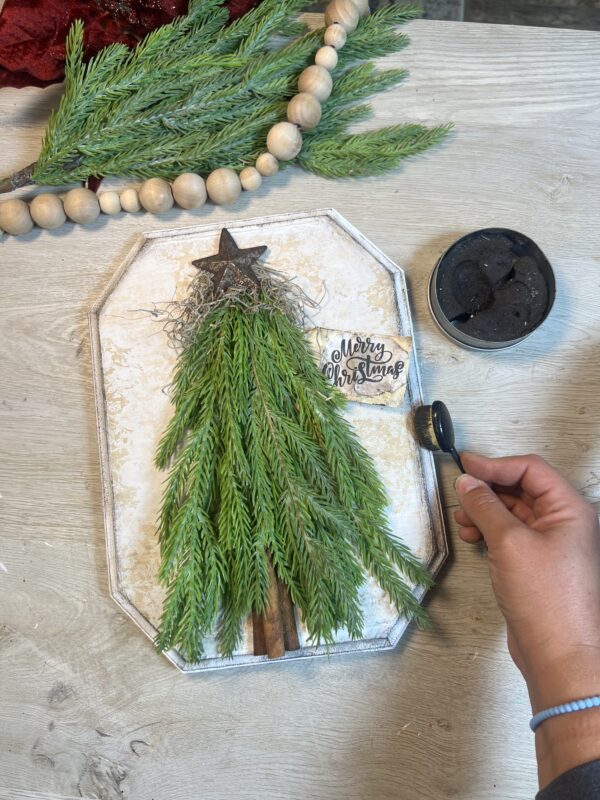
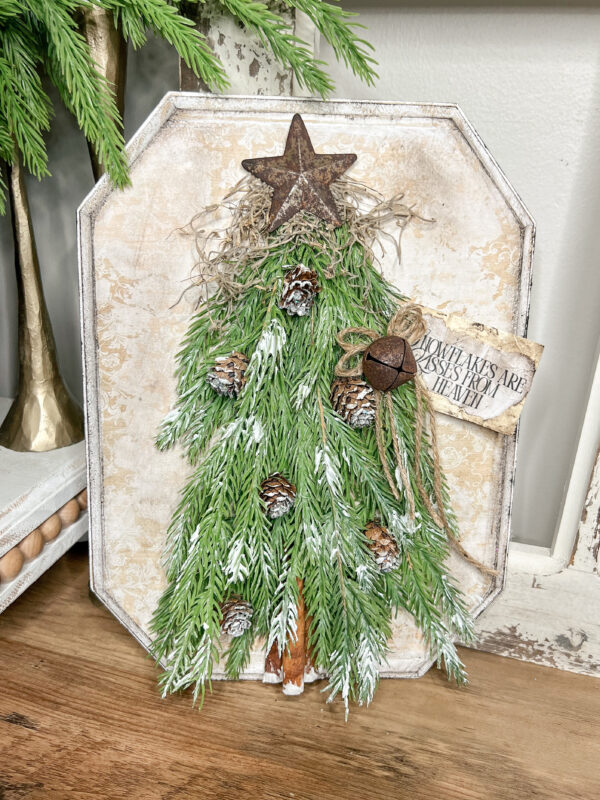
Gather your accessories and begin decorating the tree. I placed our rustic star on top with some moss underneath. Next, take one of the cardstock hang tags and print a cute Christmas or winter saying to Mod Podge onto it. Once dry, scrunch the tag and use a blender to apply antique wax, giving it a charming, rustic aged look.

Then, separate the cluster of silver glittered mini pine cones and place them throughout the tree for a festive touch.

Take a rustic bell and tie some bows with twine to place alongside the tag. I created two tags-one saying “Merry Christmas” and the other, “Snowflakes are kisses from Heaven.” After deciding, I went with the Snowflake tag to enjoy all winter long, and it’s just too cute not to use!

Continue Reading
Change Your Country
Please select your country, this will change the site to your country's currency:

Cancel