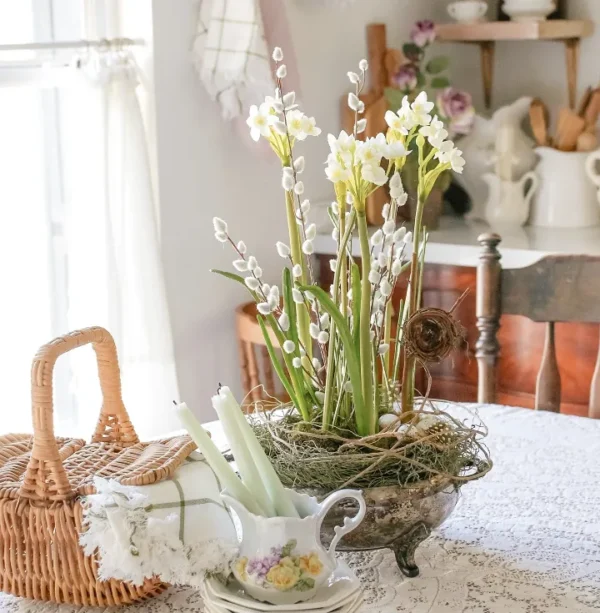
Spring is the perfect time to refresh your home decor with bright and cheerful floral arrangements. If you love the look of fresh flowers but want something that lasts all season, an artificial Narcissus planter is the perfect project. Using artificial Narcissus stems, moss, grapevine twigs, pussy willow, and a charming vintage pot, you can create a stunning and timeless display. Here’s how!
Difficulty level: Beginner
Time required: 25 Mins
Age range: 8+
What You’ll Need:
5 to 6 – Real Look White Narcissus Stem
2 – Artificial Pussy Willow Sprays
Natural Look Faux Twig Garland
Green Floral Foam Disk
Package of Spring Green Lichen Moss
Natural Grapevine Bird’s Nest Branch
Mini Speckled Artificial Bird Eggs
Yellow and Black Guinea Feathers
Thin Dried Natural Grapevine Twig Garland
Wire cutters
A vintage pot
Hot glue gun (optional)
Find all materials here:
https://factorydirectcraft.pro/catalog/advanced_search_result.php?keywords=FBvlrbbnornmnthrt
Step-by-Step Instructions:
- Prepare Your Vintage Pot
- Give your vintage pot a quick clean and, if needed, reinforce any cracks with clear glue to maintain its charm.
- Insert the Floral Foam
- Grab your Natural Look Faux Twig Garland, and wrap around the styrofoam pieces the will create a nice snug fit inside the pot. This will serve as the anchor for your stems and twigs, keeping everything in place.
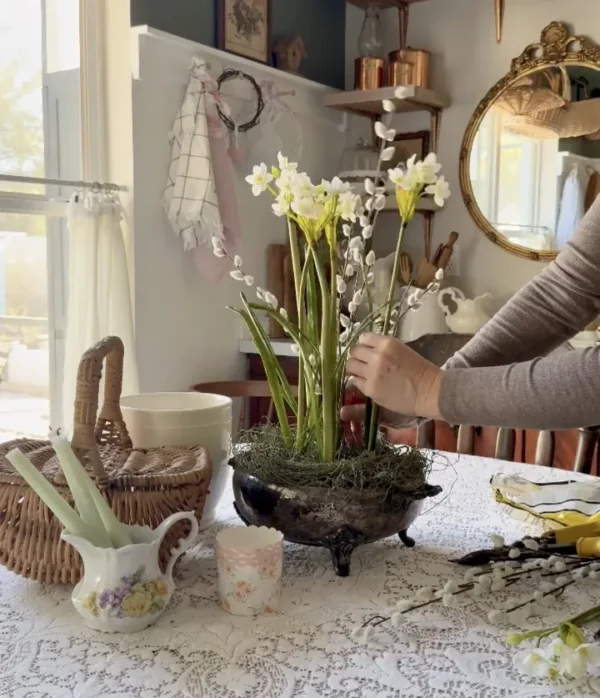
- Arrange the Narcissus Stems
- Trim your artificial Narcissus stems to varying heights with wire cutters. Insert them into the floral foam, spacing them naturally. A slight variation in height and angle will create a more organic, realistic look.
- Incorporate Pussy Willow Stems
- For added texture and dimension, insert a few pussy willow stems among the Narcissus flowers. Their soft, silvery buds contrast beautifully with the bright blooms.
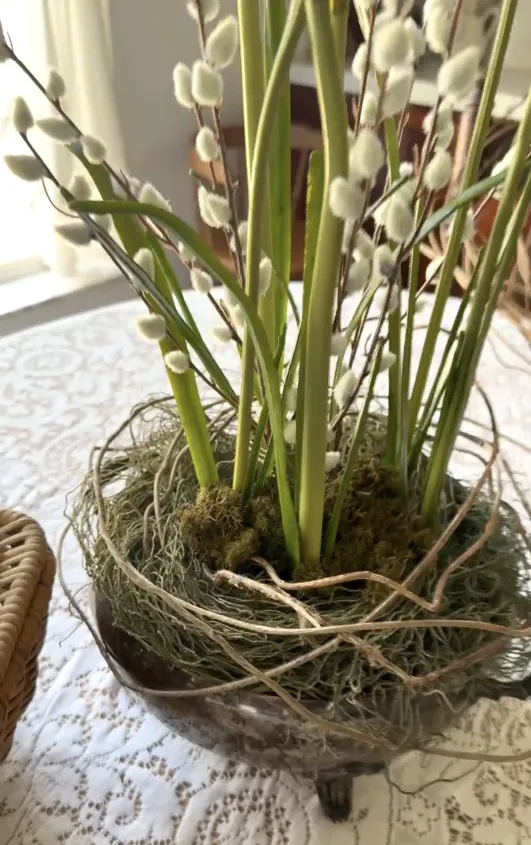
- Weave in Grapevine Twigs
Tuck in small grapevine twigs around the base of the flowers and through the arrangement. This will give your planter a natural, garden-inspired feel. - Add Moss for a Natural Touch
Cover the floral foam with sheet moss or preserved moss to conceal the base and add texture. You can secure it with hot glue if necessary.
- Final Adjustments
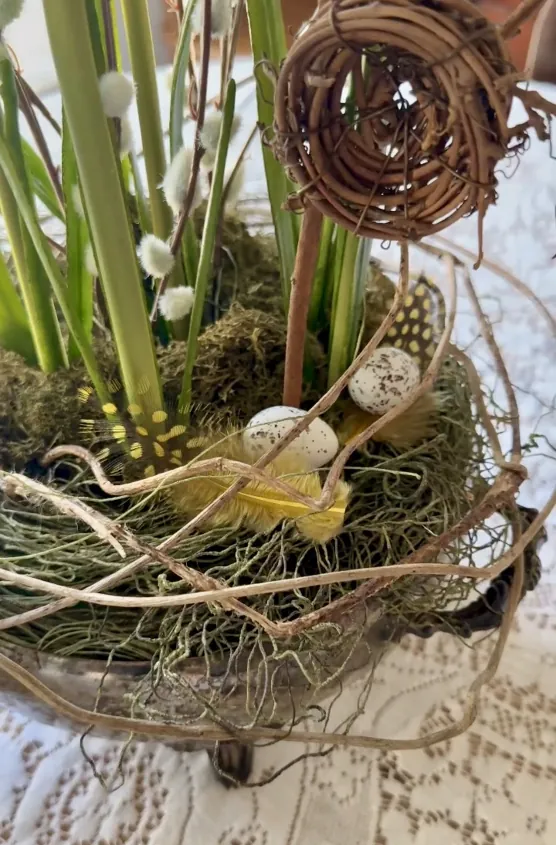
Place in the final touches. Here we grabbed some of our loose feathers and plastic eggs to help add more of a nature feel.
- Add in the Natural Grapevine Bird’s Nest Branch

Place your finished planter in a sunny window, on a console table, or as a centerpiece on your dining table. The vintage pot adds charm and character, making your arrangement feel like a cherished heirloom.
This DIY project is a wonderful way to welcome spring into your home, combining the beauty of nature with the lasting appeal of artificial blooms. Happy crafting!