Skip to search Skip to navigation menu Skip to main content Selecting option will reload page

Category: General Crafts

DIY Rustic Pumpkin Decor – Craft

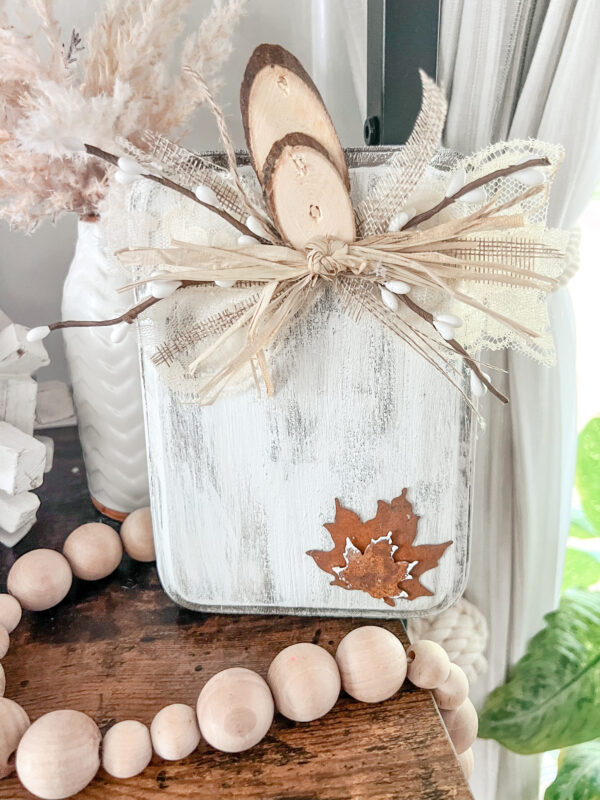
Fall is hands-down one of our favorite times to get creative-and nothing says fall quite like a good pumpkin DIY! But here’s the twist: who says pumpkins have to be perfectly round? Today, we’re showing you how to turn an ordinaryrectangle plaqueinto a charmingrustic pumpkinthat fits perfectly into any neutral, farmhouse-inspired fall decor.

Difficulty level: Beginner
Time required: 30 Mins
Age range: 8+

Unfinished Beveled Pinewood Rectangle Plaque

Find all materials here:

https://factorydirectcraft.pro/catalog/advanced_search_result.php?keywords=FBrstcfrmhspmpkn
Let’s grab your supplies, channel your inner artist, and let’s get crafting!
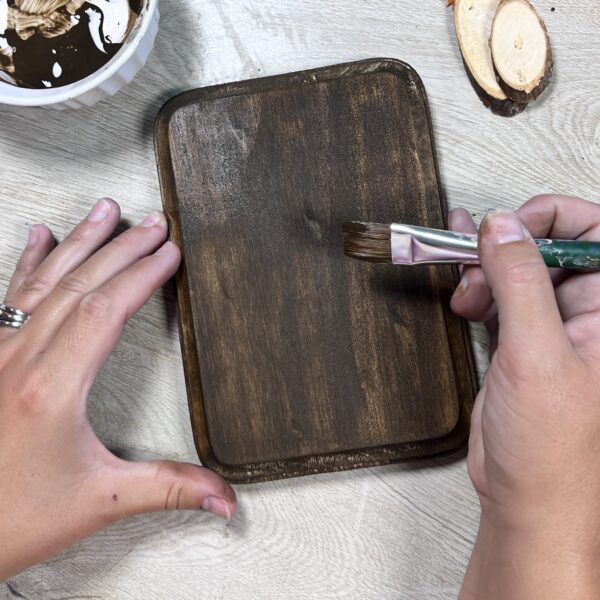
1. Paint the Plaque

Start by painting your plaque with a dark brown paint, Brown Oxide Apple Barrel Acrylic Paint.

Once dry, apply the white or off-white chalk paint. I used a chalk paint brush to help get a antique brushed look. Let dry completely.
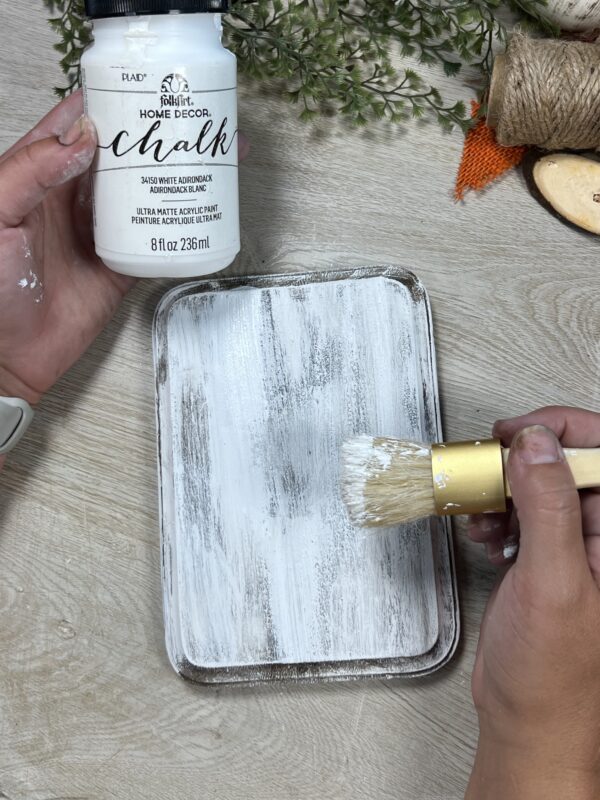
Once dry, apply the white or off-white chalk paint. I used a chalk paint brush to help get a antique brushed look. Let dry completely.

Distress for a Rustic Look

Once the paint is dry, lightly sand the edges and surface to give it that aged, farmhouse feel. This step is optional, but we love the added texture and charm.
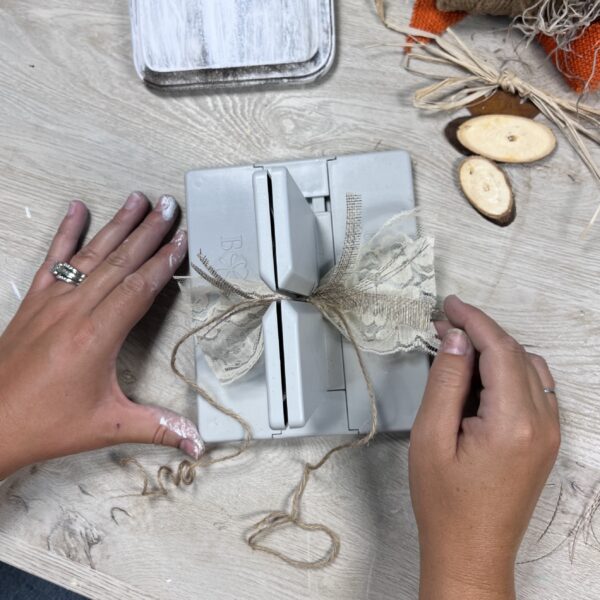
2. Create a bow

Here i used a bowdabra to make a layered bow with the lace, jute, and twine ribbon.
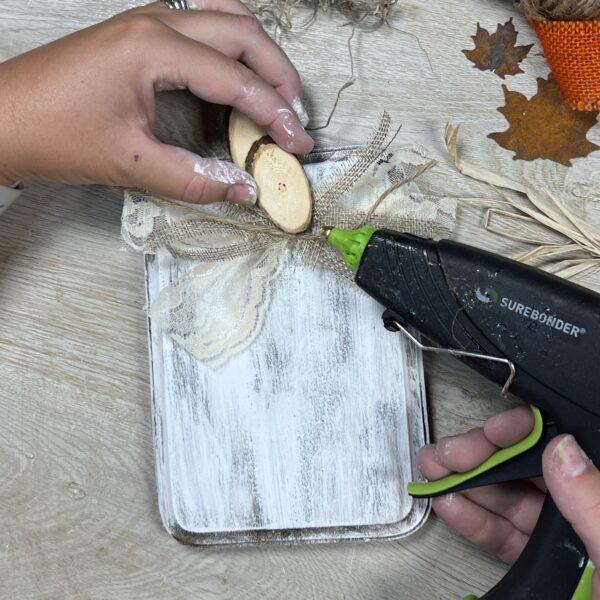
3. Add the “Stem”

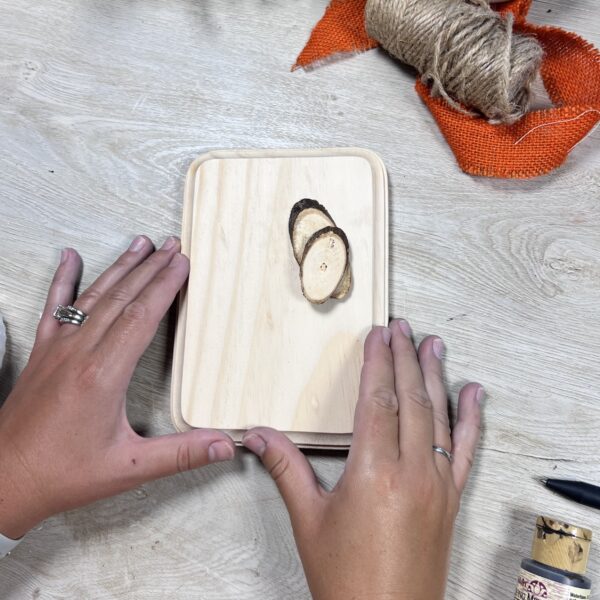
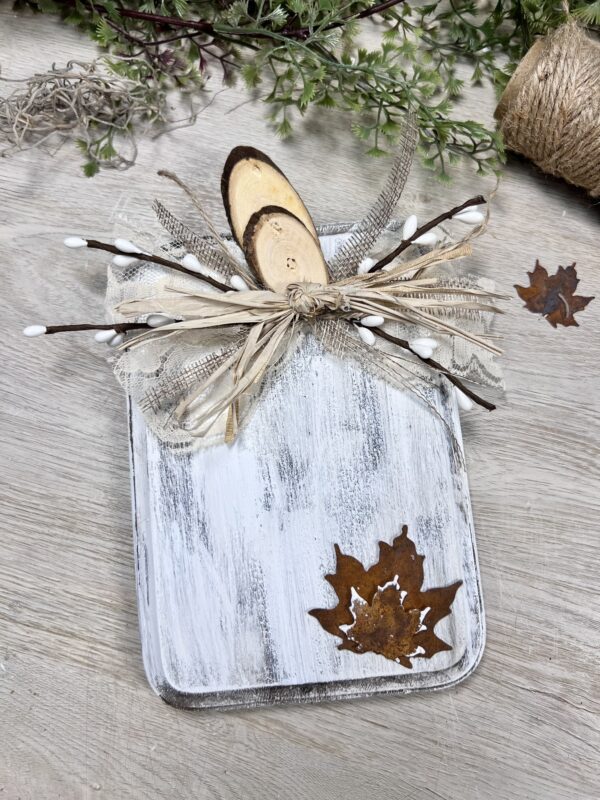
Glue a couple of wood slices to the top center of the plaque. These mimic the look of a stem and add that natural, rustic touch.
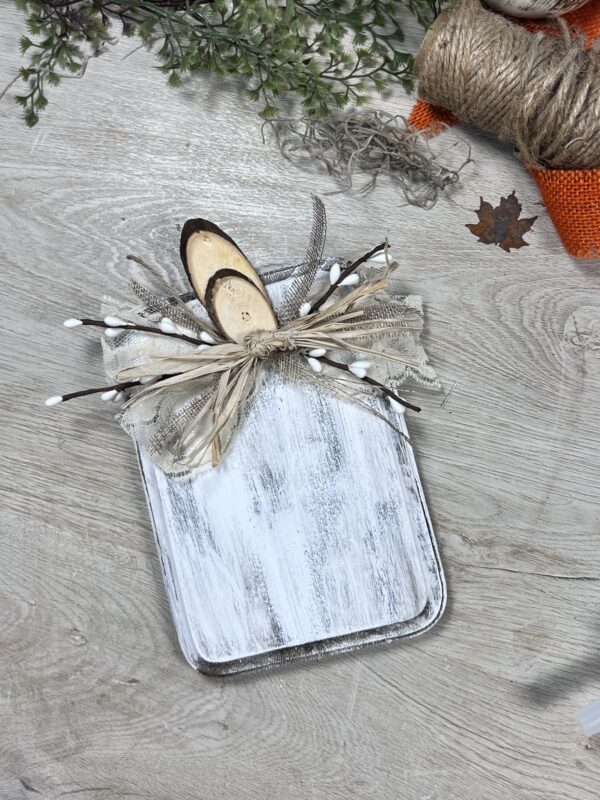
4. Embellish with Ribbon & Twigs

Create a layered bow using raffia, lace, and burlap ribbon. Add in pip berry sprigs or faux twigs for more dimension. Hot glue the bow right beneath the stem.
5. Attach a Leaf Accent

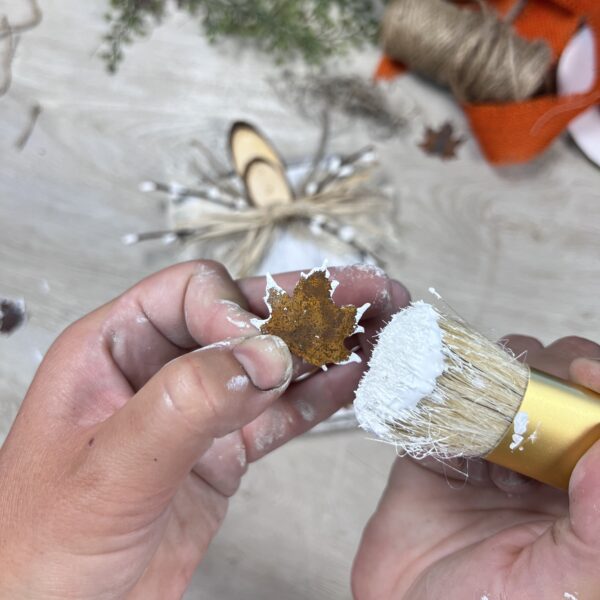
Glue a rusty metal leaf to the bottom corner of your plaque. If you don’t have one on hand, a wooden or paper leaf works too-just paint or stain it to match your theme!
6. Display Your Pumpkin!

Your pumpkin is ready! Display it on your fall mantel, nestled in a tray, or on your favorite shelf. It makes a great conversation piece and brings in cozy, rustic vibes.
Continue Reading

EASY DIY Witch Peg Doll Craft for Halloween

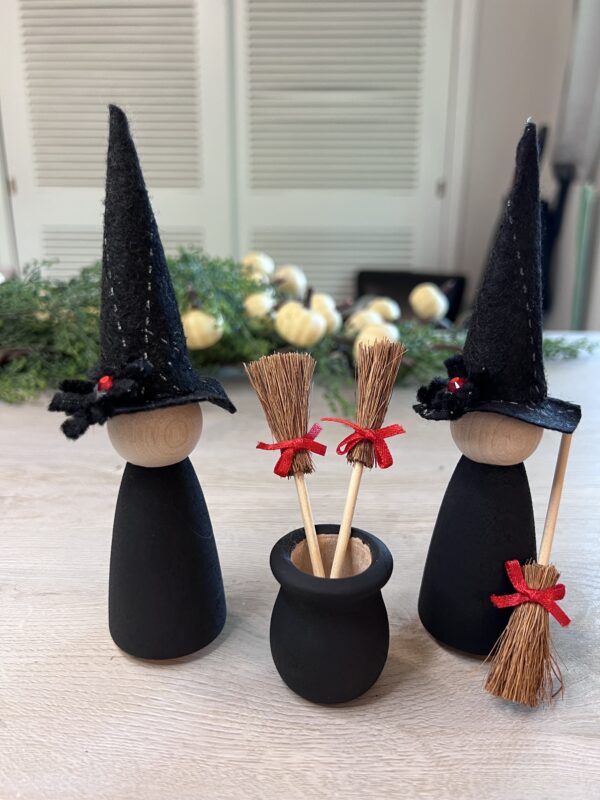
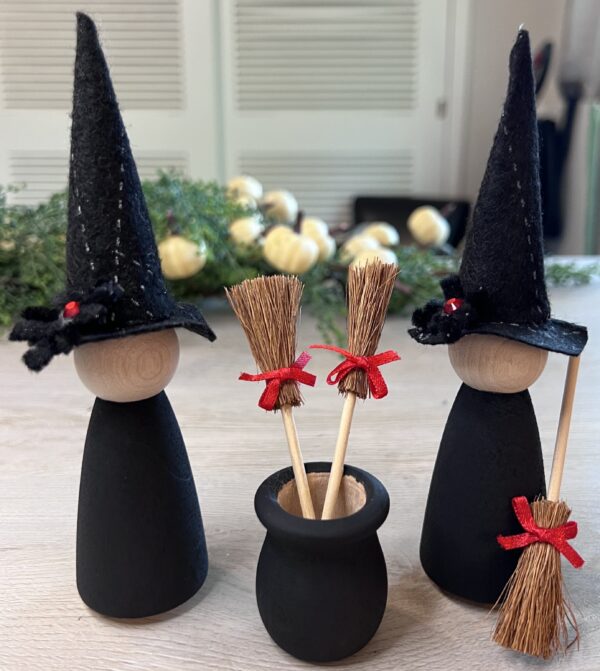
Are you looking for a fun and creative project that adds a touch of magic to your decor? Crafting a DIY wood witch peg doll is the perfect way to get into the spooky spirit of Halloween, or to simply enjoy a whimsical craft that’s easy and enjoyable for all ages.

Difficulty level: Beginner
Time required: 45 minutes
Age range: 8+

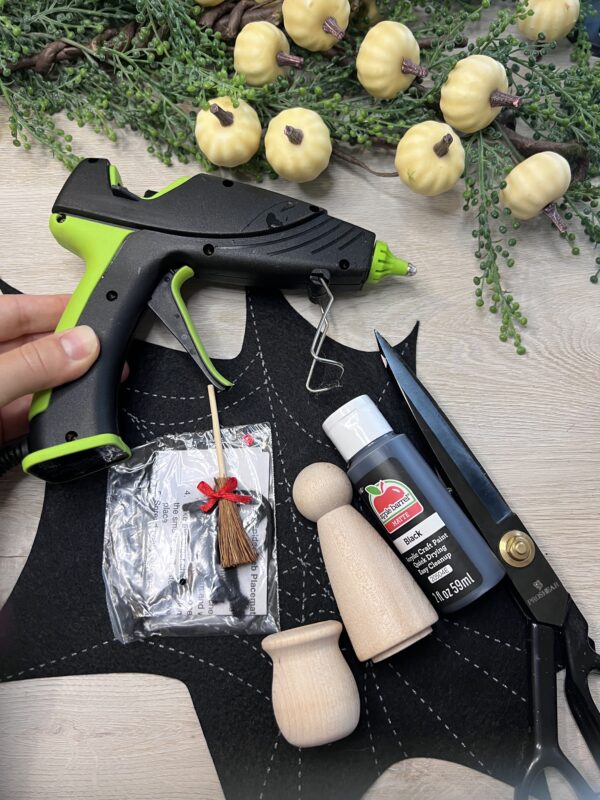
Materials Needed:
Unfinished Wood Peg Doll Bodies
Unfinished Wood Bean Pot Candle Cups
Dollhouse Miniature Broom with Ribbon
Black Spider Web Placemat Kits
Black Apple Barrel Acrylic Paint
Scissors
Hot Glue Gun and Sticks
Paint Brushes

Material list found here:
https://factorydirectcraft.pro/catalog/advanced_search_result.php?keywords=fbspdrwbwtchpegdll

Let’s grab your supplies, channel your inner artist, and let’s get crafting!

Step 1 – Preparing the Hat

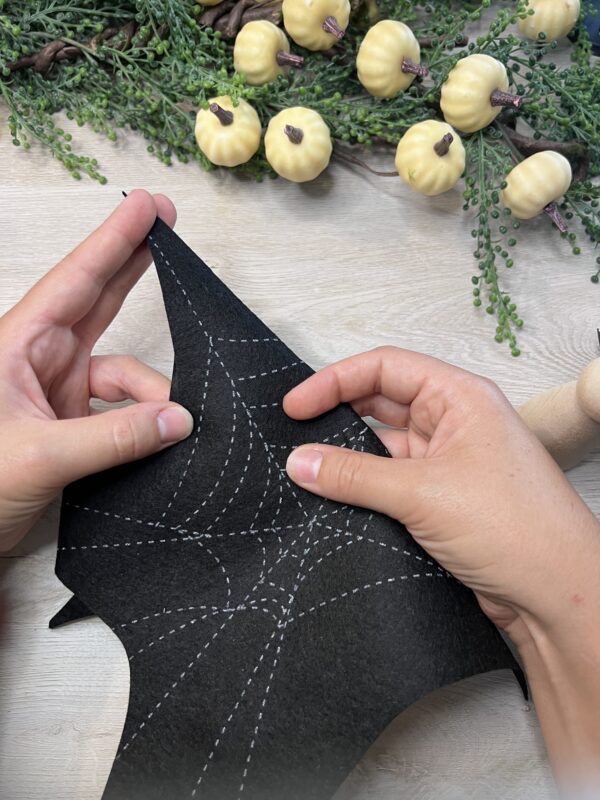
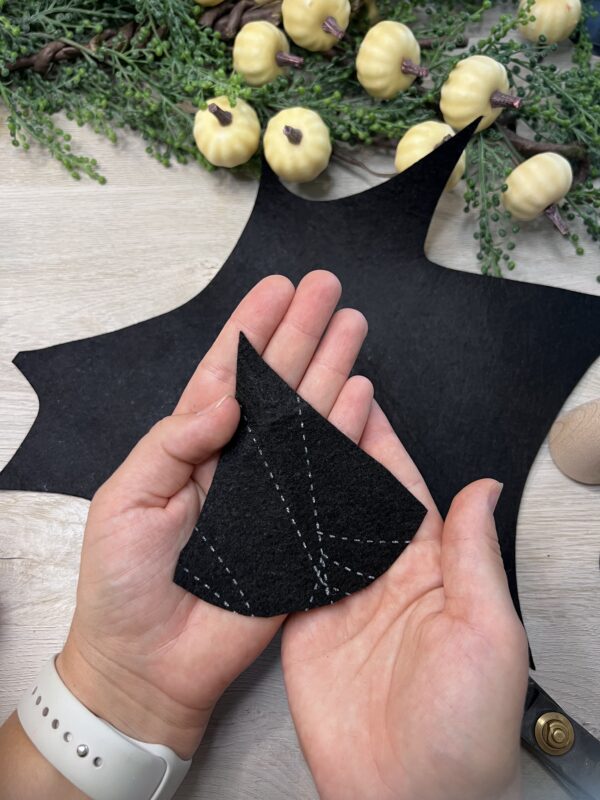
This step you will want to grab one of theBlack Spider Web Placemat. You will cut on of the longer triangle ends off the mat. This will be the top portion of the witch hat.

Form the Cone:

Roll the felt into a cone shape, with the straight edges overlapping slightly to create a pointy tip. Adjust the size of the base by trimming if necessary.

Notes:

  • When cutting it off, do not make a straight line across, you will want to have it rounded slightly.

Step 2: Cutting the bottom brim

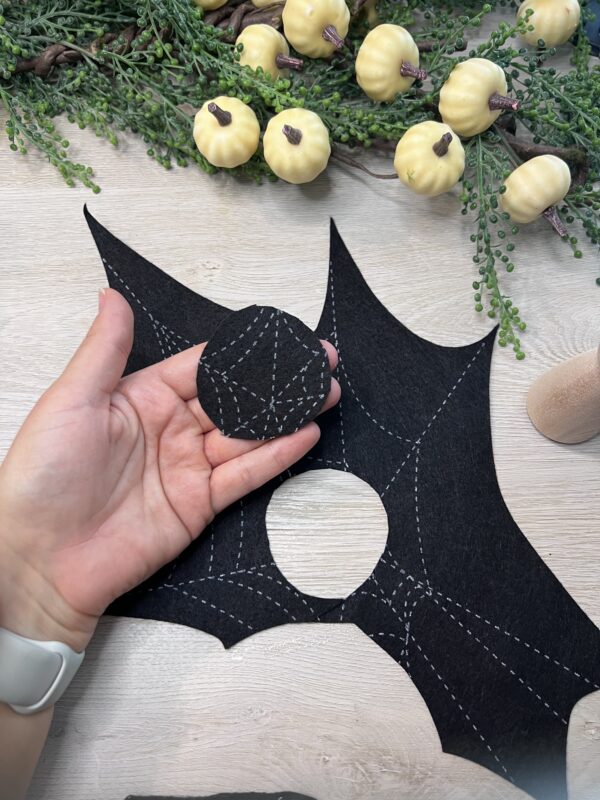
Using the same Black Spider Web Placematyou will figure out the size of the brim you wish for your hat. Place your cone flat onto the mat. Trace out the circle size you wish. Then cut out.

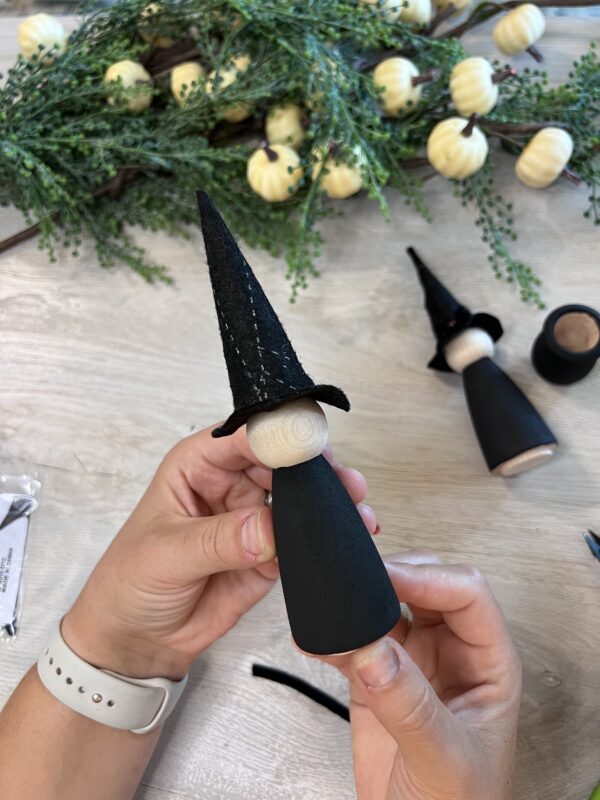
Step 3 – Assemble the Hat

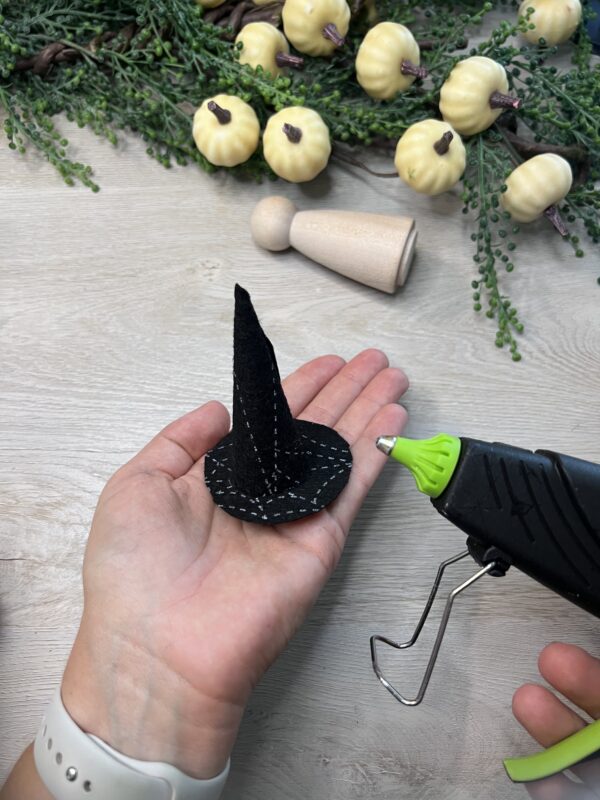
Here you will grab your hot glue gun and glue your cone to the brim of the hat. Trim around to shorten the width if needed.

  • If you wish, you can cut a hole in the center of the brim to help fit on the wooden dolls head.

Step 4 – Adding the paint

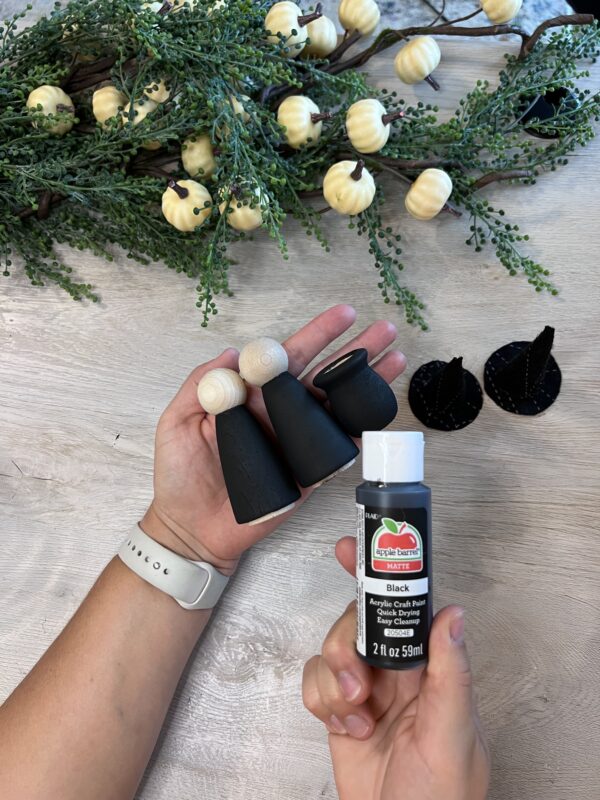
I kept this pretty simple with the paint. I painted the body of the Wood Peg Doll Bodies all black and then painted the Wood Bean Pot Candle Cups

Step 5 : Add Finishing Touches

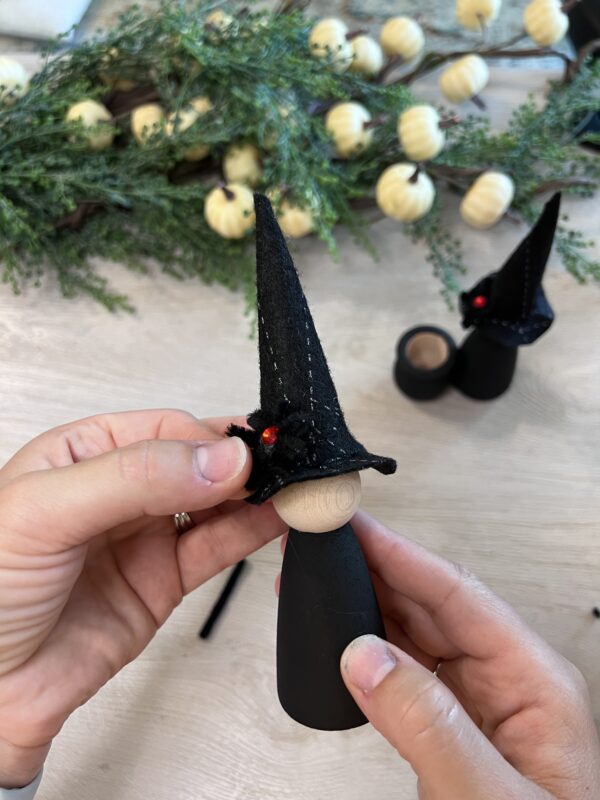
Once the paint is dry, let’s add the witch hat. You will simply just hot glue them onto the head.

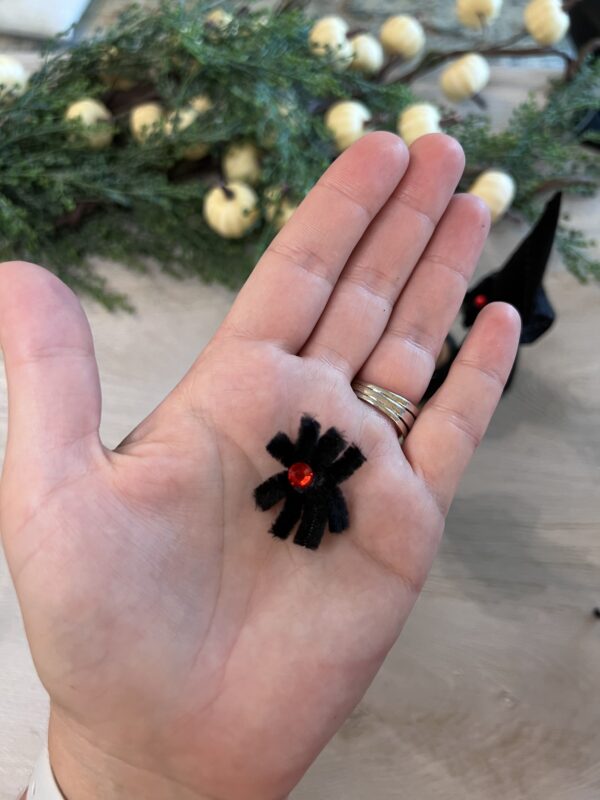
TheBlack Spider Web Placemat Kitscomes with accessories to make a spider that hangs off the place mat. However, since the provided spider would be too large, I decided to twist the pipe cleaners together to make a smaller version. After trimming them to size, I hot glued a gem in the center to complete the spider.

Lastly, glue that tiny spider into place on the hat where you desire. Then it is ready to display!!

This DIY wood witch peg doll is not only easy to make, but it’s also a great way to express your creativity. It’s a fun project for kids and adults alike, and the results are always charming. Plus, you can customize your witch to suit any style or theme, making it a versatile craft that you can revisit each season.

Happy crafting!

Continue Reading
Change Your Country
Please select your country, this will change the site to your country's currency:

Cancel