Skip to search Skip to navigation menu Skip to main content Selecting option will reload page

Category: For the Home

A Cozy Valentine Plaque With Layered Hearts

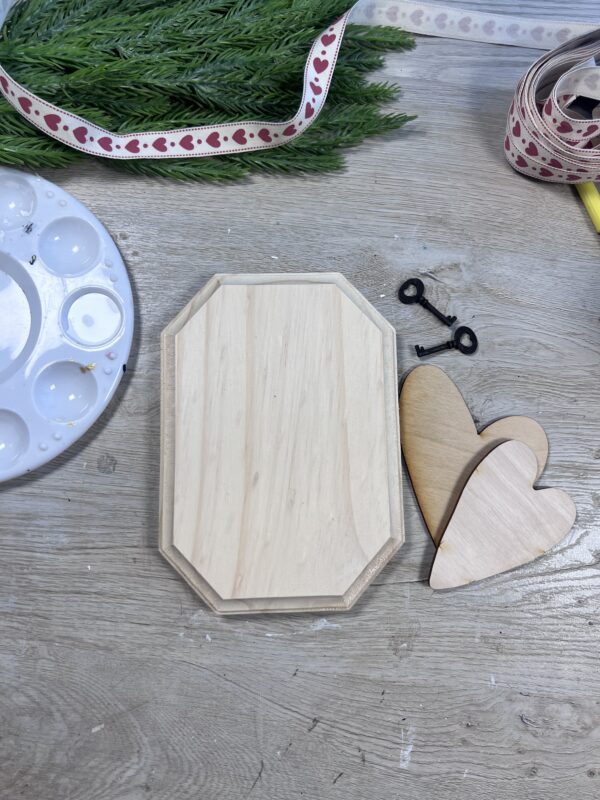
There’s something special about a handmade Valentine decor-soft colors, simple textures, and details that make a piece feel personal. This layered Valentine plaque is one of those crafts that looks beautiful on a shelf, tiered tray, or hung on the wall, and it’s easy enough to create in an afternoon.

What You’ll Need:

Let’s grab your supplies, channel your inner artist, and let’s get crafting!
Step 1: Paint the Plaque

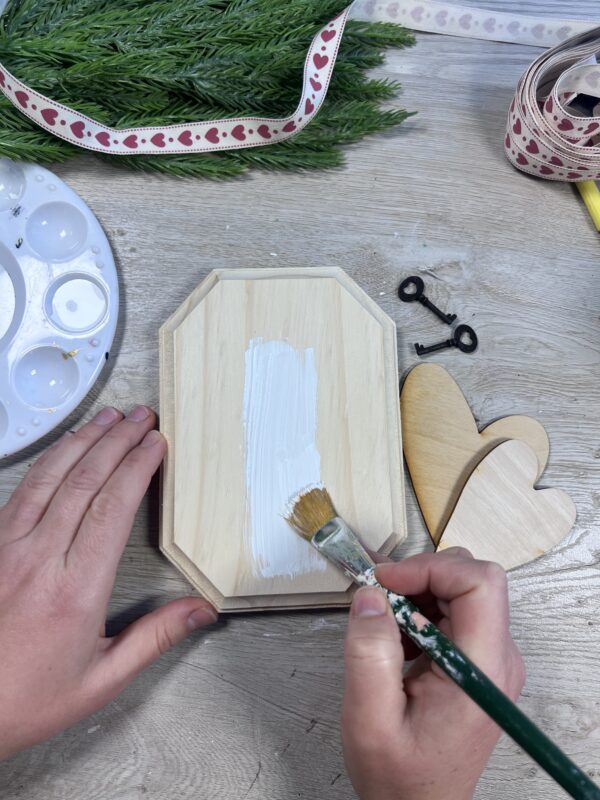
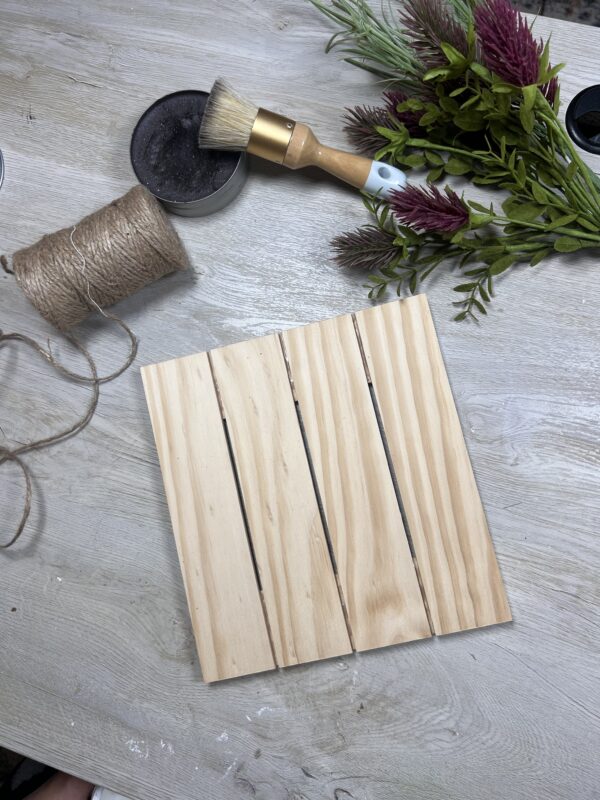
Start by painting your wooden plaque in a soft neutral color like white, cream, or light gray. Here i chose to paint it white with our Apple Barrel Acrylic Paint. Once dry, lightly sand the edges and surface if you want a worn, farmhouse-style finish.
Step 2: Paint the Hearts

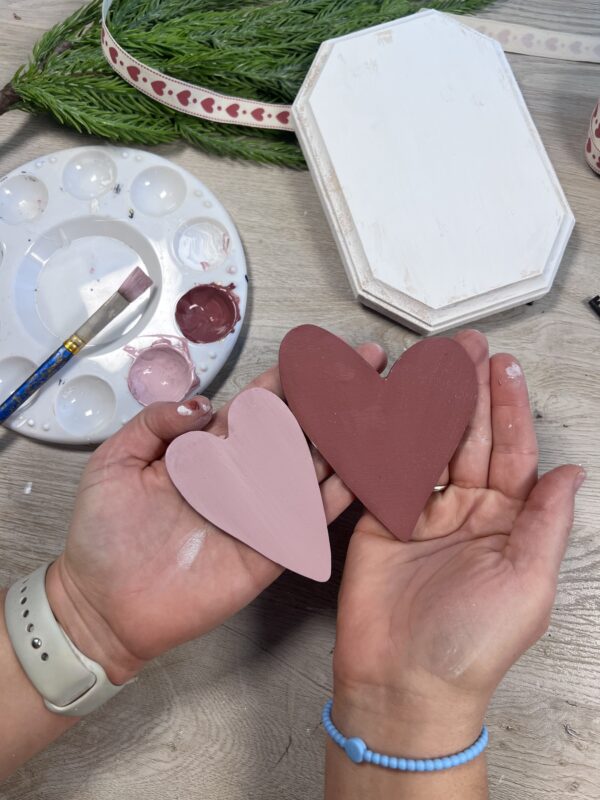
Here i chose to paint the hearts with our Tapestry Wine Apple Barrel Acrylic Paint -think dusty rose, blush pink, mauve, or deep berry. One heart i painted with the color as is. The 2nd heart i added a bit of white paint to help get the lighter color desired. Let them dry completely.
Step 3: Arrange and Attach

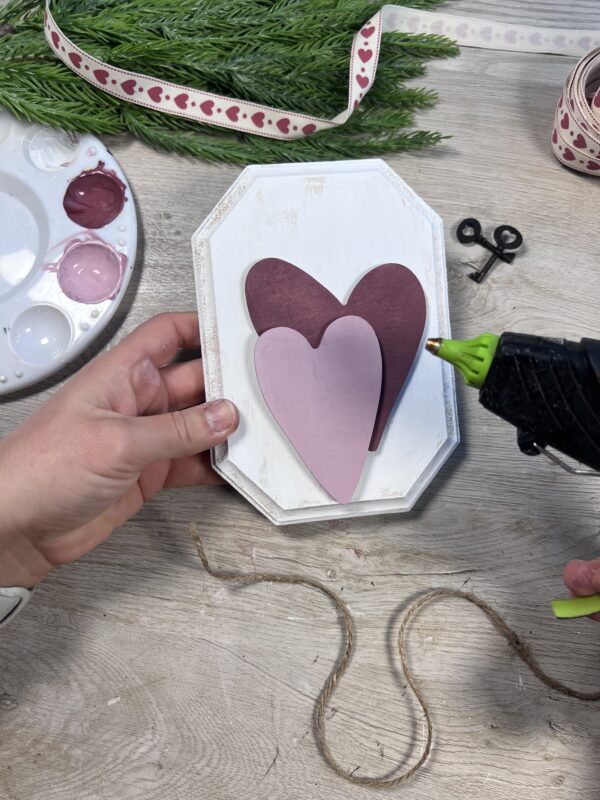
Place the hearts on the plaque, slightly overlapping until the arrangement feels balanced. Once happy, place and glue them securely in place.
Step 4: Add Texture with Twine and Ribbon

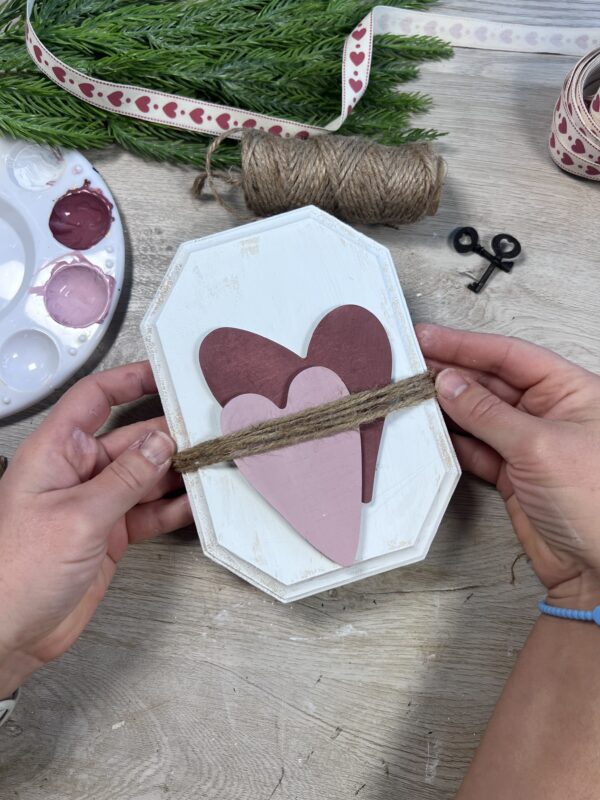
Wrap jute or twine horizontally around the plaque. This adds rustic texture and helps anchor the design. You can also attach a small charm or tag to the twine-something simple that adds a touch of meaning, like a tiny key or a word tag.
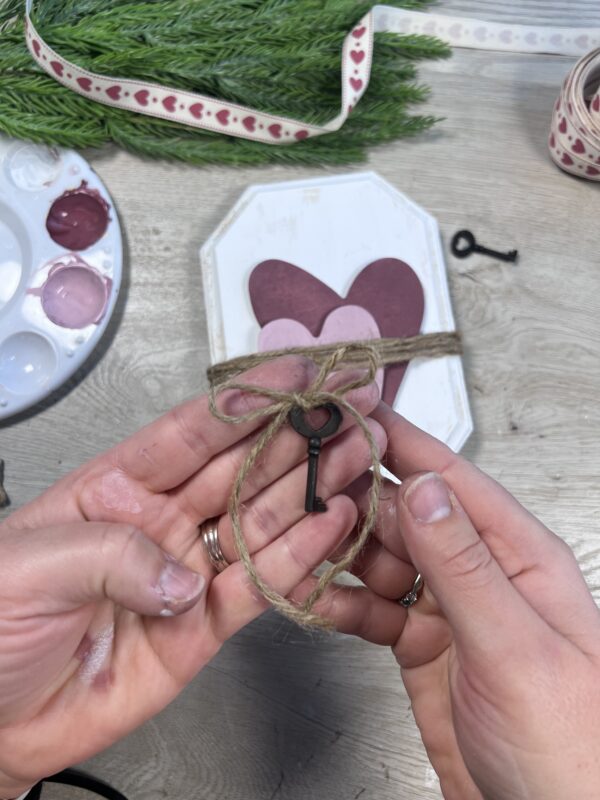
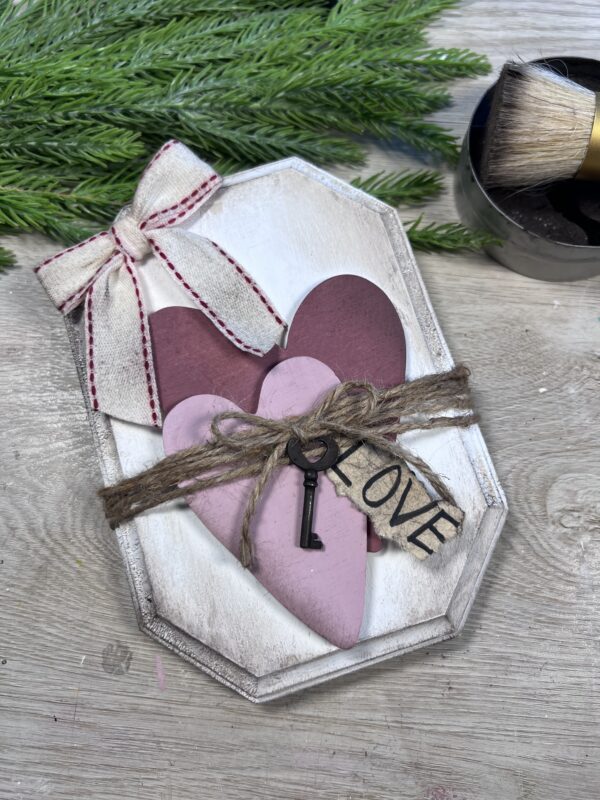
Attach a small key charm to the twine tying them into a bow. Glue in place. Here i also took our canvas tags and wrote the word “LOVE”. I then crumbled it up and straightened it out. Took the wax and blender tool to help age the tag for a rustic look.
Step 5: Final Touches

A little extra sanding, add a premade bow to the top can make all the difference or just leave it as is. Once finished, your Valentine plaque is ready to display or gift.
Continue Reading

DIY Rustic Twine Cross on Painted Wood Plaque

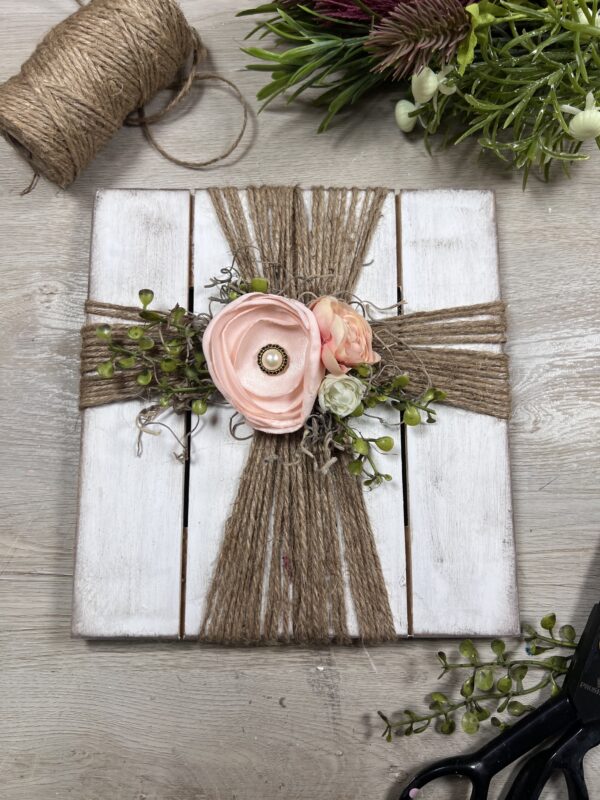
Looking for a simple yet stunning DIY home decor project? This rustic twine cross on a painted wood plaque is a perfect blend of farmhouse charm and elegant detail. Whether you’re decorating for a season, a special event, or just want to add a meaningful touch to your space, this project is both beautiful and budget-friendly. Let’s get started!

https://youtube.com/shorts/4SxVuy07BKQ

Difficulty level: Beginner
Time required: 25 Mins
Age range: 8+

What You’ll Need:
Unfinished Wood Pallet Sign
Natural Jute Twine
FolkArt Home Decor White Adirondack Chalk Paint
Artificial Peppergrass Spray
Pink, Brown, and Ivory Flower Embellishments
Pink and Ivory Artificial Ranunculus Bush
4 oz Natural Dried Spanish Moss
Paint Brush
Scissors
Hot glue gun
Micro Sander
Wax

Find all materials here:
https://factorydirectcraft.pro/catalog/advanced_search_result.php?keywords=FBwdnwllcrssplqutwn

Other items from amazon:
Antique Wax- https://amzn.to/41Hx5Xq
Mini Sander – https://amzn.to/4brH7zp

Let’s grab your supplies, channel your inner artist, and let’s get crafting!

1. Prep Your Wood Plaque

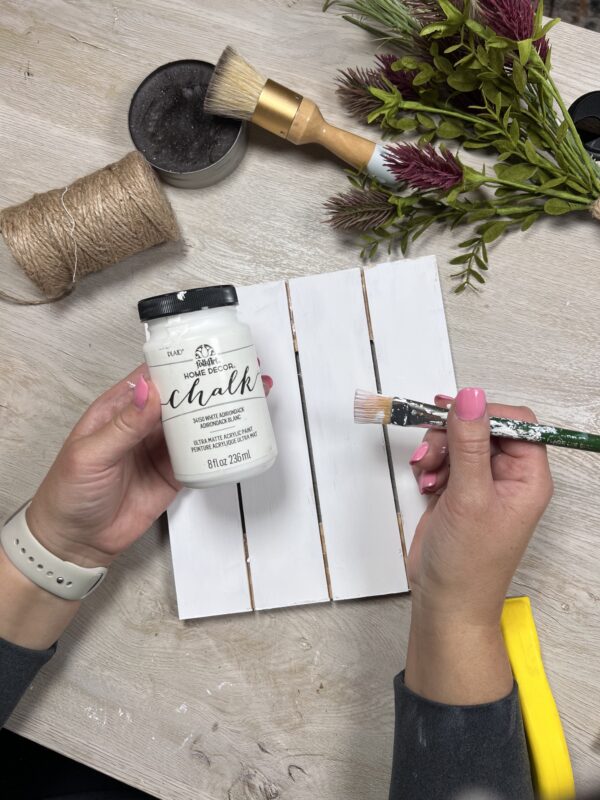
Start by painting your wood plaque. A distressed white finish works beautifully for a farmhouse vibe, but you can customize the color to match your decor. In this project, i used our FolkArt Home Decor White Adirondack Chalk Paint.

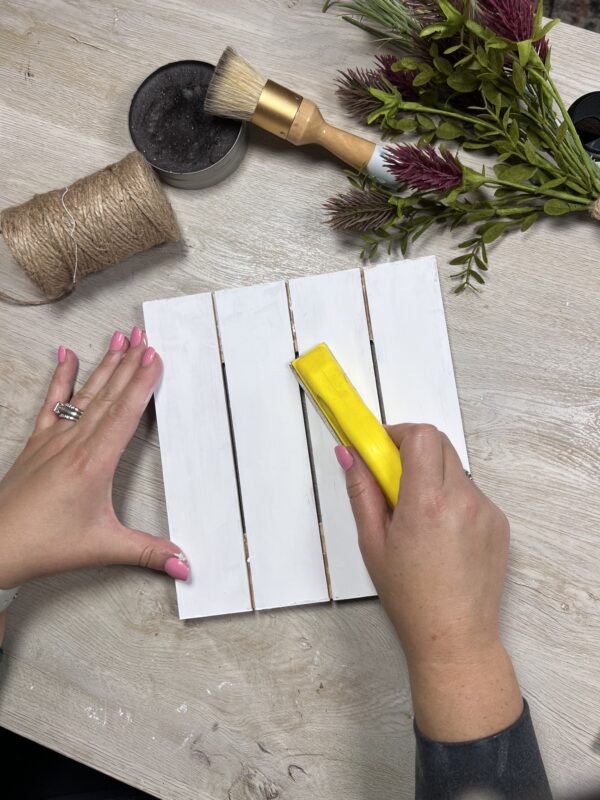
Once the paint has dried, come in with your micro sander. This will help add the distressed look to the board.

2. Wrap the Twine to Create a Cross

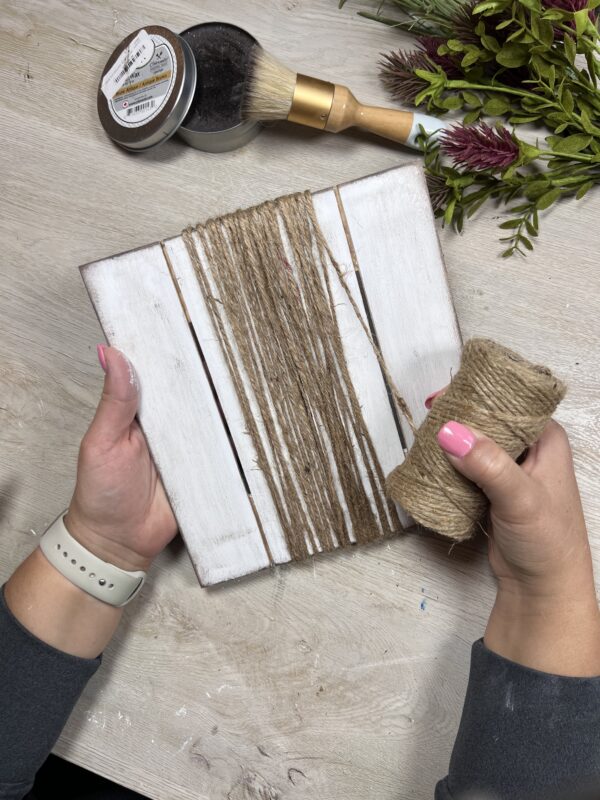
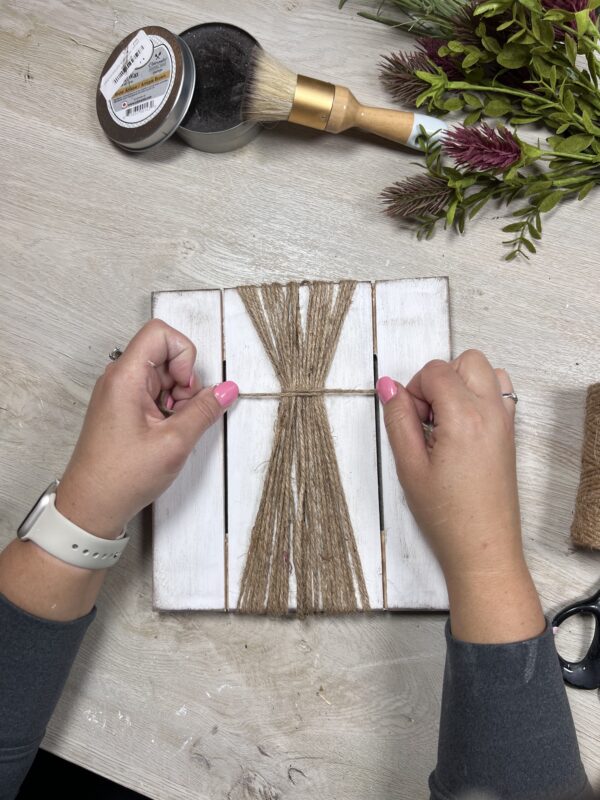
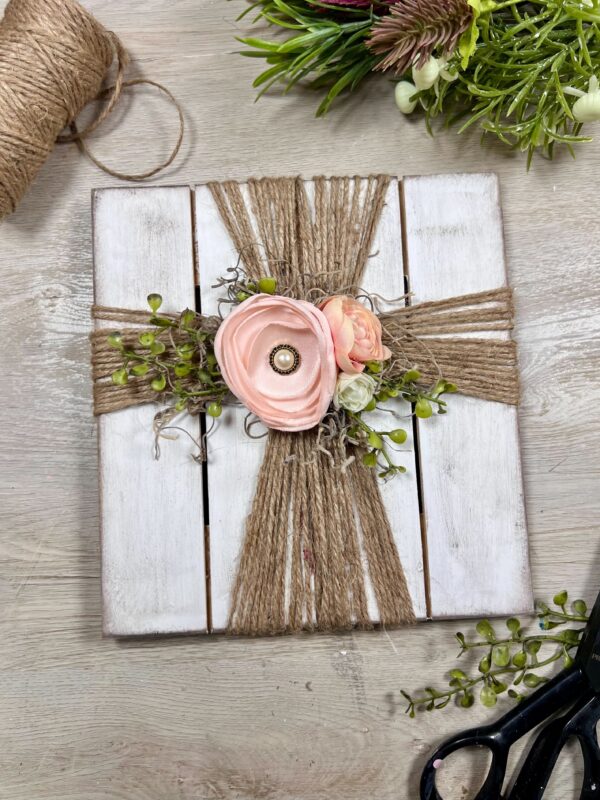
Take your jute twine and begin wrapping it vertically around the plaque. You’ll want to focus on the center, layering the twine several times to create a thick band. Secure the ends on the back with hot glue.

Once the initial twine is secured, take another piece and thread it underneath the wrapped section at the front of the board. Pull it tight and tie it into a knot to gather everything together.

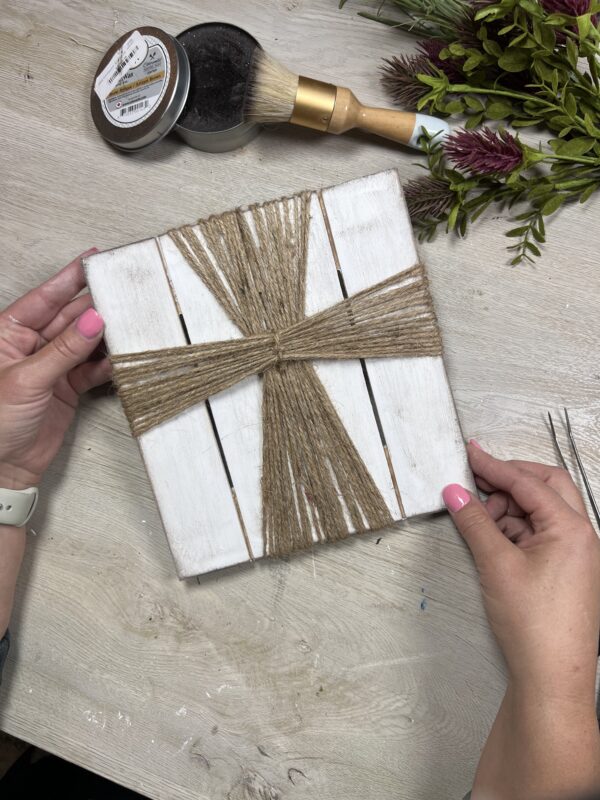
Next, wrap a new piece of twine horizontally across the plaque, crossing over the vertical wraps to form a crisscross pattern. Secure the ends with glue on the back of the board. This adds visual interest and texture, creating the base for your design.

Finally, gather the horizontal twine at the center and tie it into a knot to bring everything together neatly.

3. Add Embellishments

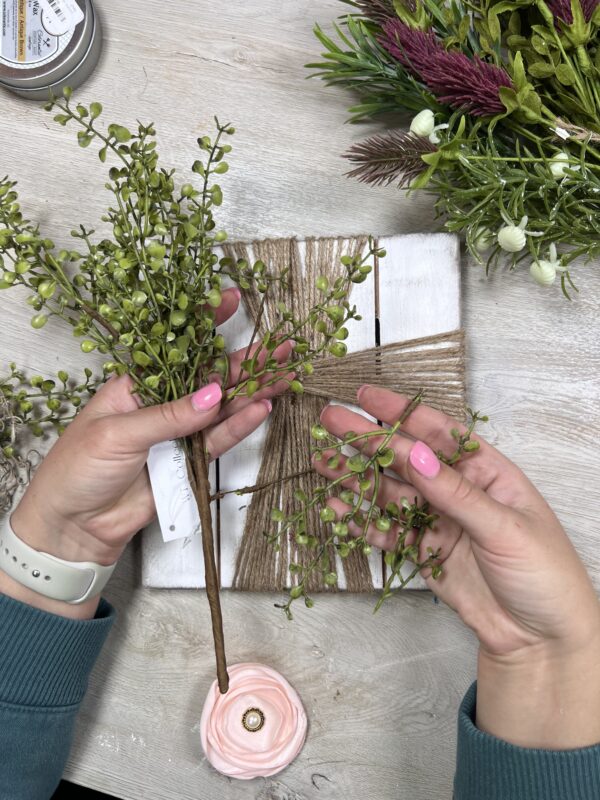
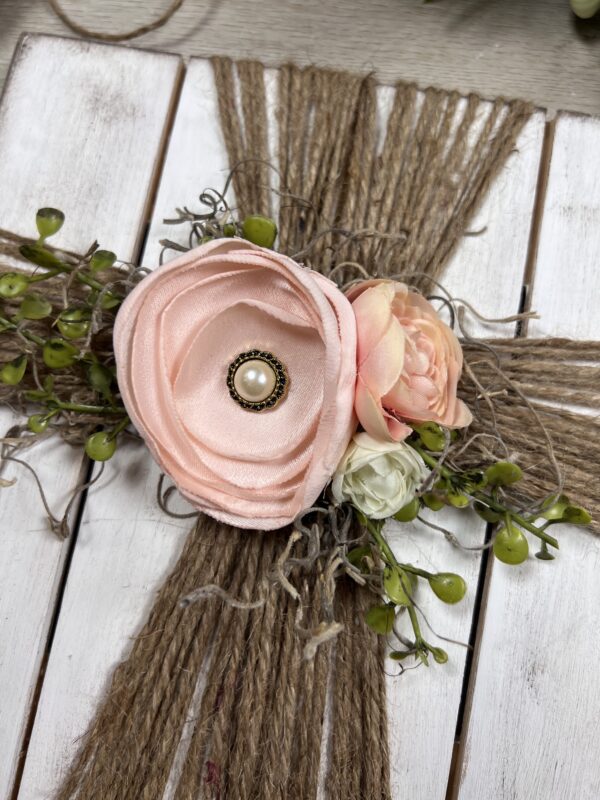
Now for the fun part-decorating! Select a few faux flowers and greenery to place at the center where the twine intersects. Use a hot glue gun to secure them in place.

Tip: Add a statement flower in the center (like the peach one in the photo) and tuck in some smaller blooms and greenery for dimension. A decorative button or pearl adds a charming finishing touch.

This easy DIY is perfect for crafters of any skill level and can be customized for any season by swapping out the embellishments. Soft florals for spring, berries and pine for winter-the options are endless!

Continue Reading
Change Your Country
Please select your country, this will change the site to your country's currency:

Cancel