Skip to search Skip to navigation menu Skip to main content Selecting option will reload page

Category: Spring Crafts

DIY Rustic Twine Cross on Painted Wood Plaque

Looking for a simple yet stunning DIY home decor project? This rustic twine cross on a painted wood plaque is a perfect blend of farmhouse charm and elegant detail. Whether you’re decorating for a season, a special event, or just want to add a meaningful touch to your space, this project is both beautiful and budget-friendly. Let’s get started!

https://youtube.com/shorts/4SxVuy07BKQ

Difficulty level: Beginner
Time required: 25 Mins
Age range: 8+

What You’ll Need:
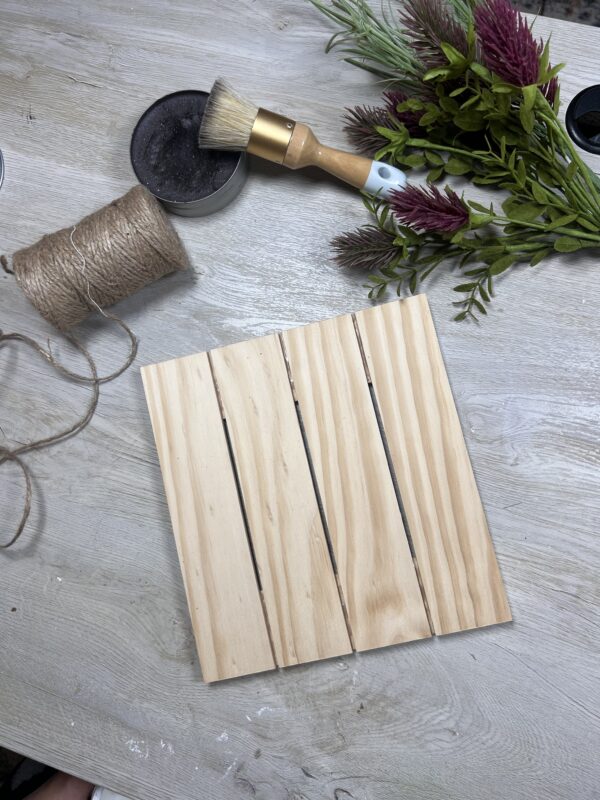
Unfinished Wood Pallet Sign
Natural Jute Twine
FolkArt Home Decor White Adirondack Chalk Paint
Artificial Peppergrass Spray
Pink, Brown, and Ivory Flower Embellishments
Pink and Ivory Artificial Ranunculus Bush
4 oz Natural Dried Spanish Moss
Paint Brush
Scissors
Hot glue gun
Micro Sander
Wax

Find all materials here:
https://factorydirectcraft.pro/catalog/advanced_search_result.php?keywords=FBwdnwllcrssplqutwn

Other items from amazon:
Antique Wax- https://amzn.to/41Hx5Xq
Mini Sander – https://amzn.to/4brH7zp
Let’s grab your supplies, channel your inner artist, and let’s get crafting!
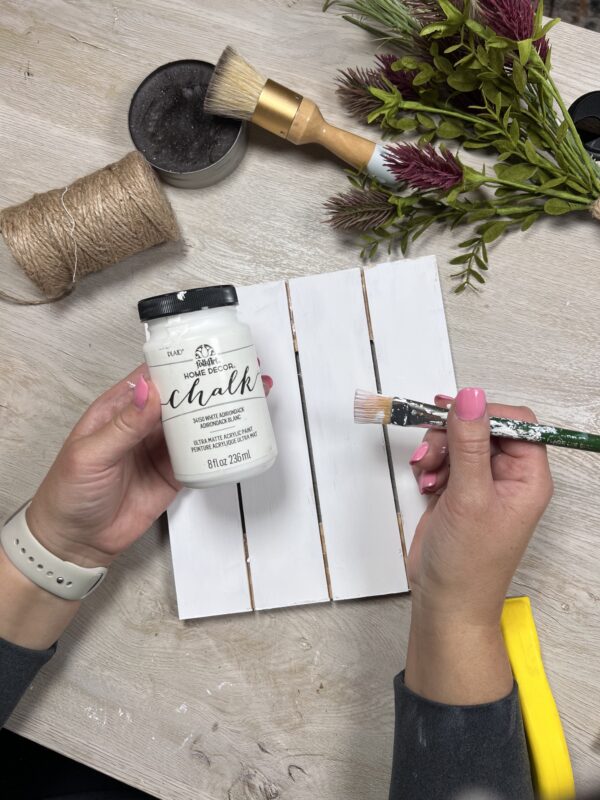
1. Prep Your Wood Plaque

Start by painting your wood plaque. A distressed white finish works beautifully for a farmhouse vibe, but you can customize the color to match your decor. In this project, i used our FolkArt Home Decor White Adirondack Chalk Paint.
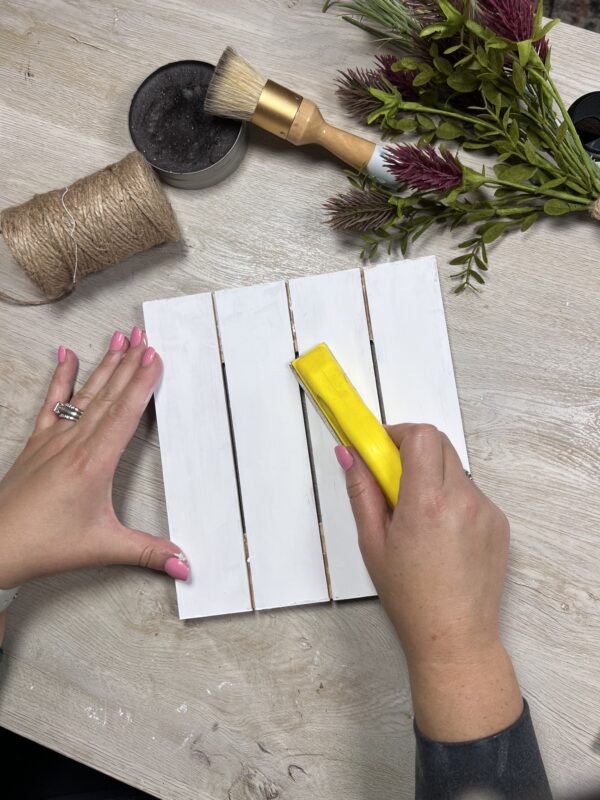
Once the paint has dried, come in with your micro sander. This will help add the distressed look to the board.
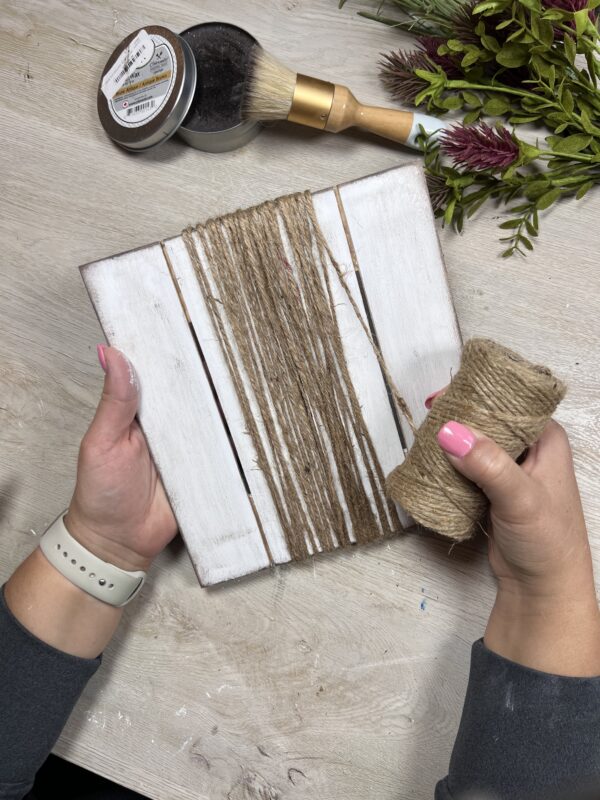
2. Wrap the Twine to Create a Cross

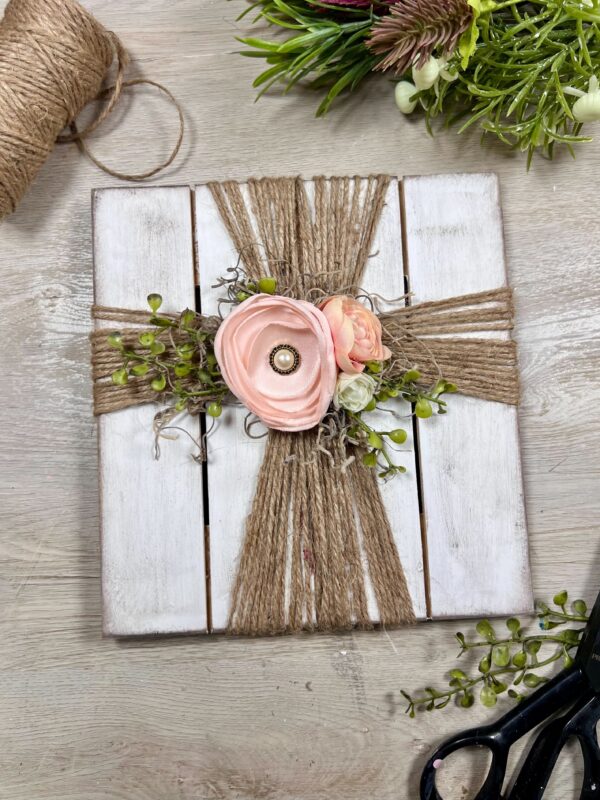
Take your jute twine and begin wrapping it vertically around the plaque. You’ll want to focus on the center, layering the twine several times to create a thick band. Secure the ends on the back with hot glue.
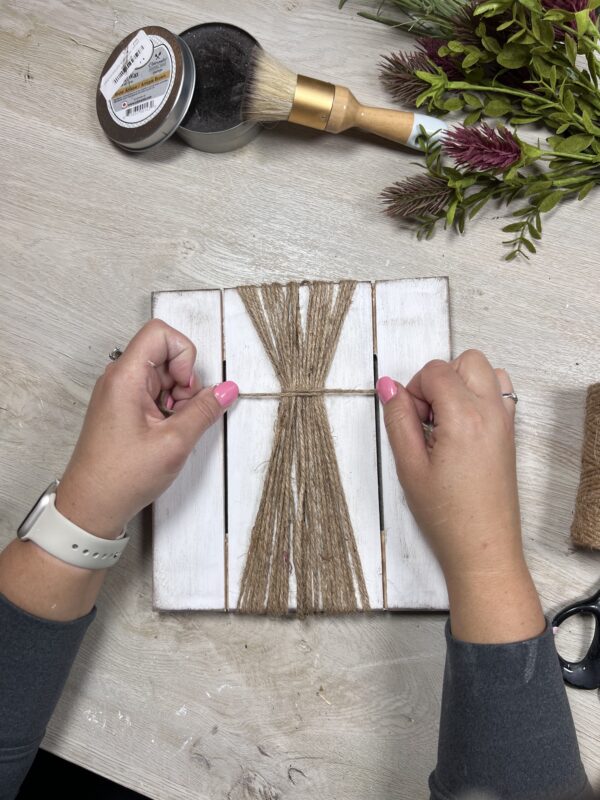
Once the initial twine is secured, take another piece and thread it underneath the wrapped section at the front of the board. Pull it tight and tie it into a knot to gather everything together.
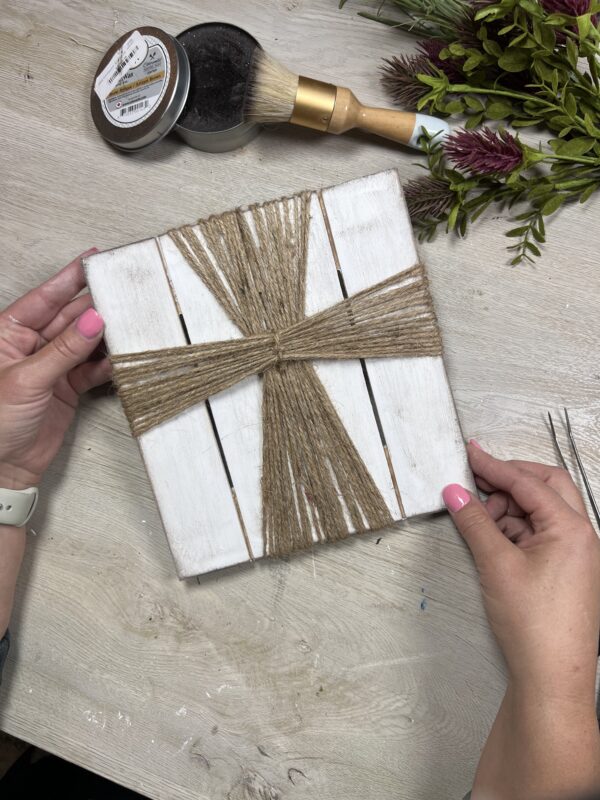
Next, wrap a new piece of twine horizontally across the plaque, crossing over the vertical wraps to form a crisscross pattern. Secure the ends with glue on the back of the board. This adds visual interest and texture, creating the base for your design.

Finally, gather the horizontal twine at the center and tie it into a knot to bring everything together neatly.
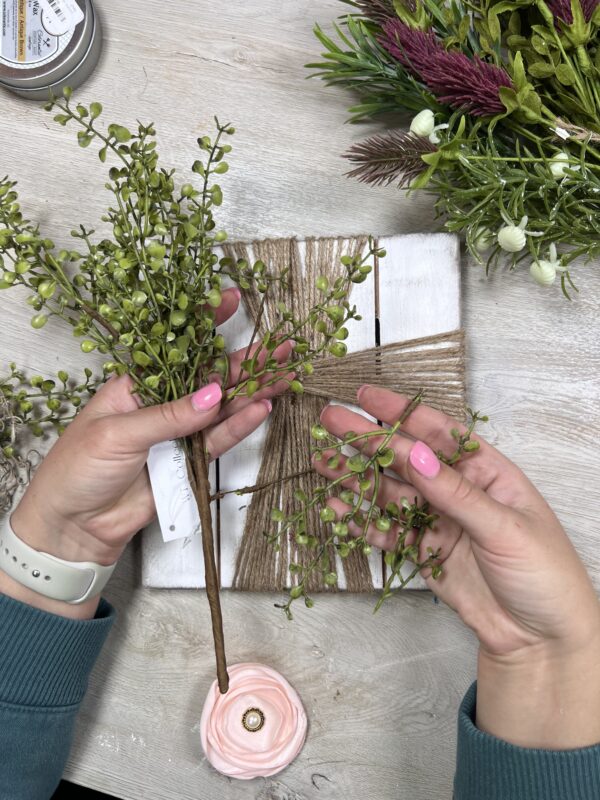
3. Add Embellishments

Now for the fun part-decorating! Select a few faux flowers and greenery to place at the center where the twine intersects. Use a hot glue gun to secure them in place.
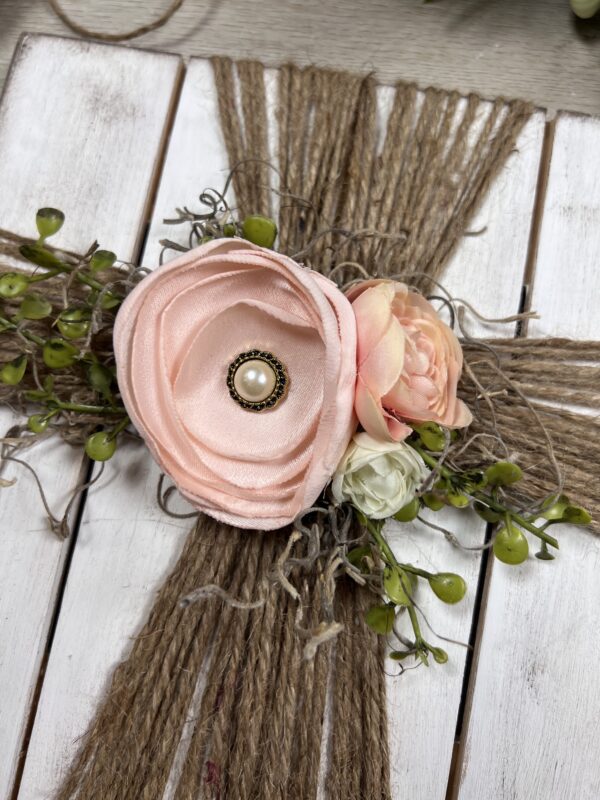
Tip: Add a statement flower in the center (like the peach one in the photo) and tuck in some smaller blooms and greenery for dimension. A decorative button or pearl adds a charming finishing touch.
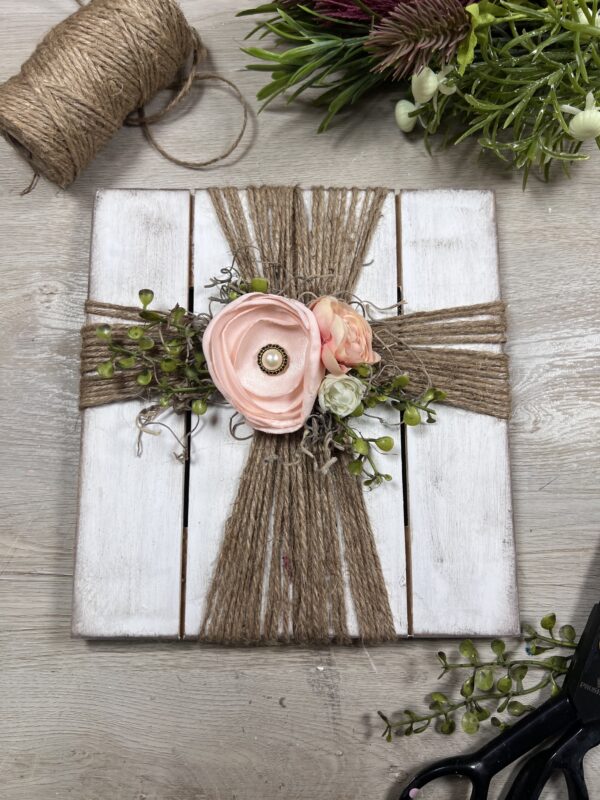
This easy DIY is perfect for crafters of any skill level and can be customized for any season by swapping out the embellishments. Soft florals for spring, berries and pine for winter-the options are endless!
Continue Reading

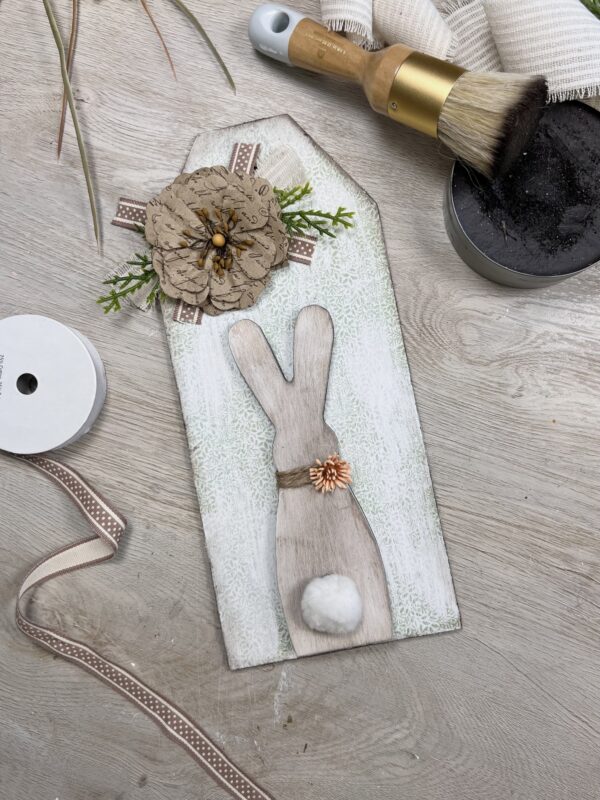
Crafting a Rustic Bunny Display | Home Decor | Easter

Time to refresh our home decor with charming seasonal touches! Crafting thisRustic Bunny Displayis a perfect for Easter and beyond. With natural textures, earthy tones, and a touch of vintage charm, this DIY project will be a beautiful addition to your home.

Difficulty level: Beginner
Time required: 25 Mins
Age range: 8+

What You’ll Need:

Other items from amazon

  • Antique Wax- https://amzn.to/41Hx5Xq
  • Mini Sander – https://amzn.to/4brH7zp

Find all materials here:

https://factorydirectcraft.pro/catalog/advanced_search_result.php?keywords=FBrstcbnnytgdsplyestr

Let’s grab your supplies, channel your inner artist, and let’s get crafting!

Step 1 – Preparing the Tag

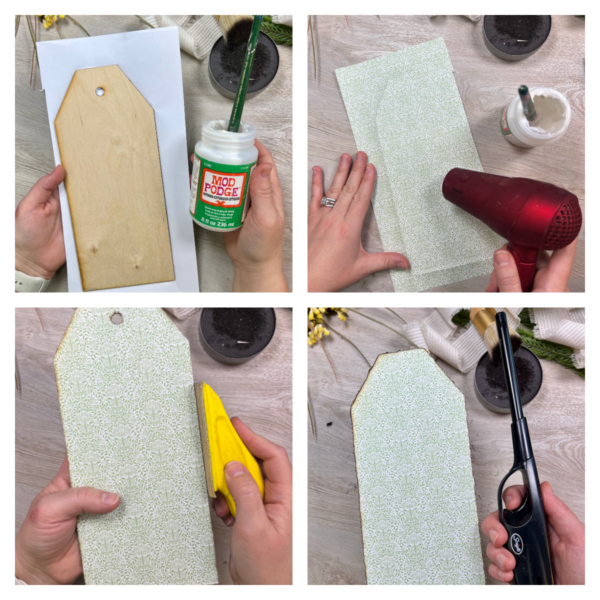
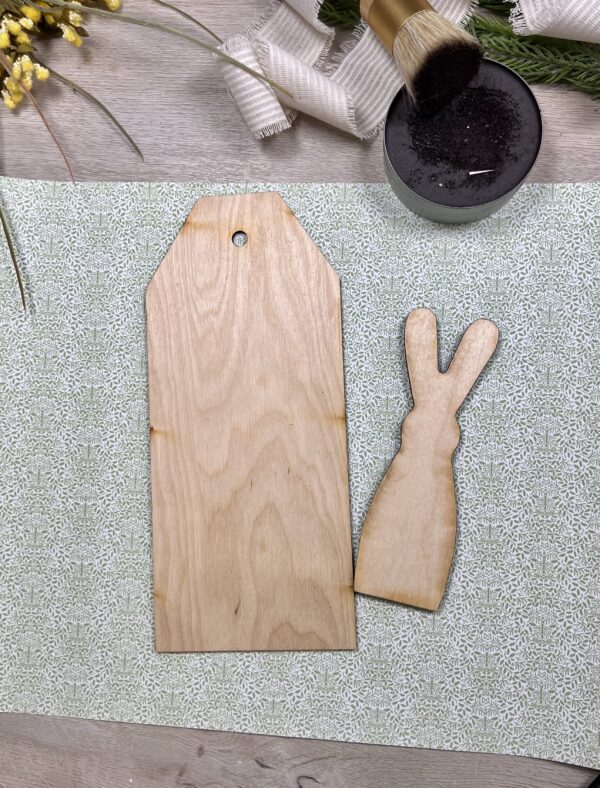
Start by taking your Large Unfinished Wood Tag and applying a layer of Mod Podge. Place the Dollhouse wallpaper onto the tag, smoothing it out to ensure good adhesion. To speed up the drying process, use a blow dryer.

Once fully dry, prepare your workspace and use a lighter to carefully burn off any excess paper hanging over the edges. This technique creates a clean, finished look with minimal effort. If needed, use a mini sander to refine the edges for a smooth finish.

Step 2: Paint the Tag

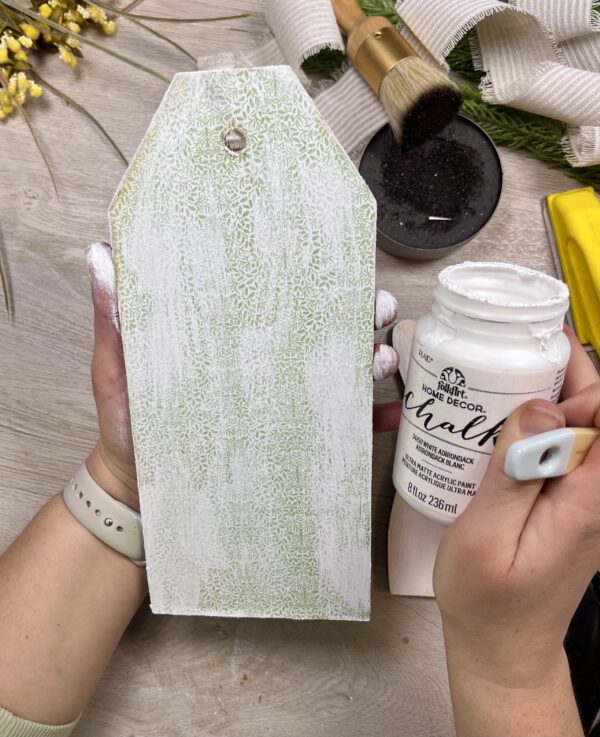
Use chalk paint-white works great for this-and lightly brush over the wallpaper to create a distressed look. This helps soften the design while still allowing its pattern to show through.

Step 3: Prepping the Bunny

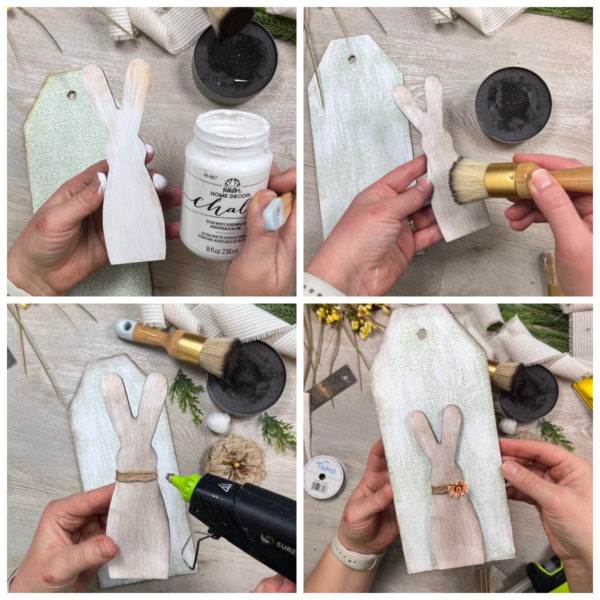
If you have a Small Chalk and Wax Brush Set, grab it! If not, no worries-a regular paintbrush will work just fine. Lightly apply white chalk paint to the bunny cutout, giving it a soft, distressed look. Once dry, use Antique Wax and gently sweep it over the surface to add an aged, rustic finish.

Once the bunny is fully dry, wrap a few layers of twine around its neck for added detail. Then, pluck a flower from the Coral Artificial Mini Daisy Spray and attach it for the perfect finishing touch.

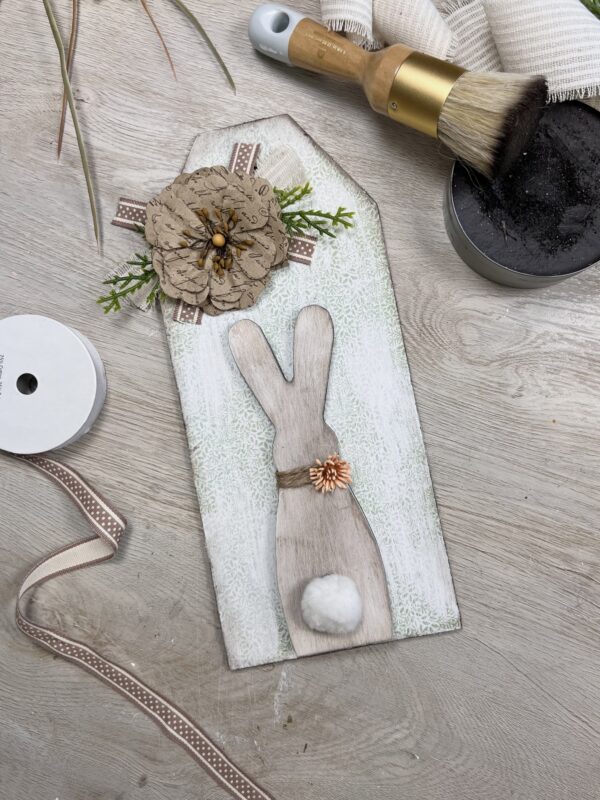
Finally, glue the wooden bunny cutout onto the lower portion of the tag.

Step 4: Adding the Accessories

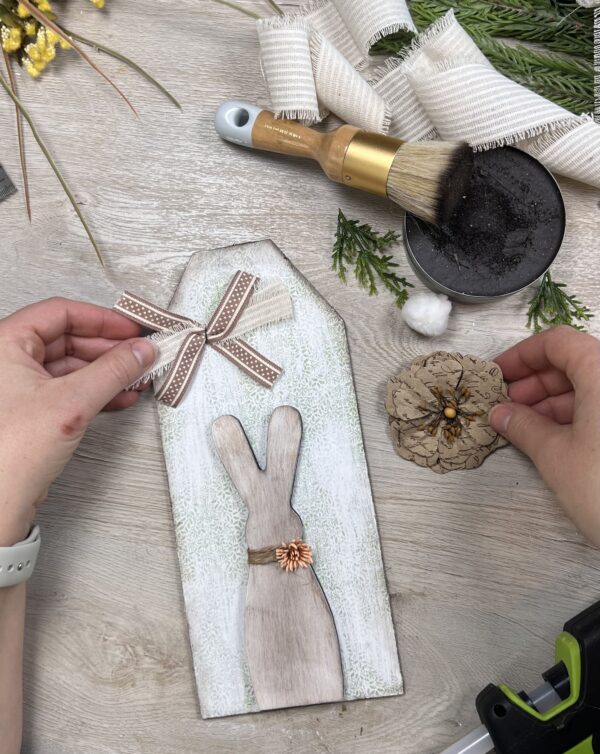
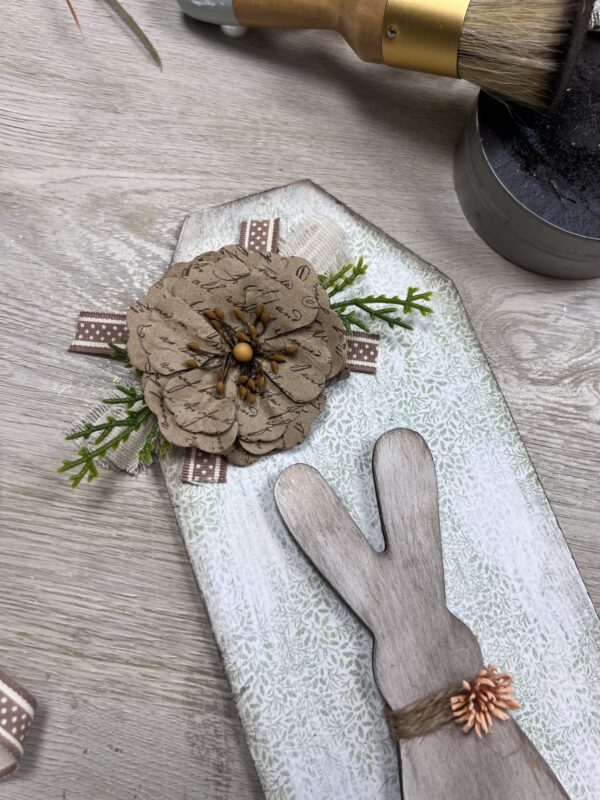
I took our 2″ Cream and Ivory Striped Linen Ribbon and cut it in half. Then, I layered the strips with the Polka Dot Cotton Twill Ribbon Trim for added texture. To secure them, I wrapped floral wire around the bundle and then hot-glued it in place at the top corner of the tag.

Snip a few pieces of theFaux Oregon Juniper Sprayto add greenery and texture, then glue them in place. To complete the look, add acutePrinted Flower Floral Embellishments for the perfect finishing touch.

And just like that, yourRustic Bunny Tag Displayis complete! This charming piece is perfect for adding a cozy, handcrafted touch to your Easter decor. Whether you hang it on a door, prop it on a shelf, or gift it to a friend, it’s sure to bring a bit of rustic charm to any space.

Continue Reading
Change Your Country
Please select your country, this will change the site to your country's currency:

Cancel