Skip to search Skip to navigation menu Skip to main content Selecting option will reload page

Category: For the Home

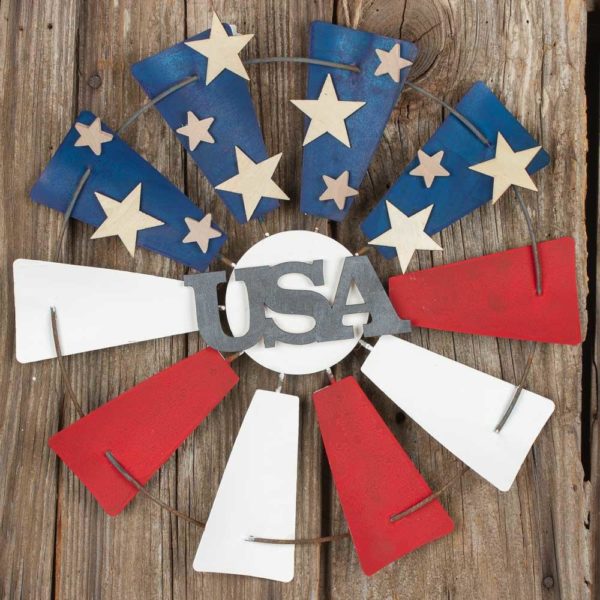
DIY American Flag Windmill Hanger

Create a DIY American Flag Windmill Hanger with this simple and fun project. Using basic materials, you can craft a patriotic decoration perfect for hanging on your front door or displaying inside your home. Show your American pride with this unique and charming piece!

Difficulty level: Beginner
Time to complete: 30 minutes
Age range: 12 and up

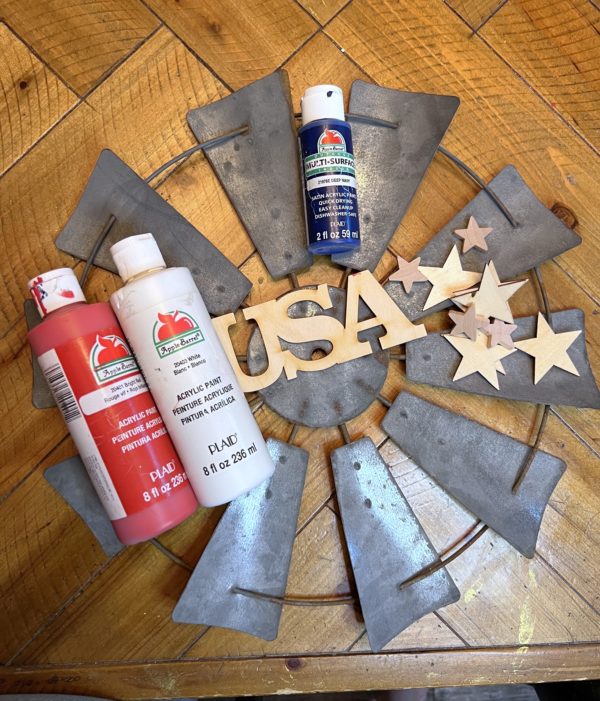
Things you’ll need:
15″ Zinc Windmill Wall Fan
1″ Unfinished Wood Stars
2 inch Unfinished Wood Star Cutouts
Unfinished Wood USA Cutout
White Apple Barrel Acrylic Paint
Black FolkArt Brushed Metal Acrylic Paint
Bright Red Apple Barrel Acrylic Paint
Royal Blue Apple Barrel Acrylic Paint
Hot Glue Gun and Sticks

Let’s grab your supplies, channel your inner artist, and let get crafting!
Step 1:

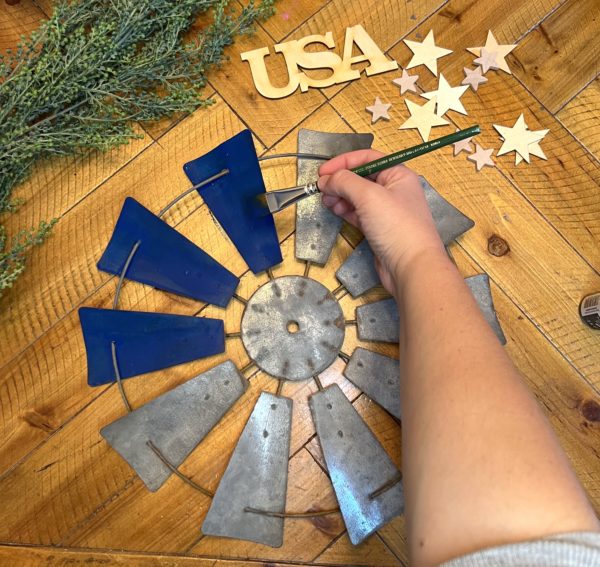
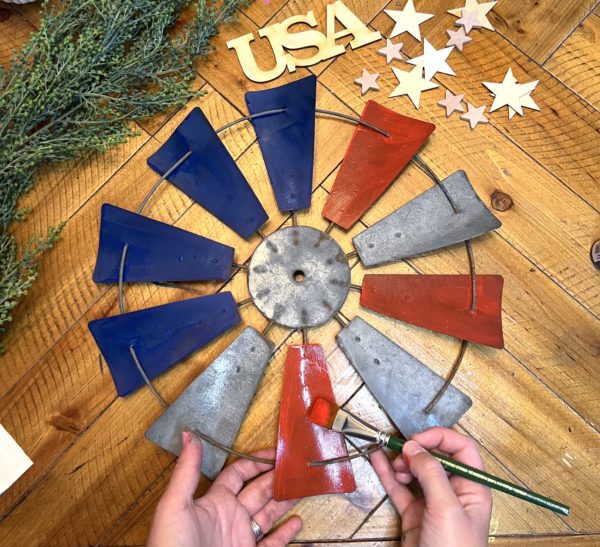
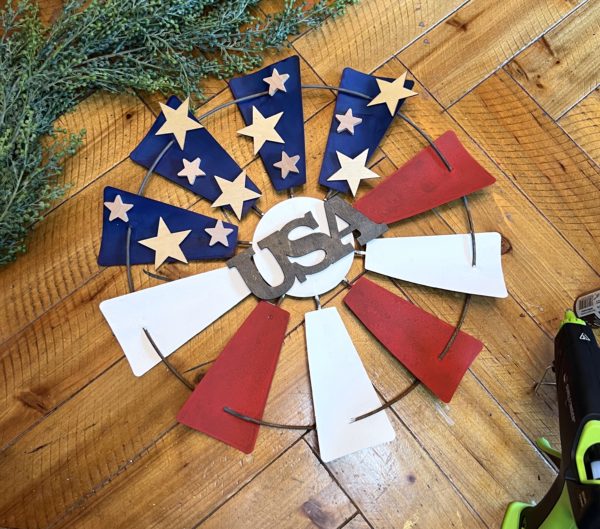
Grab your blue paint. Here i used the royal blue apple barrel paint. I painted 4 panels in the blue color.

These windmills come with a hook already attached on the backside. Make sure you have that set to the top before deciding the color lay out.
Step 2:

Next, i grabbed the bright red apple barrel paint and painted every other panel. Which ended up being 3 in total.
Step 3:

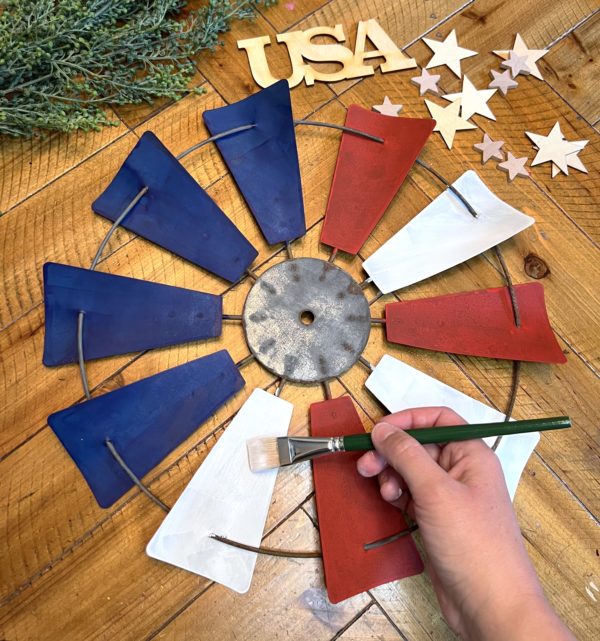
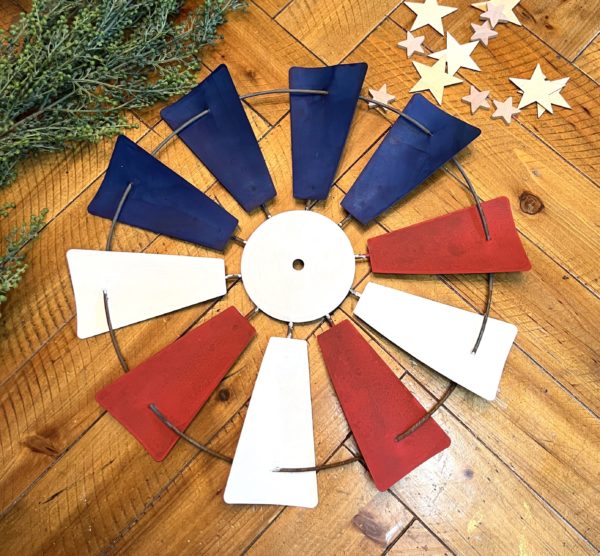
Take your White paint and finish painting the rest of the panels that are left on the windmill. Then i took that paint and painted the center circle.
Step 4:

We had this brushed metal black paint, which i thought would fit really well with the rustic look of the wire still showing on the windmill. I took this and paint the ‘USA’ cutout.
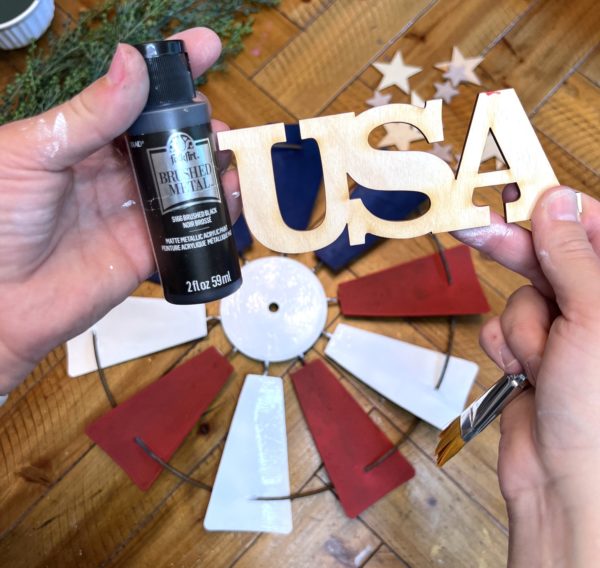
Take you hot glue gun and glued this onto the center circle.
Step 5:

Lastly, you will grab the 1 and 2 inch star cutouts. I let them plain to add more contrast to the piece, but feel free to paint white or even silver. I then placed them onto the blue panels. Once i got them laid out to my liking, i glued them in place with the hot glue gun.

Then it is set and ready to display for the holiday celebrations!
Continue Reading

QUICK DIY 2-Tier Countertop Organizer

This is the perfect solution for space saving! Just 4 supplies needed – Quick, simple and quite appealing! This will help create instant storage anywhere!

Difficulty level: Beginner
Time to complete:25 minutes

Things you’ll need:
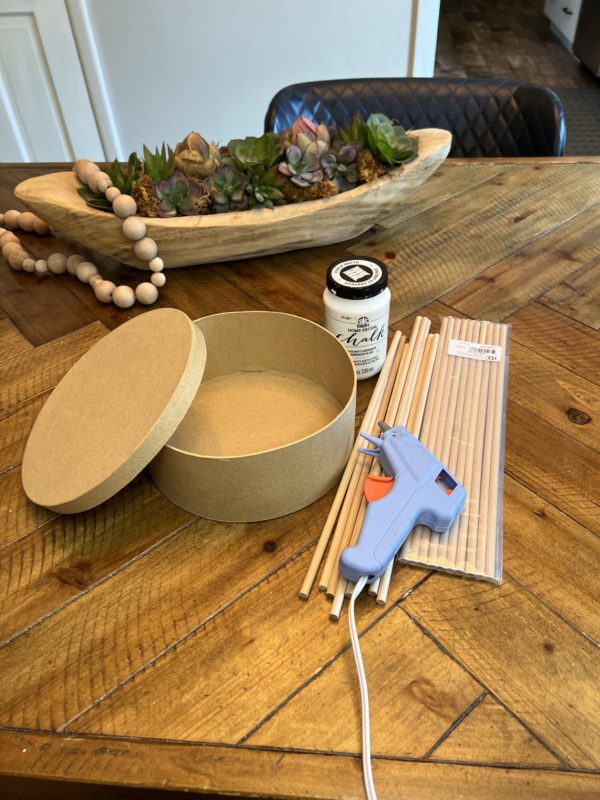
1 –7″ Round Paper Mache Box
1 –Mod Podge Hard Coat
3 package of1/4″ Unfinished Wood Dowel Rods
1 – FolkArt Home Decor White Adirondack Chalk Paint
Q-Tips
Glue Gun and Glue sticks
Scissors

Let’s grab your supplies, channel your inner artist, and let get crafting!

Step 1 – Apply the Paint

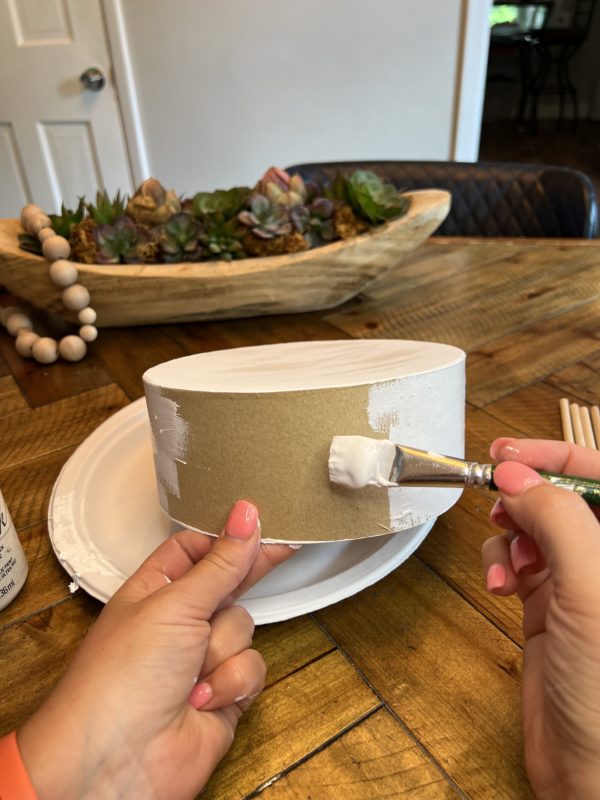
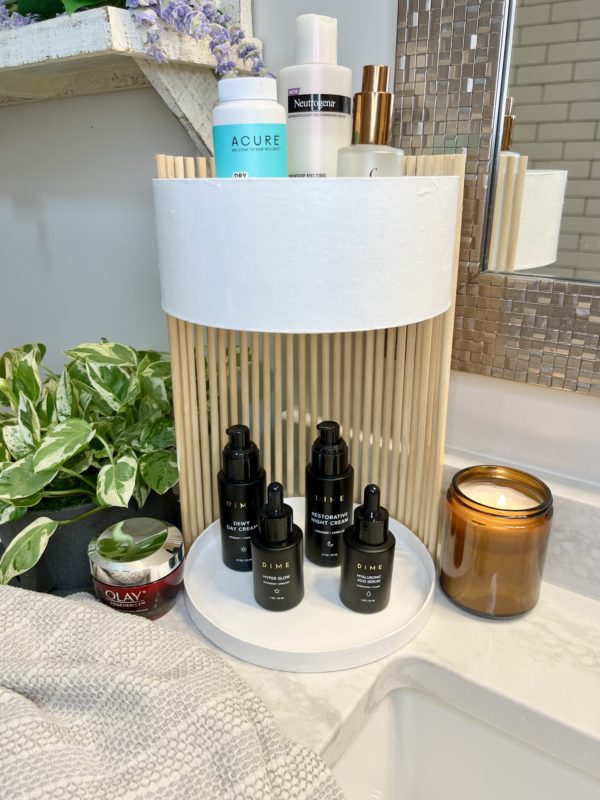
To start, i grabbed the paint color of my choice and paint the paper mache box. Here i went with that white chalk paint. This allowed the paint to not be so shinny and more of the matte color. Apply 2 coats and let dry completely.

Now it may seem flimsy after painting, but after it dries completely, it will because hard again.

Step 2- Seal the paint

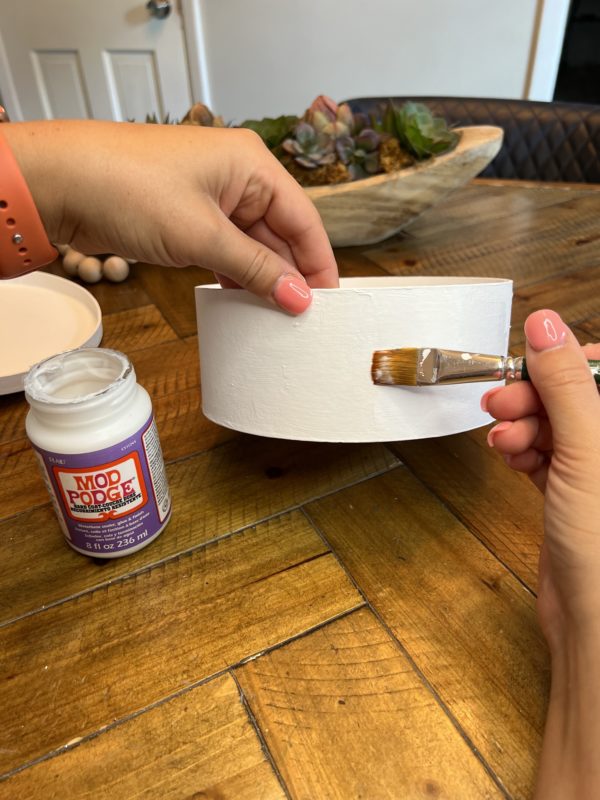
I came in with the Mod podge hard coat to seal the paint and the paper mache box itself.

Step 3 – Creating the Organizer

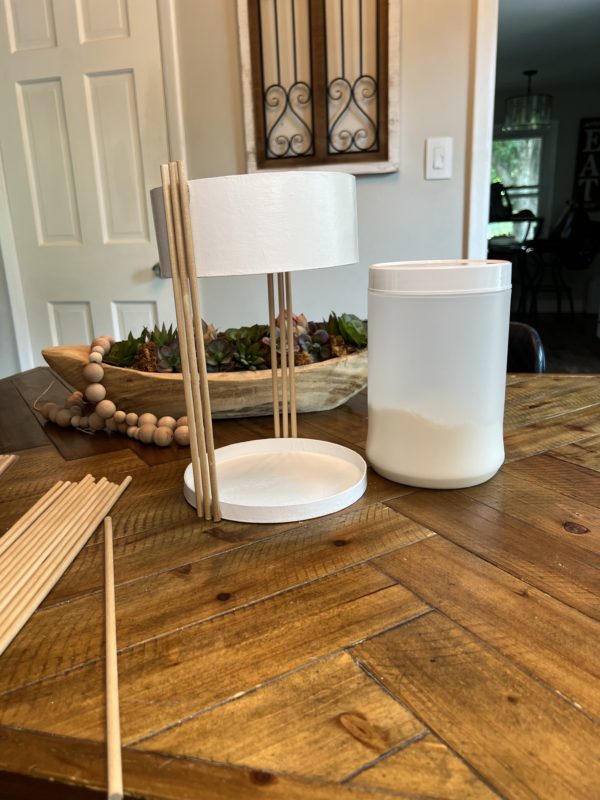
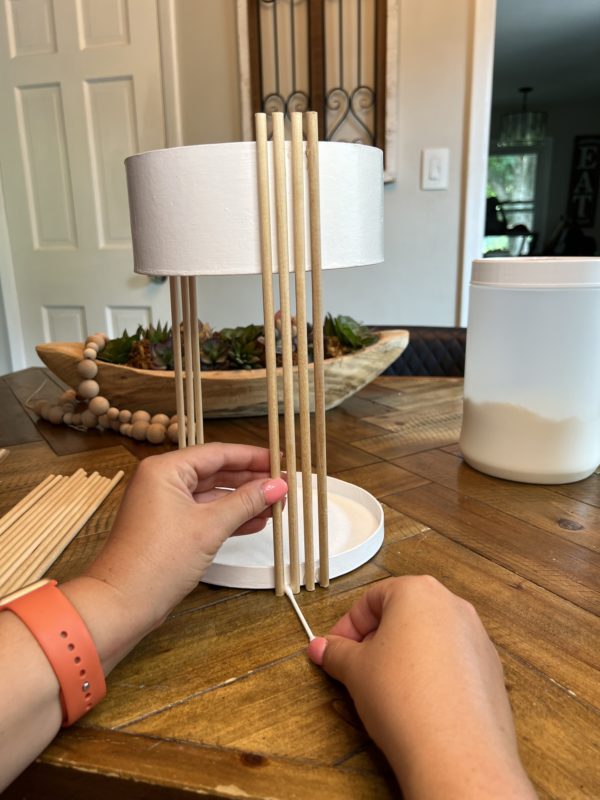
Once we got to this step, you had to figure out how high you want the organizer to be. I left the dowel rods in their neutral state.

I was able to find that my protein container worked great for the height and gave a nice flat surface on the bottom and top. About 8.5 inches high.

Once you have it leveled and even, start by hot gluing 3 dowel rods on each side. Use the Q-tip to help with the spacing between each rod.

* Now if you want to add more security to the dowel rods, apply a dot of gorilla glue on the surface of the dowel rod and then hot glue to allow it to hold while gorilla glue dries.

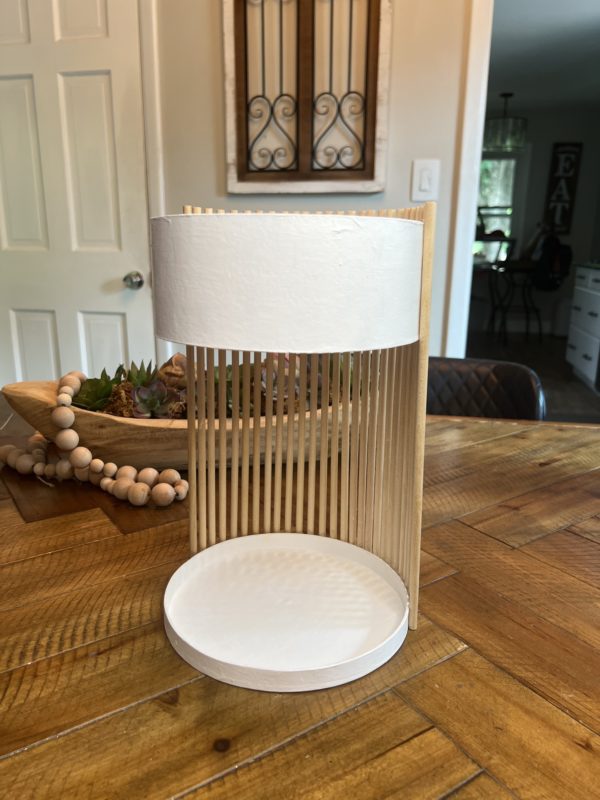
Once the 3 dowel rods on each side are completely dry, slowly remove the container out. If this is not removed at the beginning, then you might run into some issues later on trying to get it out.

Step 4 – Finishing the structure

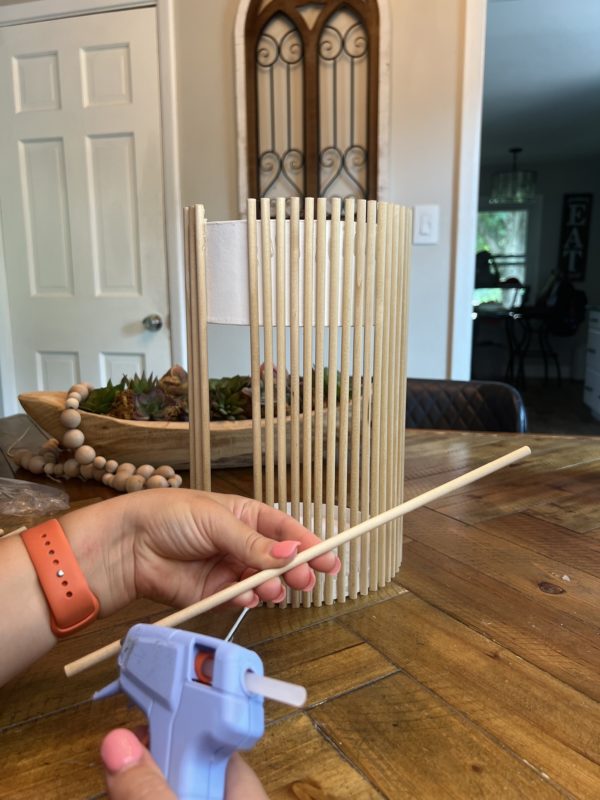
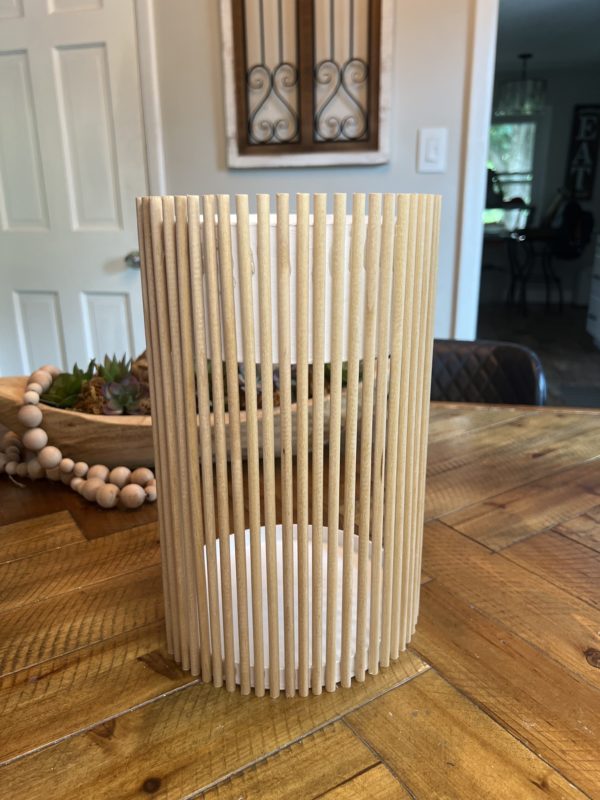
Once Container is moved out and the side dowel rods are still in tack. Here is where you will finish the structure. Gluing all the dowel rods in place! Remember to use the Q-tip to help keep the same spacing between all rods.

Once all are in place and dried, you are ready to start using the organizer. Such a fun little projects that provides much character created by your own hands!! How beautiful did it turn out!!!

Continue Reading
Change Your Country
Please select your country, this will change the site to your country's currency:

Cancel