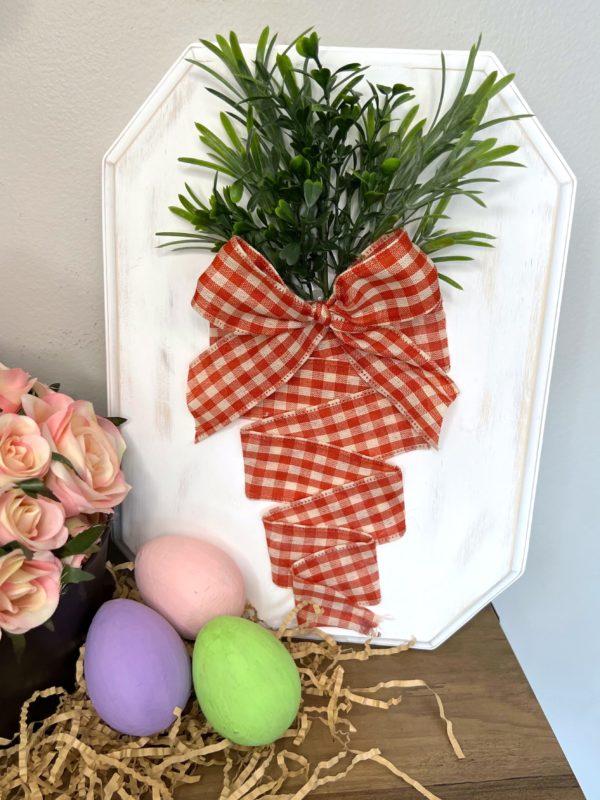
Looking for a fun and creative way to add some rustic charm to your Easter decor? This DIY wooden plaque ribbon carrot display might be just what you need!
Difficulty level: Beginner
Time to complete:25 minutes
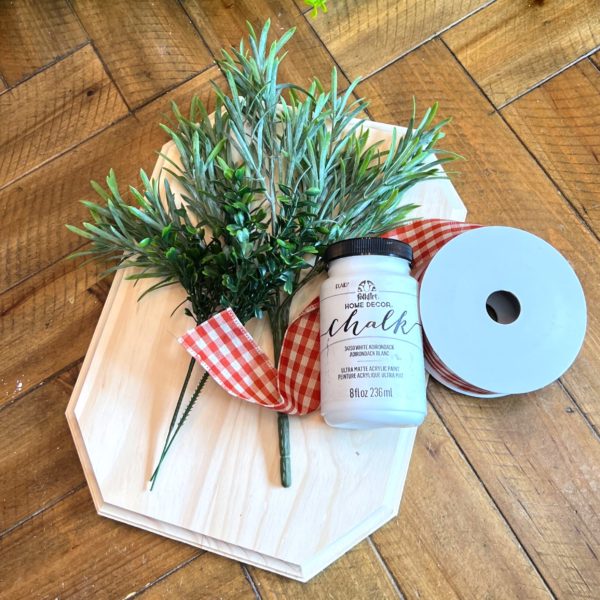
Supplies needed:
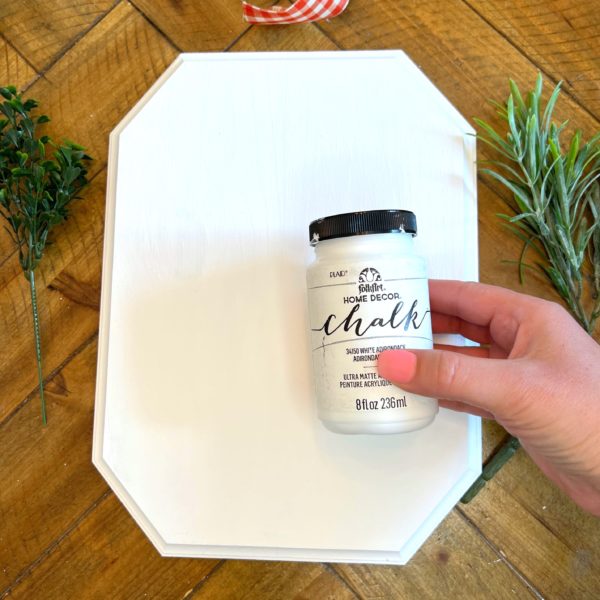
- FolkArt Home Decor White Adirondack Chalk Pain
- Unfinished Beveled Wooden Plaque
- 1-1/2″ Harvest Orange Gingham Check Wired Ribbon
- Matai Pick
- Artificial Boxwood Greenery Pick
- Glue gun
- Paint brush
- Scissors
Step 1: Prepare the Wooden Plaque
To start, you’ll need to prepare your wooden plaque. If it’s not already painted or stained, you can choose to do so now. If you prefer a natural look, you can leave the wood as is.
Paint both sides in about 2 coats to allow for full coverage.
Step 2: Cut the greenery
Grab the greenery of your choice. In this craft, i choose to use 1 boxwood pick and 2 sprays cut off the Matai pick.
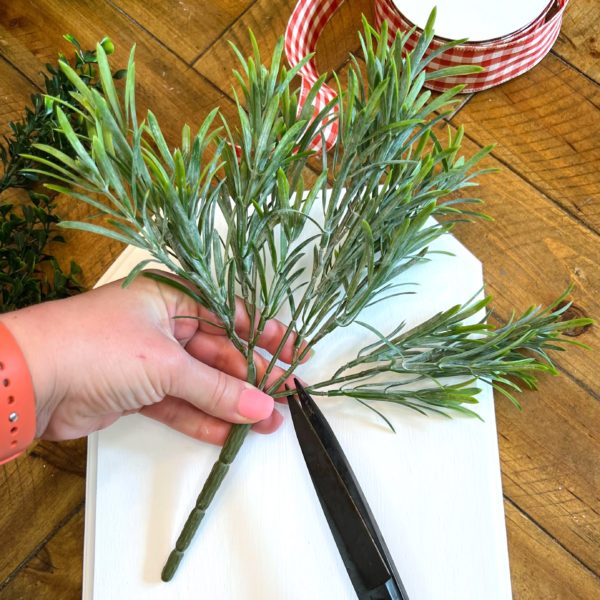
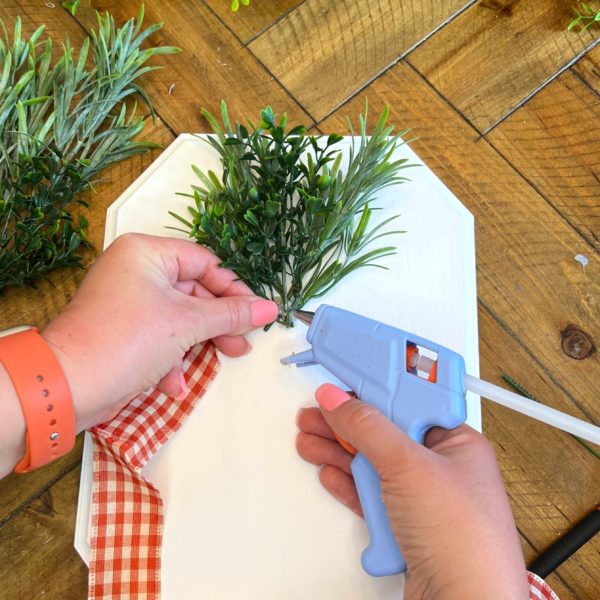
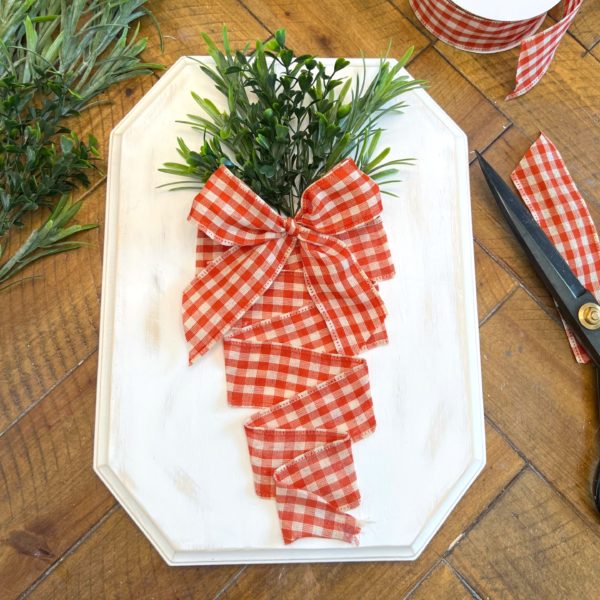
I laid out the matai sprays i cut out in a “V” shape and hot glued. I then came in on top, laying the boxwood pick in the center. I then hot glued all in place.
Step 3: Create Carrots
You will grab the desired ribbon your choose for this craft. I went with the Orange Gingham Check Wired Ribbon. The wired ribbon helps keep shape while bending in place.
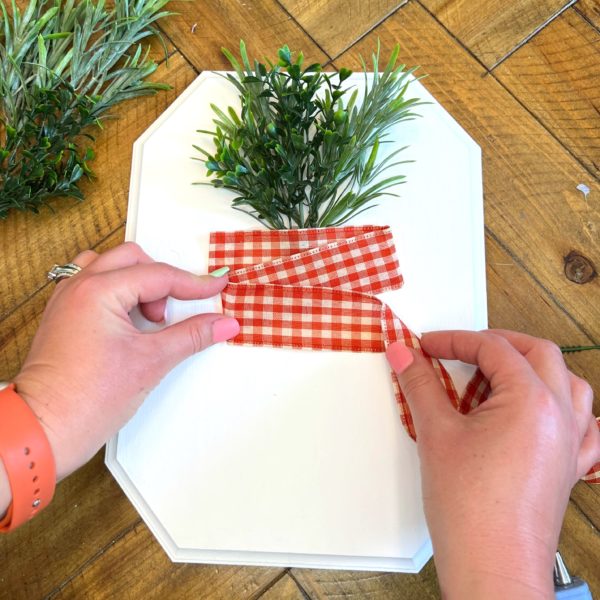
To start, you will need to find the desired width of the carrot you want for the plaque. I went with the widest part to be about 4-1/2 inches. I glued those in place with the hot glue gun.
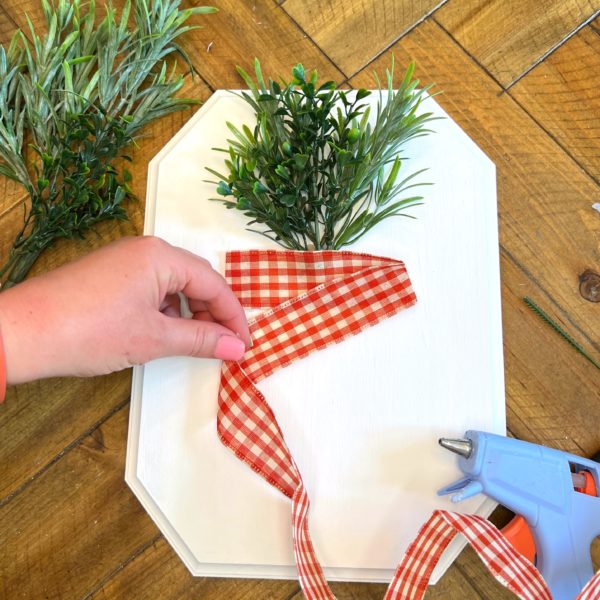
Once the top of your ‘carrot’ is glued in place and dry, you will start to zig-zag down. At each section of the carrot, you will want it to be small the the section above. For example: the second section is about 1/2 inch shorter from the top.
The wire ribbon will allow the ribbon to stay into place until you keep zig-zagging down to the end of the ‘carrot’. Go back through and adjust as you need to – straightening and adjusting the width of each section before gluing down.
Step 4: Glue into place
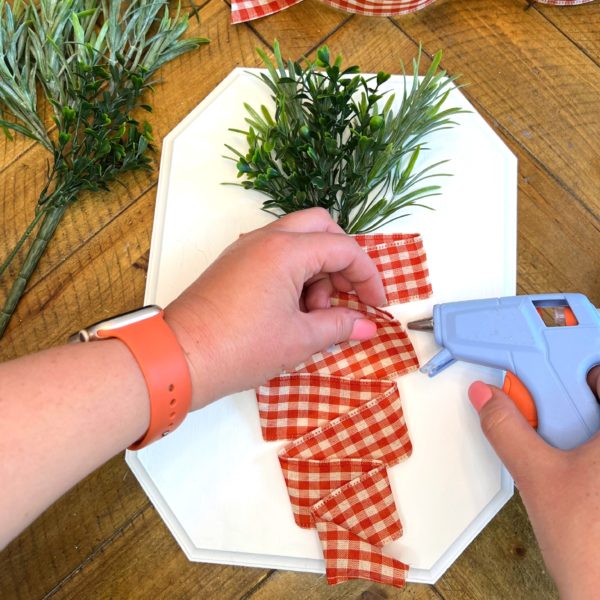
Once you have the ribbon laid out and in place. You will go through and glue all the end points of the zig-zag ribbon.
Once you get to the bottom of the ‘carrot’, i bent and folded the ribbon to allow more of a point.
Step 5: Sanding the plaque (optional)
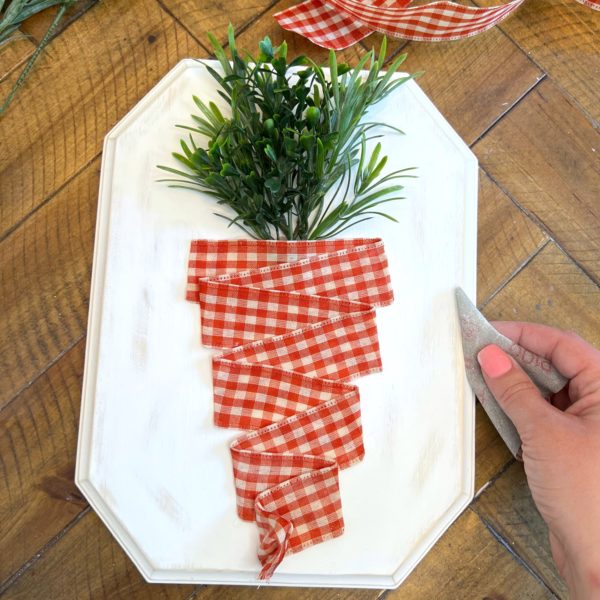
This step is optional. It all depends on the look you are going for. I wanted a more rustic charm type look and to add more contrast. I went around the edges and sanded those down. Then i went through on the top of the plaque in a few areas to add some rustic touches.
Step 6: Add Finishing Touches
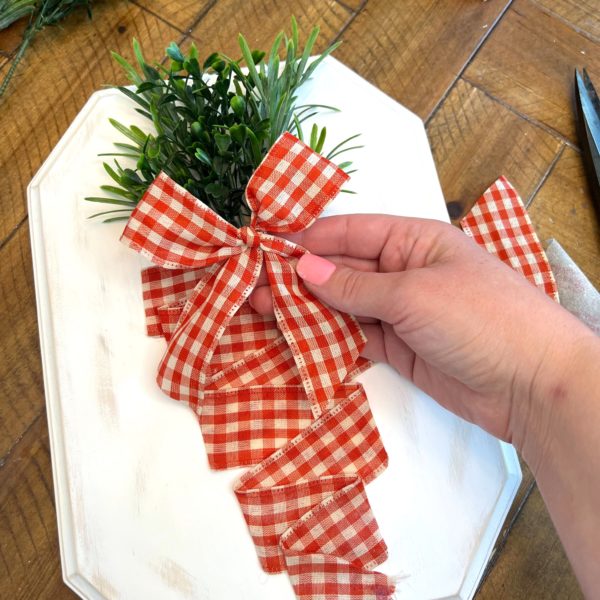
Here i wanted to add a cute little bow to finish it off. I used the same ribbon and tied a simple bow into the desired size. Then hot glue into place. I also thought it would be cute to add some twine bows on top to add more contrast.
A DIY wooden plaque ribbon carrot display is a fun and easy project to do. With just a few materials, you can create a unique and charming display for your Easter decor. Whether you’re using it for a springtime decoration or simply as a way to store your vegetables, this display is sure to add some character to your home.