Skip to search Skip to navigation menu Skip to main content Selecting option will reload page

Category: For the Home

DIY Printed Slipcovers

Printed_Slipcovers
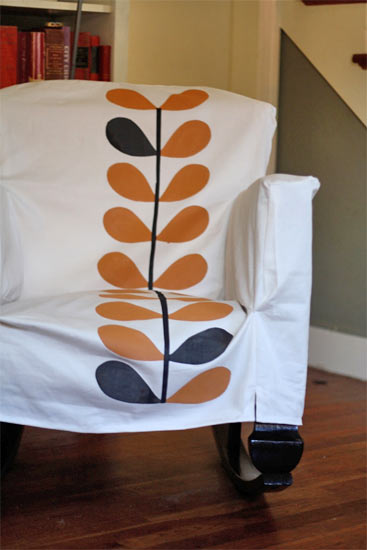
If you have kids in your house, or pets, or heck, husbands, you know how hard it can be to keep the furniture clean, especially light colored furniture. Slipcovers can make life easier in this regard but at the same time you are often confined to what is available, and unless you are willing to pay for something custom, what is available is often very plain. But it doesn’t have to stay that way. Turning simple, inexpensive and plain slipcovers into something unique and outstanding is really just a freezer paper stencil away. For my slipcover I was inspired by a print from my favorite purse, but you can do anything that strikes your fancy. You could even create different prints for different seasons!

Things you need:
Slipcover in a natural fiber fabric (here I used a plain white twill cover)
Fabric paint
Foam paintbrushes
Freezer paper
Scissors
Pencil
Iron
Sewing pins

Things to do:
1. Decide where on the slipcover you want your pattern and how big the pattern should be. Mark this out with pins while the cover in on the piece of furniture.
Printed_Slipcovers2
Printed_Slipcovers3
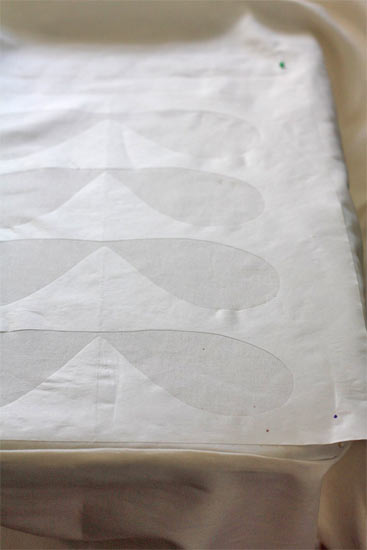
2. Trace or draw your images onto freezer paper and very carefully cut the image out. Anything that is cut out will show up on the fabric so be careful!
Printed_Slipcovers4
Printed_Slipcovers5
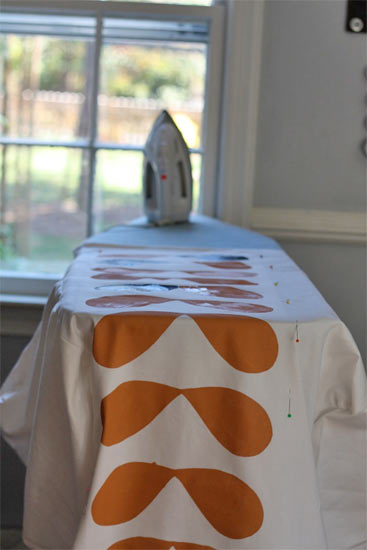
3. Remove the slipcover from the chair and spread over your ironing board. (Don’t fold or layer your fabric here, make sure only the layer you are printing in on the surface of the board)
Printed_Slipcovers6
4. Using the pins as a guideline up the freezer paper templates onto the fabric and press carefully with a dry, well heated iron. Get the edges as smooth as possible so that paint doesn’t seep under the edges. * If you are doing a large area you’ll need to work in sections, ironing on, painting, allowing to dry with each section before moving to the nest. Also, if the fabric is thin, slip scrap paper under each of the template areas before you paint.
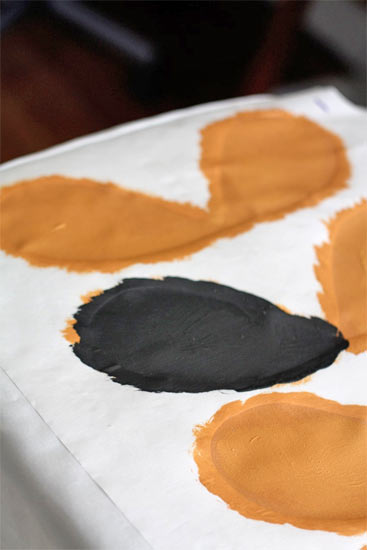
5. Working from the edges in, apply paint to the open areas of the template. Give the paint a moment to soak in and check to see if a second coat is needed.
6. Peel the template off and discard. Allow the paint to dry and heat set according to the directions on the label.
Continue Reading

Delicate Baskets Made from Lace Doilies

doily_baskets2
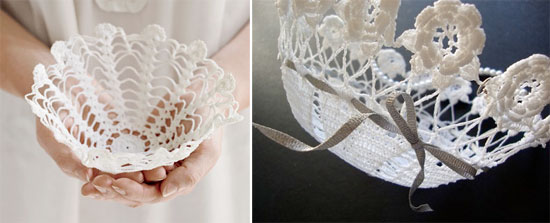
These little baskets are easy to make with lace doilies and can be used year-round. You can use these delicate lace doily baskets to hold pretty little soaps, decorative rocks, or even use them to hold flower petals. You can use these for the Easter holiday season to hold decorated eggs and small goodies for the little ones. These baskets would also make great little favors for an added shabby chic or vintage feel. They would also make great gifts for that special someone.
Things you need:
Lace Doily (of your choice; cotton doily not paper)
Stiffy Fabric Stiffener
Dish (of your choice to shape your basket)

Things to do:
1. Find a dish that you would like use to form the shape of your basket. Flip the dish upside and cover with plastic wrap.
2. Pour a small amount of the Stiffy Fabric Stiffener into another bowl and soak your lace doily until it is completely saturated. Be sure that it is completely saturated and wring out any excess stiffener.
3. Place your saturated lace doily over the plastic wrapped bowl (you can also place the doily along the inside of the bowl if you so desire). Smooth the doily across the bottom of the bowl and along its sides. You may need to shape the sides of the lace doily to be sure that it form curves. Try overlapping the excess doily over itself if your doily does not form perfectly around the dish.
4. Let the lace dry completely, then slowly peel the plastic wrap and doily from the dish. Then you can finally the plastic wrap away from the doily basket.

Project Ideas:
You can try interlacing different types of ribbons through the spaces of lace to add some color and uniqueness to your lace baskets. Use different colors and material of ribbon to dress up your baskets for different events.

These delicate baskets would make great gifts for Mothers day with a few little soaps or candles, teas and other special little treats.

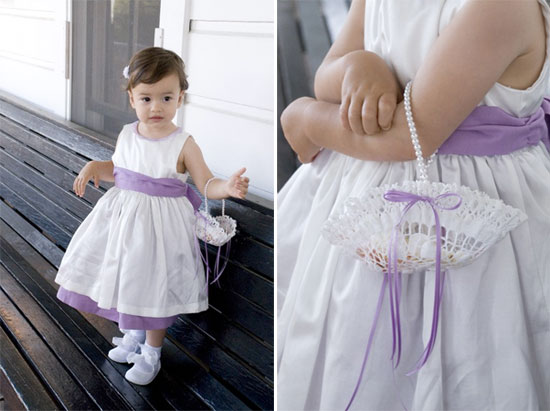
You can also use this as an one of a kind flower girl basket – fresh and stylish for any wedding! Just simply add ribbon from the colors of the wedding and create a handle. To add to the classic vintage feel of the basket, just simply add a string of pearls for the handle.
doily_baskets3
Project Tips:
These basket are very delicate and should only be made to hold very few items or very light weight items, especially if they are being carried around. Heavy things may be ok if the basket are used to sit around.

Photo Credits:
Top Images: Amy Perl
Final Images: Country Living (Left) and Brass Paper Clip (right)

Continue Reading
Change Your Country
Please select your country, this will change the site to your country's currency:

Cancel