Skip to search Skip to navigation menu Skip to main content Selecting option will reload page

DIY Reindeer Water Bottles

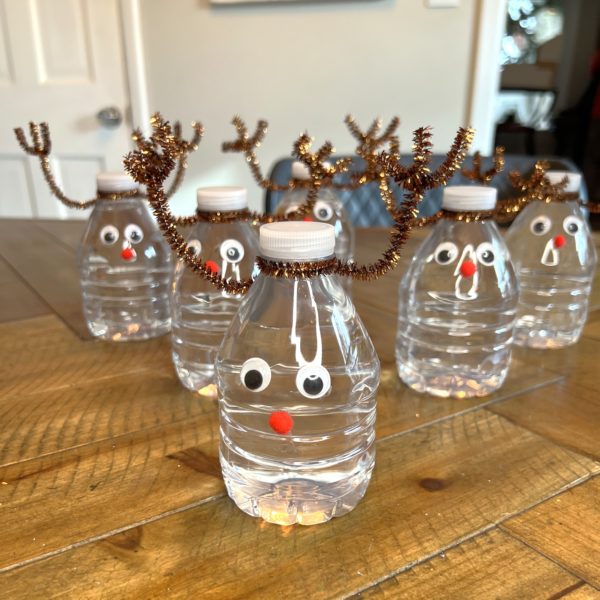
If you’re looking for a fun and creative way to stay hydrated, why not try making your own DIY reindeer water bottle? Not only is it a fun project to do on a rainy day, but it is great for any upcoming class party this holiday season or family Christmas parties! This simple, yet cute water bottle craft will sure get the kids excited!

Difficulty level:Beginner
Time to complete:20-30 minutes

Needed supplies:
Red Pom Poms
Googly Eyes
Pipe Cleaners
Mini water bottles
Hot glue gun
Scissors

Things to do:

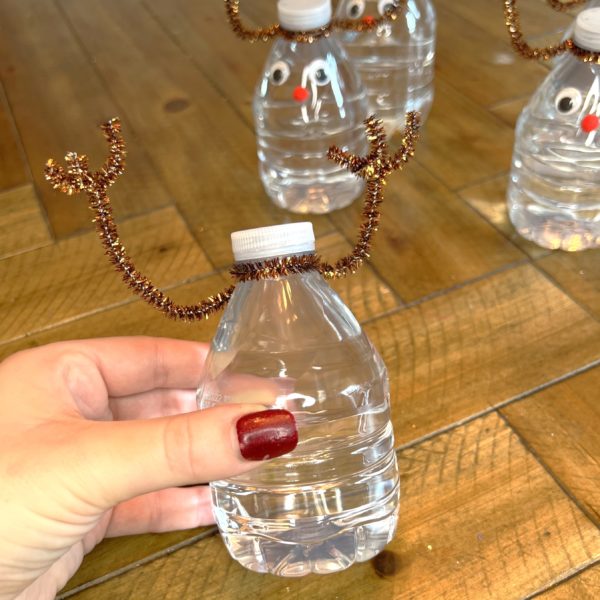
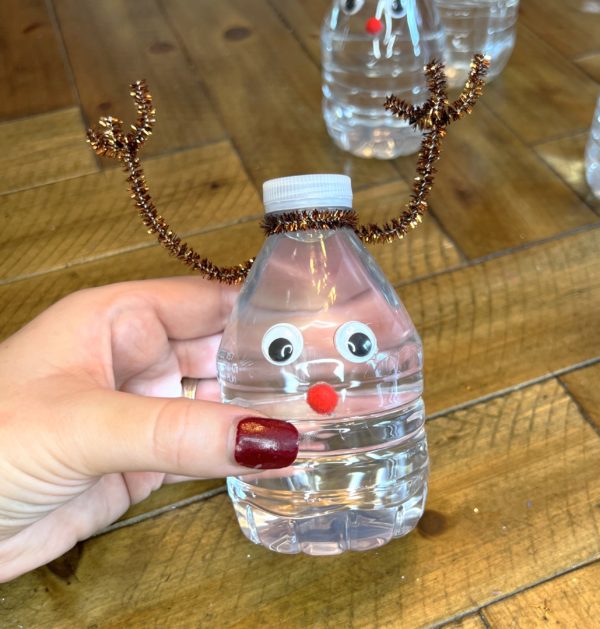
  1. Once all material is gathered together, we will make the antlers for. Grab the pipe cleaners and wrap them around the neck of the bottle.
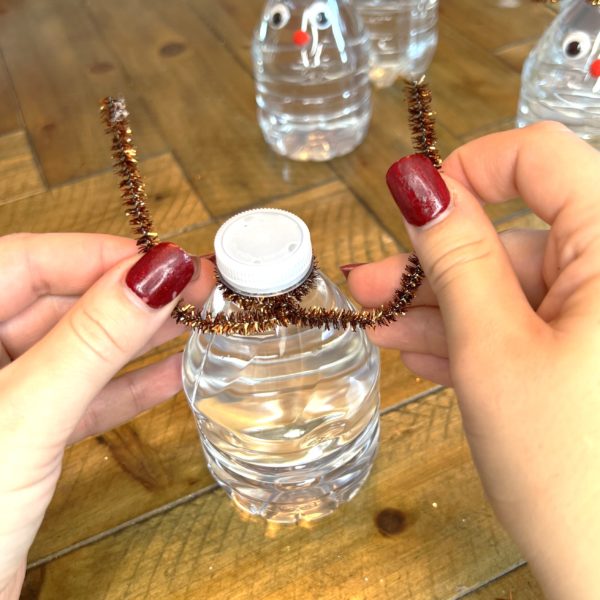
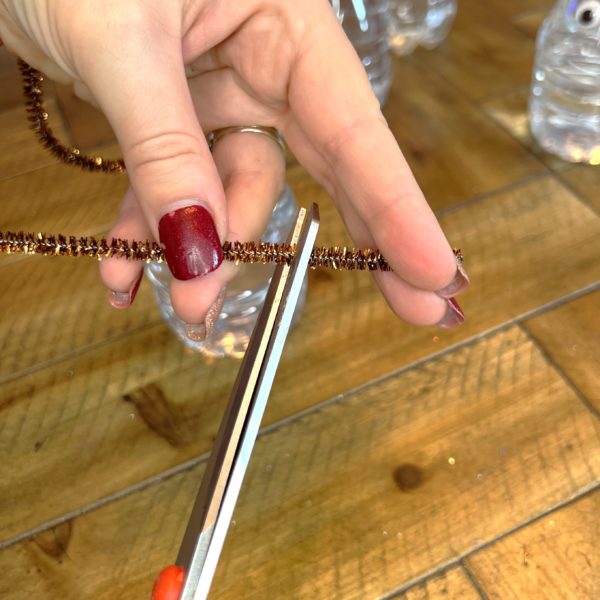
2. You will then take another pipe cleaner and cut it in 2 inch pieces. Take two of the cut pieces and wrap them around the tips of the pipe cleaner on the water bottle, this creates the extra points to the antlers.
3. Next, attach the googly eyes to the bottle using glue.

4. To make the reindeer’s nose, glue a red pom-pom to the front of the bottle.

This project is great for kids and adults alike, and it’s a fun way to get creative and personalize your water bottle. You can even make a whole herd of reindeer water bottles by using different colors and designs. So why not try making your own DIY reindeer water bottle today?
Continue Reading

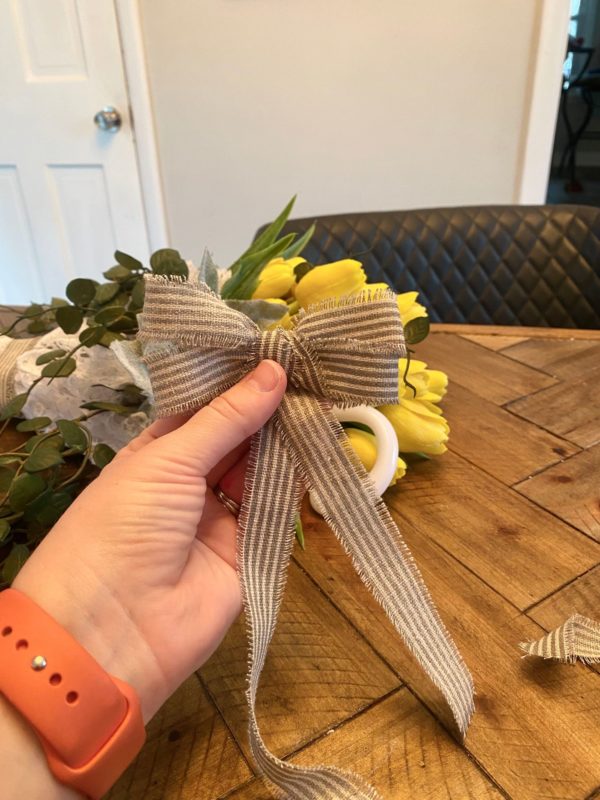
How to make a bow in seconds!

Making a bow is a simple and elegant way to add a decorative touch to gifts, hair accessories, and other items.

With a little practice, you can learn to make a bow in just a few seconds using a few simple steps.

Difficulty level: Beginner
Time to complete: Less the one minute

Supplies Needed:
Ribbon of choice
Scissors

  1. You will cut a ribbon to the desired length. For this bow, i cut about 40 inches to create a bow with long tails.
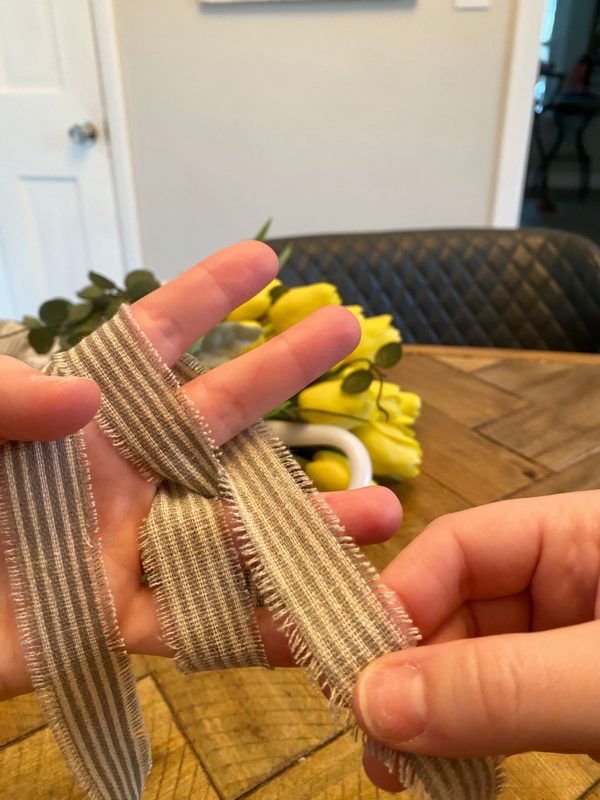
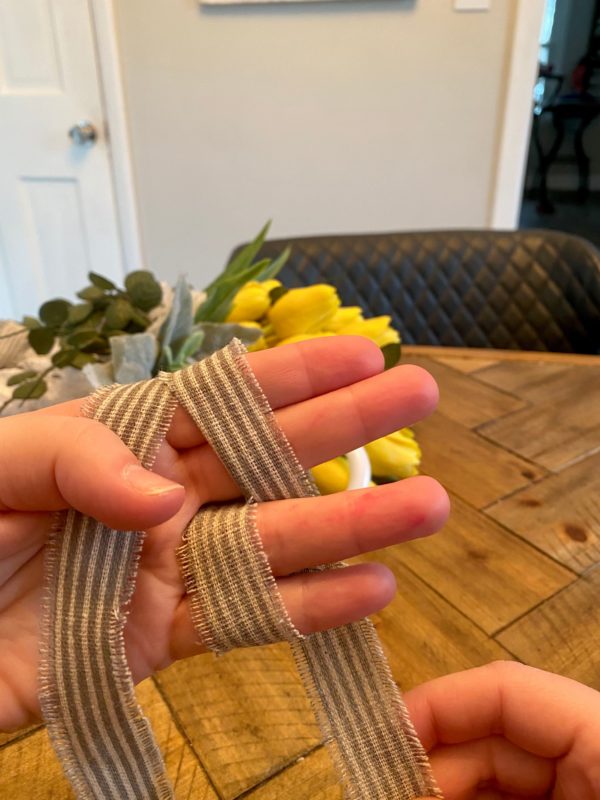
  2. Find the middle of the ribbon and wrap around the palm of the hand. Once you get to the backside, you will then separate your fingers in a “V” shape (2 fingers on each side). Bring the ribbon between your middle and ring finger, then continue wrapping around your ring and pinky together.
  3. Bring around the back side, come between the middle and ring finger again. Then you will wrap around the pointer and middle finger.

4. You will then continue this process again to wrap around to create another loop on each section of fingers. Wrap the ring and pinky once more, then come between the middle and ringer finger. This will allow you to wrap around the pointer and middle for the last time.


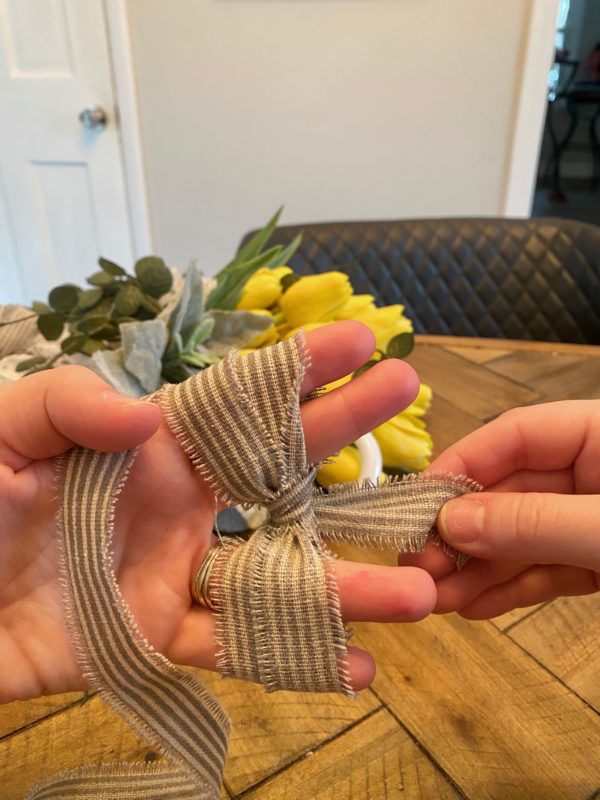
5. Once around the pointer and the middle for the last time, you will then tuck the tail of the ribbon underneath the crisscrossed ribbon between the middle and ring finger. You will do this twice to create the middle of the bow.
6. Lastly, you can remove your fingers and secure the bow with a dap of hot glue on the back where the tail of the ribbon meet.

7. Fluff and adjust the loops to achieve the desired shape and fullness.

With a little practice, you should be able to make a bow in just a few seconds. You can use this technique to add a decorative touch to gifts, hair accessories, or other items.

Continue Reading
Change Your Country
Please select your country, this will change the site to your country's currency:

Cancel