Skip to search Skip to navigation menu Skip to main content Selecting option will reload page

DIY Farmhouse Weathered Wooden Risers

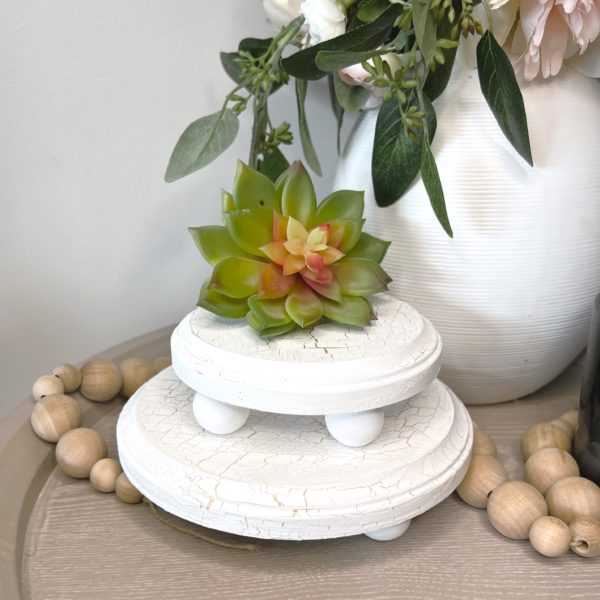
These adorable stands can be used for a variety of purposes like candles, plants, and decorative items! So easy to make and will add dimension and height for more visual and organized arrangements!
Difficulty level:Beginner
Time to complete: 45 minutes

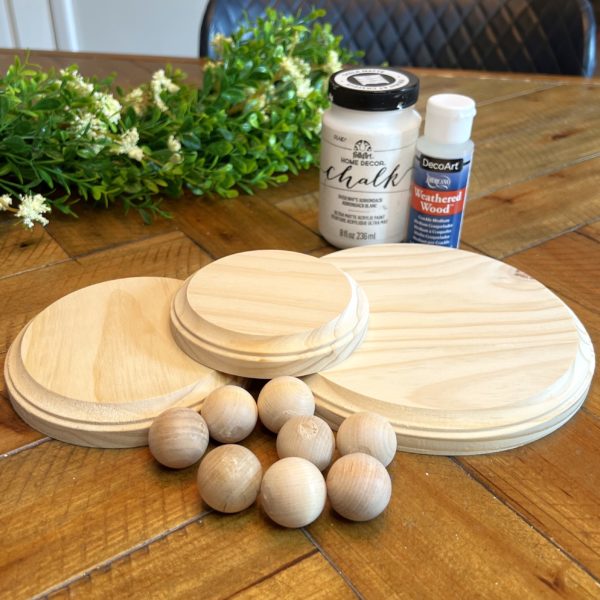
Things you’ll need:

Let’s gather your supplies and let’s get crafting!
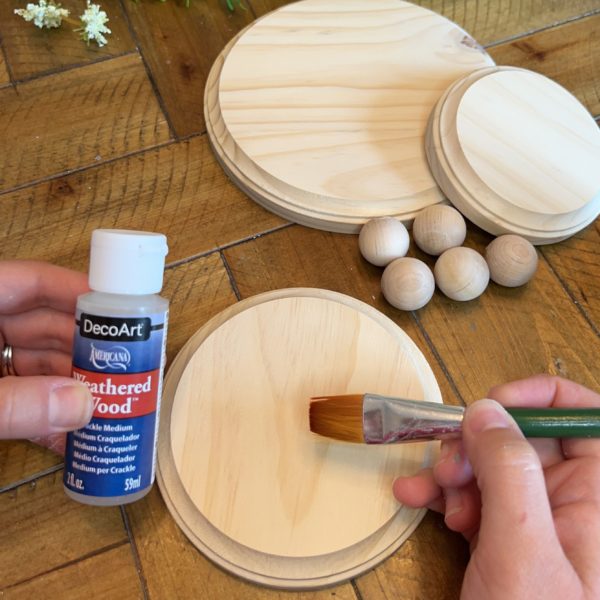
First step – Applying the Medium

This step you will want to grab all the pieces you wish to have that ‘crackle’ look. I just added it to the top and bottom of the plaques. Cover all surfaces and let them dry completely.
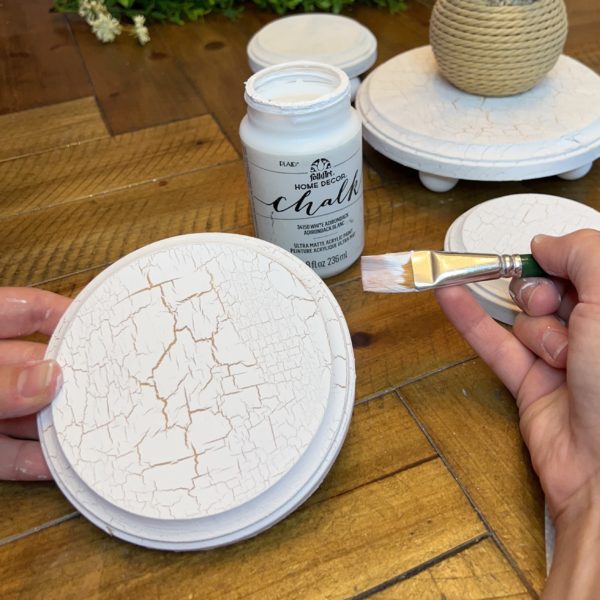
Second Step – Add your color of choice

Here i chose to make them a chalk white color. This allowed them to be more matte color than have to much shine. Paint a nice even coat of the paint over the plaques. Set those aside once all covered to dry — Watch the magic happen 🪄
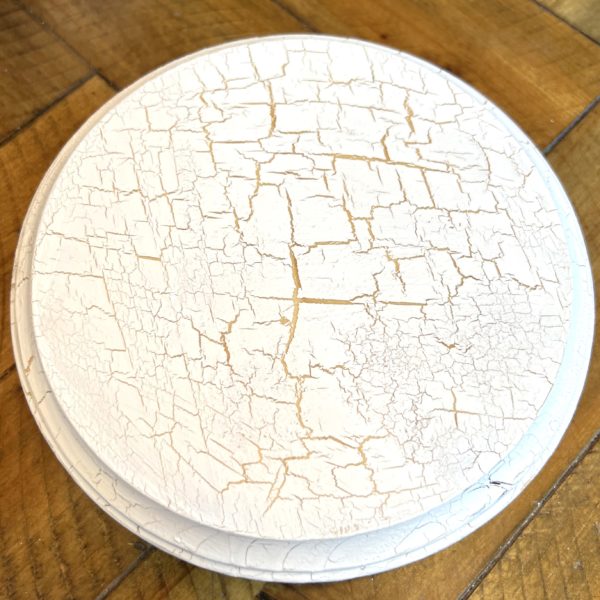
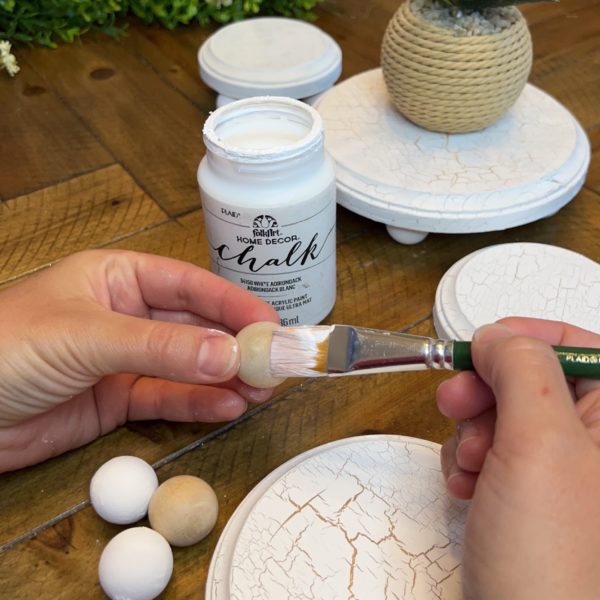
Third Step – Paint the Feet

Here you will grab your 1 inch wooden balls. Paint these all over and let them dry.
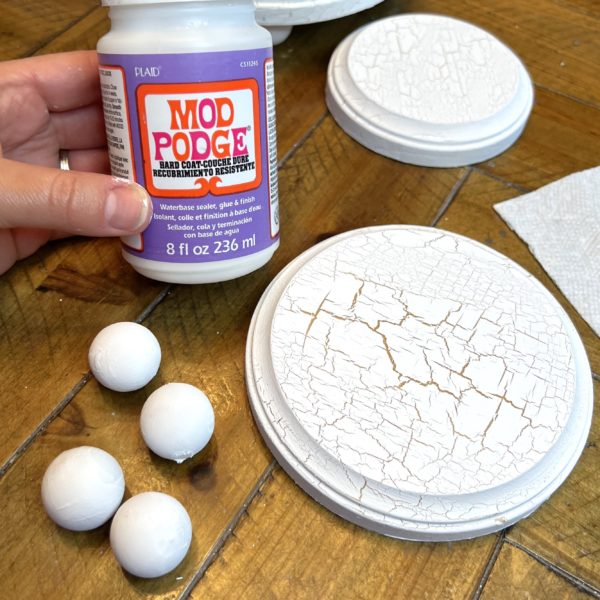
Forth Step – Add Protection

After all wood pieces were dry, i then added a nice even coat of Mod Podge. This will then help protect from chipping and surface wear and tear.
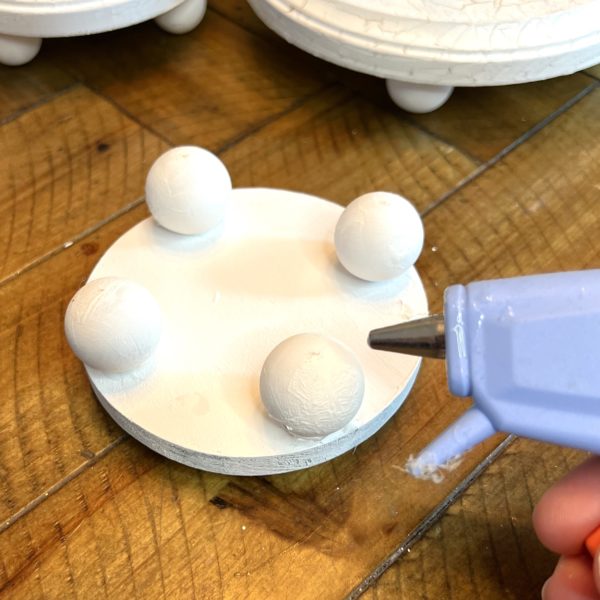
Fifth Step – Add your feet

Grab your glue gun and glue on the painted wooden balls for the feet. This will create a not height for your riser.
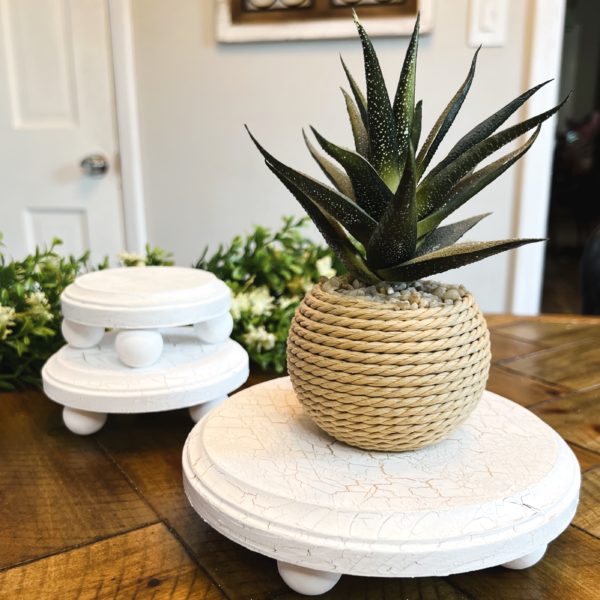
Once the riser is completely dry, it’s ready to be used to display your items with farmhouse charm.

How to video

Want to see more? Find more beautiful and unique projects by subscribing to our YouTube Channel here

  • https://www.youtube.com/@FactoryDirectCraft
Continue Reading

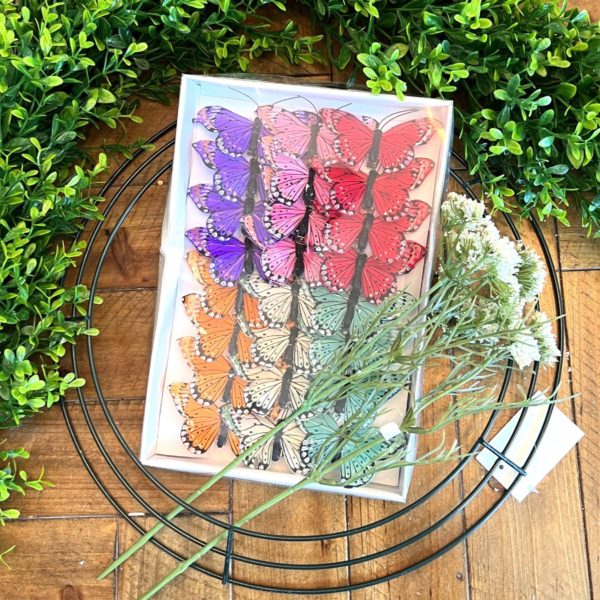
DIY Boxwood Butterfly Wreath for a Fresh Spring Look

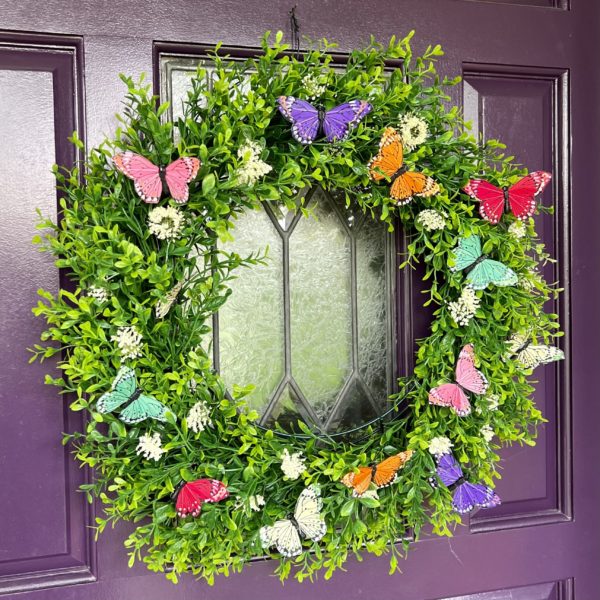
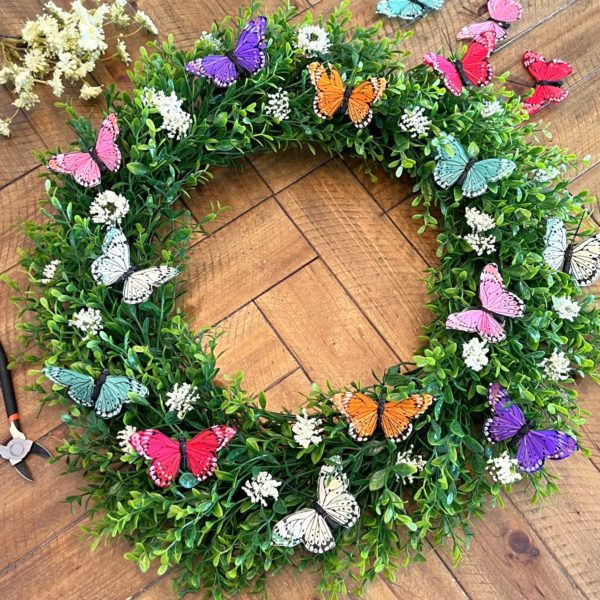
Creating a DIY Boxwood butterfly wreath is a fun way to bring a touch of natural beauty to your home decor for this spring season. With just a few simple materials, you can make a stunning wreath that will brighten up any room and front door entrance!

Difficulty level: Beginner
Time to complete:25 minutes

What is needed:

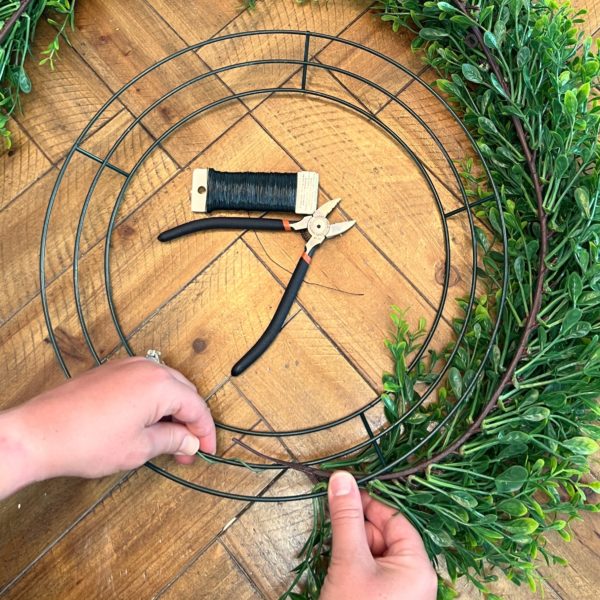
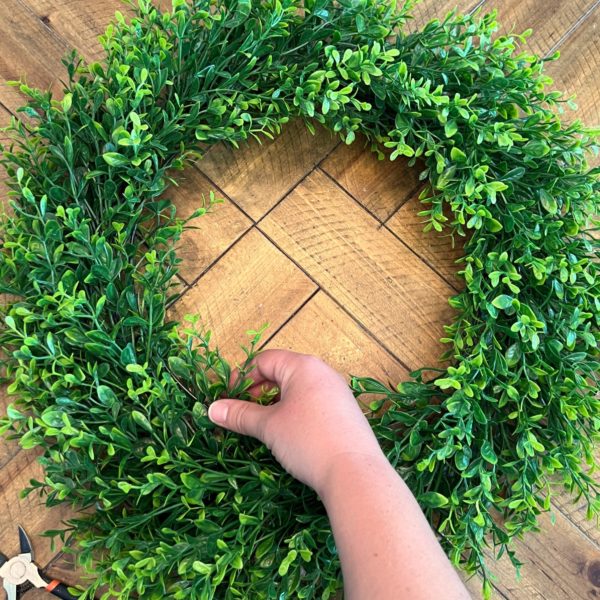
1. Start by wrapping the garland stem around the middle rim of the wreath form. Then help secure with wrapping a piece of floral wire.

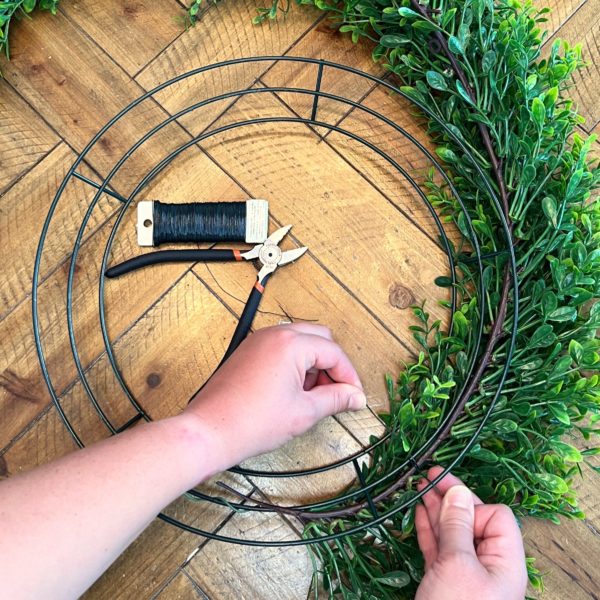
2. From there, you will then continue attaching the garland to the wreath form with the floral wire. I I went about every 3 inches to secure and hold in place.

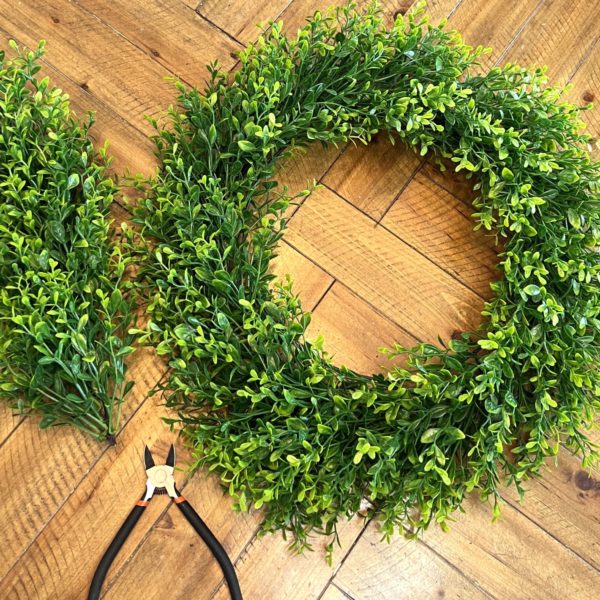
3. Once the garland is attached and covers the whole wreath form, cut the remaining off.

4. Next, fluff out the boxwood to help fill in the wreath form.

5. Start by arranging your butterflies on the wreath to determine the placement.

6. Once you’ve go the butterflies placed to your liking, use floral wire to attach them to the wreath. Cut a small piece of wire and wrap it around the body of the butterfly, then twist the wire together tightly to secure it to the wreath.

  • You can also use butterflies with clips, which makes it a lot easier for attaching icon

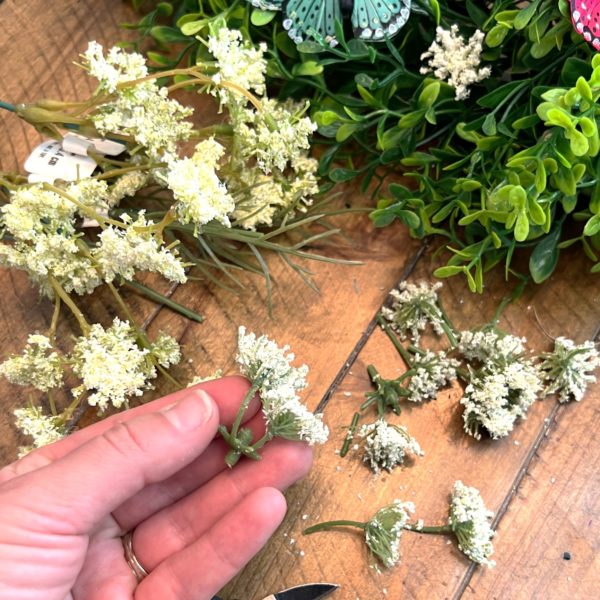
7. Once all the butterflies are attached, you will then add the Queen Anne’s lace. You will cut off the heads with a little stem. This will allow the hot glue to hold on to the boxwood easier.

Hang your wreath on your front door, above your mantel, or anywhere else you’d like to add a touch of natural beauty and whimsy to your home decor.

How to video

Want to see more? Find more beautiful and unique projects by subscribing to our YouTube Channel here

  • https://www.youtube.com/@FactoryDirectCraft
Continue Reading
Change Your Country
Please select your country, this will change the site to your country's currency:

Cancel