Light up the night with these miniature felt homes! This project is perfect for a snowy afternoon – Make multiple homes and arrange them together like a village for an adorable shelf display of table centerpiece.
Difficulty level: Intermediate
Time to complete: 1 hour
Age range: 12 and up
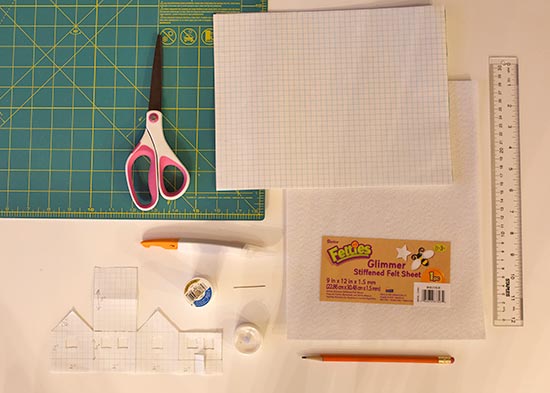
Things you’ll need:
Felt
Knife and cutting mat
Ruler
Pencil
Paper
Thread
Needle
Battery-powered tea lights
Things to do:
1. The first step is creating a pattern for your houses. We’ve included an image of our pattern with dimensions below.
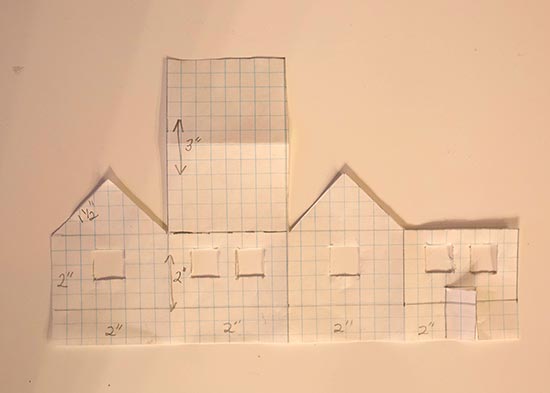 2. Trace the pattern onto the back of your felt. Trace around the windows and doors too, so you know where to cut.
 3. Using a ruler as a guide, cut along the edges with a knife.
 4. Fold the sides of the house together and stitch them in place with a needle and thread.

 5. Place a battery powered tealight inside to illuminate the house.


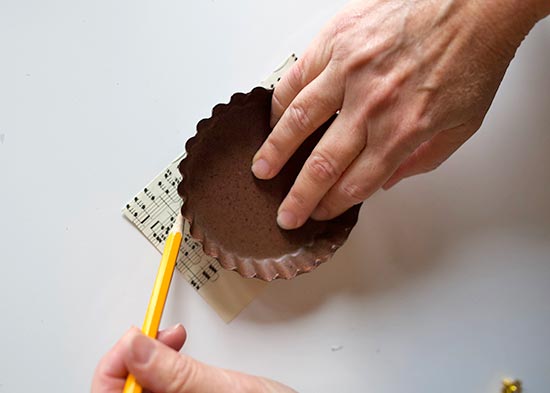
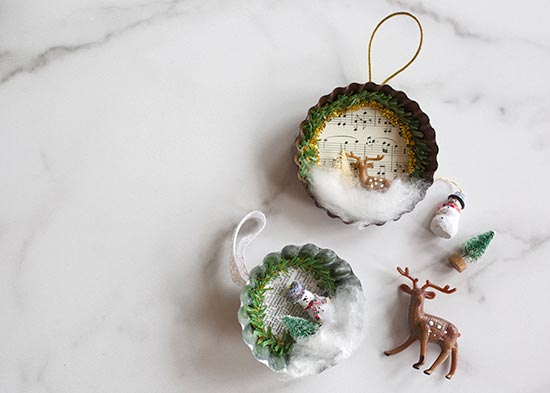
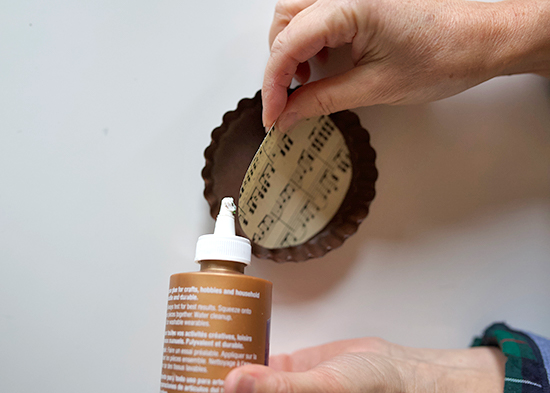 2. Use hot glue to attach a piece of mini pine garland and mini gold garland around the inside edge of the tart mold.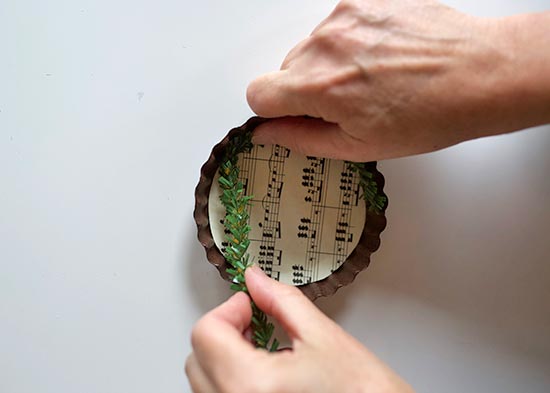
 3. Use hot glue to attach your figurines to the inside of the tart mold. Get creative with the scenes you create!
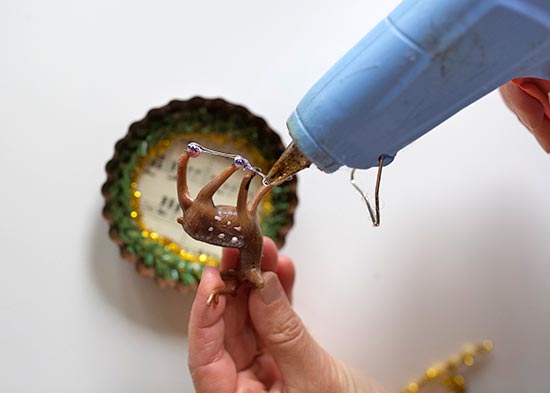 4. Pull a piece of cotton apart, creating a thin layer of ‘snow.’ Use hot glue to attach it to the bottom of your tart mold scene.
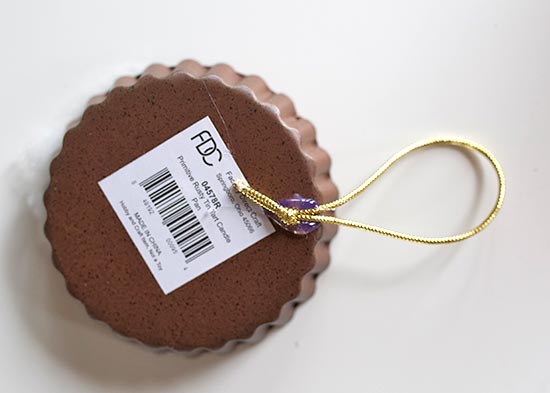
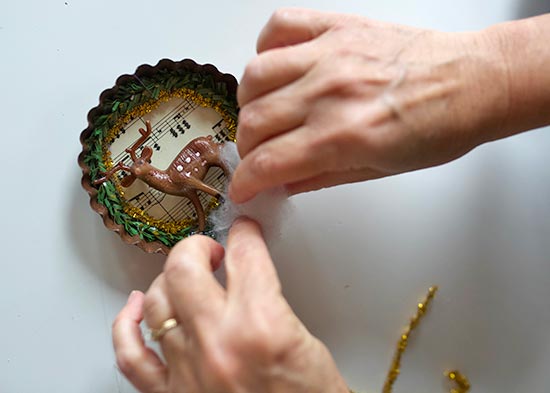 5. Cut a 6-inch piece of ribbon and tie the ends in a knot, creating a loop. Use hot glue to secure it to the back of the tart mold and use it to hand your ornament.