Skip to search Skip to navigation menu Skip to main content Selecting option will reload page

Category: Wedding and Bridal

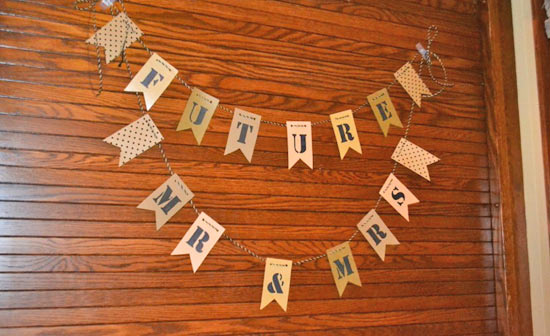
DIY “Future Mr. & Mrs.” Pennant Banner


Celebrate the happy couple with a homemade banner. This adorable decor looks great at an engagement party, highlighting the guests of honor in a unique way. Mix and match different colors and patterns of cardstock to create the perfect look.

Difficulty level: Beginner
Time to complete: 1 Hour
Age range: 12 and Up

Things you’ll need:
Cardstock (in five different colors of patterns)
Scissors
Pen
Ruler
Jute
Hole Punch
Sharpie
Alphabet stencils

Things to do:
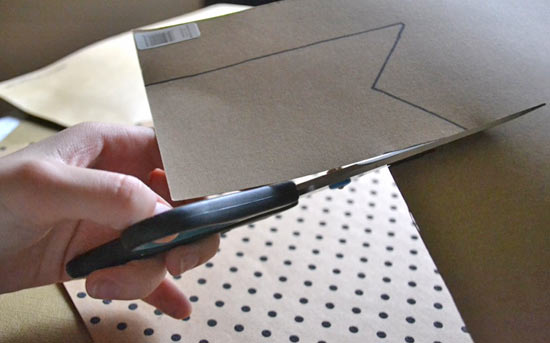
1. The first step is making a pattern for your banner. Cut a 2-inch x 3-inch rectangle and cut a triangle out of the end.
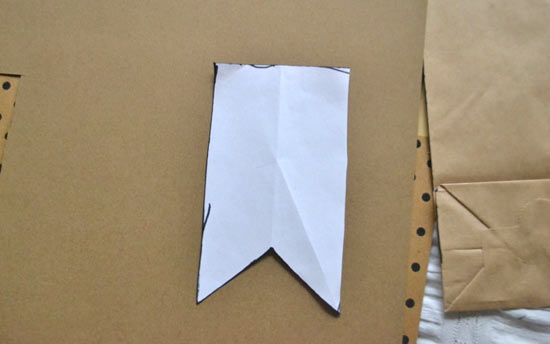
2. Trace the pattern onto your decorative cardstock and cut out the shapes. For a “Future Mr. & Mrs.” banner, you’ll need to cut three shapes out of four different kinds of cardstock and four shapes out of one decorative piece of cardstock.
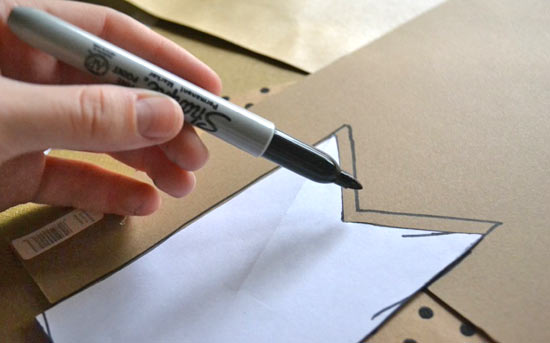
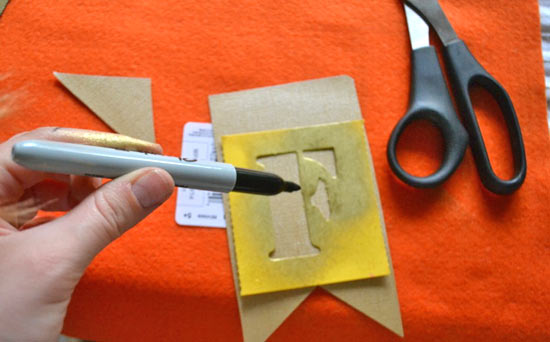
3. Trace the letters F-U-T-U-R-E M-R & M-R-S” onto the shapes. Use a sharpie for a bold look.
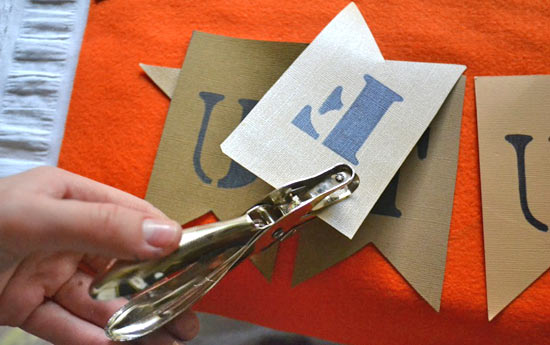
4. Punch two holes in the top of all of your shapes.
5. String the letters onto a piece of jute. You can put all the letters on one piece, or split them up between two different pieces of jute.
6. Tie a knot at the end of the jute, creating a hanger.
Continue Reading

DIY Rustic Wood Slice Placecard Holder


This fun DIY lets you decorate for your next party in style! Assign your guests a place at a table and let them take home the cute log slice as a party favor.

Difficulty level: Beginner
Time to complete: 15 Minutes
Age range: 12 and Up

Things you’ll need:
Small wood slices
Hot glue gun and glue sticks
Wood burning tool
Jute
Scissors
Mini Clothespins
Chalkboard circles
Chalk Ink Pen

Things to do:
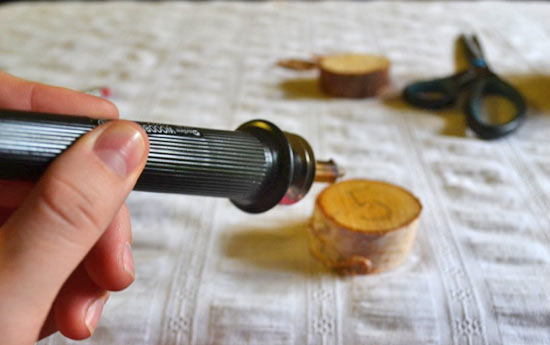
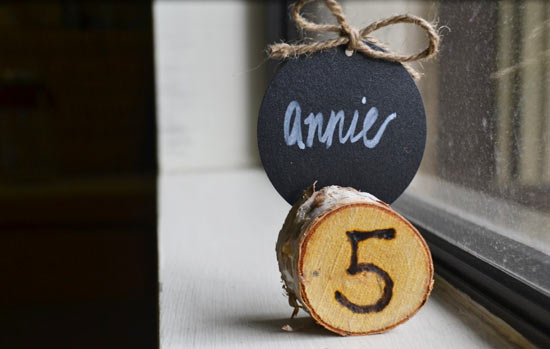
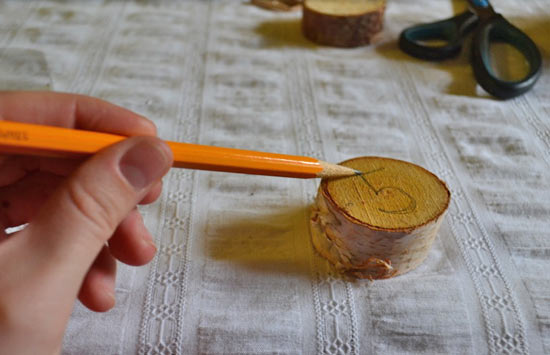
1. First, use a pencil to sketch an outline of the table number onto your log slice. Once you’ve found a look that you like, use your wood burner to burn it on. For my numbers, I used the medium sized tip.


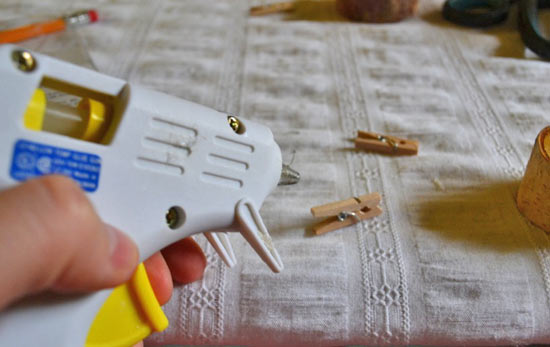
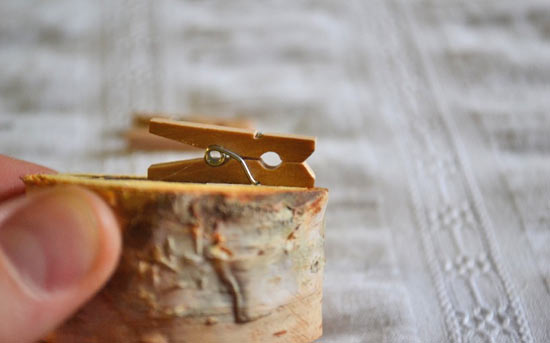
2. Use hot glue to attach a mini clothespin to the back.


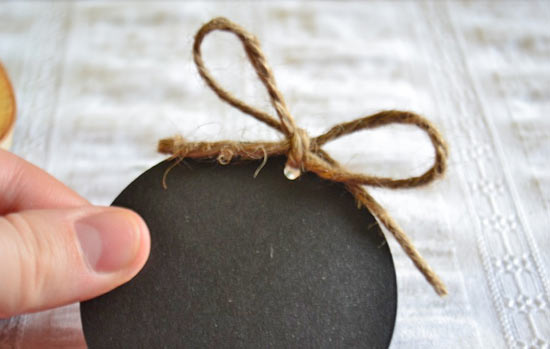
3. Cut a 12-inch piece of jute and use it to tie a bow through the hole on the chalk circle. Trim any excess.

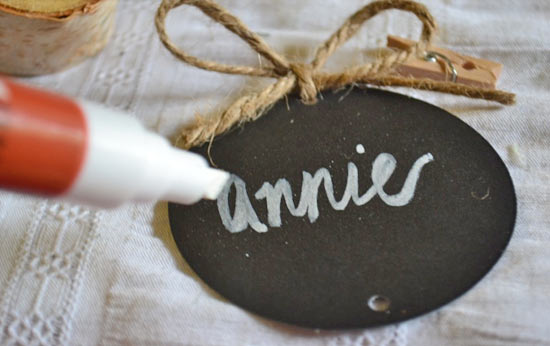
4. Use a chalk ink pen to write the name of your guest on the circle.

5. Clip the chalk circle into the clothespin and enjoy your event!

Continue Reading
Change Your Country
Please select your country, this will change the site to your country's currency:

Cancel