Create these easy to play Peg dolls for those dollhouse play time for the kids. We sell them in the unfinished wood peg doll in many sizes, shapes, styles. They are ready to paint, dress and decorate how you like!
Difficulty level: Beginner
Time to complete: 30 minutes
Age range: 8 and up
Things you’ll need:
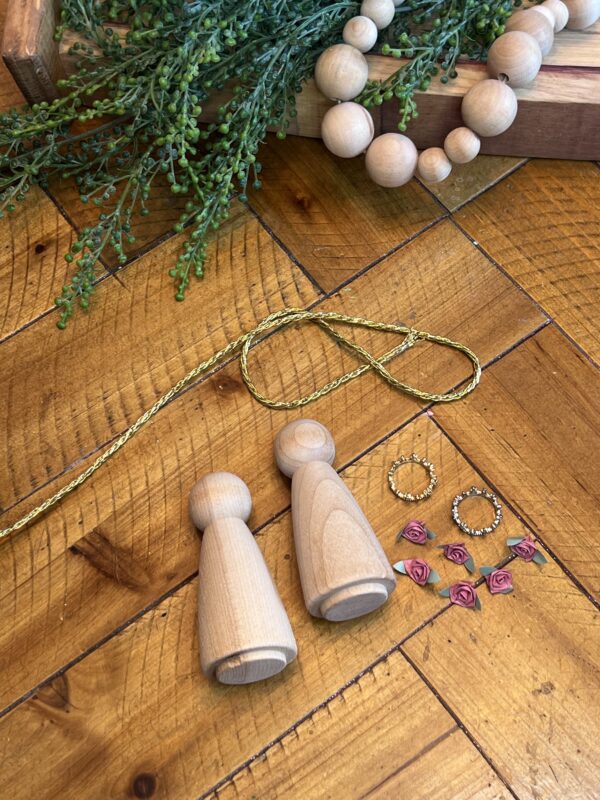
Unfinished Wood Peg Doll Bodies
Miniature Gold Metallic Twisted Rope Garland
Dollhouse Miniature Crowns
Cameo Pink Apple Barrel Acrylic Paint
White Apple Barrel Acrylic Paint
Black Apple Barrel Acrylic Paint
Paint brush
Hot glue gun and sticks
Scissors
Pencil
Here is the link for the materials used:
https://factorydirectcraft.pro/catalog/advanced_search_result.php?keywords=FBpgdllprncsswd+
Let’s grab your supplies, channel your inner artist, and let’s get crafting!
Step 1:
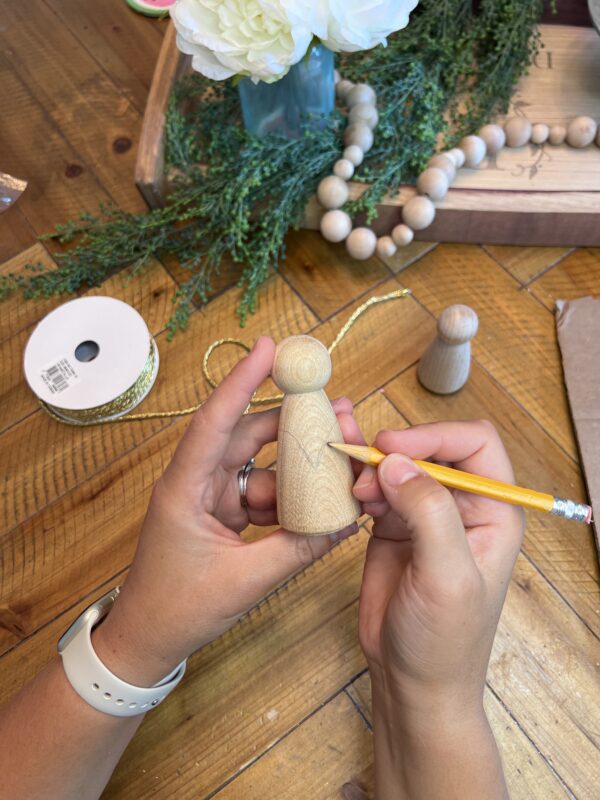
Grab your wooden doll pegs – Unfinished Wood Peg Doll Bodies. First you will want to outline and draw the type of ‘clothes’ you wish to paint onto your doll.
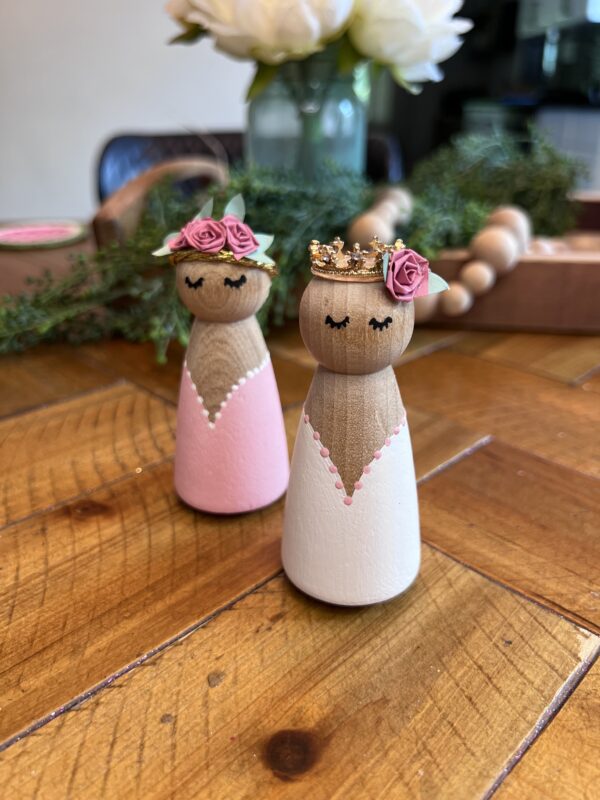
Here i wanted to do simple dresses for these princess dolls. I drew on a dress that came down into a point in the front.
Step 2:
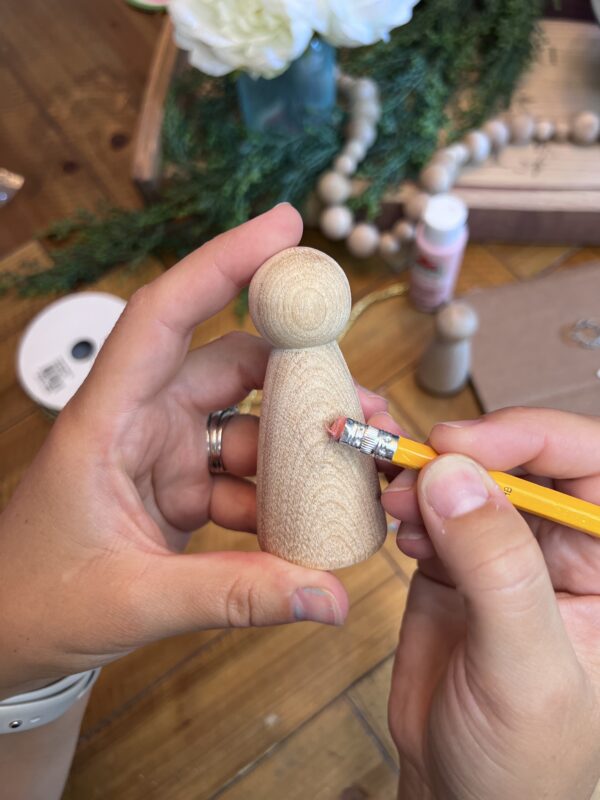
You will then come back through and erase some to help the pencil markings to not show through the paint
Step 3:
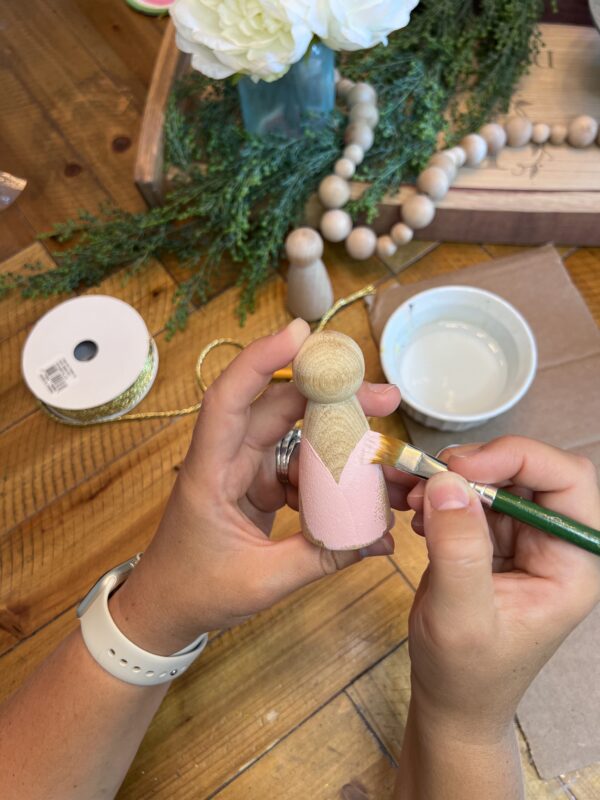
Once the drawing is taken care of and you are set to paint, you will pick out your color scheme. I choose to use white, White Apple Barrel Acrylic Paint, for one and the a pale pink for the other, Cameo Pink Apple Barrel Acrylic Paint.
Step 4:
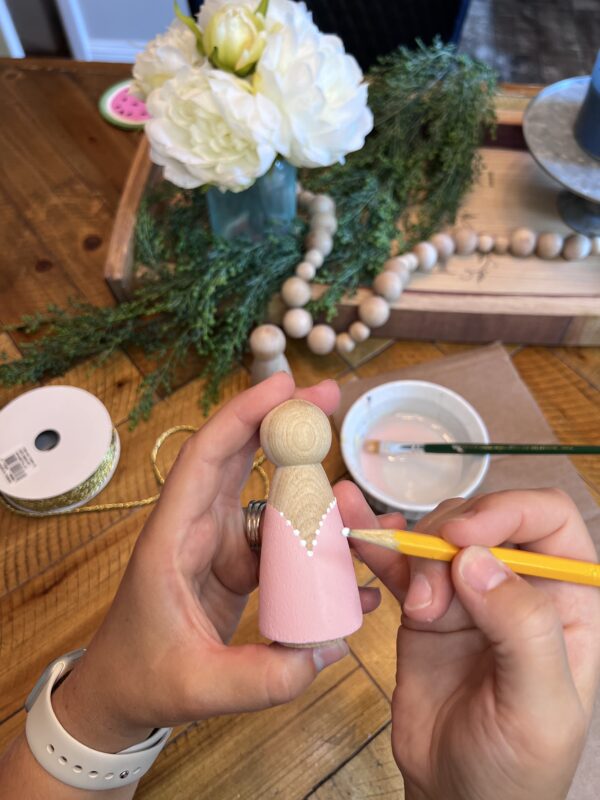
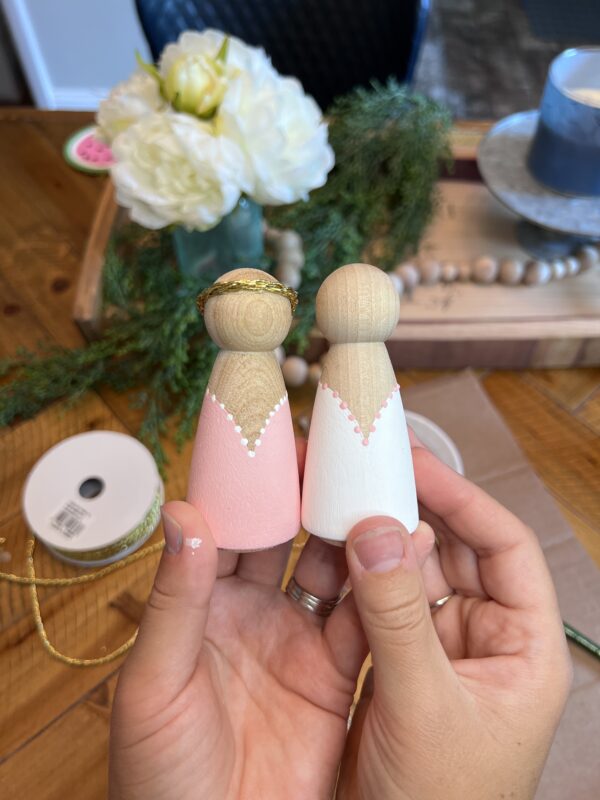
I added on some simple accents to the dresses. I came in with the opposite colors of the dress and added small dots along the outline of the ‘dresses’. To get the small dots, i used the sharpened pencil ends. These helped get those perfect round dots.
Step 5:
Here is where the fun comes in. I wanted to dress up their heads with different accessories. One to look like a princess and the other to look like a queen. You dress them up on how you would like. Here i used our Miniature Gold Metallic Twisted Rope Garland to hot glue on the top of her head. Once glued on, i then trimmed the ends off the back.
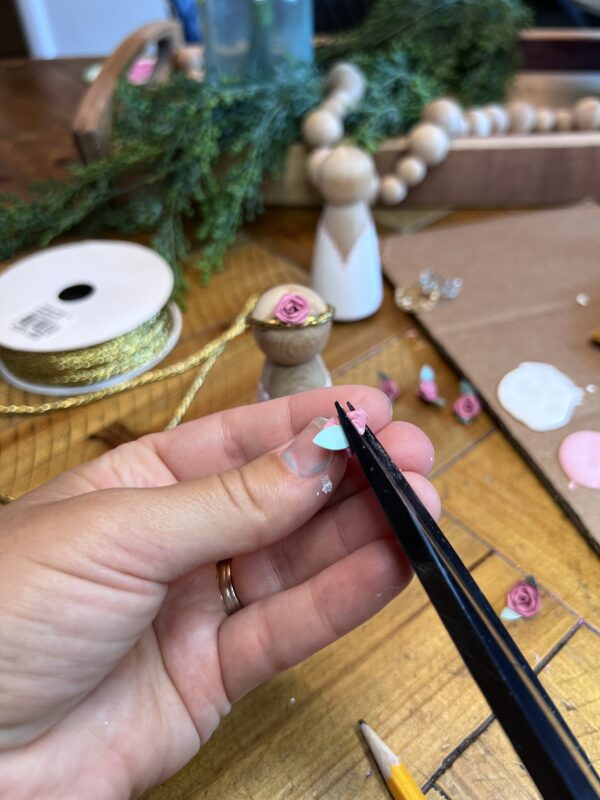
We have these paper roses,Miniature Pink Rose Stems, that i cut off the backs of them slightly. This allowed them to sit more flat once glued in place on the wooden peg dolls head.
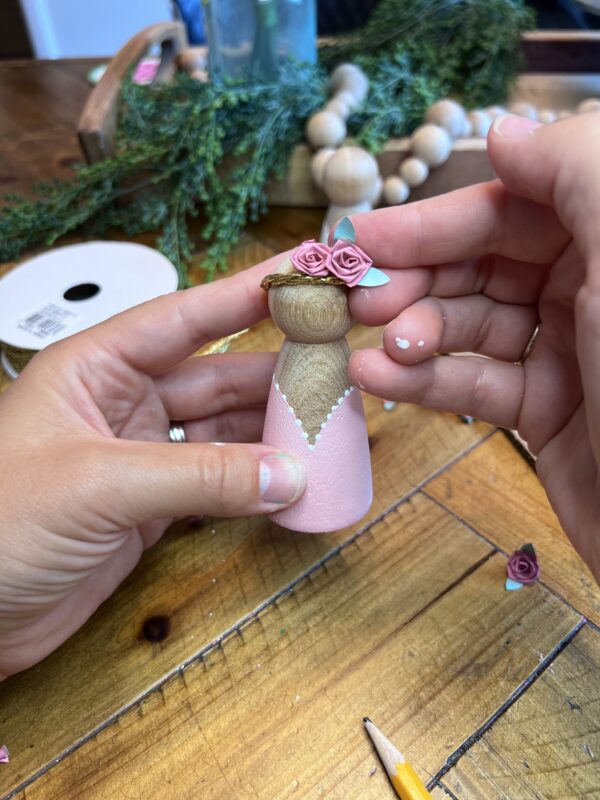
The center flower i cut off the green stems. Then the 2 side rose stems, i left the green leaves on them to help add more contrast to them.
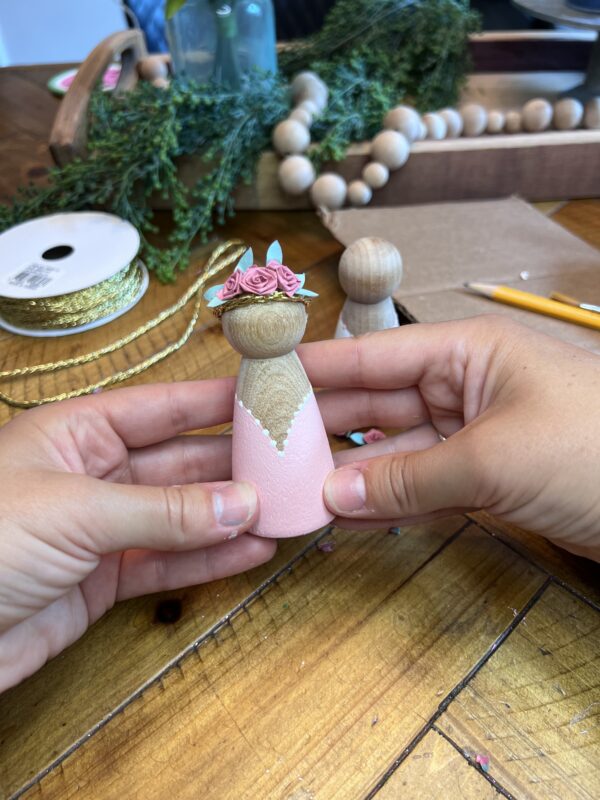
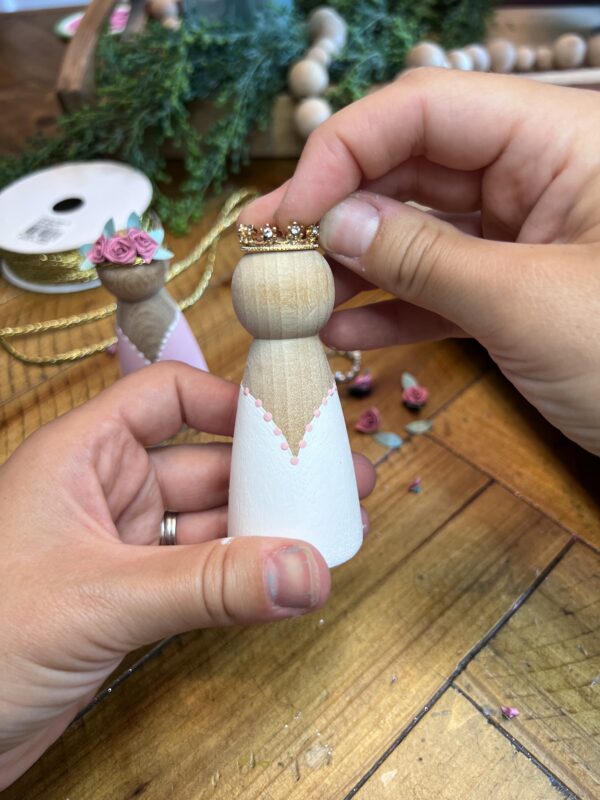
Next came the other Peg Doll. This one i made more into a queen type look. We have theseDollhouse Miniature Crownsthat worked perfectly to sit on top of the peg dolls head. I just added some hot glue onto the crown and placed on the head. Now i wanted them to match still and felt it needed a little more on the accessories for the ‘Queen’. So i took just one of the flowers and trimmed the back off, then hot glued it off to one side.
Step 6:
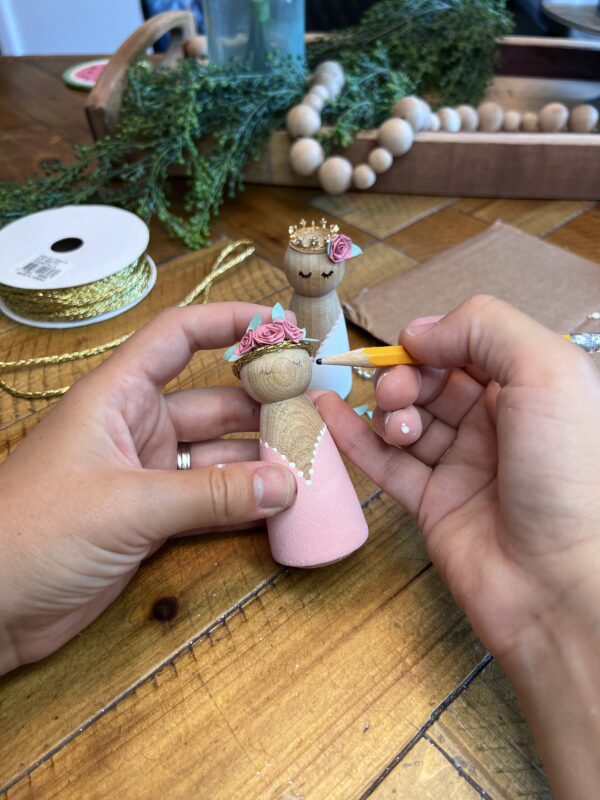
Here we came in with making the faces. Now you can do them how you wish. I came in with the pencil and drew on the eyes that i wanted. I choose to do the closed eye look with the eye lashes. I decided no nose or mouth. But that is totally up to you!
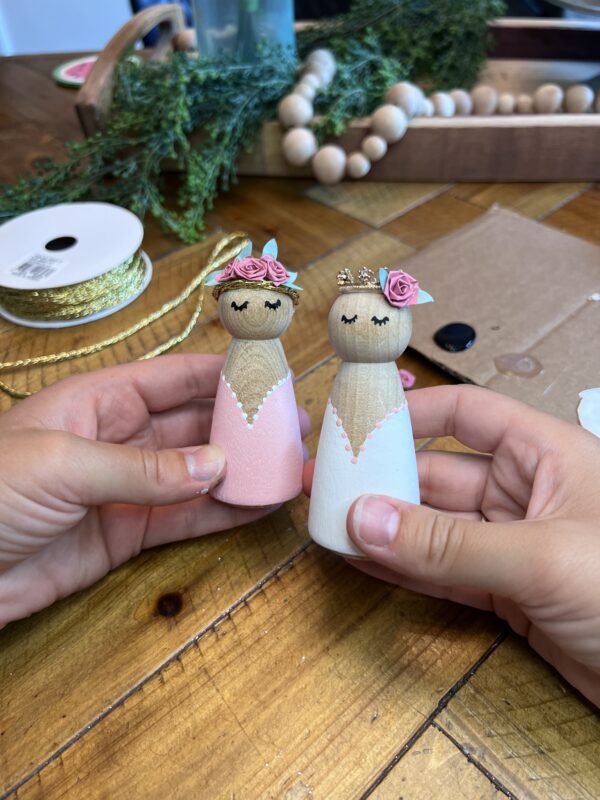
There you have it. They are complete and ready to display or let the kids play with them and let the imagination run wild!!