Skip to search Skip to navigation menu Skip to main content Selecting option will reload page

Category: Summer Crafts

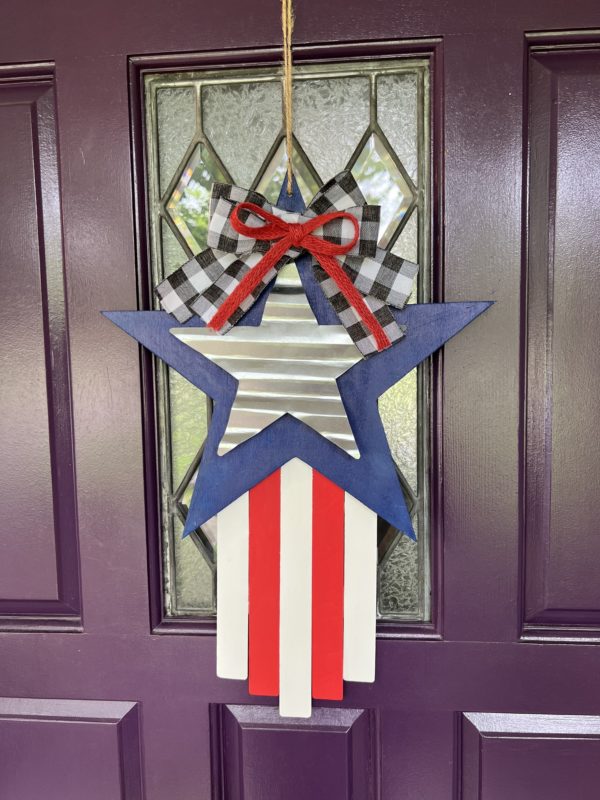
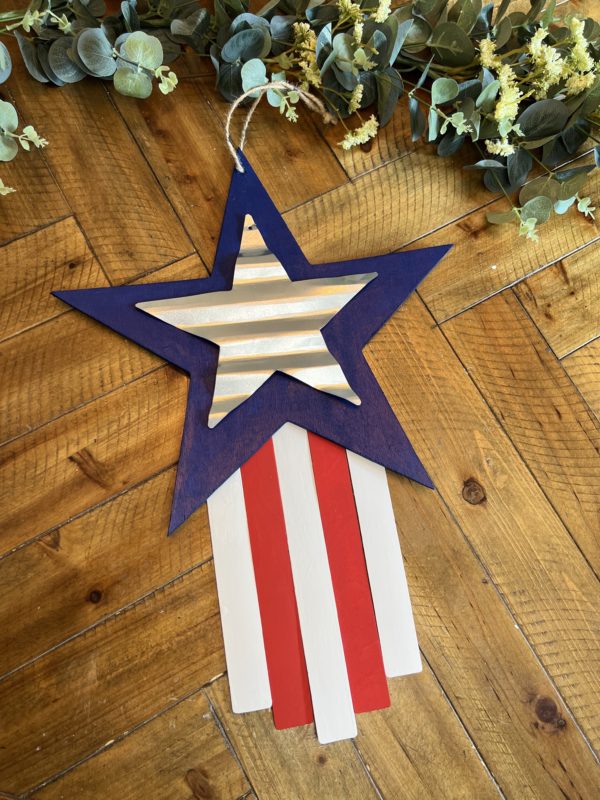
DIY Patriotic American Flag Hanger

It’s time to get crafty with this Fun, Quick and vibrant DIY Patriotic American Flag Hanger. This project is the perfect blend of creativity, patriotism, and a dash of star-spangled fun. All that is needed is 6 simple supplies!
Difficulty level: Beginner
Time to complete:30 minutes

Things you’ll need:

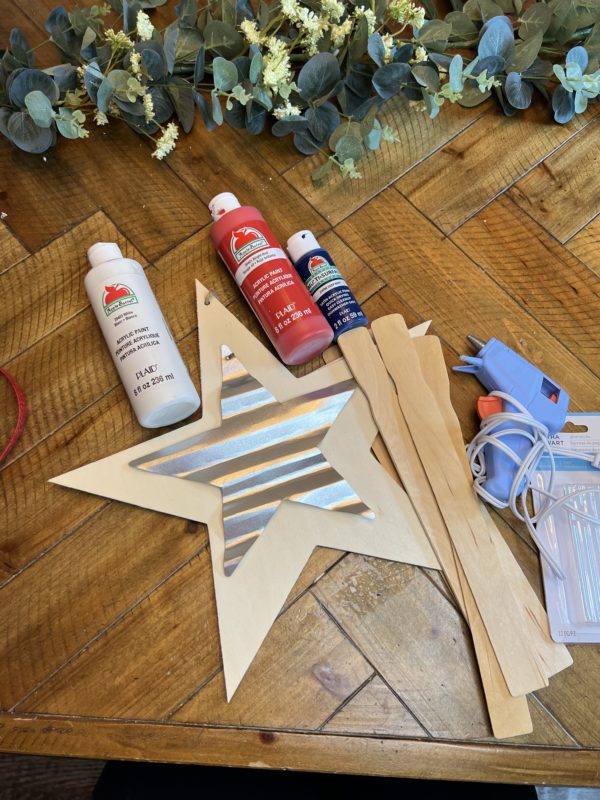
  • Unfinished Wood and Corrugated Metal Star Sign
  • Unfinished Wood Paint Stir Fan Sticks
  • 3/8″ Braided Red Jute Ribbon
  • Black and White Buffalo Check Faux Linen Ribbon
  • Bright Red Apple Barrel Acrylic Paint
  • Cobalt Blue Apple Barrel Acrylic Paint
  • White Apple Barrel Acrylic Paint
  • Mod Podge
  • Glue Gun
  • Paint brushes
  • Scissors

Let’s grab your paintbrushes, channel your inner artist, and let get crafting!
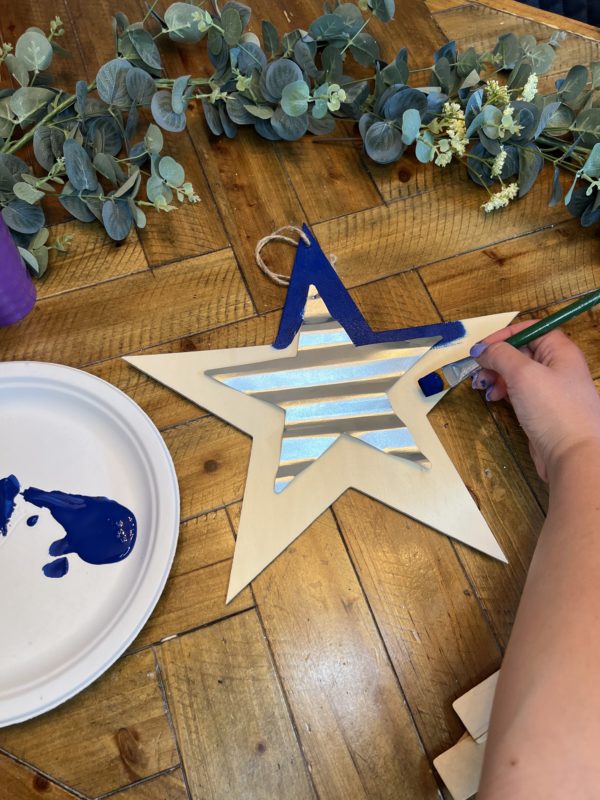
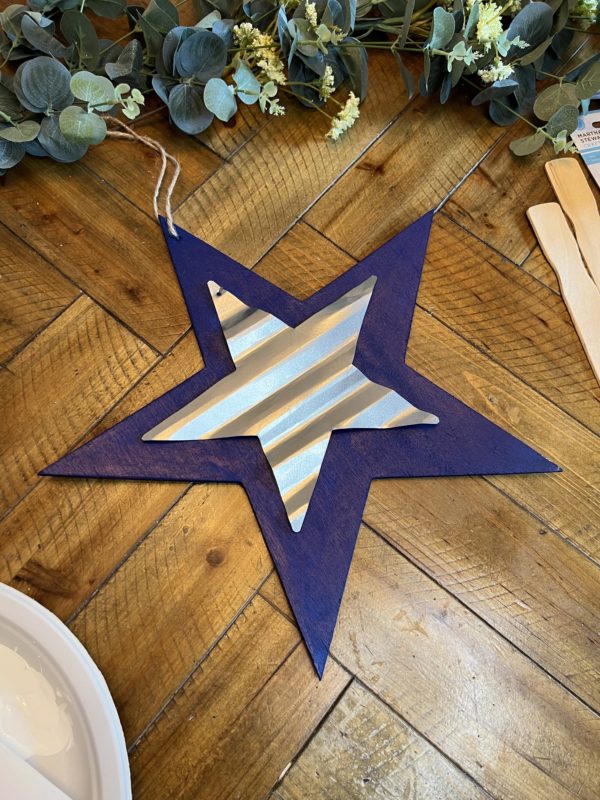
First step – Painting the star

Here I was simply went through and painted the front and the back of the wood on the Unfinished Wood and Corrugated Metal Star Sign with a darker blue paint ( Cobalt Blue Apple Barrel Acrylic Paint) . The metal star was able to be moved side to side, allowing me to get every inch of the wood.
Second step – Painting the stir sticks

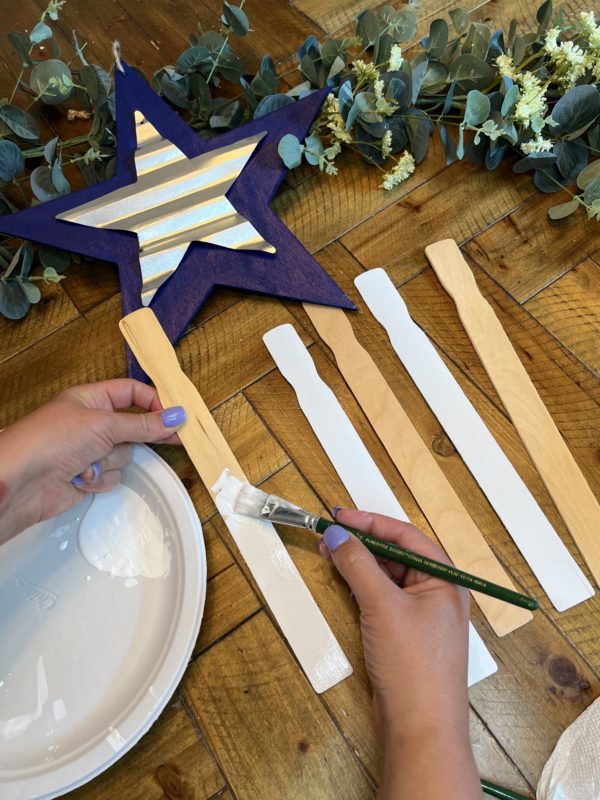
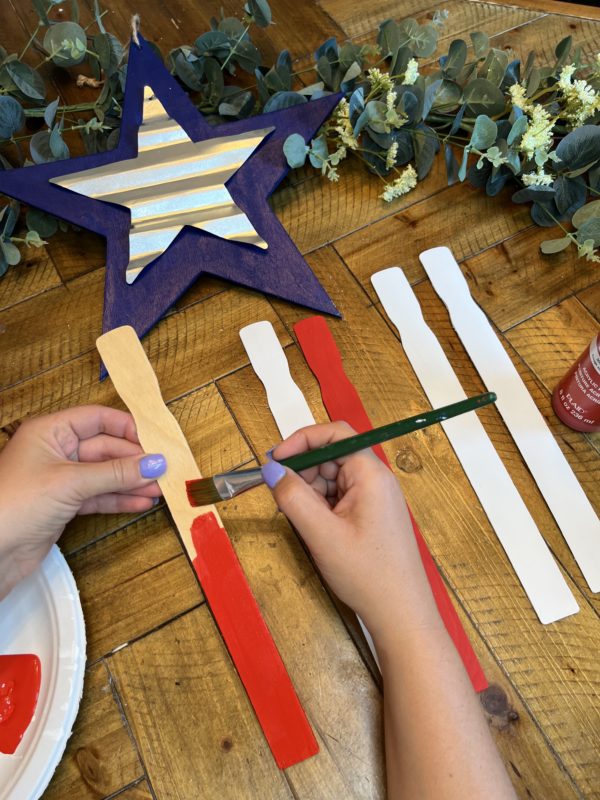
I have taken 5 stir sticks and painted 3 white and 2 red. This will be part of the ‘flag’ hanging from the bottom of the star.
Third step – Let’s get Staggering

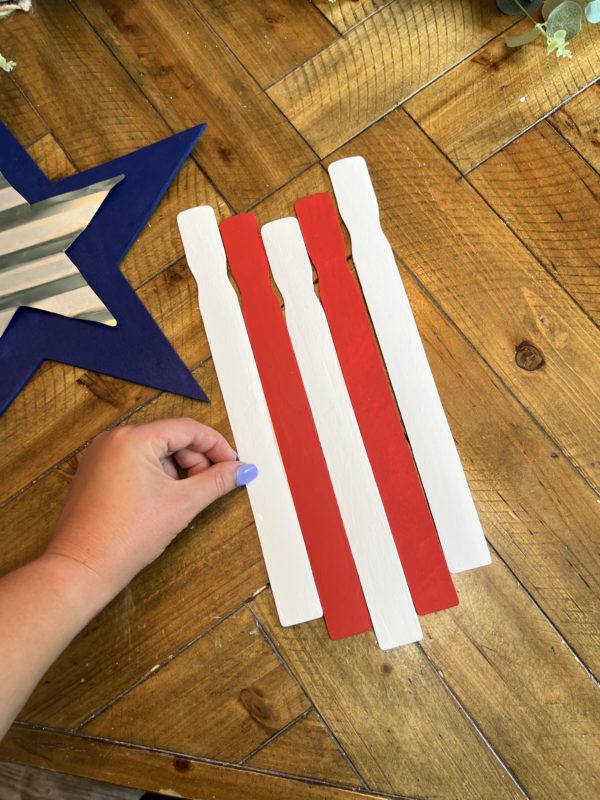
I laid out all 5 stir sticks push together. I staggered them to have the 2 pieces on each side shorter than the middle white one. There is approximately 1/4 inch staggered with each stir stick from the middle piece.
Forth step – Glue in place

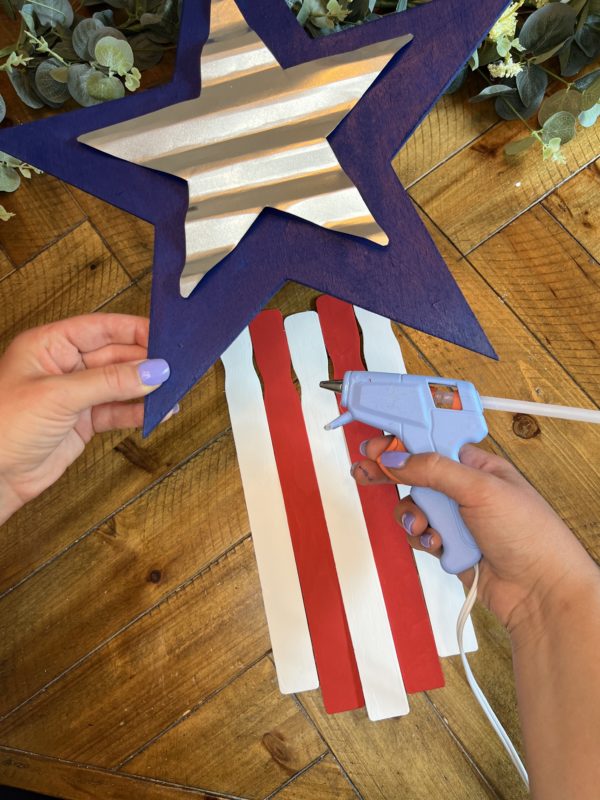
Once the stir sticks are in place, take your star sign that was painted and apply a coat of hot glue to the back side towards the bottom. Then lay that on the top of the staggered stir sticks to glue in place.
Fifth step – Secure

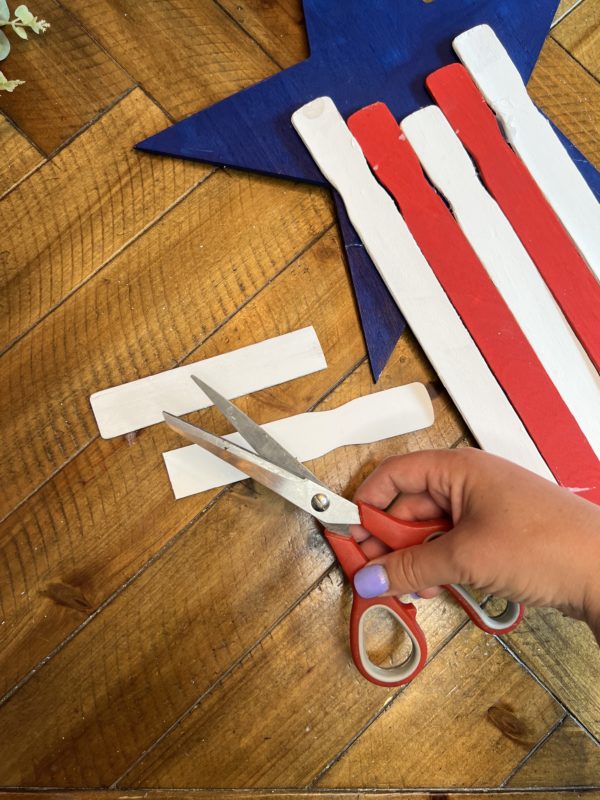
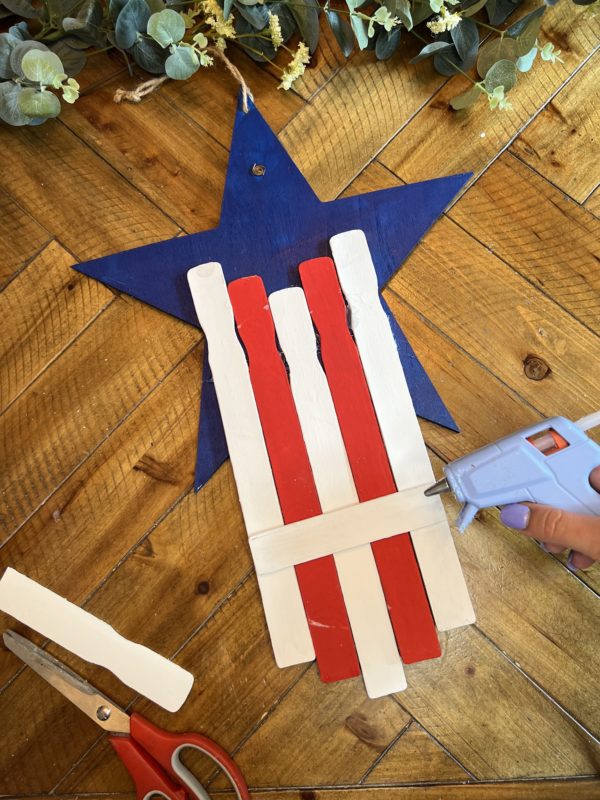
I took one of the extra stir sticks that i had and added a quick coat of white paint to. Once dried, i cut to length to cover crossed the width of the stir sticks. This will help secure them and keep them from moving around.
Sixth Step – Add the accessories

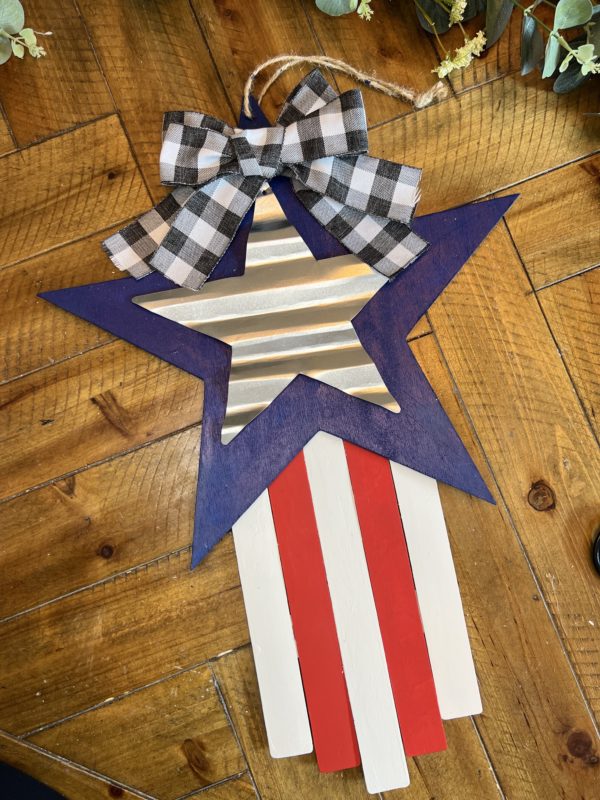
Here I tied a simple bow out of the black and white checkered ribbon to place at the top of the hanger. I did this to help break up the colors and add contrast. Then on top of that I tied another simple bow from the braided red jute ribbon to add onto the checkered. This helps again bring in the contrast and keep with the patriotic colors.
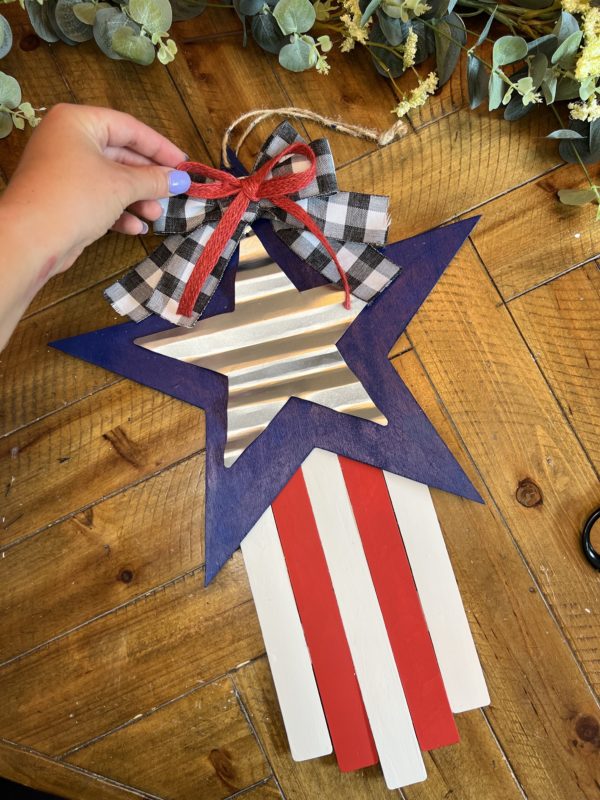
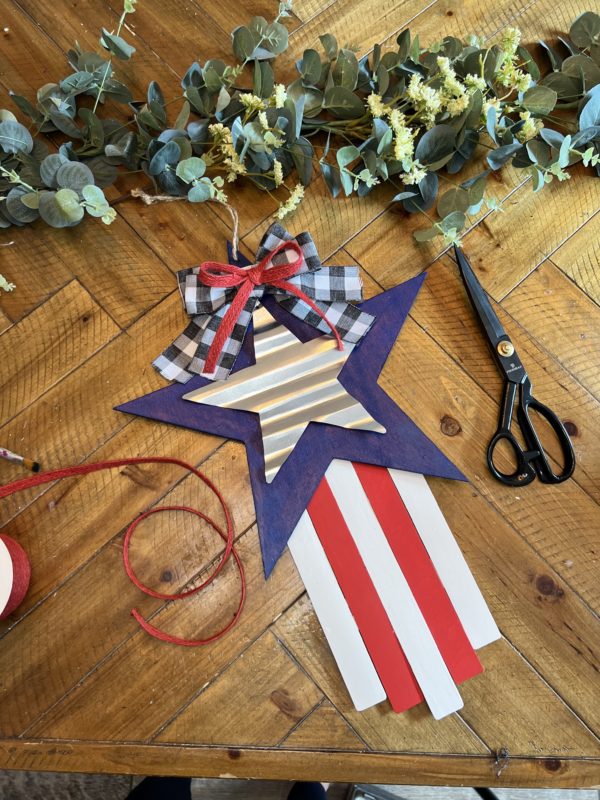
This project is not only a great way to express your love for the USA, but it also brings a fun touch to your home decor for the 4th of July. Wave your flag high, share the patriotic vibes of your star-spangled masterpiece.

How to video

Want to see more? Find more beautiful and unique projects by subscribing to our YouTube Channel here-

  • https://www.youtube.com/@FactoryDirectCraft
Continue Reading

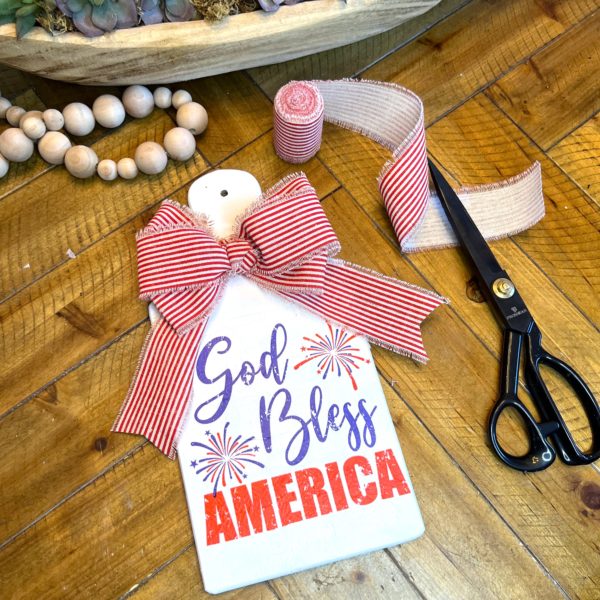
DIY Americana Cutting Board for Display

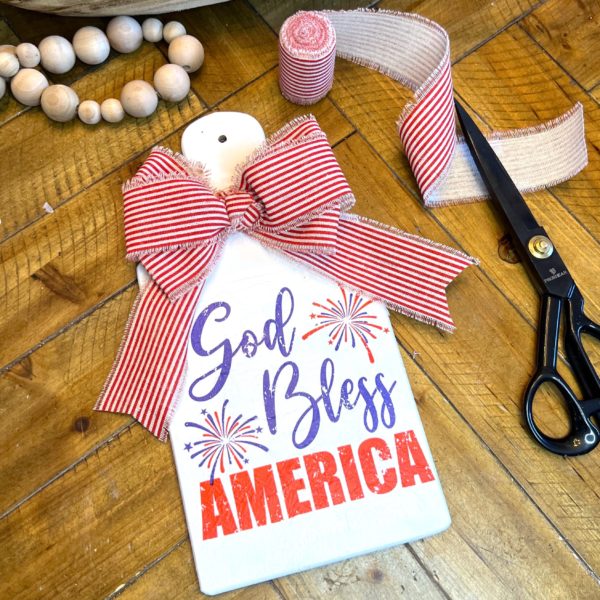
This EASY project designed to up your patriotic decor with charm! Whether you’re celebrating 4th of July celebration, Memorial Day, or simply want to show your patriotic spirit – Our Americana Cutting Board is a great summer project!

Difficulty level:Beginner
Time to complete: 30 minutes

What is needed:

Let’s grab your paintbrushes, channel your inner artist, and let get crafting!

Step One – Painting

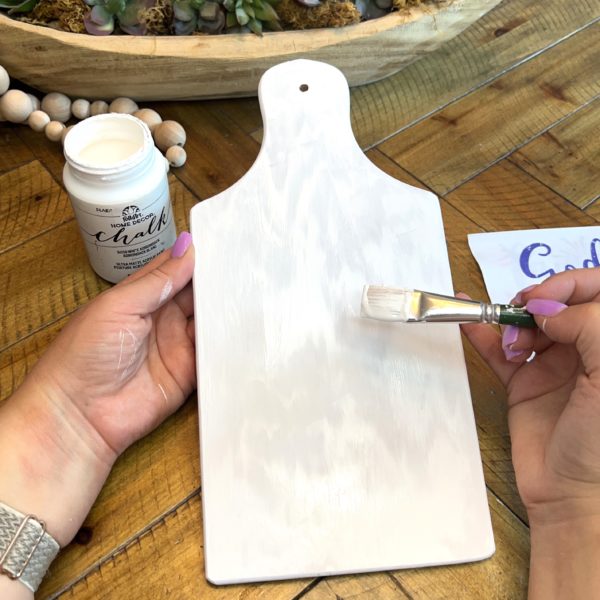
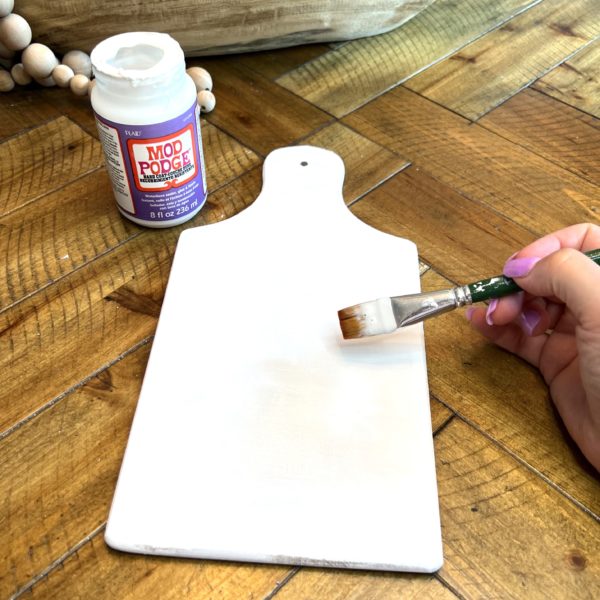
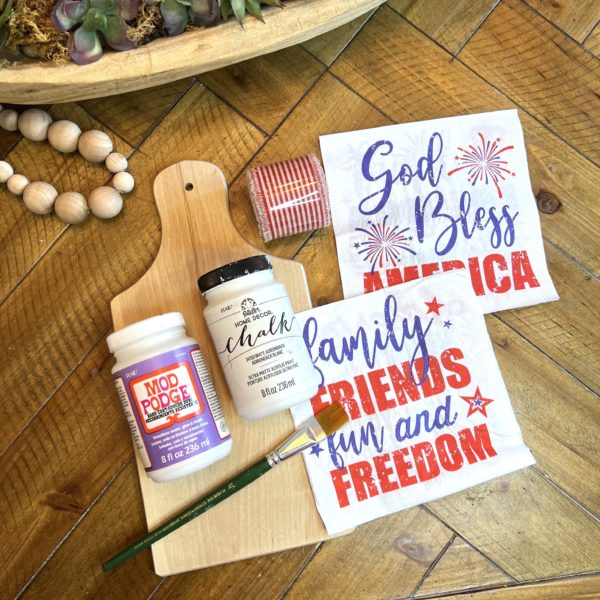
  • Here you will grab your desired paint color. I chose white paint to help blend the napkin.

Step Two – Pick your Design

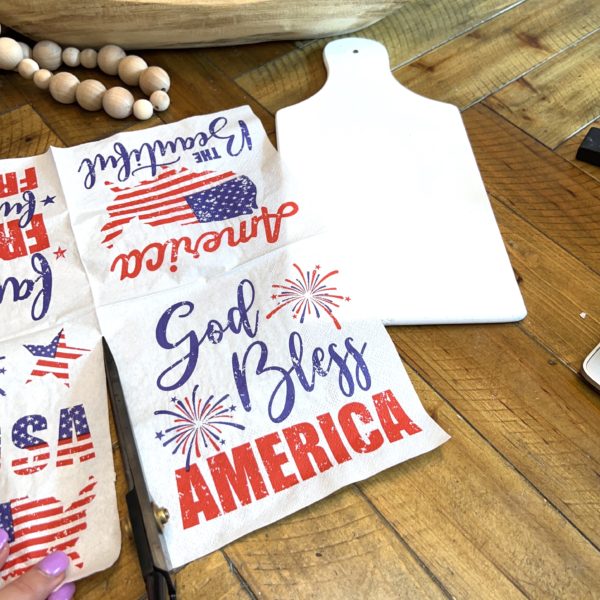
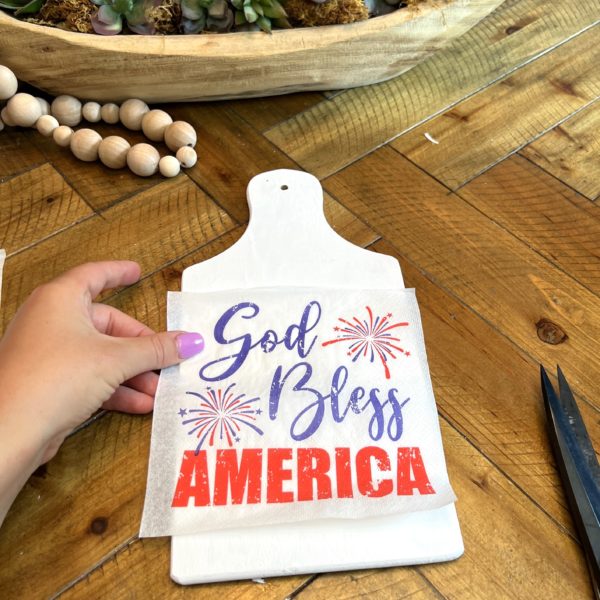
  • I found these cute napkins on amazon. Soon as i came a crossed them, i knew they would be perfect for crafting and decoupaging.
  • On each napkin there are 4 different pictures. I chose my design, cut along the folded lines.

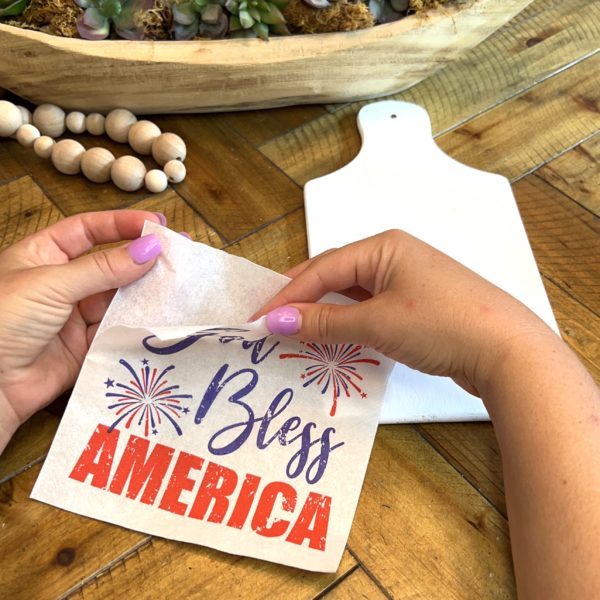
Here i separated the back layering of the napkin. This will leave you with a thin layer of the napkin with your chosen design.

Step Three – Decoupage

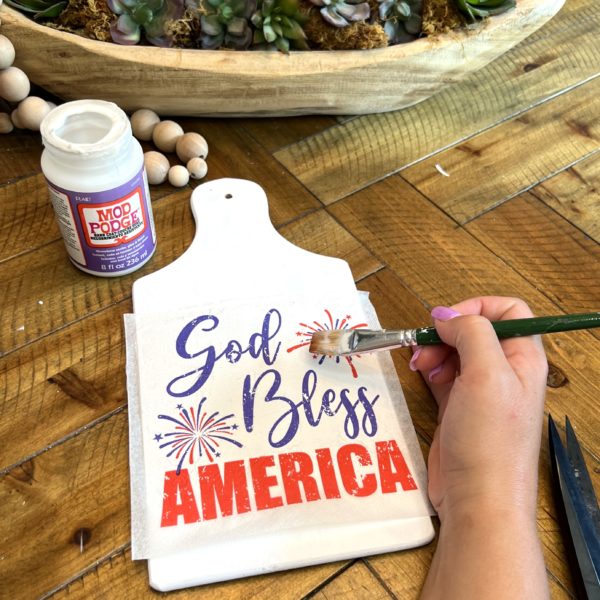
  • Take your Mod podge and brush on a thin layer to help adhere the napkin that you have prepared.

Take that napkin and lay on top carefully where you have painted the Mod Podge on.

Step Three- Sealing the decoupage

  • Once that napkin is in the desired place, you will then take more mod podge to help seal and protect the napkin. (Be sure to apply carefully and softly. A good artist brush will be fine or you can use a foam brush.)
  • Once dry, You will then carefully take a damp Q-tip and get the edges wet that are hanging over the cutting board. This will help get a clean edge and clear off the

Step Four – Creating the Bow

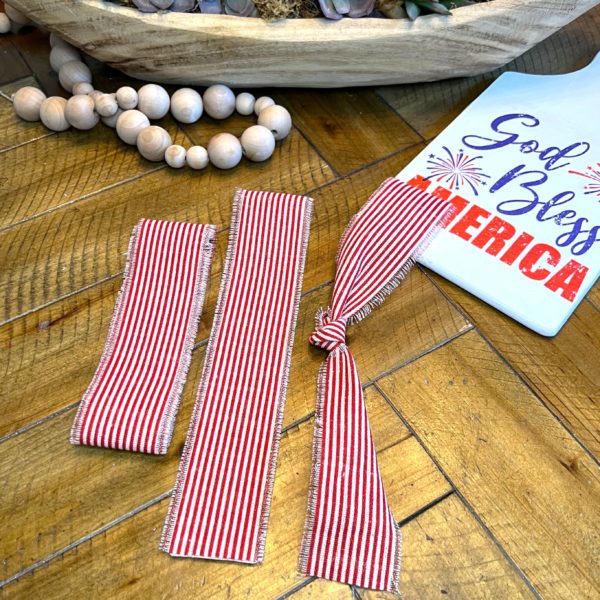
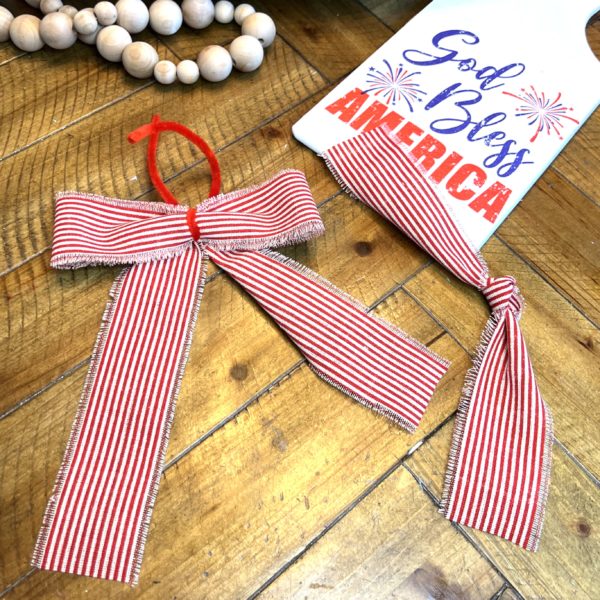
  • Create 3 different sections.
  • One section (the bow), you will have the ribbon folded 3 times measuring 6-1/2 inches. The wrapping it 3 times will allow the bow to have three loops on each side that you can fan out at the end.
  • Second section (tail), you will fold it once over to have the front and back measuring about 8 inches.
  • Lastly, the third section will be a 5 inch ribbon that you will tie in a knot. This will be the middle of the bow.

Step Five – Painting

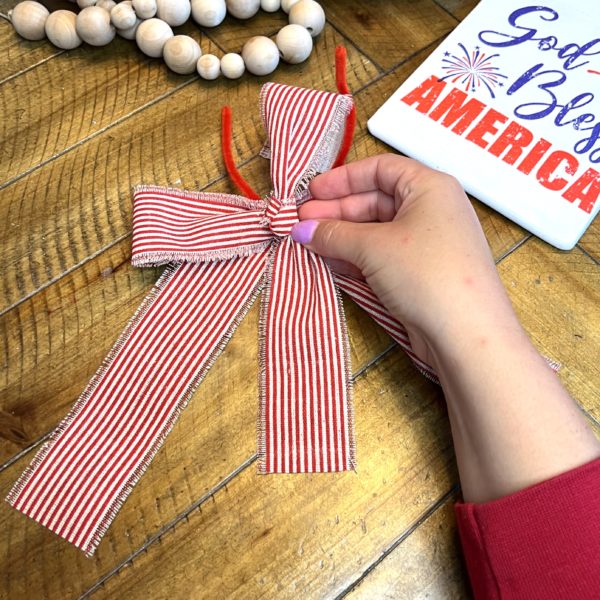
  • Here you will take section 1 and section 2 together. You will take your pipe cleaner and twist them together in the center. This will connect the top of the bow and the tail together.

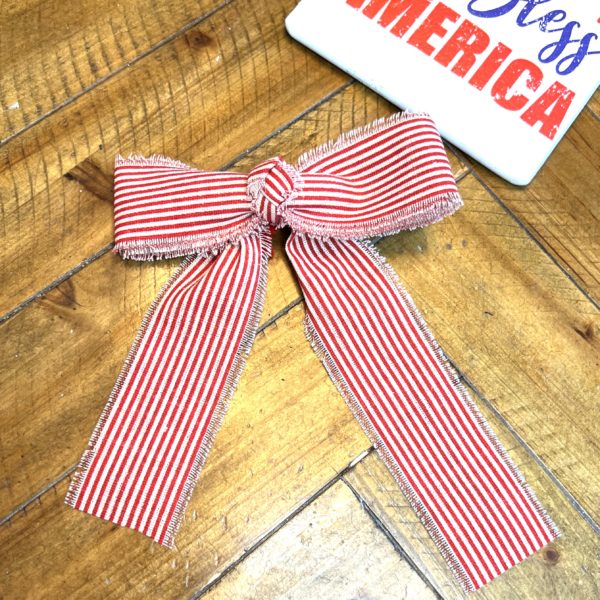
Take your third section (the knot) and you will simply tie this around the middle of the bow. This will help create a nice look and hide the pip cleaner. Then you will simply take the pipe cleaner and twist all the pieces together. Trim your pipe cleaner.

Step Six- Fan it out

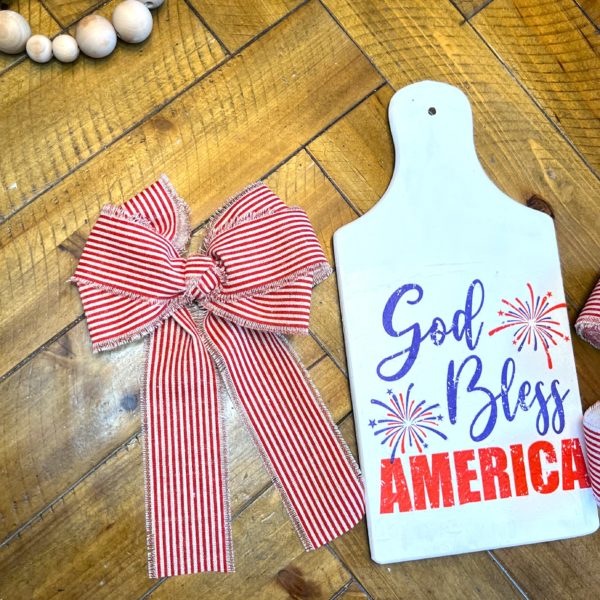
  • Once this bow is all twisted together. You will take your bow portion and fan out the extra loops that are inside. Then hot glue it in place.

Now it is ready to display for all your loved ones to see!

How to video

Want to see more? Find more beautiful and unique projects by subscribing to our YouTube Channel here

  • https://www.youtube.com/@FactoryDirectCraft
Continue Reading
Change Your Country
Please select your country, this will change the site to your country's currency:

Cancel