When we moved into our house, our kids were thrilled to find that there was a small, partially tumbled down fairy house, made by some child long ago, down in the woods. It seemed like the idea place to create a magical, mysterious fairy garden for them. If you aren’t’ lucky enough to have your own fairy house, fear not, an porch or even an indoor garden is a fun and simple project that your children (and you) will love.
Things you’ll need:
Miniature fencing
Woodland style furniture
Doll sized garden tools – Mini Pitcher, Flower Pots, Rusty Tin Shovel , and Wheelbarrow
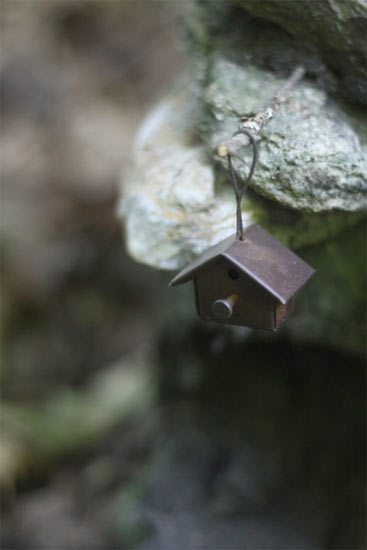
Small accessories – Grapevine Snowshoes, Mini Veggies, Mini Rusted Birdhouse, and Mini Baskets
Moss
Sticks
Large low pot, box or planter saucer (optional)
Soil
Things to do:
1. If you are creating a fairy garden from scratch, fill your container about 1/4 full with soil and line the entire surface with moss, tucking the edges in around the edge. Water it well and allow it to drain a little before beginning. If you have a fairy house in place, sprinkle the ground outside with soil and lay out a yard” of moss. Sprinkle with water to help the moss stay fresh.
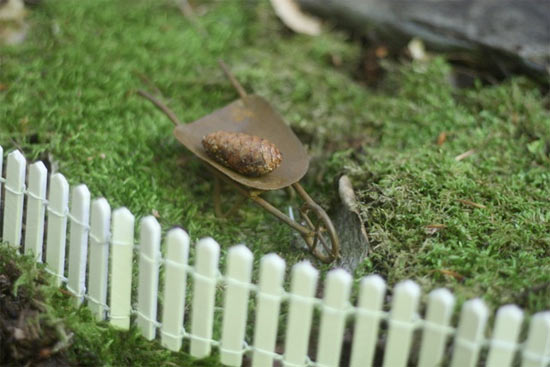
2. Begin by placing your fencing. You can create fence posts” by sinking small but sturdy sticks into the soil and wrap the ends of the fencing around the posts to make a sturdy edging for your garden.

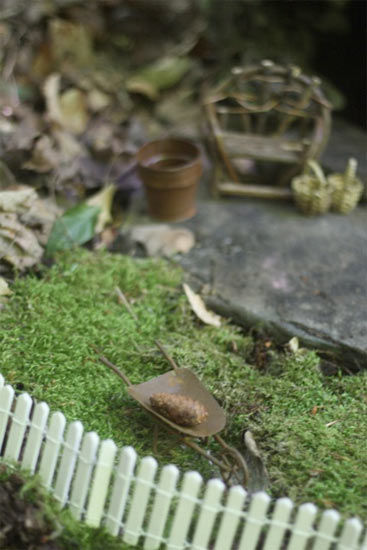
3. Once you have defined your space, think like a fairy! Arrange furniture, pots accessories and tools the way you might if it was your garden. Be sure to add a few small details that suggest that a fairy was just there a moment ago, maybe a basket of veggies just pulled from the garden. Another nice touch is to plant small plants in some of the pots, just be sure to remember to water them!
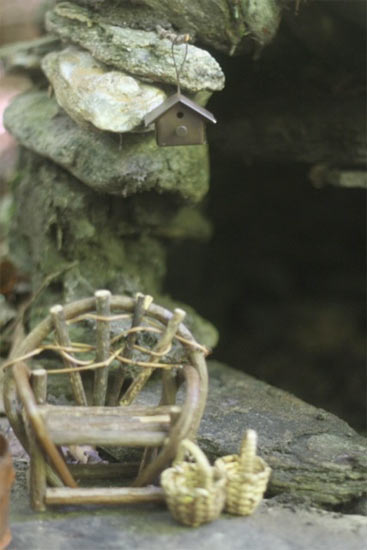

4. Your fairy garden can stay as is or, if you have young children who love to believe, try moving things around now and then to keep the magic going!