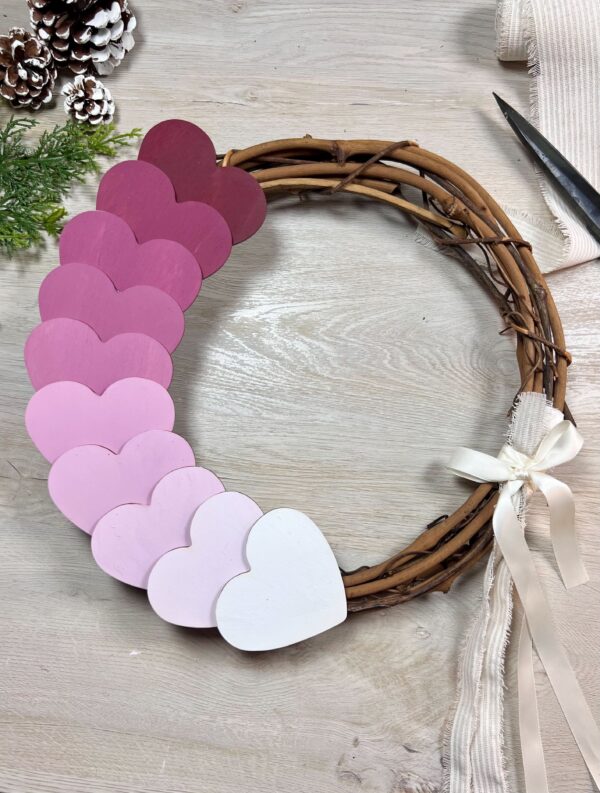
Valentine’s Day is the perfect time to add a touch of love to your home decor, and what better way to do it than with a handmade wreath? This project combines the rustic charm of a grapevine wreath with the soft, romantic look of ombre-painted wooden hearts. It’s simple, fun, and a wonderful way to add a personal touch to your Valentine’s Day decorations. Let’s dive into the steps to create your very own DIY Valentine’s wreath.
Difficulty level: Beginner
Time required: 25 Mins
Age range: 8+
Materials Needed:
12″ Natural Grapevine Wreath
1″ Ivory and Cream Striped Linen Ribbon
10 ofUnfinished Wood Heart Cutout
FolkArt Wicker White Acrylic Paint
FolkArt Wicker White Acrylic Paint
5/8 wide White Double Face Satin Ribbon
Paintbrush
Hot Glue Gun
Scissors / Wire Cutters
Find all materials here:
https://factorydirectcraft.pro/catalog/advanced_search_result.php?keywords=FBvlntnwrthgrpvn
5/8 wide White Double Face Satin Ribbon here:
https://amzn.to/40dIlJp
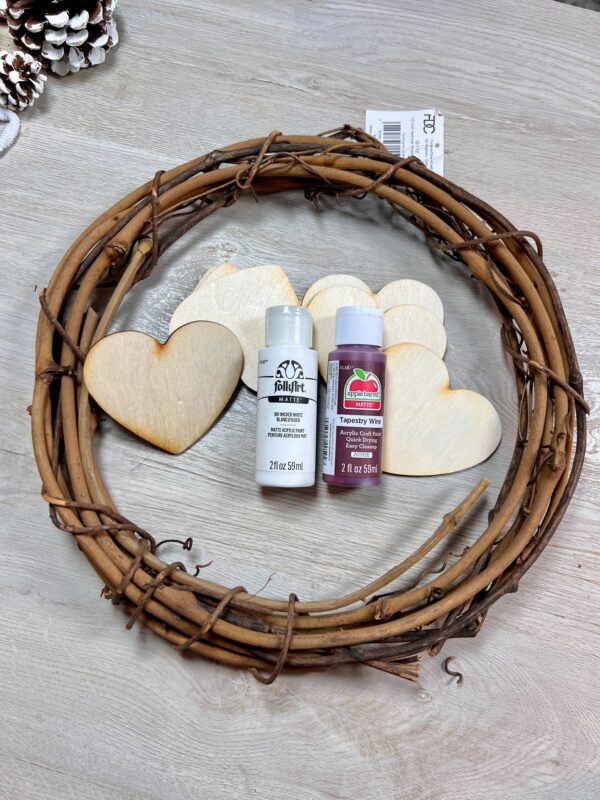
Let’s grab your supplies, channel your inner artist, and let’s get crafting!
Step 1: Paint the Ombre Effect
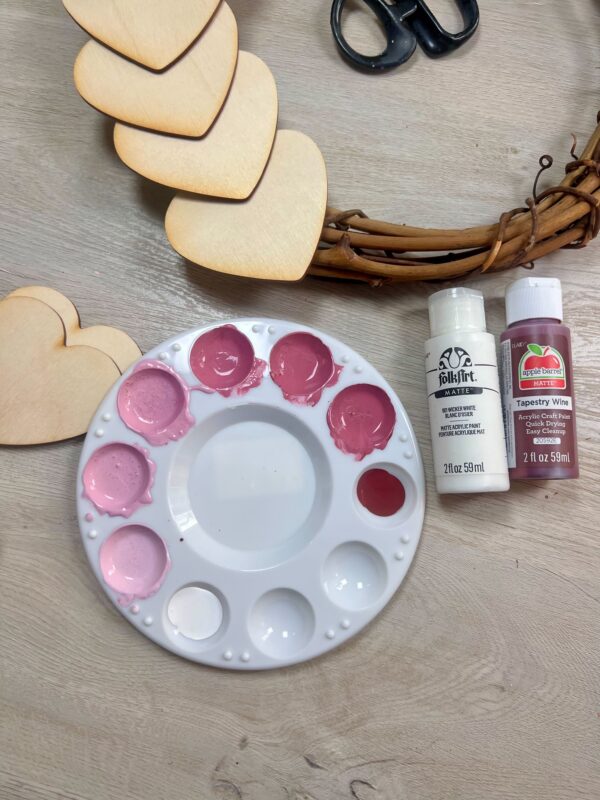
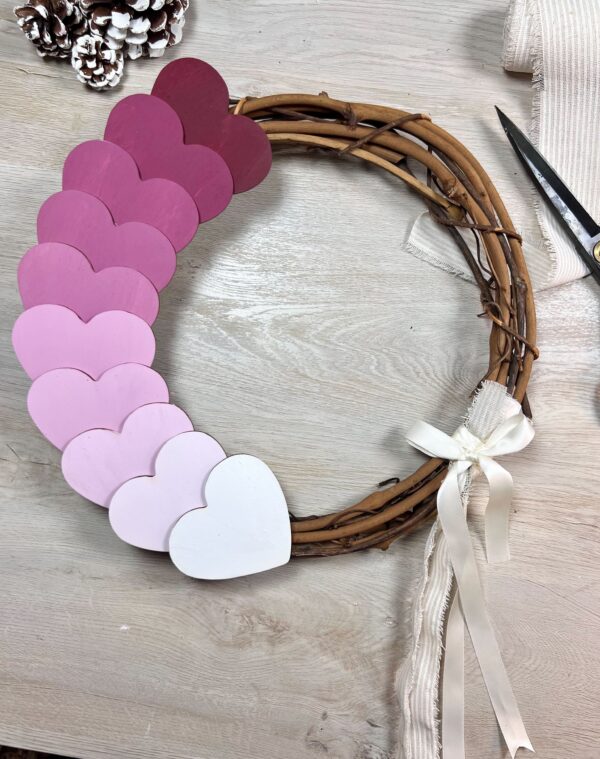
Choose your paint colors and create an ombre gradient. For a classic Valentine’s look, use shades of pink transitioning from light to dark. Here i chose our Tapestry Wine Apple Barrel Acrylic Paint and a simple white paint, FolkArt Wicker White Acrylic Paint.
To achieve the ombre effect:
- Start by adding five portions of white paint and five portions of wine-colored paint to your palette.
- Begin with the white paint. Leave one portion plain white, and for the remaining four portions, gradually mix in the wine color: add one drop of wine paint to the first, two drops to the second, three drops to the third, and so on. This creates a seamless transition from white to a light wine shade.
- Next, take the wine-colored paint and reverse the process. Start with one portion of pure wine paint, then gradually mix in drops of white paint to the remaining four portions to lighten each one progressively.
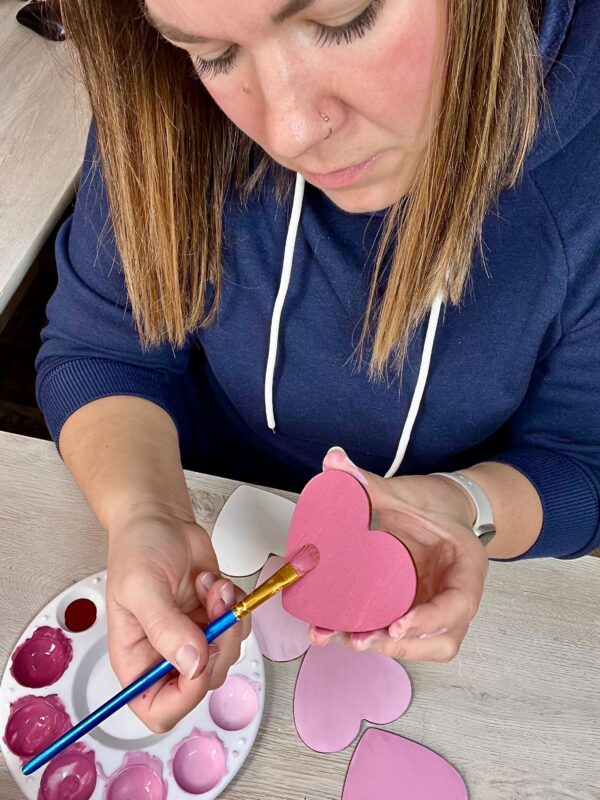
- Allow all the hearts to dry completely.
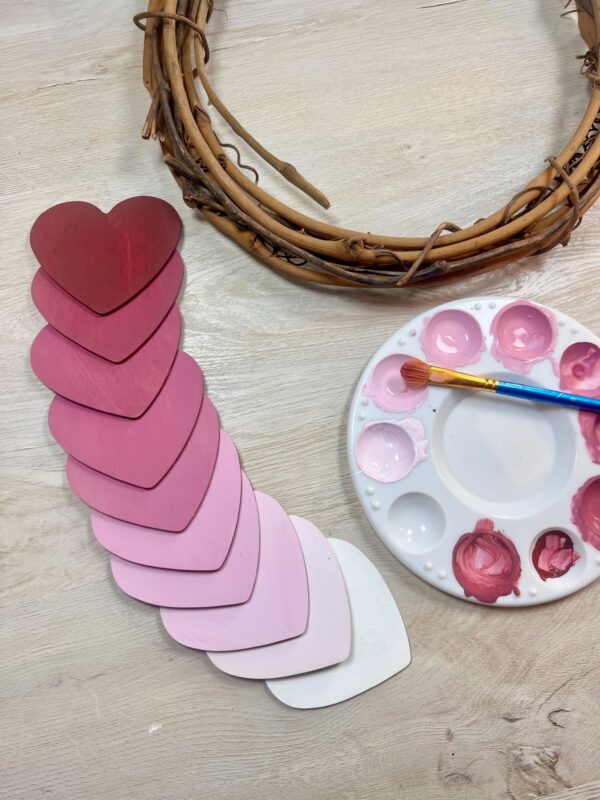
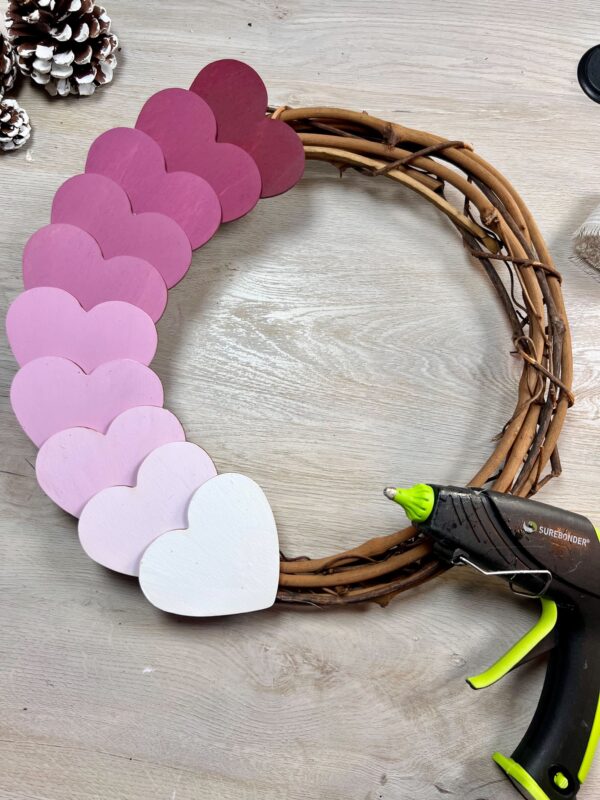
Step 2: Arrange the Hearts on the Wreath
Once your hearts are dry, arrange them on your grapevine wreath. Play around with different placements until you’re happy with the layout. You can cluster the hearts on one side for an asymmetrical look, scatter them evenly around the wreath, or create a pattern like alternating colors.
Use a hot glue gun to securely attach the wooden hearts to the grapevine wreath. Press each heart firmly into place, holding it for a few seconds to ensure it sticks well. Be careful with the hot glue, as it can seep through the gaps in the grapevine.
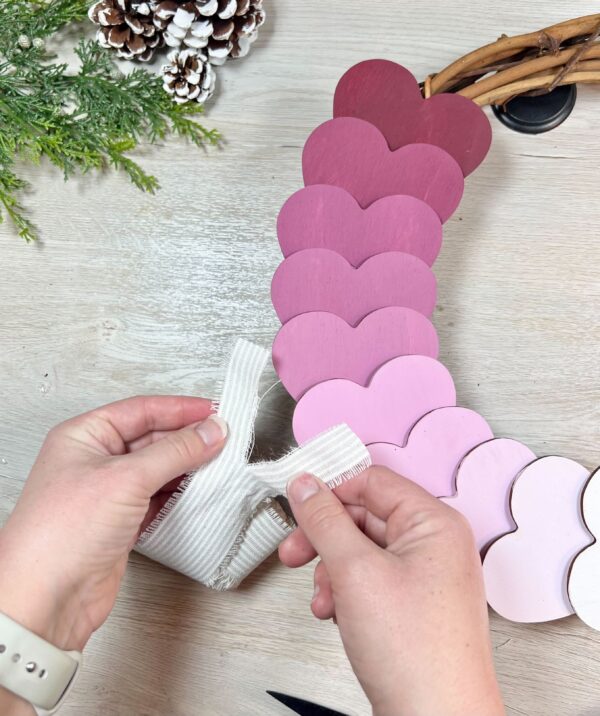
Step 3: Add Finishing Touches
Adding a bow made from ribbon on the opposite side of the wreath. Here I grab our 1″ Ivory and Cream Striped Linen Ribbon.
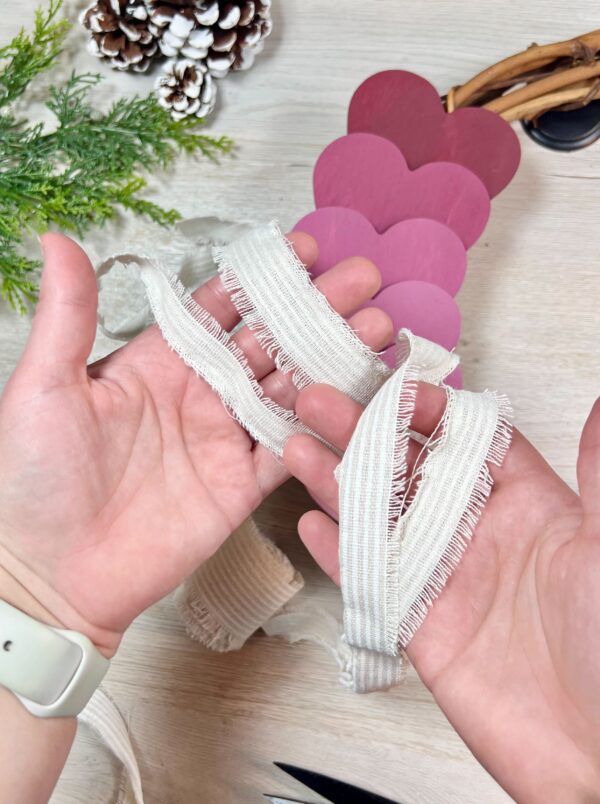
Cut the ribbon approximately 15 inches long. Next, make a small slit in the middle of the ribbon and tear it carefully to create two separate 1/2-inch strips. Place these two strips on opposite sides near the bottom of the wreath.
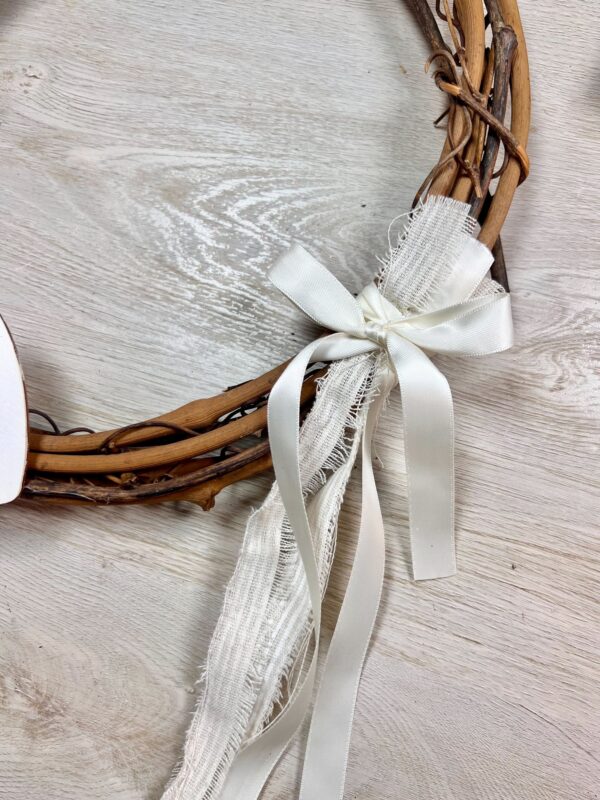
For layering, take the 5/8-inch White Double Face Satin ribbon and cut a longer piece of this ribbon and wrap it around the two linen strips already laid on the wreath. Then, bring the ends of the ribbon to the front and tie them into a neat bow to finish the look.
Step 4: Hang Your Wreath
Attach a loop of ribbon or twine to the back of the wreath for hanging.
Your DIY Valentine’s Day wreath is now ready to display! Hang it on your front door, above a mantel, or anywhere in your home to spread a little love and cheer. Not only is this wreath a beautiful decoration, but it’s also a heartfelt creation that you can enjoy for years to come