Skip to search Skip to navigation menu Skip to main content Selecting option will reload page

Category: Kid's Arts and Crafts

Candy Cane Clothespins

Candy_Cane_Clothespins
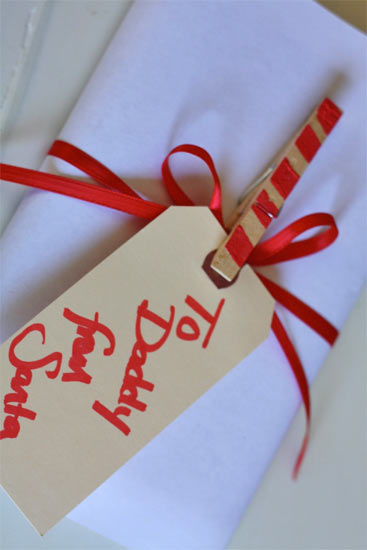
Clothespins are so handy it’s ridiculous. We keep them in just about every room of our house and use them for all kinds of things, they keep bags of chips closed, mark our place in books, corral tomorrows outfits for the kids, mark whose napkin is whose at the dinner table, hold up artwork, and so much more. While we always keep a packet of plain ones around, there are many that have been decorated over time as well floating around. Just seeing them makes me smile! Starting this Christmas clothes pins have another job in our house, gift tag holder, now that I’ve got a set of these candy cane striped pins set and ready to go.

Things you need:
1 large (long) russet potato
Clothespins
Bright Red Apple Barrel Acrylic Paint
Craft Knife
Foam Brush
Pencil
Ruler
Paper plate

Things to do:
1. Slice the potato long ways and dry the cut side well.
2. Using your ruler and pencil, draw candy cane style stripes onto the surface of the potato.
3. Cut out every other stripe from the pattern down about 1/4″ to create a stamp.
Candy_Cane_Clothespins2
4. Spread the paint onto the paper plate and stamp down with the potato, checking to see that the stripes are well covered, but not goopy, with paint. You can also just use a foam foam brush to gently paint the red onto the potatoes, assuring that you’re the stripes and not the rest of the potato.
Candy_Cane_Clothespins3
5. Stamp the pattern onto clothespins; depending on the width of your potato, you may be able to do two or three at a time. Allow the paint to dry and store with your wrapping supplies for ready-made tag holder and gift decorations!
Candy_Cane_Clothespins4

Continue Reading

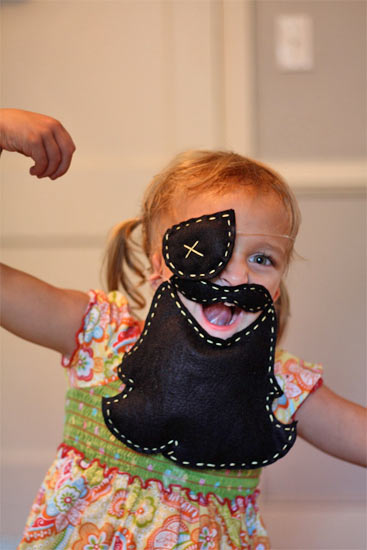
Quilted Felt Pirate Beard and Patch

Felt_Pirate_Bead
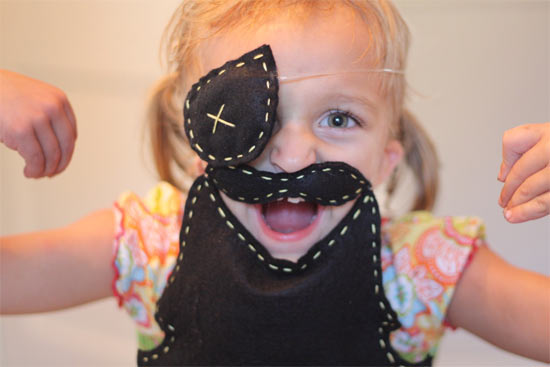
Every year I spend hours sewing and basting and pinning and trimming to get my children’s Halloween costumes just right. And then the night before my son reminds me that my husband and I need to dress up as something and I go into a panic trying to throw something together for us. This felt pirate’s get-up is the perfect last minute costume piece. It’s quick, fun, and you probably have all the materials sitting in your cupboard right now!

Things you need:
2 – Black felt squares
Embroidery thread (Here I used yellow because I wanted the pop, but black would make it a more serious look!)
Embroidery needle
Scissors
Craft glue
Ribbon, yarn or clear elastic cord
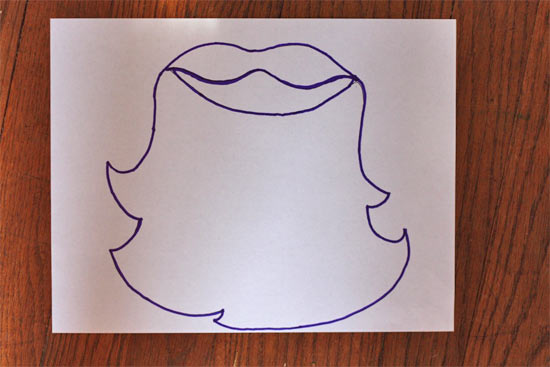
Pirate Beard Template

Things to do:
1. Stack your felt up so that the edges are straight and pin the template on top. Cut out both pattern pieces (there will be two of each)
Felt_Pirate_Bead2
Felt_Pirate_Bead3
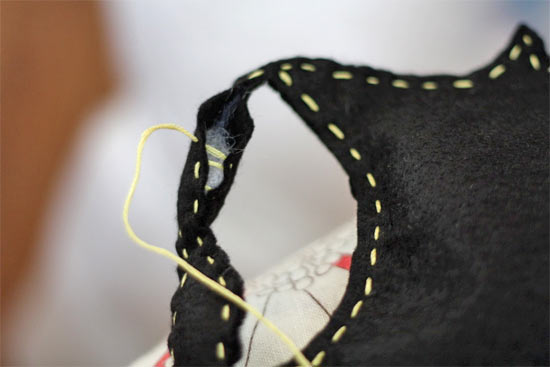
2. Leaving them stacked, thread your needle with ALL 6 STRANDS from you embroidery thread. Tie a knot in one end and start your first stitch on the inside of one of the pieces to hide the knot. Sew with a running stitch around the bottom half of the beard until you have about 1″ to go, stuff with a small amount of poly fill or scraps from your felt. Finish stitching around till you meet up with your starting point. Repeat this process for the mustache and the patch. Stitch an x” in the middle of the patch.
Felt_Pirate_Bead4
Felt_Pirate_Bead5
3. Measure enough ribbon, yarn or elastic string to go around your head at the crown and also from your jar up around the back of your head. If you are using ribbon or yarn, add extra for ties, for the elastic, take an inch or so off your measurements to assure a tight fit.
4. Using a few dots of glue, slip your ties between the two layers of felt and press firmly. Allow to dry completely before wearing.
Felt_Pirate_Bead6

Continue Reading
Change Your Country
Please select your country, this will change the site to your country's currency:

Cancel