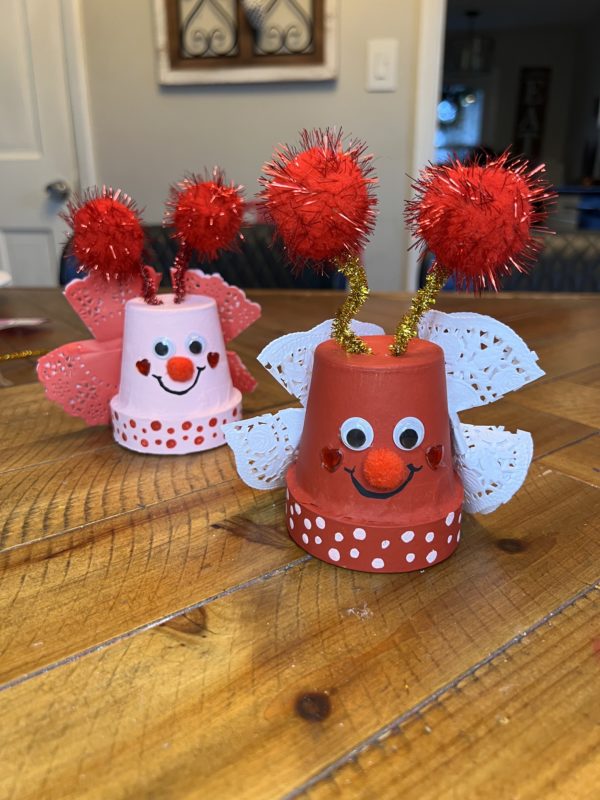
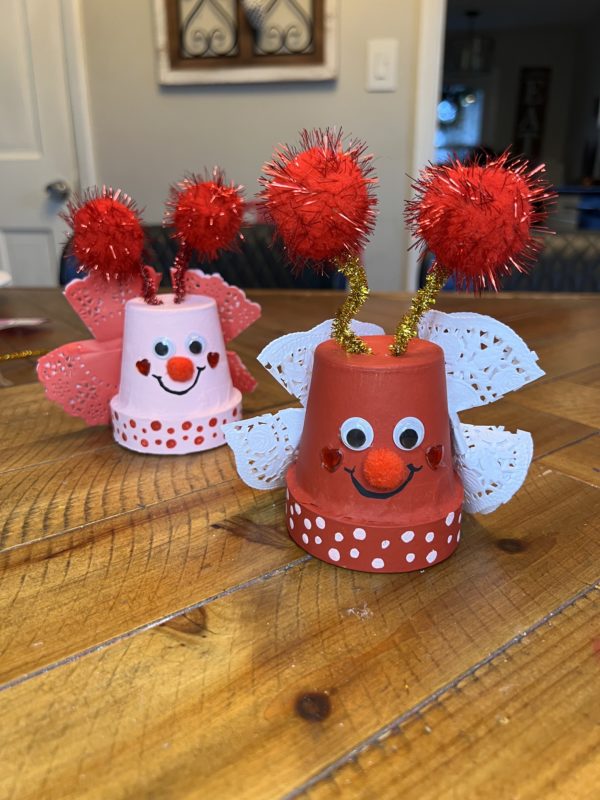
This is the perfect Valentine’s Day craft for your kids of all ages! Turn a simple paper mache pot into a sweet little love bug for the month of love! All is needed is a few crafting staples- Pom poms, pipe cleaners, googly eyes, paint and embellishments!
Difficulty level:Beginner
Time to complete: 25 minutes
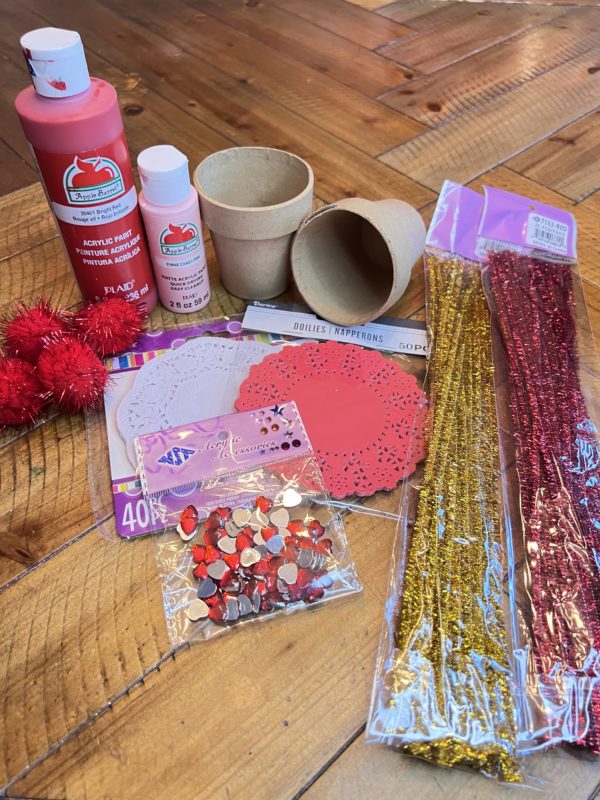
Materials needed:
Paper Mache Flower Pot
12mm Googly Eyes
Gold Metallic Tinsel Pipe Cleaners
1-1/2″ Red Tinsel Craft Pom Poms
Red Paper Doilies
White Paper Doilies
Red Acrylic Heart Rhinestones
Black Apple Barrel Acrylic Paint
Cameo Pink Apple Barrel Acrylic Paint
Bright Red Apple Barrel Acrylic Paint
Glue Gun
Scissors
Paint Brushes
Q-tip
Shop the materials here:
https://factorydirectcraft.pro/catalog/advanced_search_result.php?keywords=fblvbgvlntnpmpts
Let’s grab your supplies, channel your inner artist, and let get crafting!

Step 1: Prepare the Pots
To prepare the pots, grab the desired paint that you wish to be the background colors. Since these are Valentine themed, i went with pink and red.

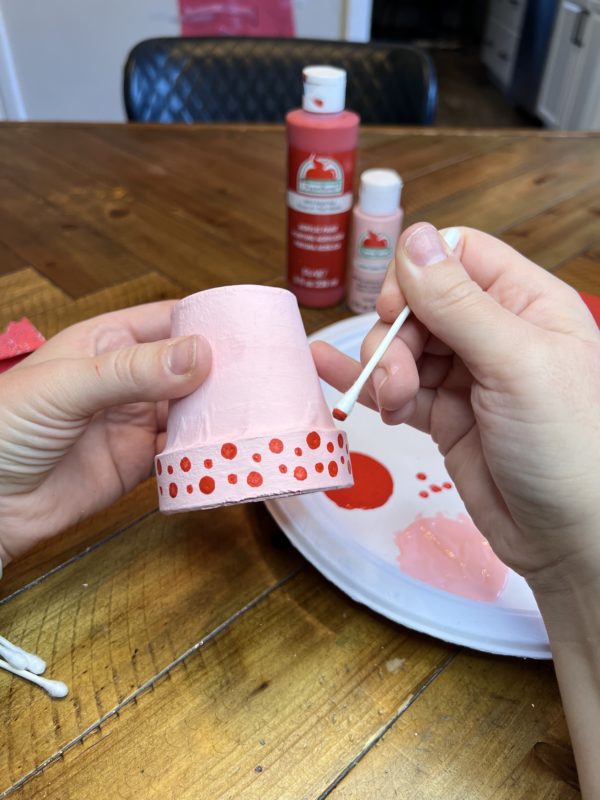
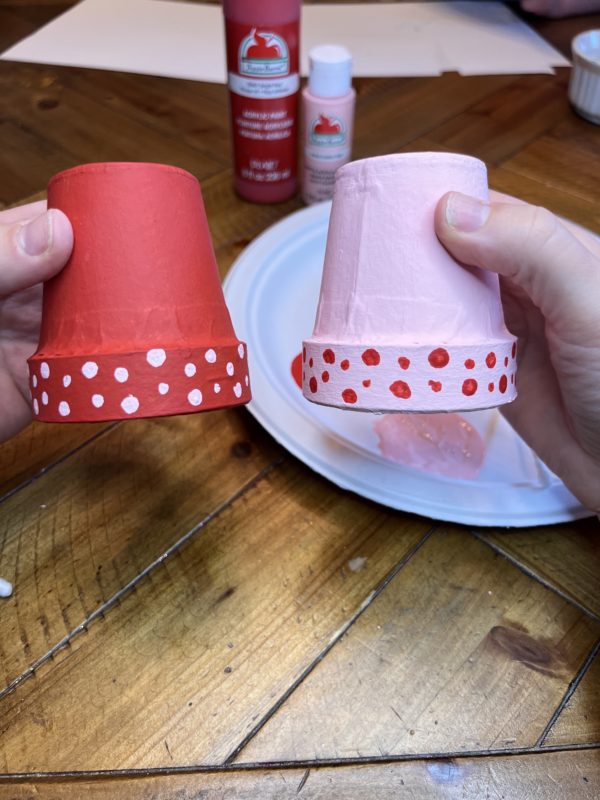
Once those 2 layers of paint on each dried. I came back with a Q-tip and made dots along the lip of each pot.
I applied red dots on the pink pots and pink dots on the red pots.
Step 2: Apply the face
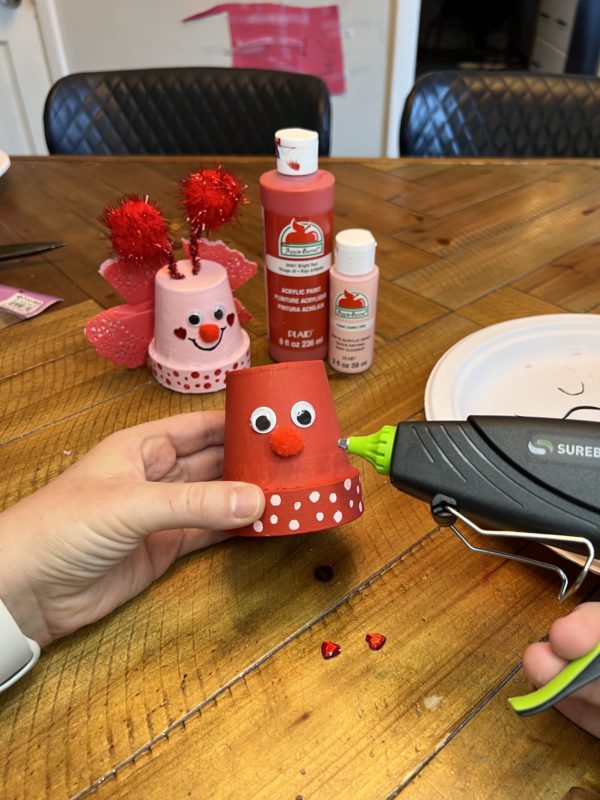
Here i used 12mm googly eyes and 10mm pom pom for the nose. Simply glue those on with your hot glue gun.
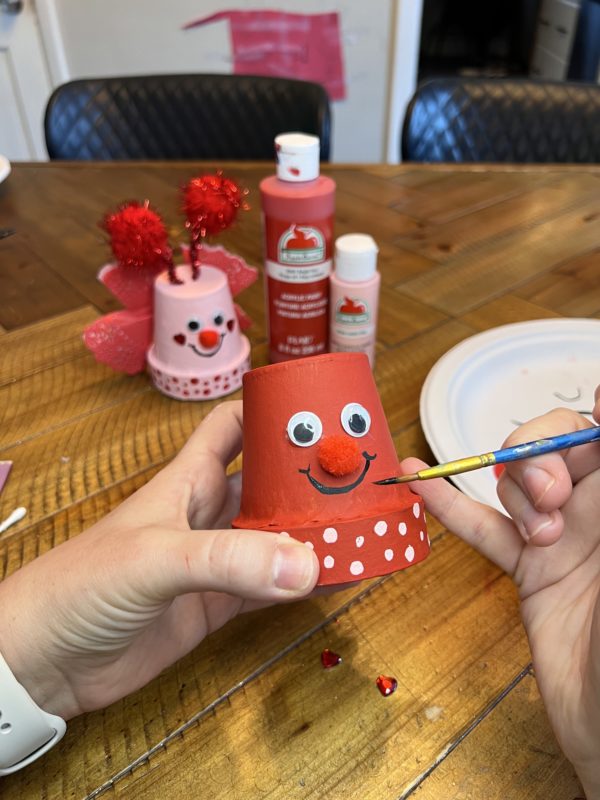
Grab your black paint and paint on that mouth! Add any other details you wish as well, but i just wanted to keep is simple.
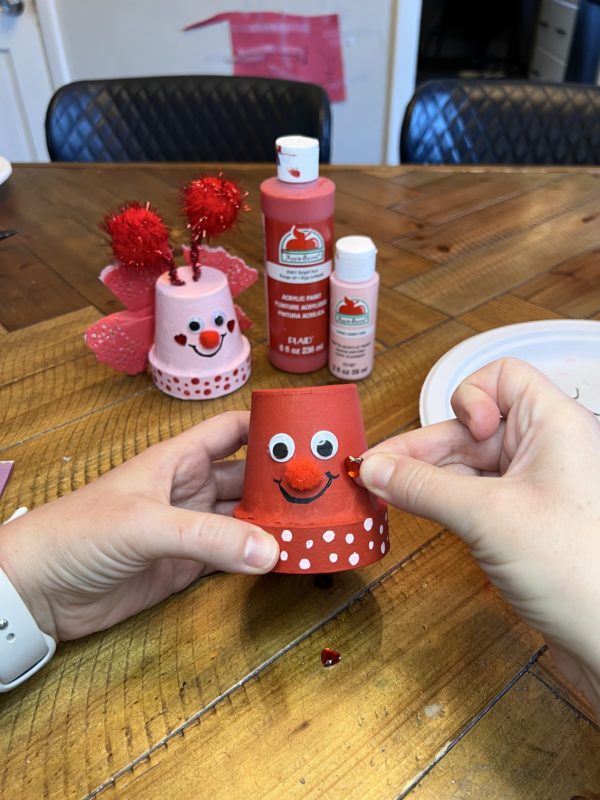
We have these cute gem hearts that i had to add onto these cute Love Bugs! I decided to glue them on to their little cheeks.

Step 3: Creating the Antenna
I wanted to create the antennas using our tinsel pipe cleaners. To help secure them a little more in place, i used scissors to help poke 2 holes in the top of each pot. Bend the pipe cleaner in half and slip them inside the pot to stick outside on the ‘bottom’ of the pot. You can then add a dab of hot glue to help hold in place.
Once dry, i took the piep cleaner and bent those in half on each side and twisted them together.
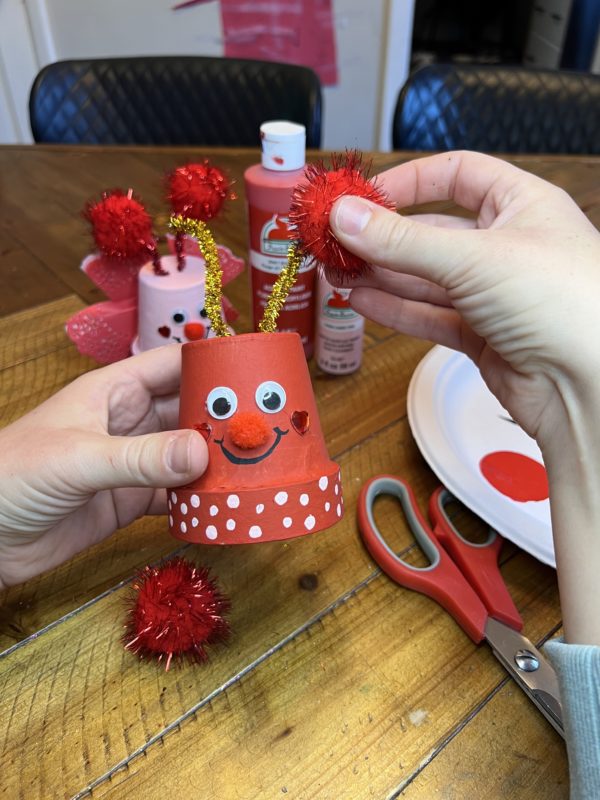
Grab your red tinsel pom poms and glue them on the top of each “antenna”.
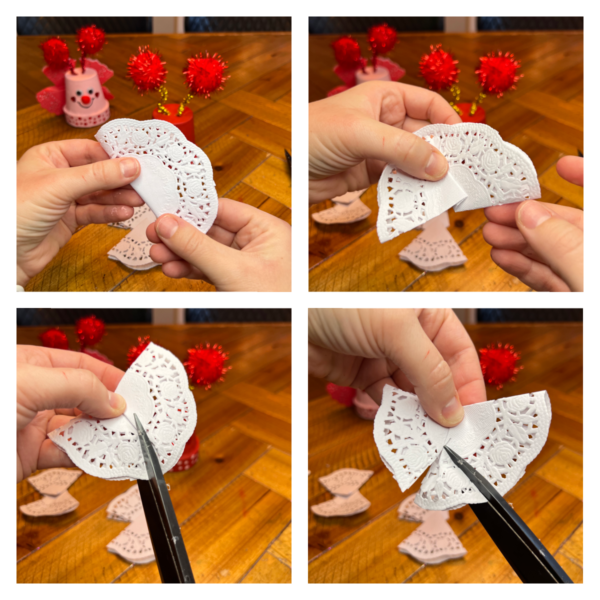
Step 4: Create the wings
We have these small 4.5 inch paper doilies, so i took these and folded them in half. I then folded at the seam to be a bit overlapping. Once this was done, on the lace side, i cut out a triangle shape. This created the wings for the Love Bugs.
I then glued them on the back side of the pots! That’s it, simple and easy! A valentine’s day craft that kids will want to do and keep!