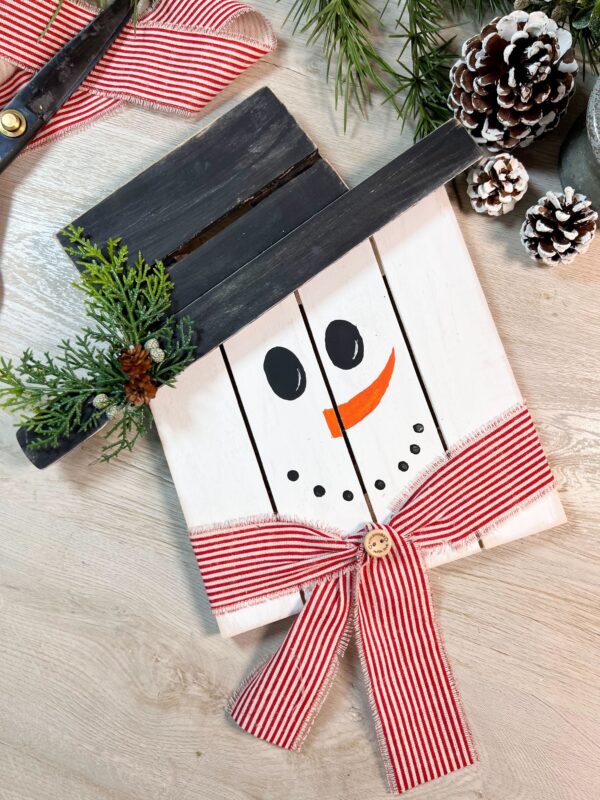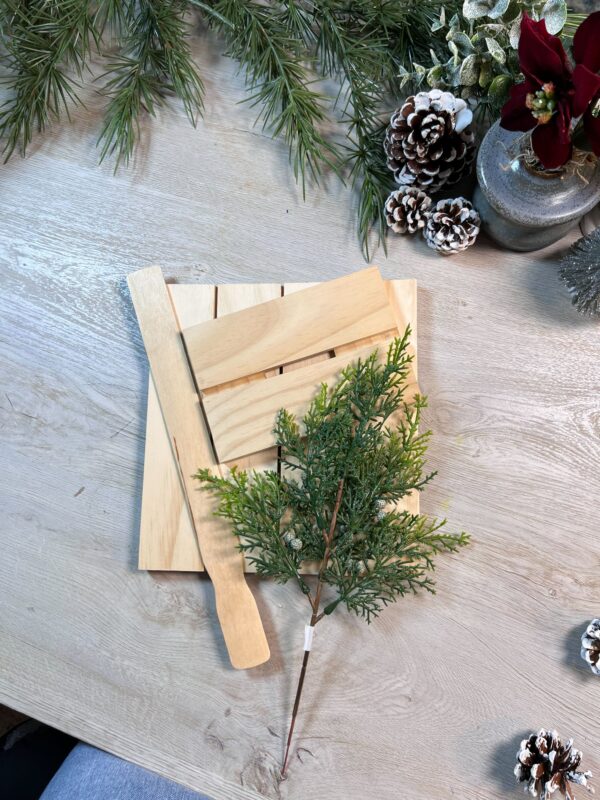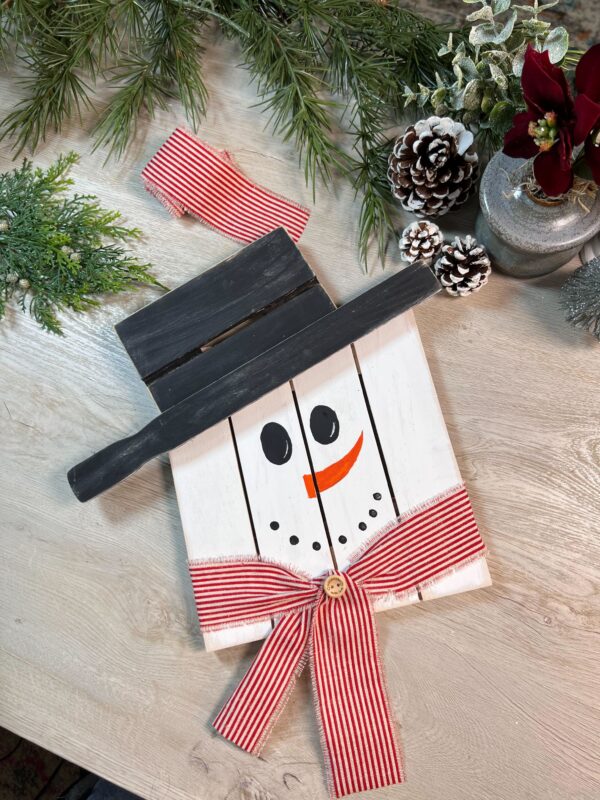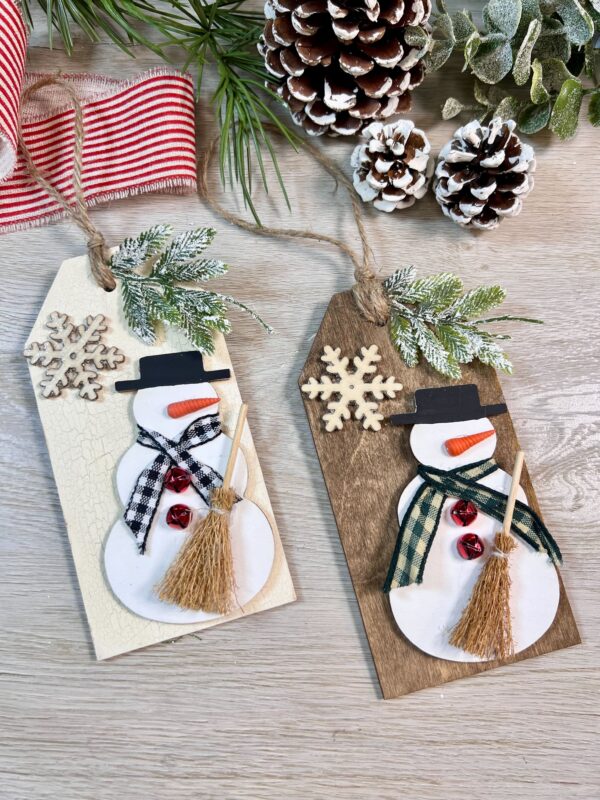
Get ready to elevate your holiday decor with a rustic, cozy charm by creating a delightful wood tag adorned with a snowman! This DIY project is quick, easy, and the perfect blend of farmhouse and festive flair. You can personalize each tag for your loved ones or use them to add a unique touch to your holiday decor.
Difficulty level: Beginner
Time required: 45 Mins
Age range: 8+
Materials Needed:
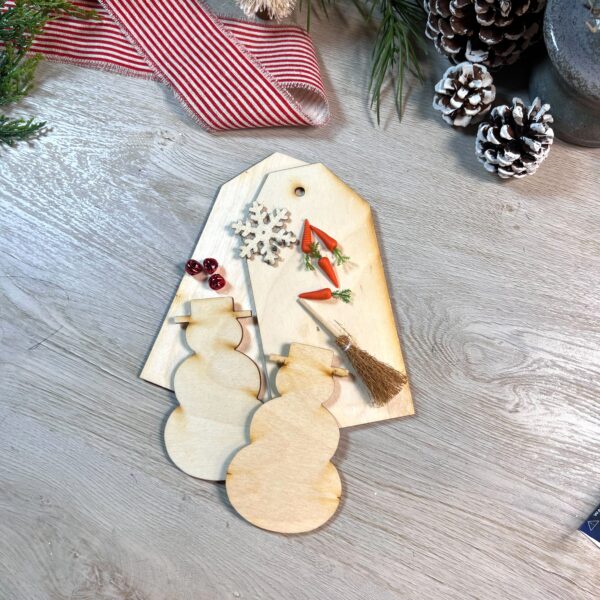
- 6″ Large Unfinished Wood Hang Tag
- Laser Cut Unfinished Wood Snowmen
- Nutmeg Brown Apple Barrel Acrylic Paint
- Antique White Apple Barrel Acrylic Paint
- 2 Fluid Oz. Folk Art Crackle Medium
- 1/2″ Green Gingham Check Wired Ribbon
- 1:12 – 1″ Scale Miniature Carrots
- Weatherproof Frosted Berry and Leaf Spray
- Miniature Natural Straw Brooms
- 1-1/2″ Small Wood Snowflake Cutouts
- Red Jingle Bells
- White Apple Barrel Acrylic Paint
- Black Apple Barrel Acrylic Paint
- Paint brush
- Hot Glue Gun
- X-acto Knife
- Scissors
Find all materials here:
https://factorydirectcraft.pro/catalog/advanced_search_result.php?keywords=FBsnwmntgornmntdcr
Let’s grab your supplies, channel your inner artist, and let’s get crafting!
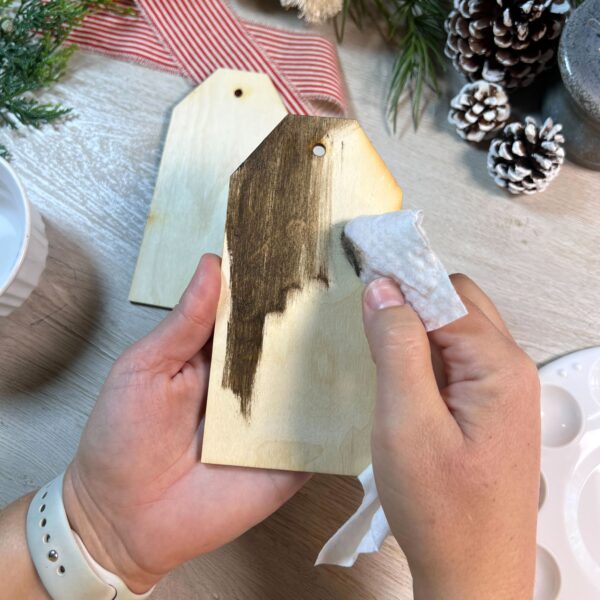
Step 1: Prepare the Wood Tag
For this craft, I decided to create two different styles of wood tags using distinct techniques:
- Stained Tag:For the first tag, I used a staining method with brown acrylic paint and a touch of water. Simply mix the paint and water together, then apply it to the wood using a paper towel for a soft, rustic finish. This technique allows the wood grain to show through beautifully, adding a natural charm.
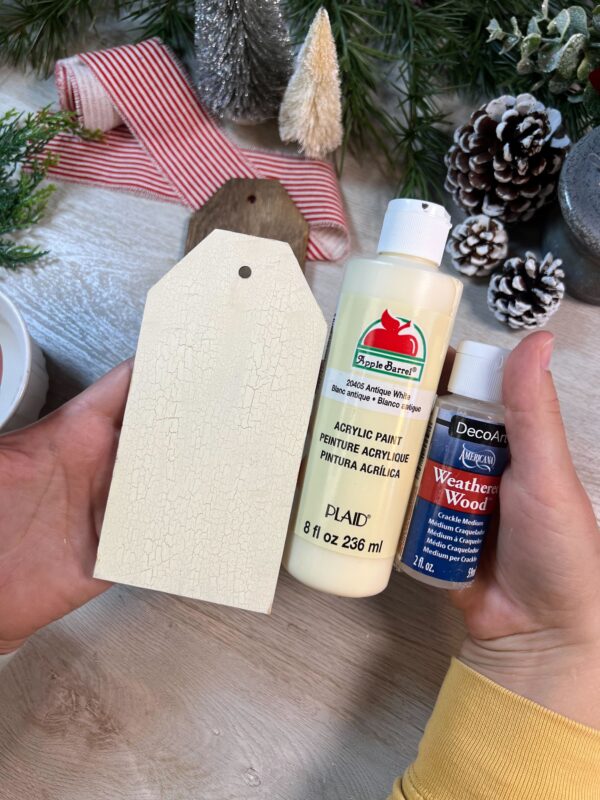
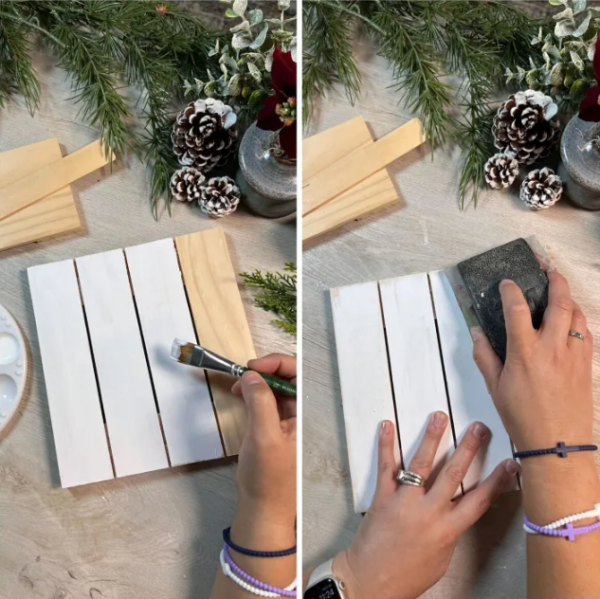
Crackled Antique Tag:For the second tag, I went with an antique finish using Apple Barrel’s Antique White paint. I started by applying a generous layer of Crackle Medium to the surface. Once the medium was fully dry, I painted over it with the antique white. As the top layer dried, it cracked to reveal a perfectly aged and distressed look, giving the tag a vintage flair.
Step 2: Create Your Snowman
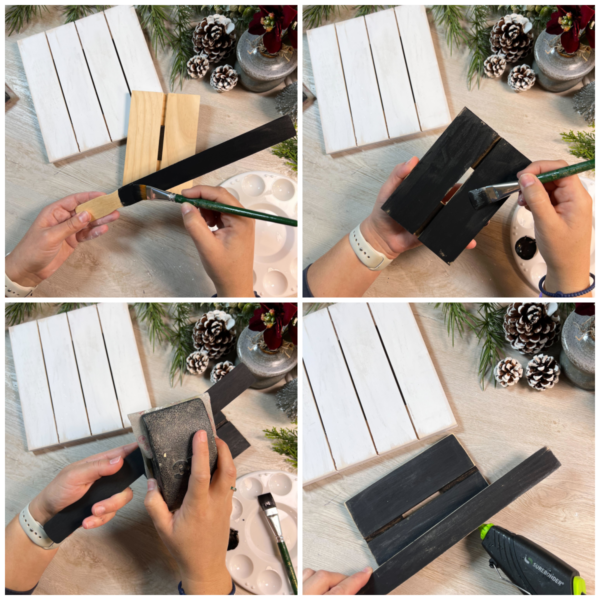
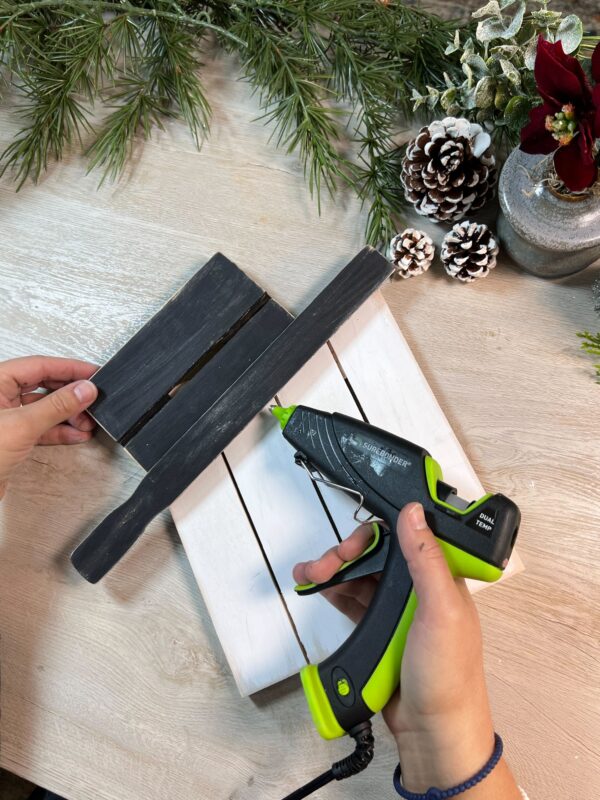
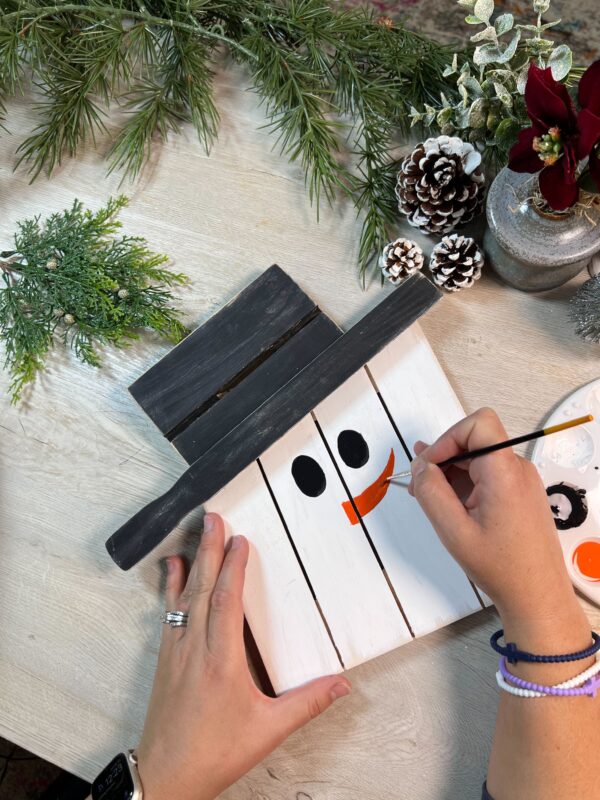
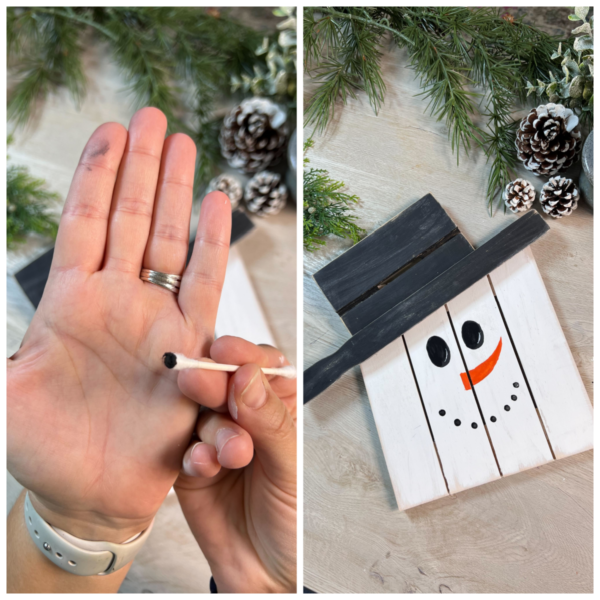
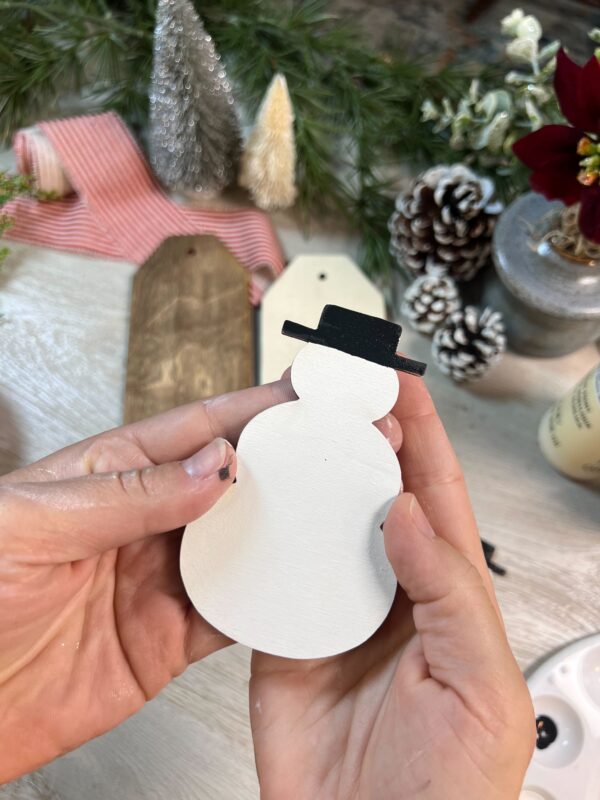
Next, take your snowman cutouts and get them ready for your project. Start by painting the snowman’s body with white Apple Barrel paint for a crisp, clean look. Then, use black Apple Barrel paint to carefully paint the top hat area, adding a classic touch to your snowman design.
Step 3: Attach the Snowman Embellishment
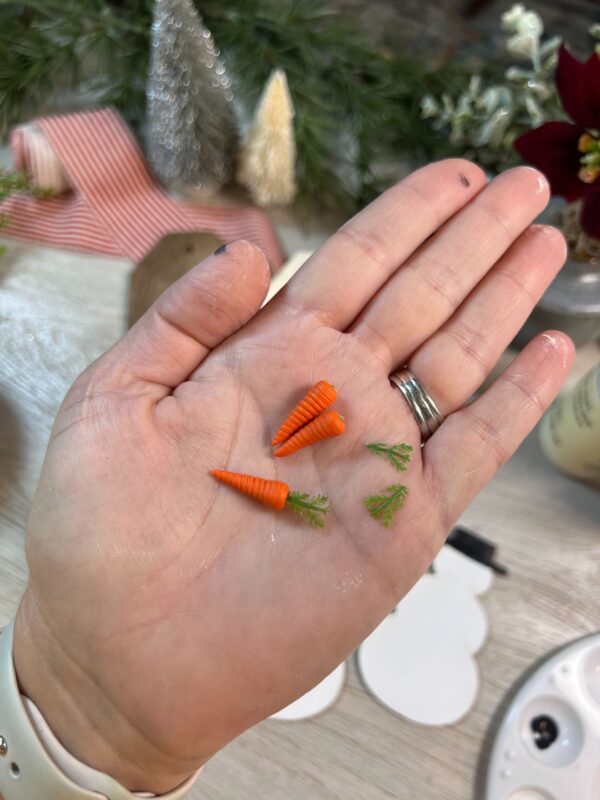
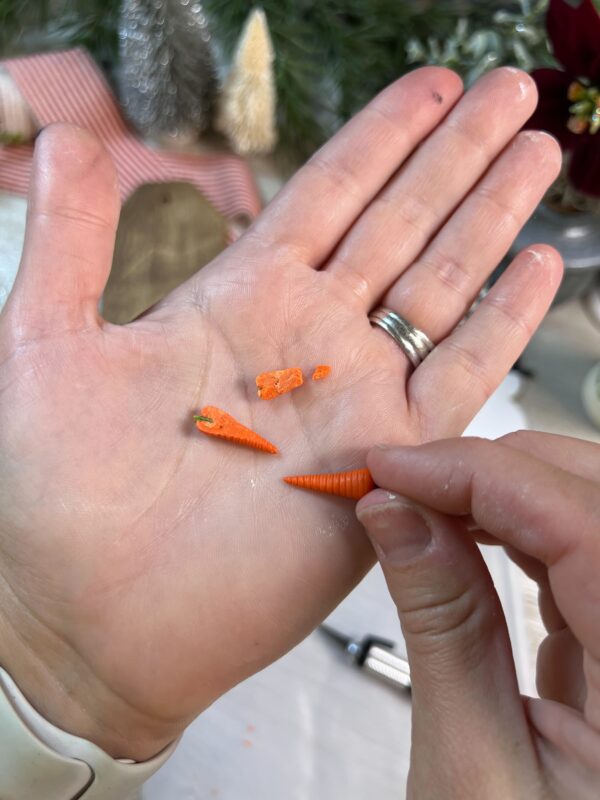
Take your miniature carrots and trim off the green tops. Then, carefully slice each carrot in half using an X-Acto knife for a clean and precise cut.
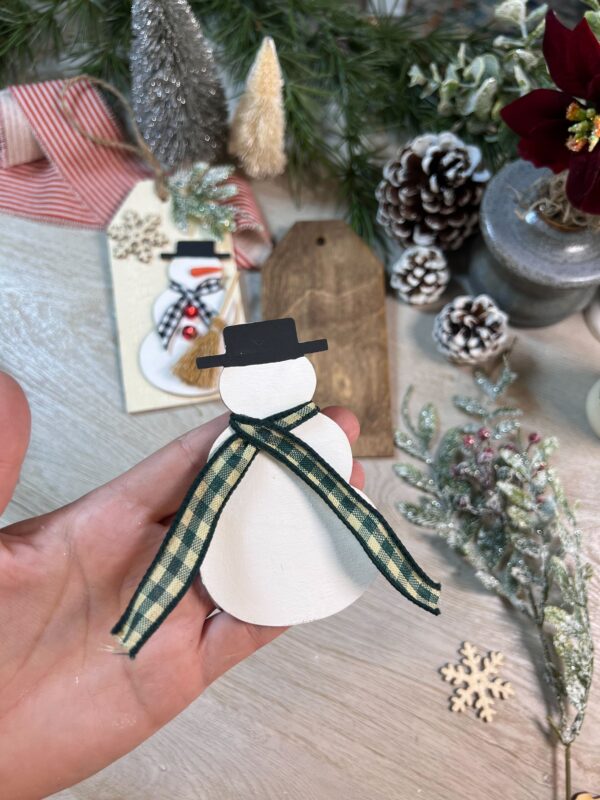
You will then pick out your ribbon you wish to wrap around the snowman for the scarf.

Now it’s time to assemble your snowman! Start by gluing on the prepared carrot as the nose. Next, attach buttons-or, in this case, bells-for the snowman’s buttons. For a charming extra touch, add a miniature broom as an accessory, securing it in place with glue.
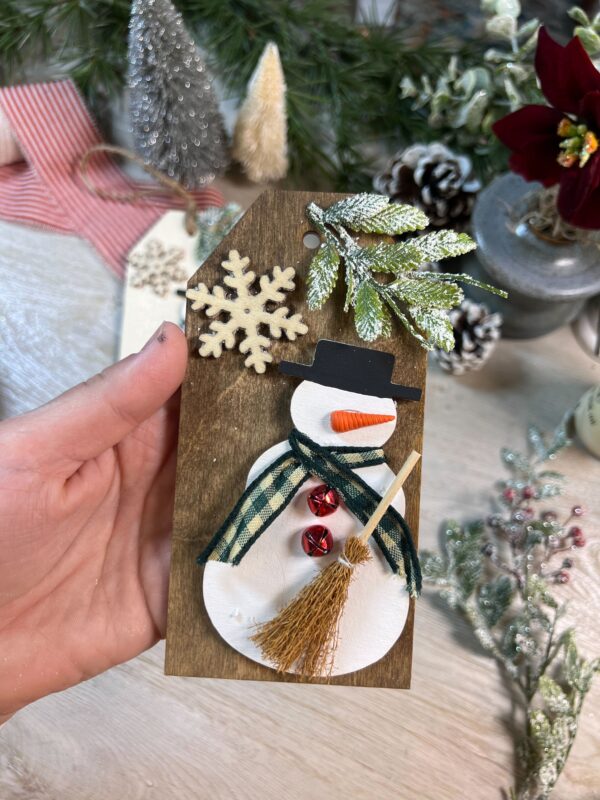
Once everything is complete, glue the snowman to one side of the painted tag. To add a festive touch, I attached sparkly snowflakes to the upper left corner. For the upper right corner, I glued a bit of greenery, creating a beautifully balanced and finished look.
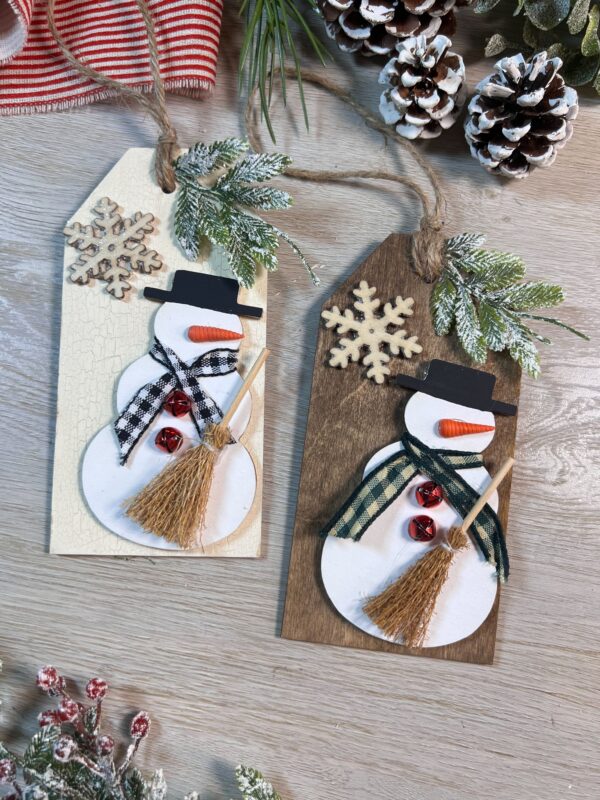
Finally, take some ribbon or jute and wrap it through the hole of the tag, tying it into a neat loop for easy hanging. And voila-your tag is complete! It’s ready to decorate wreaths, packages, gifts, tiered trays, or anything else you can imagine!