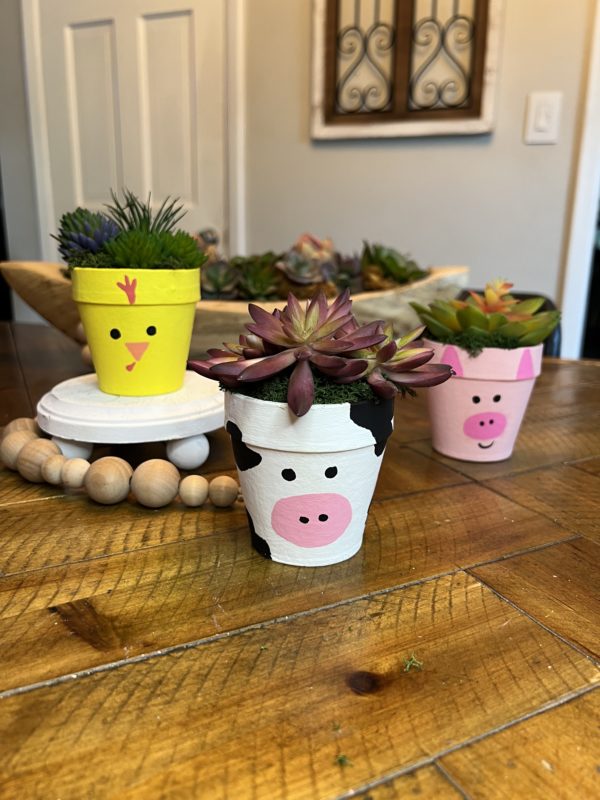
How adorable are these guys! Transform your space, weather it’s for your farm, kids storage for their art supplies, or displays for your garden table. These are so playful and sure will bring smiles to your guest.
Difficulty level:Beginner
Time to complete: 30 minutes
Things you’ll need:
- Paper Mache Flower Pot
- 1.5 qt. Package of Medium Green Lichen Moss
- Artificial Echeveria Succulent Pick
- Assorted Artificial Succulents
- Harvest Orange Apple Barrel Acrylic Paint
- Black Apple Barrel Acrylic Paint
- Diva Pink Apple Barrel Acrylic Paint
- White Multi-Surface Acrylic Paint
- Cameo Pink Apple Barrel Acrylic Paint
- Lemon Yellow Multi-Surface Acrylic Paint
- Floral foam/styrofoam
- Hot glue
- Paint brushes
- Scissors
- Q-tip
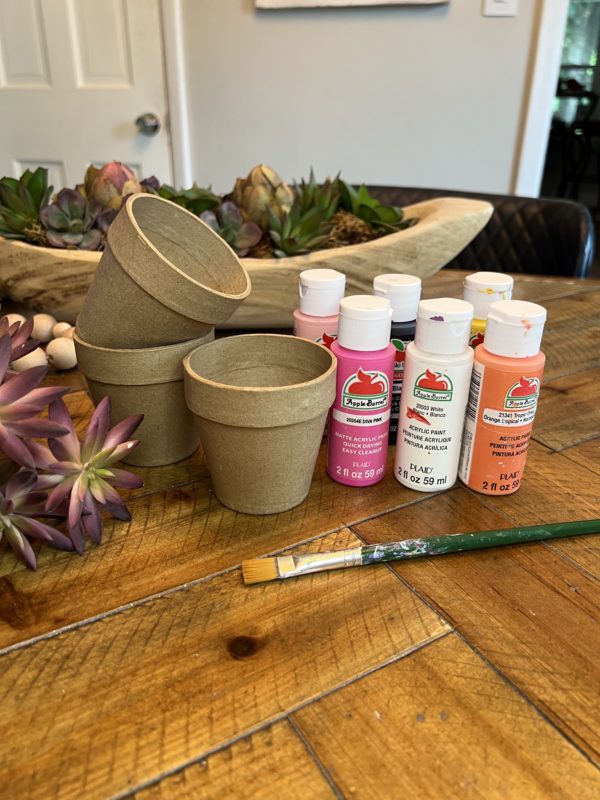
Let’s grab your supplies, channel your inner artist, and let get crafting!
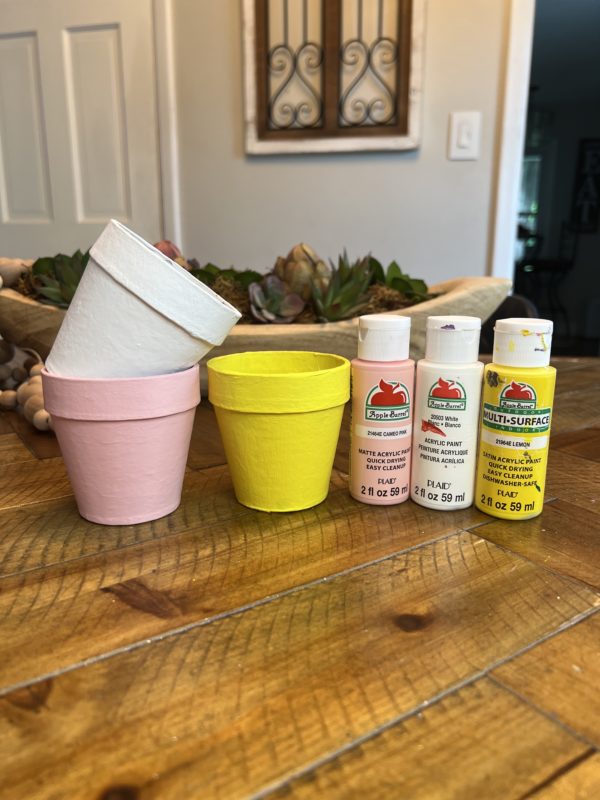
Step 1: Painting the base
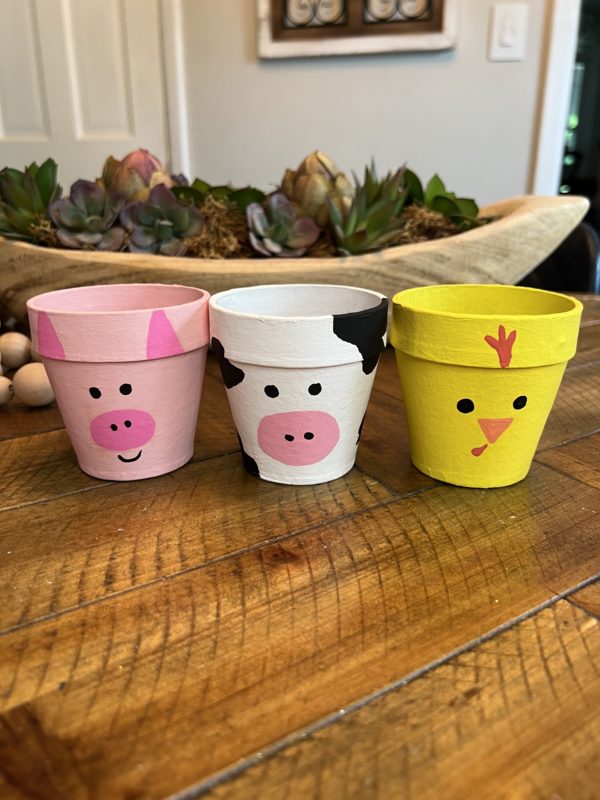
I chose to do a barnyard theme for these paper mache pots. I mean, Is there anything cuter that a cow, pig and a chick!! So for the bases, i painted them white, pink and yellow.
Helpful tip – Use a pencil and draw the faces on the pots. This will help with placement and get the desired shapes you wish.
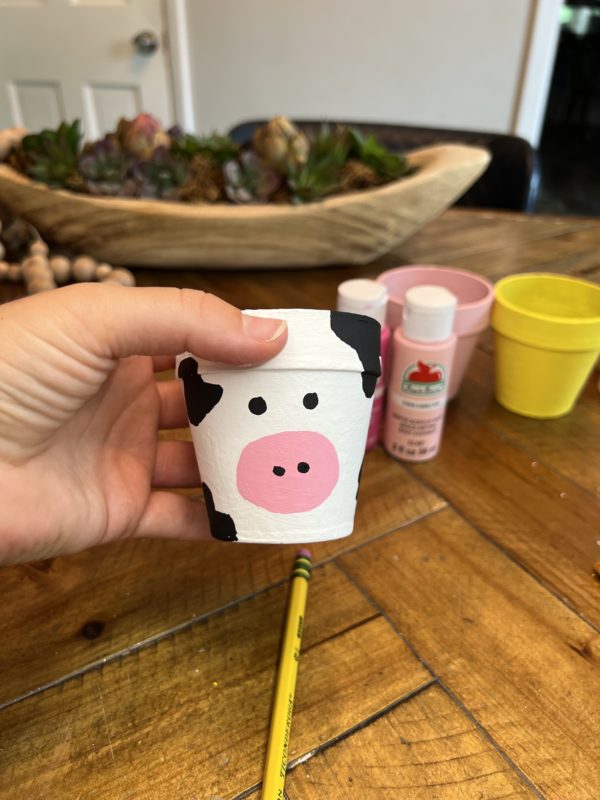
Step 2: Creating the cow
First, you will start off by painting the nose and the eyes. This will allow you to find the best spots to paint on the black spots for the cows ‘body’. You will paint the nose pink. Then once dry, you will use a Q-tip to dip in the black paint to create the eyes and the nostrils.
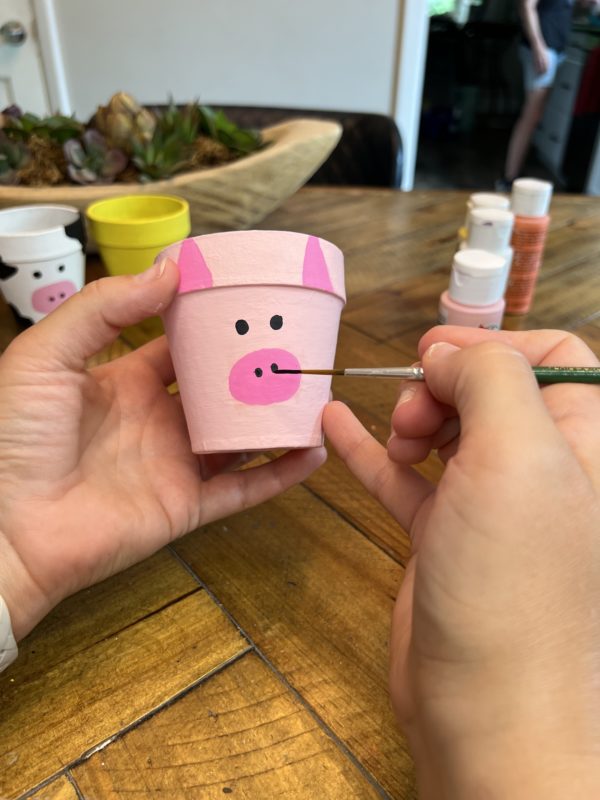
Step 3: Creating the piggy
Here you will take the hot pick and paint on the ears and the nice rounded nose for the pig. Once this is dry, you will then come in with a clean Q-tip and dot the eyes and the nostrils. Then you will come back with a small paint brush and paint on the little side mouth.
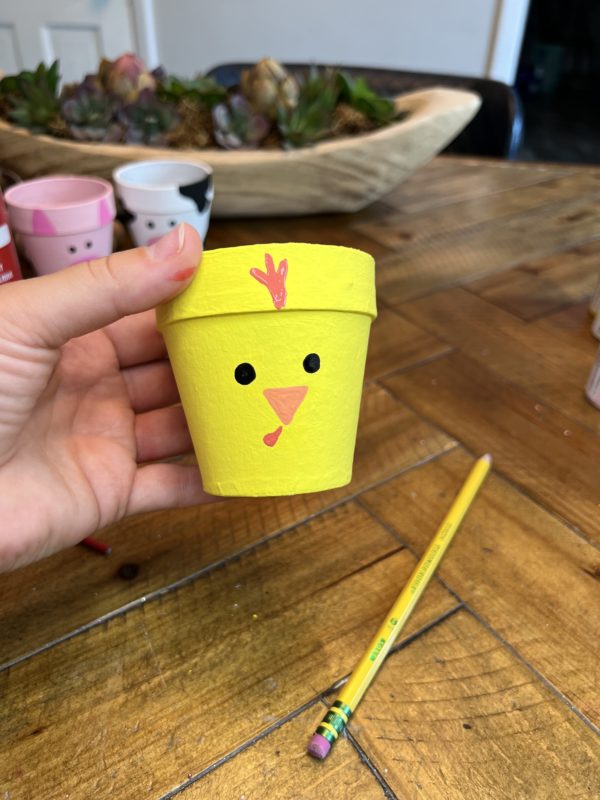
Step 4: Creating the chick
Here you will start with the beak. Grab your orange paint and paint a upside down triangle. Grab a darker orange to allow you to have contrast when painting on the comb at the top of the ‘head’ and the wattle near the beak. Lastly, take a Q-tip to dot on the eyes.
Step 5: Filling the pots
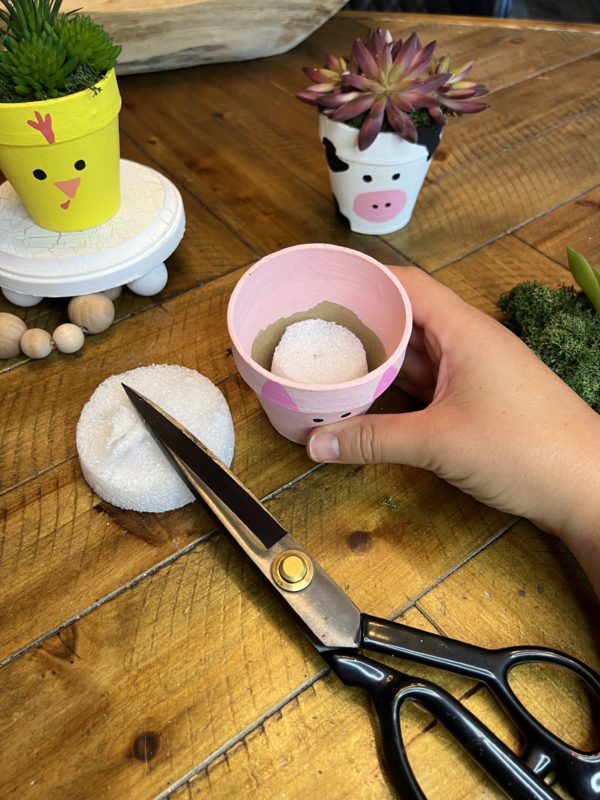
To start, i took some Styrofoam that I had laying around and cut it up into pieces to fit inside the pots. This will allow you to easy poke the succulents in place.
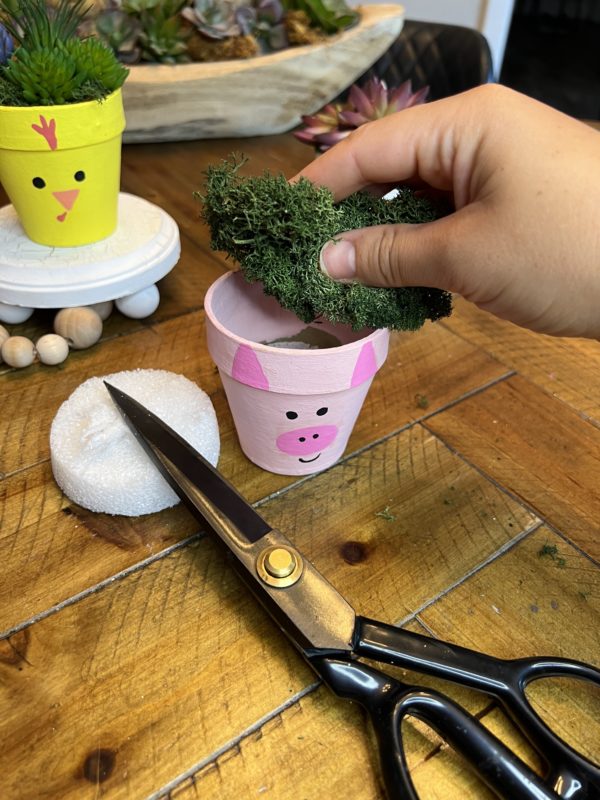
Then you will come through and top each pot with the desired amount of the lichen moss.
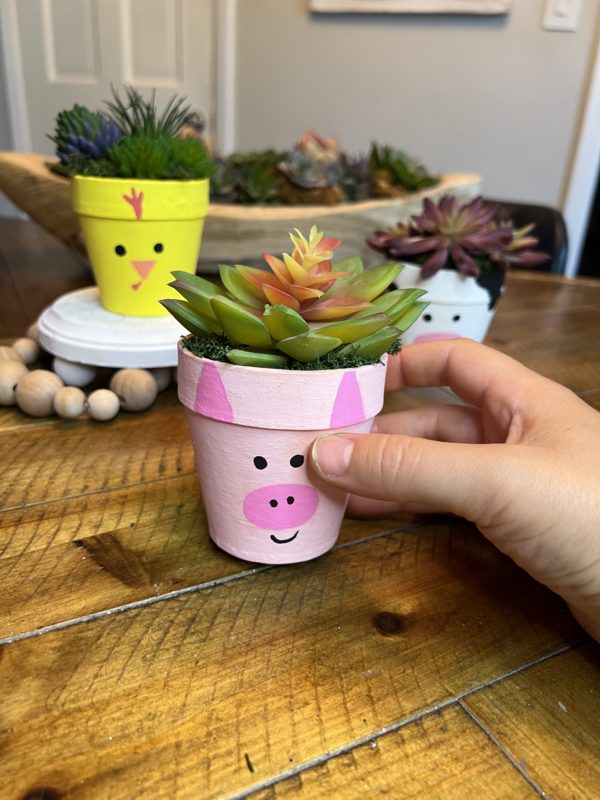
For the finishing touch, place any types of succulents that you may have or other faux flowers. These are cute art activities for kids for those barnyard parties, farm tables, or even allowing kids to place their art supplies inside.
How to video
Want to see more? Find more beautiful and unique projects by subscribing to our YouTube Channel here
- https://www.youtube.com/@FactoryDirectCraft