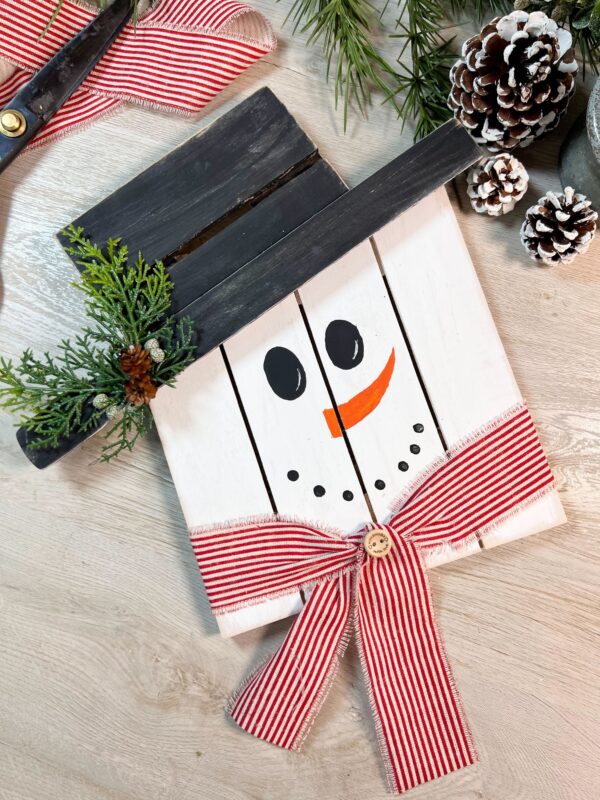
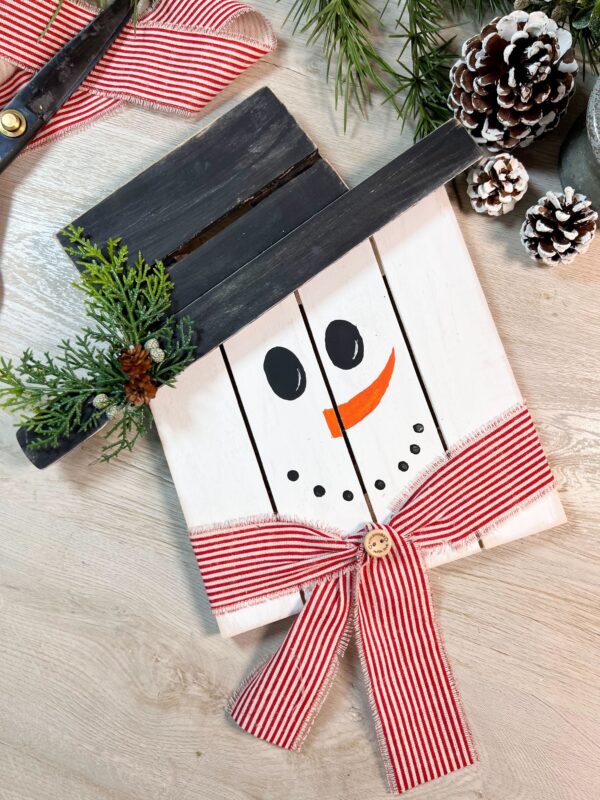
Looking to create a quick, fun Christmas project in about 20 minutes? This DIY wooden pallet snowman is a perfect festive decoration for your home or porch. You only need a few supplies, and it’s simple enough for anyone to do. Great for group crafting, home decor, or even as an accent in a wreath
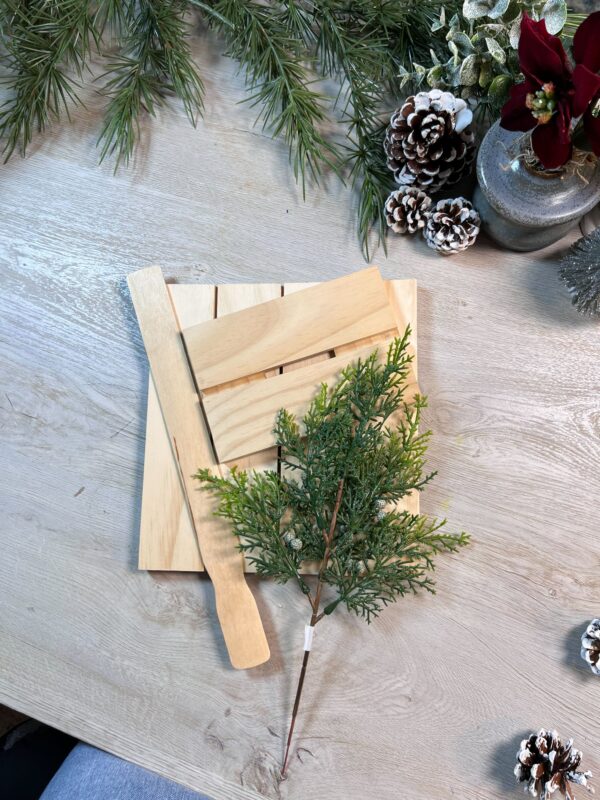
Materials Needed:
8″ X 8″ – Unfinished Wood Pallet Sign
6″ x 4″ – Unfinished Wood Pallet Sign
Unfinished Wood Paint Stir Fan Sticks
15 mm “Handmade with love” Wood Buttons
2″ Red and White Striped Linen Ribbon
Weatherproof Faux Oregon Juniper Spray
Mini Natural Pinecones
Black Apple Barrel Acrylic Paint
Harvest Orange Apple Barrel Acrylic Paint
White Apple Barrel Acrylic Paint
Paint brush
X-acto Knife
Hot Glue Gun
Scissors
Q- Tip
Find all materials here:
https://factorydirectcraft.pro/catalog/advanced_search_result.php?keywords=FBsnwmnwdplltdsply
Let’s grab your supplies, channel your inner artist, and let’s get crafting!
Step 1 – Prepping the Pallets
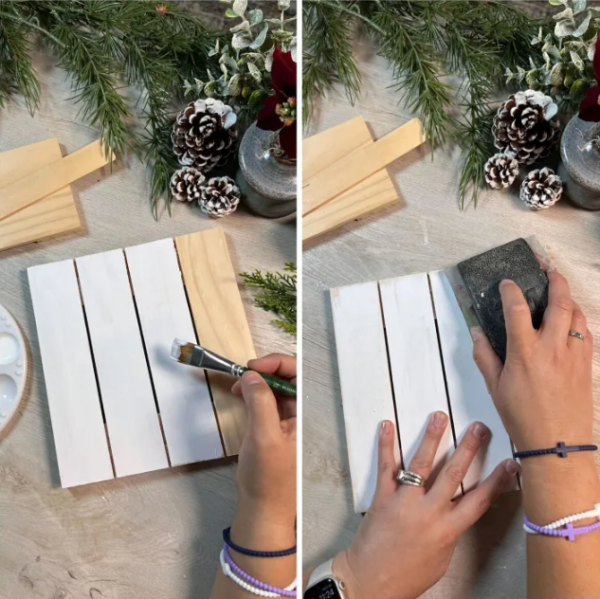
Begin by painting the pallets. For this project, I used Apple Barrel paint to cover the larger pallet. Once the paint is dry, lightly sand around the edges to create a rustic, distressed look. Leave some rough edges for added character if you prefer a more weathered style.
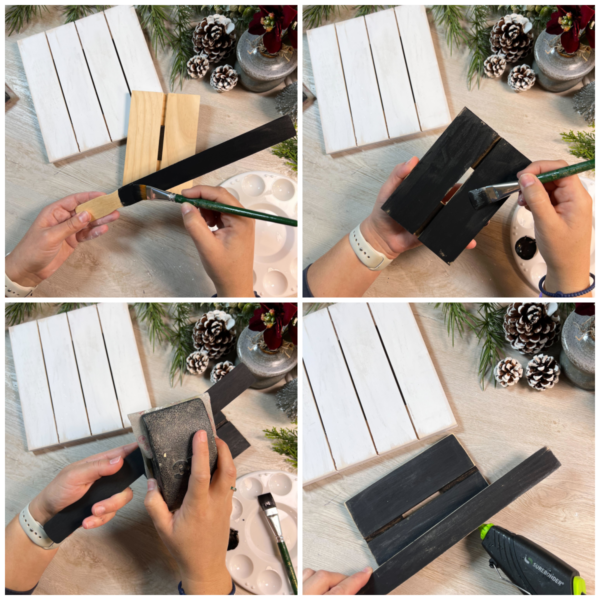
Take the small pallet and one of the paint stir sticks, and paint both black using Apple Barrel paint. Once they’re dry, lightly sand around the edges to give them a slightly distressed look.
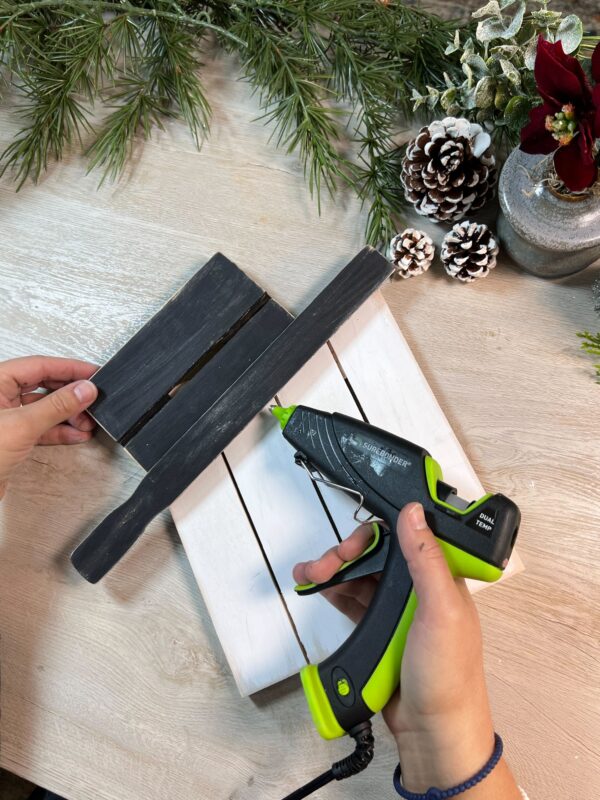
Next, glue the stir stick to the small pallet to form the snowman’s “top hat.” Once that’s set, attach the hat at a slight angle to the larger white pallet using glue.
- You can use a little bit on all purpose glue, like 527 or E6000, with the hot glue to help adhere the hat to the larger pallet. This helps secure it in place.
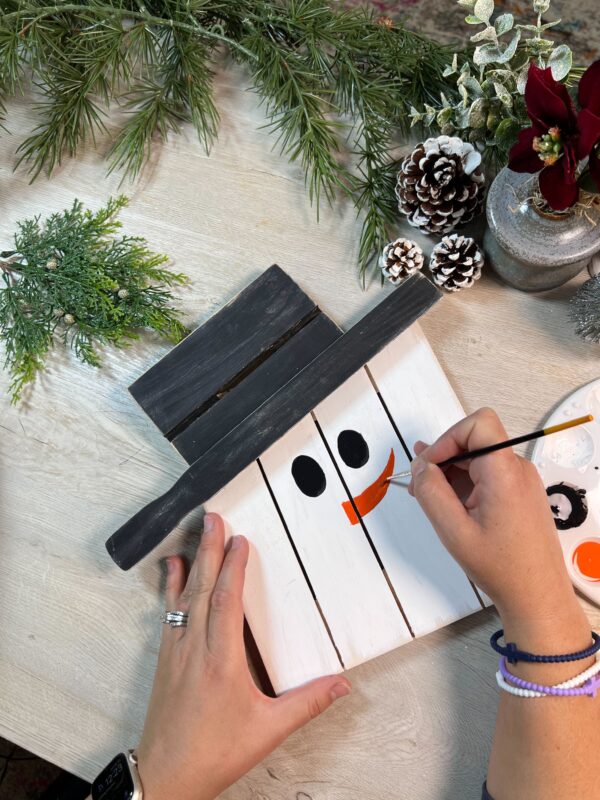
Step 2 : Create the Snowman’s Face
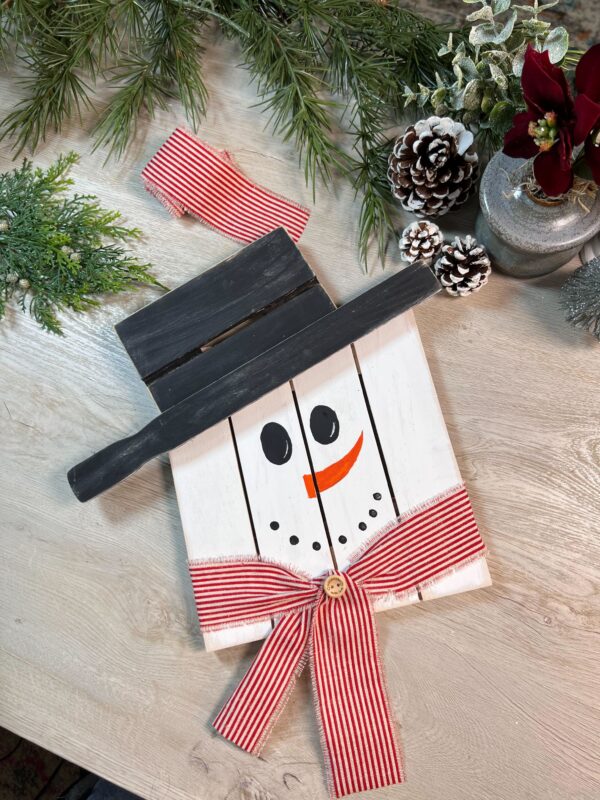
Take a small paintbrush, and let’s start bringing this snowman’s face to life! Using black paint, add two round or oval eyes. Then, with the harvest orange paint, create a charming carrot nose.
- Tip:Before painting, lightly sketch the face with a pencil. Gently erase the pencil marks so they won’t show through the paint, giving you a guide to follow.
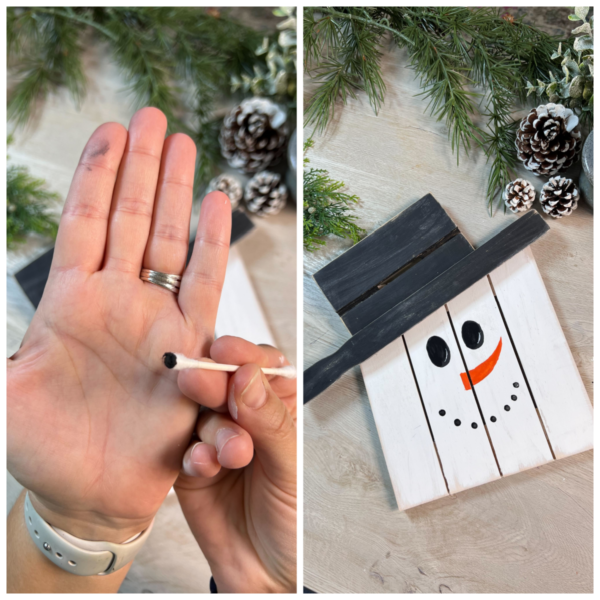
Now, grab a Q-tip-it’s a surprisingly handy tool for painting perfect dots! Dip it into the black paint, dab off the excess, and then use it to dot the snowman’s smile across his face.
Step 3 : Add of the accessories
Next, grab a 2″ ribbon to make the snowman’s scarf. Wrap it around from the back, criss-cross it in the front, and secure it with hot glue. To add a special touch, glue a “Handmade with Love” button right in the center of the scarf.
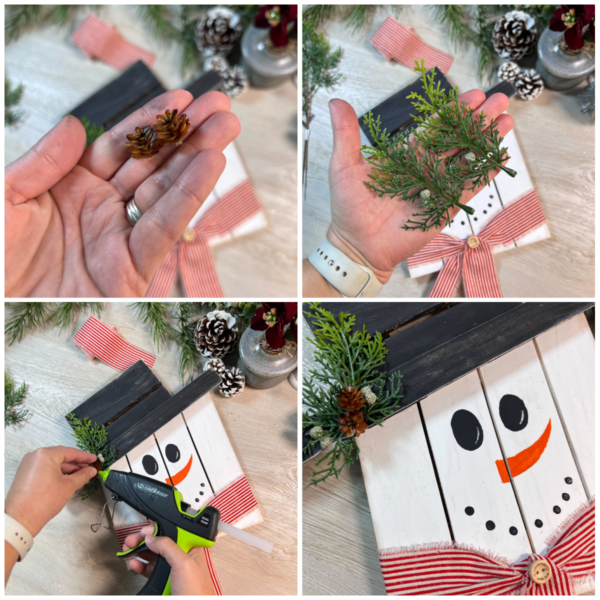
Finally, let’s add some greenery to the hat. Take a few small sprigs from a juniper spray and hot glue them onto the side of the hat. Then, add a couple of mini pinecone’s in the center for a festive touch.
And there you have it! This adorable snowman is perfect for group crafting, home decor, or even as an accent in a wreath-the possibilities are endless!