Skip to search Skip to navigation menu Skip to main content Selecting option will reload page

Category: General Crafts

DIY Branch Weaving Tutorial

Difficulty level: Intermediate
Time required: 1 hour
Age range: 12 and up

Things you’ll need:
Branch from your yard
Yarn in various colors and weights
Needlepoint needle
Scissors

Things to do:

  1. Attach yarn to the branch where the two points meet by tying a knot.
  2. Bring the yarn to the other side of the Y, then wrap it around the branch once.
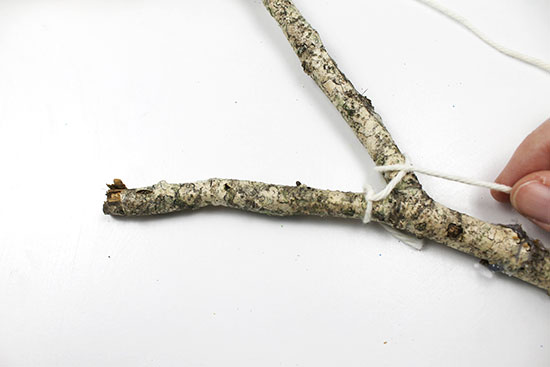
  3. Bring the yarn to the opposite side of the Y, where you tied the knot, and wrap it around the branch once.
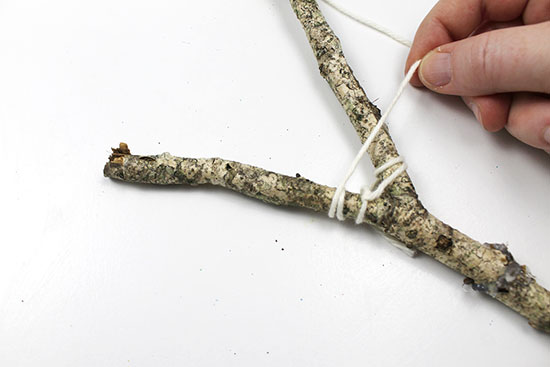
  4. Continue wrapping back and forth between the two branches, wrapping the yarn around the branch each time to make sure it is secure. Wrap tightly, but not so tightly that you bend or weaken the branches.
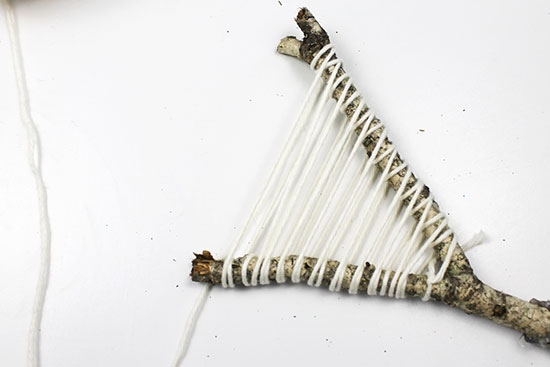
  5. When you finish wrapping, knot the yarn around the branch and trim it.
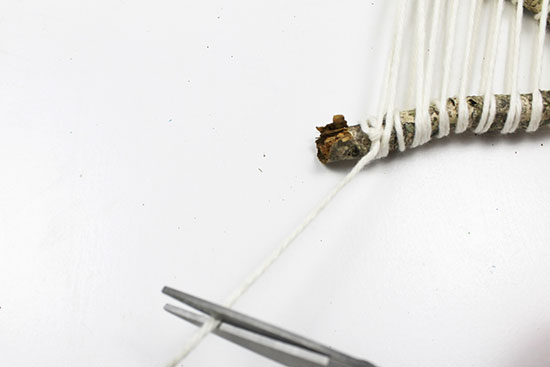
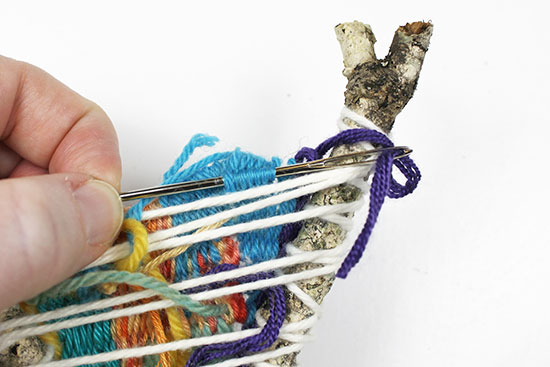
  6. Thread the needle with about 2 yards of yarn. Being weaving the needle alternately over and under each piece of yarn until you reach the last strand.
  7. Pull the yarn through, leaving about a 4-6″ tail to weave in later.
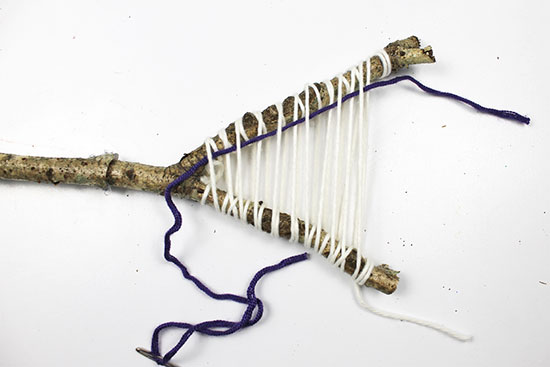
  8. Weave in the other direction this time, again alternating over and under. You will work opposite the first row of weaving, weaving under the strands that were previously woven over and vice versa.
  9. When you reach the end of row 2, weave in the opposite direction again.
  10. Continue to weave back and forth until you have about 4-6″ of yarn left.
  11. When you are ready for a new color, thread the needle with another 2 yards of yarn. Begin weaving back and forth at any point. If you do not want to create stripes, you can create shapes by weaving in certain sections of the loom.
  12. Continue to change colors and create shapes until you have filled in the entire loom with yarn.
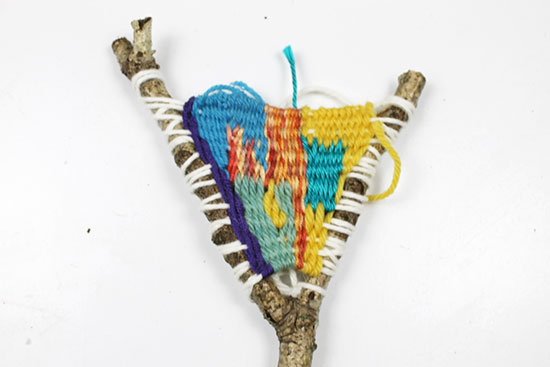
  13. To secure the tails, thread tails through the needle. Push the needle back and forth along the back of the strands to secure each tail.
Continue Reading

Pounded Flowers Tote Bag Tutorial

Difficulty level: Beginner
Time required: 15 minutes, plus 2 hours for preparing fabric
Age range: 5 and up

Things you’ll need:
Tote
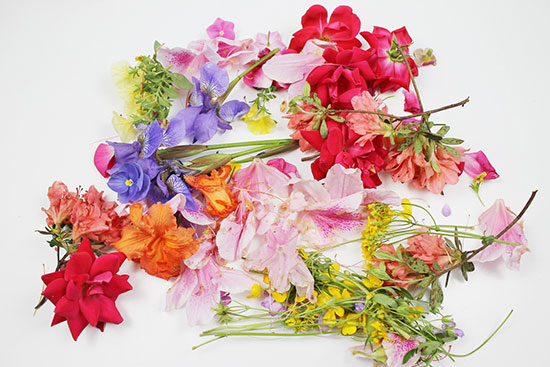
Fresh flowers from the yard
Floral snips or scissors
Iron
Cutting board
Towel
Alum powder
Scrap cardboard (to fit inside bag)
Painter’s tape
Wax paper
Hammer or rubber mallet

Things to do:

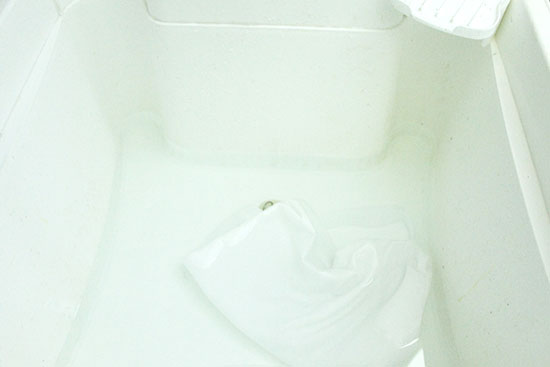
  1. Soak the tote in hot water mixed with alum (about 3 tbsp per liter of water) for about 2 hours. Air dry the tote.
  2. While the bag soaks, gather your flowers. Flat flowers work best, as full blooms can just look like a blob of color when they are pounded.
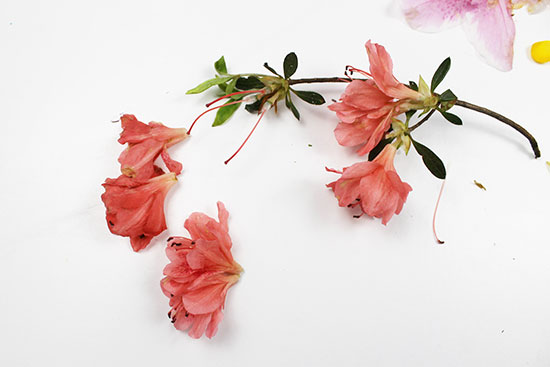
  3. Using floral snips or scissors, remove stems from the flowers. Some flowers will pop right off the stems, so you may not need to cut all of them. Remove any parts of the flower that will not lay flat.
  4. Iron the tote to remove any wrinkles.
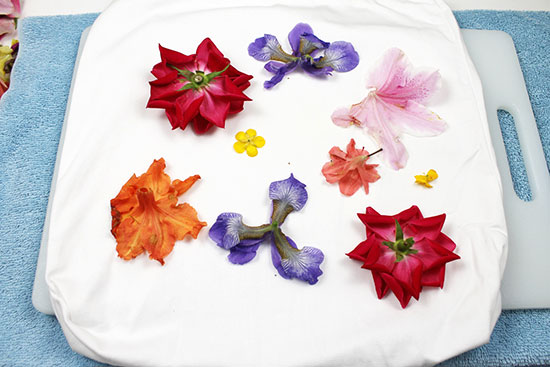
  5. Set up your workspace by first placing a towel on the table. Place a cutting board on top of the towel, then place the tote on the very top. Place a piece of scrap cardboard inside the tote so that the flowers do not soak through to the other side.
  6. Begin placing flowers on the tote. We placed the larger flowers first.
  7. Fill in around the larger flowers with small flowers until you are happy with your design.
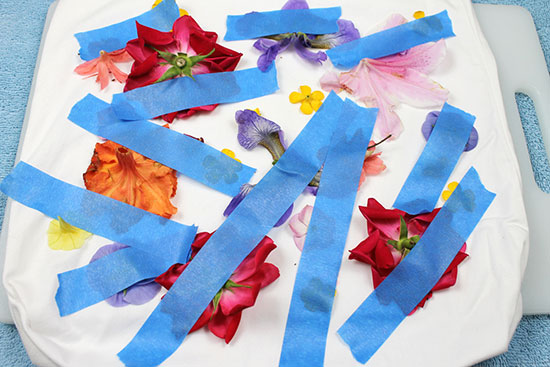
  8. Place painter’s tape over each flower to secure it.
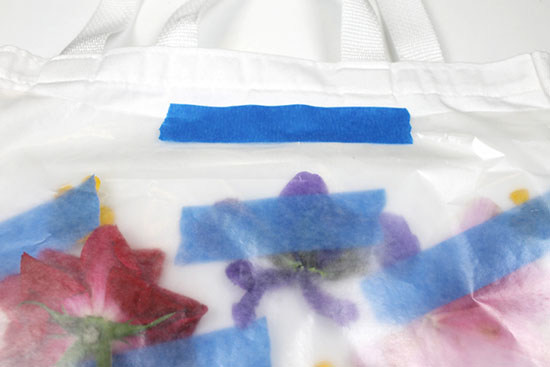
  9. Place a piece of wax paper over the flowers, then tape the wax paper on four sides to secure it.
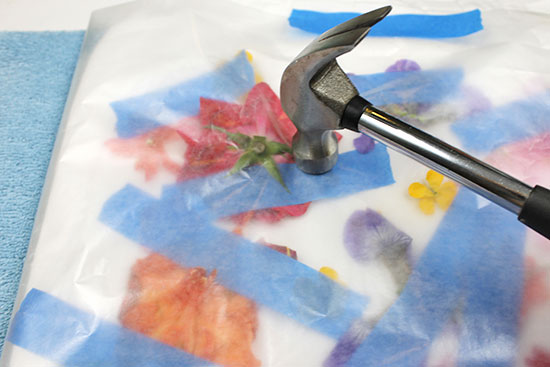
  10. Using a hammer or mallet, hammer the flowers. The more you hammer, the brighter the color will be. You may want to go over some flowers more than once.
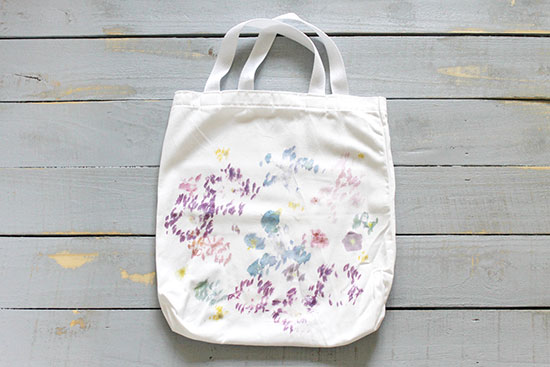
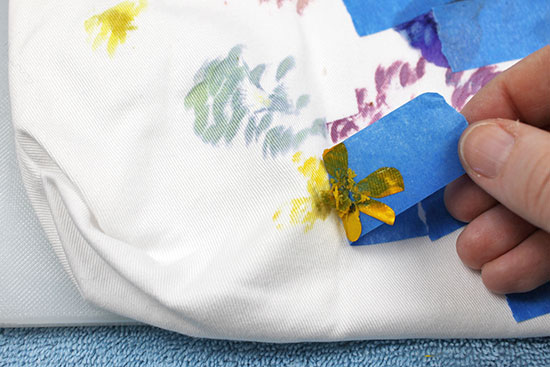
  11. Peel away the wax paper, then peel away each flower. You may have some flower residue on the tote, but that’s ok.
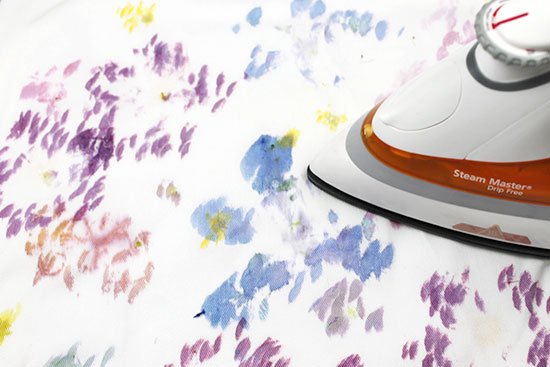
  12. Set the design by ironing over it.
Continue Reading
Change Your Country
Please select your country, this will change the site to your country's currency:

Cancel