Learn the basics of bow tying with this practical tutorial! These three beautiful bows have the same basic steps in common, so it’s easy to create beautiful decorations or gift toppers with the ribbon you have at home.
Difficulty level: Beginner
Time to complete: 15 Minutes
Age range: 12 and Up
Things you’ll need:
Ribbon
Scissors
Wire
Wire Cutters
Things to do:
Bow One:
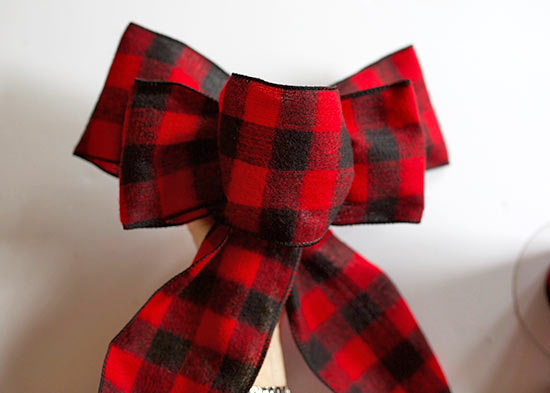
1. Fold your ribbon over itself, making a triangle shape or “sail”.
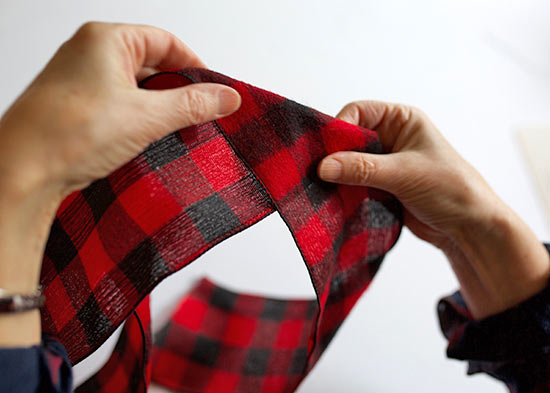
2. Wrap the ribbon around the sail, creating a center loop and leaving a single tail hanging down.
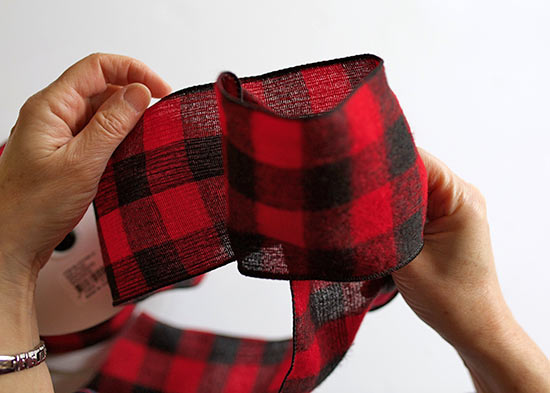
3. Twist the ribbon behind the center loop and pull it around the side, creating a side loop.
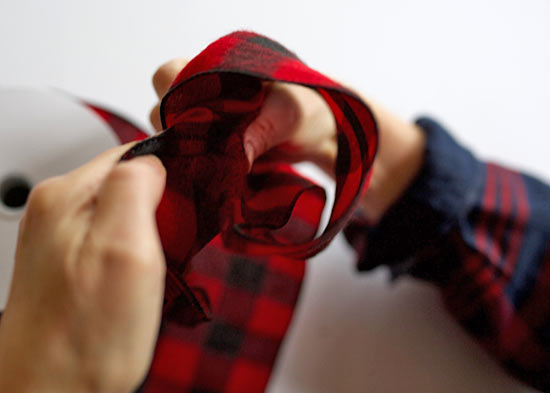
4. Twist the ribbon behind the center loop again and make a loop on the other side.
5. Repeat this step until you have two loops on either side of the center loop.

6. When there are two loops on either side, twist the ribbon behind the center again and pull the end down, making a second tail.
7. Use wire to secure the bow.
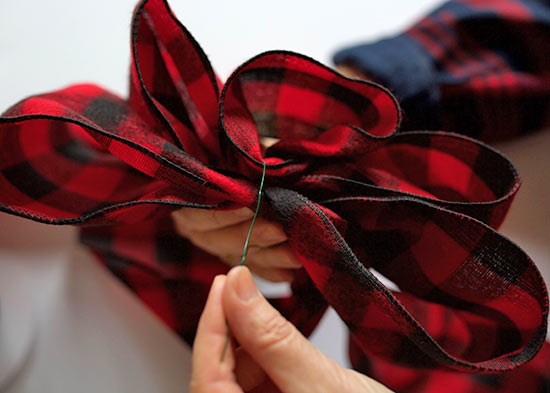
8. Flatten out the loops.
9. Trim your ends so each side is even.
Bow Two:

1. Fold your ribbon over itself, making a triangle shape or “sail”.
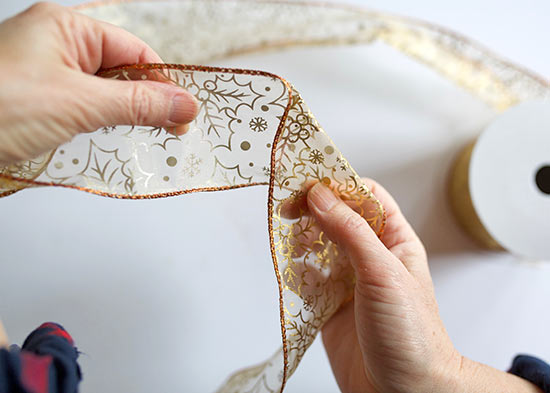
2. Wrap the ribbon around the sail, creating a center loop and leaving a single tail hanging down.
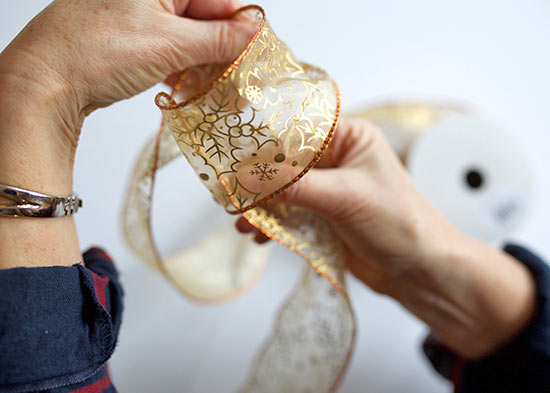
3. Twist the ribbon behind the center loop and pull it around the side, creating a side loop.
4. Twist the ribbon behind the center loop again and make a loop on the other side.
5. Repeat this step until you have a thick, full bow. You can make your bow as large as you want. For our bow, we added six loops on either side.
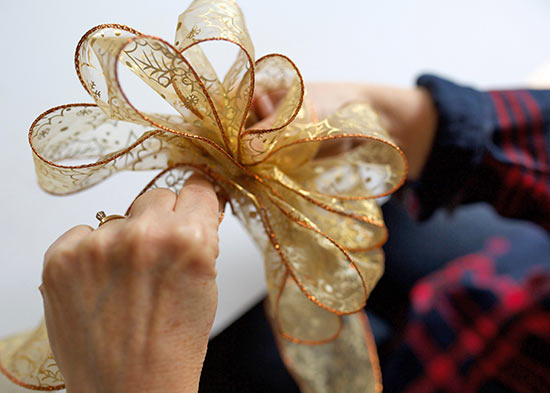
6. Use wire to secure the bow.


7. Use your fingers to pull the loops out, adding volume and spreading them out as much as possible to create a thick, full bow.
8. Trim your ends so each side is even.
Bow Three:
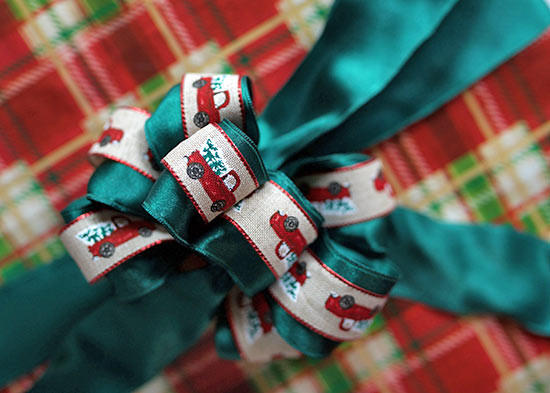
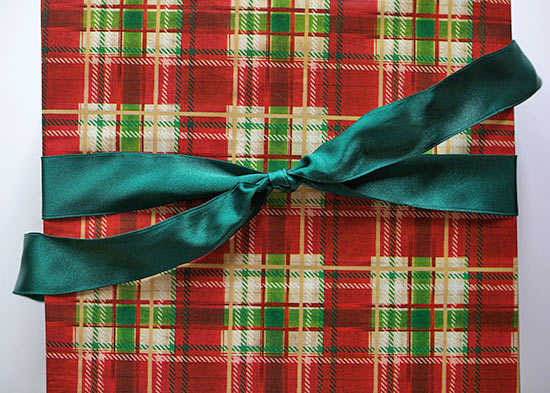
1. Cut a piece of wide ribbon and tie it around your gift, leaving two long tails.
2. Layer two different ribbons, placing the thinner ribbon on top of the wider ribbon.
3. Use your layered ribbon to make a loop with no tail.

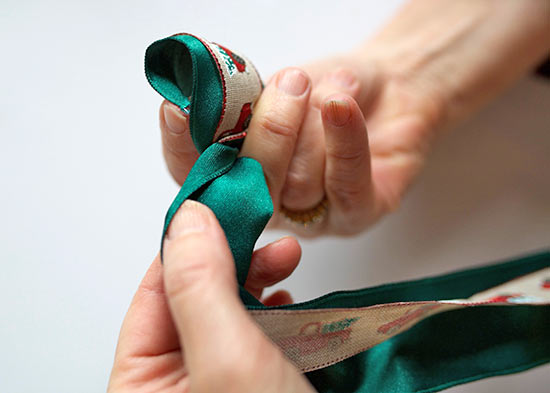
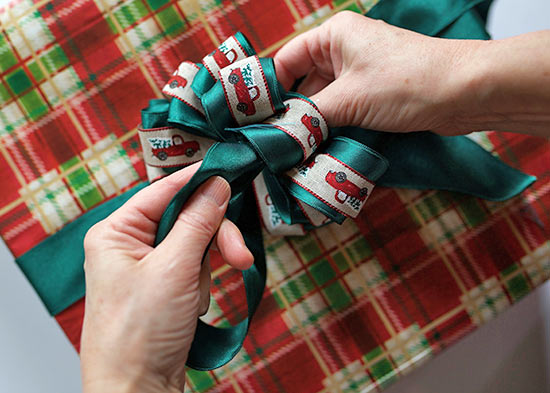
4. Continue twisting and adding loops on either side.
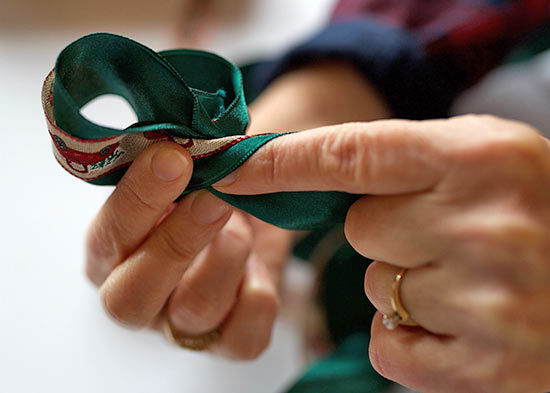
5. When your bow is full and thick, slide the center loop on your two tails and tie it tightly in place.

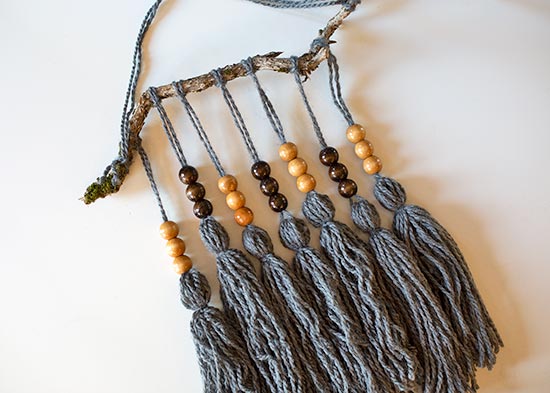
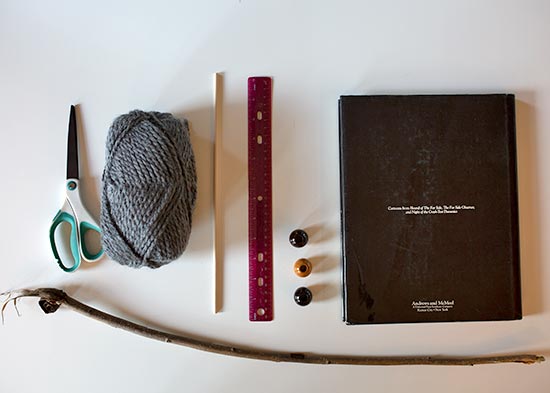
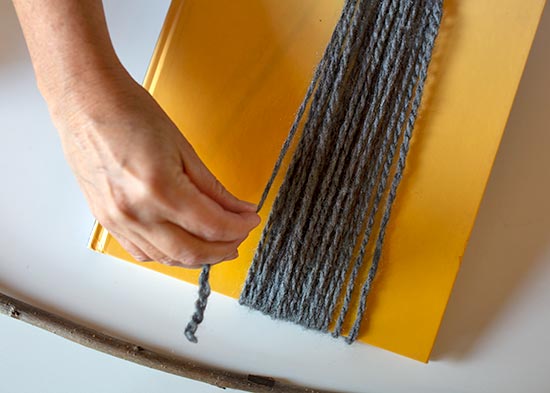
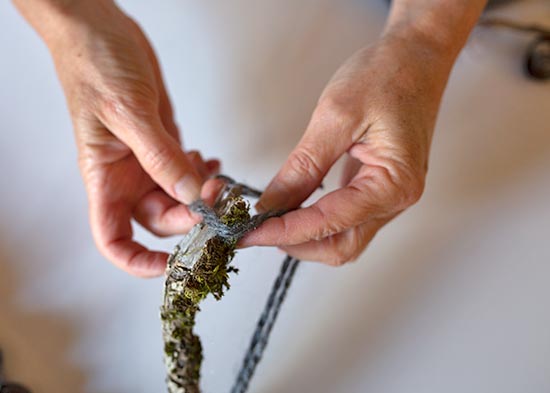
 2. Fold a single strand of yarn in half and lay it under your stick. Pull the two ends over the stick and through the loop, securing it to the branch. Tie the bottom strands together, as low as possible.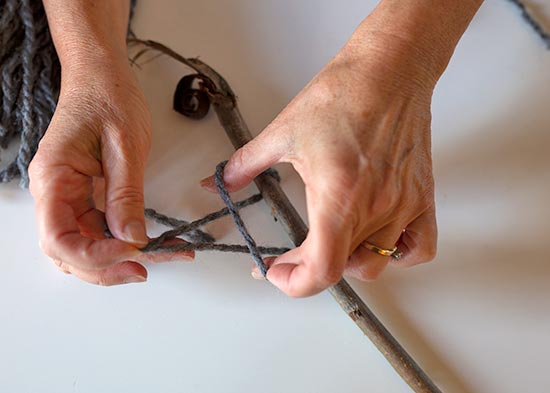
 3. Slide beads onto the yarn.
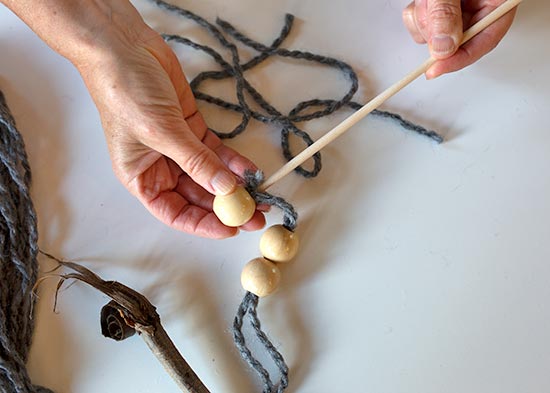 4. Pull 20 strands of yarn through the loop below the beads.
 5. Tie yarn around the yarn bundle about 1″ below the beads and tuck in the ends so they blend into the tassel.
 6. Trim ends evenly if needed.