Skip to search Skip to navigation menu Skip to main content Selecting option will reload page

Category: General Crafts

DIY Modern Clay Ring Tutorial

Difficulty level: Intermediate
Time required: 30 minutes, including baking time
Age range: 12 and up

Things you’ll need:
Oven-bake clay
Ring mandrel
Jewelry pliers
Wire cutters
Clay tools
18 gauge jewelry wire
Oven

Things to do:

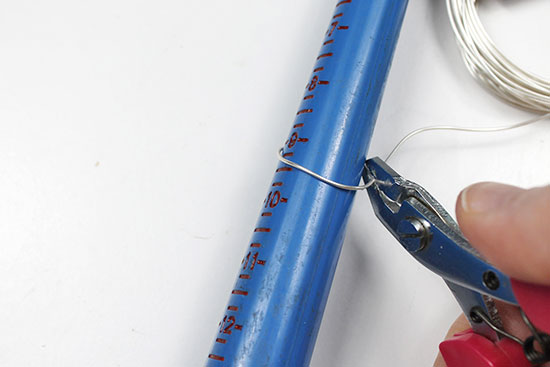
  1. Wrap the jewelry wire around the ring mandrel about 1/2 ring size smaller than your size. (If you do not know your ring size, slide one of your best-fitting rings around the mandrel until it will no longer slide down. Wherever the ring fits snugly, that’s your ring size.)
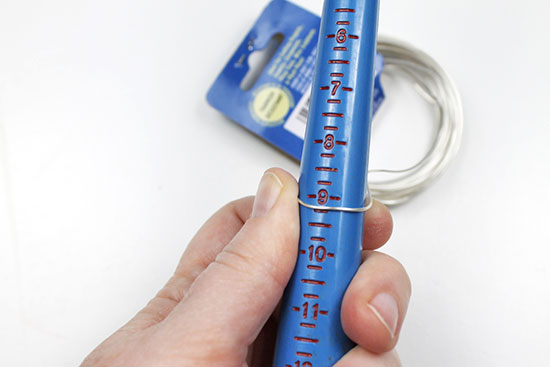
  2. Cut the wire with wire cutters.
  3. Using flat-nose pliers, form a U shape with the wire.
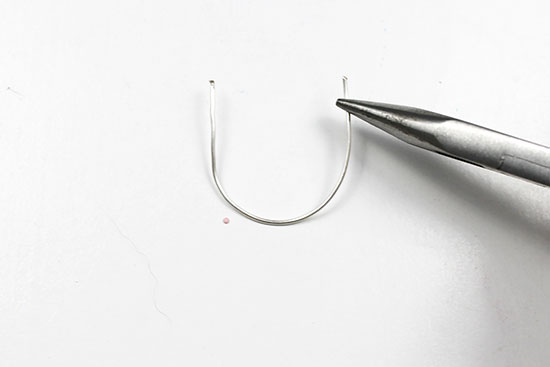
  4. Bend the edges in slightly toward the center, making them as even as possible on both sides.
  5. Pinch off a small bit of clay. Knead it around in your hands to soften it.
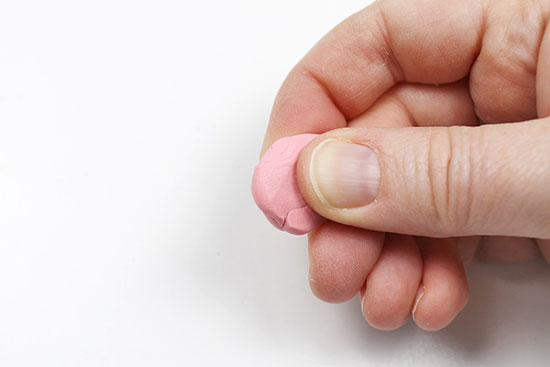
  6. Roll the clay out into a long thin tube using the palms of your hands. The tube’s circumference should be larger than the gauge of the wire, so don’t roll it out too thinly.
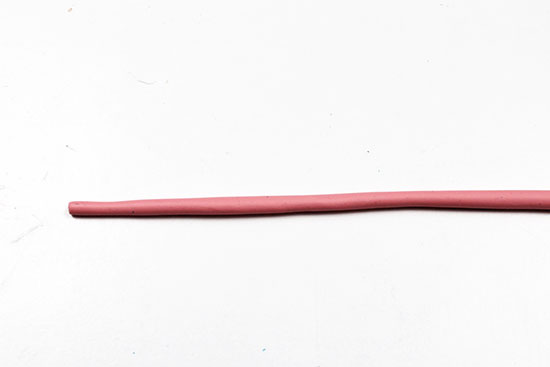
  7. Using clay tools, cut the tube so that it is slightly longer than the opening between the two pieces of bent wire. If you have extra pieces of clay left, it might be a good idea to cut those so that you have extras in case you need them. Place the clay tube on a baking sheet in the freezer and leave it there while you preheat the oven to 275 degrees.
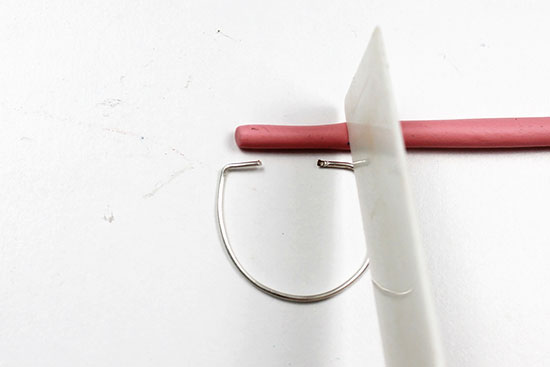
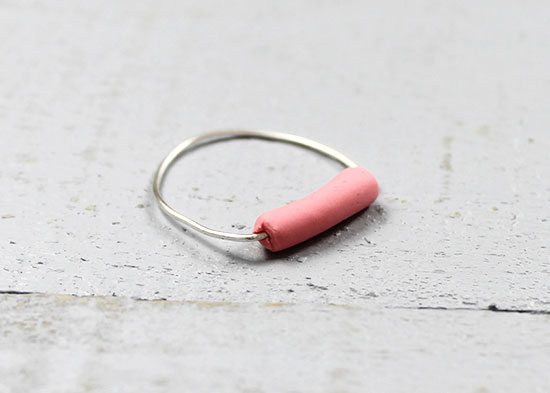
  8. Once the clay feels sturdy, remove it from the freezer. Pierce one end of the clay tube with one end of the bent wire, then pierce the other end.
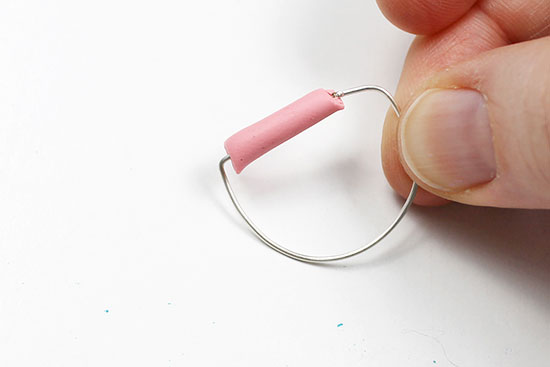
  9. The clay tube should fit in the opening, with most of the wire on each side piercing the tube to hold it in place.
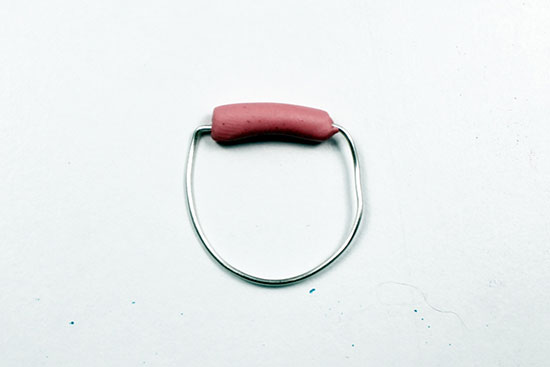
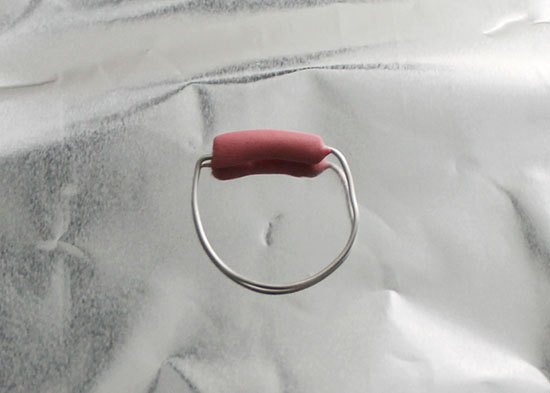
  10. Place the ring in the 275-degree oven for 15 minutes. When the ring is ready, turn off the oven and leave the oven door open to allow the ring to cool. This will help prevent cracking in the clay.
Continue Reading

Easy Pompom Spirit Bracelet Tutorial

Difficulty level: Beginner
Time required: 30 minutes
Age range: 8 and up

Things you’ll need:
Embroidery floss in various colors
Small pompom maker
Scissors
Tapestry needle
Tape (optional)

Things to do:

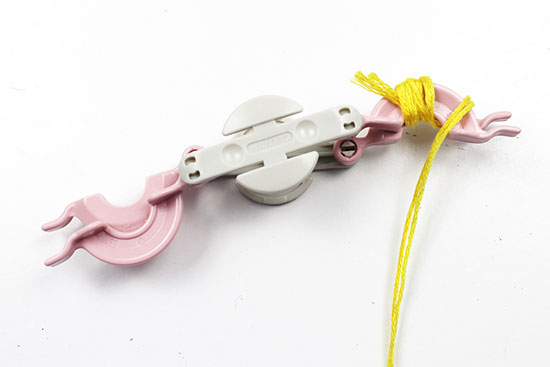
  1. Connect the pompom maker, if you haven’t already. Hold two strands of yellow floss together at the same time (we used two different hues of yellow, but you can use the same colors held together, if you’d like). Begin evenly wrapping around one side of the pompom maker.
  2. Wrap until that half of the pompom maker is full. Close the half circle.
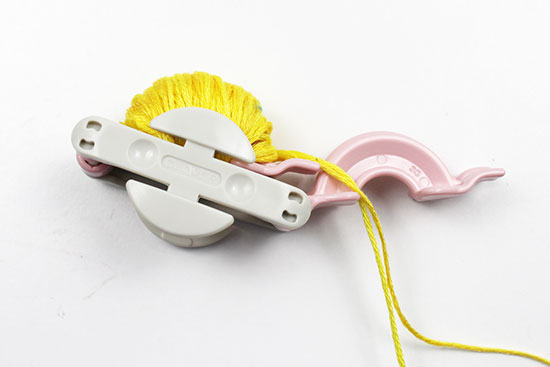
  3. Wrap the other half of the pompom maker, wrapping both sides as evenly as possible. Close the half circle, then trim the floss.
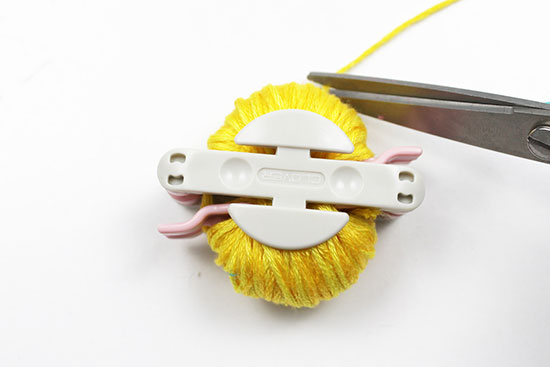
  4. Snip the edges on both sides to cut the loops.
  5. Cut a 6-8″ strand of floss, then wrap it around the pompom. Tie it securely in a double knot.
  6. Remove the pompom from the pompom maker.
  7. Trim the pompom so that it’s even all the way around. Create a second pompom by repeating steps 1-7.
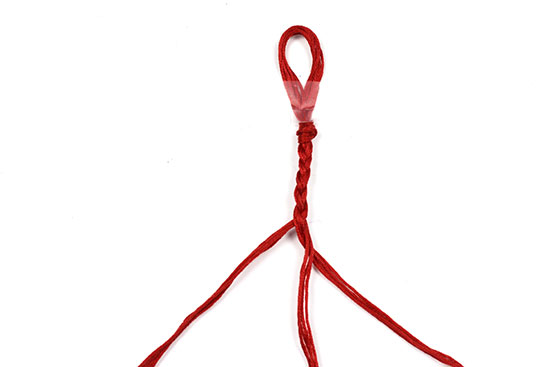
  8. Cut six 65″-long strands of a second color of floss. Fold the strands in half, then tie an overhand knot about 2″ down from the folded loop.
  9. Separate the strands into three groups of 4 strands each. Begin braiding the strands.
  10. Braid until the length is about 12″ long, or until you can wrap the bracelet around your wrist twice. Tie a knot in the braid, then trim it close to the knot.
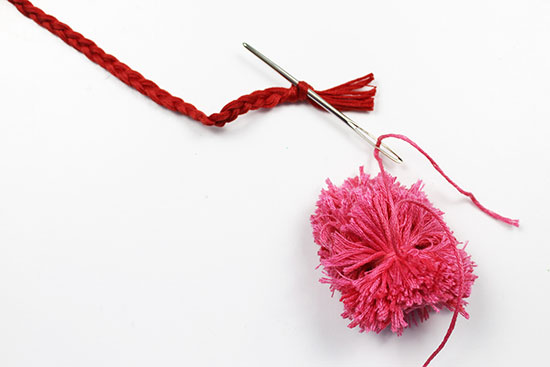
  11. Thread the tails of one pompom into the tapestry needle, then insert the needle into the knot at the end of the braid.
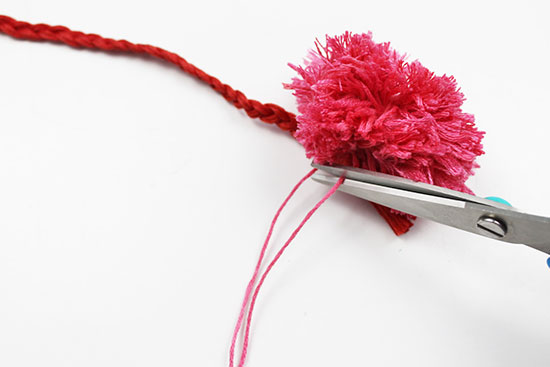
  12. Pull the tail so that the pompom is next to the braid, then knot the tails to secure it.
  13. Repeat steps 11 & 12 with the second pompom.
  14. To close the bracelet, insert the pompoms through the loop at the top of the braid.

Continue Reading
Change Your Country
Please select your country, this will change the site to your country's currency:

Cancel