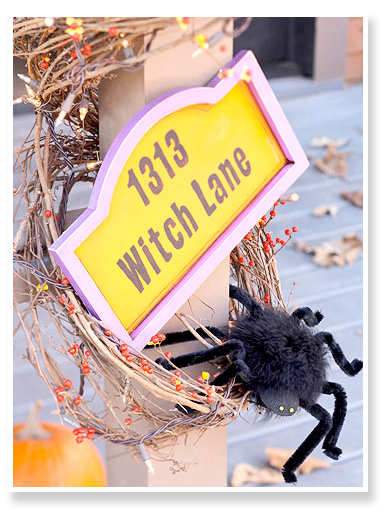
 Frighten your guests with these creepy crawly furry styrofoam ball spiders scattered on tabletops and amongst other Halloween decorations! These furry styrofoam ball spiders are easy to make with just a few simple craft materials.
Materials Needed to Make Two Styrofoam Ball Spiders:
2 – 1-1/2″ Styrofoam Balls
2 – 3″ Styrofoam Balls
8 – Black Pipe Cleaners
1 – Black Feather Boa
4 – Round Pearl Head Corsage Pins
2 – Toothpicks
General Use Scissors
Hot Melt Glue Gun
Glue Sticks
Black Apple Barrel Acrylic Paint
Hobby Knife
Paintbrush and Accessories
Serrated Knife
Instructions:
1. First, take your serrated knife and cut the 1-1/2″ styrofoam balls in half. Set the flat edge of the styrofoam ball on a flat surface. Take your hobby knife and begin to cut out a curved section, so that the styrofoam ball head fits nicely with the round curve of the 3″ styrofoam ball body.
2. Take your toothpicks and insert them halfway into each styrofoam ball head. Make sure that is it centered into the styrofoam ball head. Push the remaining toothpick into the styrofoam body, aligning the flat edges. Add glue to secure the heads to the bodies and let dry.
3. Take your paint brush and paint your styrofoam ball spiders with the Black Apple Barrel acrylic paint and then let dry.
4. With your general use scissors, cut the black pipe cleaners in half. Stick each pipe cleaner into the styrofoam body, add a little glue to each section. After the glue has dried, bend the pipe cleaners to create knees and feet for the spiders.
5. Cut the black feather boa into two 9″ sections for each spider. Spiral one 9″ section of the black feather boa on the backside of the styrofoam ball spider and glue on. Do the same for the belly of the styrofoam spider. You now have two hairy creepy crawly styrofoam ball spiders ready for any Halloween setting!