
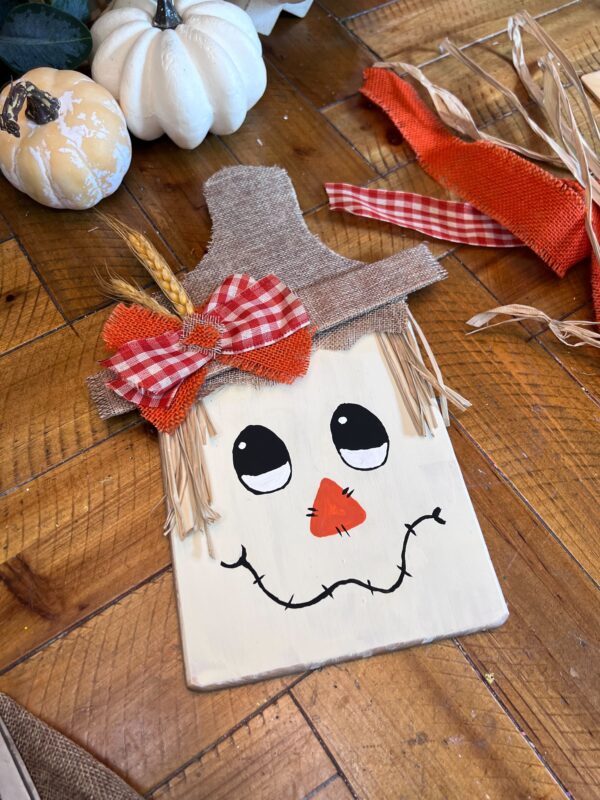
Looking for a unique and fun fall craft project? Why not transform an ordinary kitchen cutting board into an adorable scarecrow? This easy DIY project is perfect for adding some autumn charm to your home decor, and it’s a great way to repurpose materials you already have.
Difficulty level:Beginner
Time required:30 Mins
Age range:8+
Materials Needed:
Unfinished Wood Cutting Board
Unfinished Wood Paint Stir Fan Sticks
Natural Dried Raffia Ribbon
1-1/2″ Orange and Gold Fringe Burlap Ribbon
1-1/2″ Red and Beige Gingham Check Wired Ribbon
Artificial Wheat Bush
Antique White Apple Barrel Acrylic Paint
26 Gauge Green Paddle Floral Wire
Mod Podge Hard Coat
Harvest Orange Apple Barrel Acrylic Paint
Black Apple Barrel Acrylic Paint
White Apple Barrel Acrylic Paint
scissors
Hot Glue
Paint brushes
Material list found here: https://factorydirectcraft.pro/catalog/advanced_search_result.php?keywords=fbscrcrwcttngbrdfll
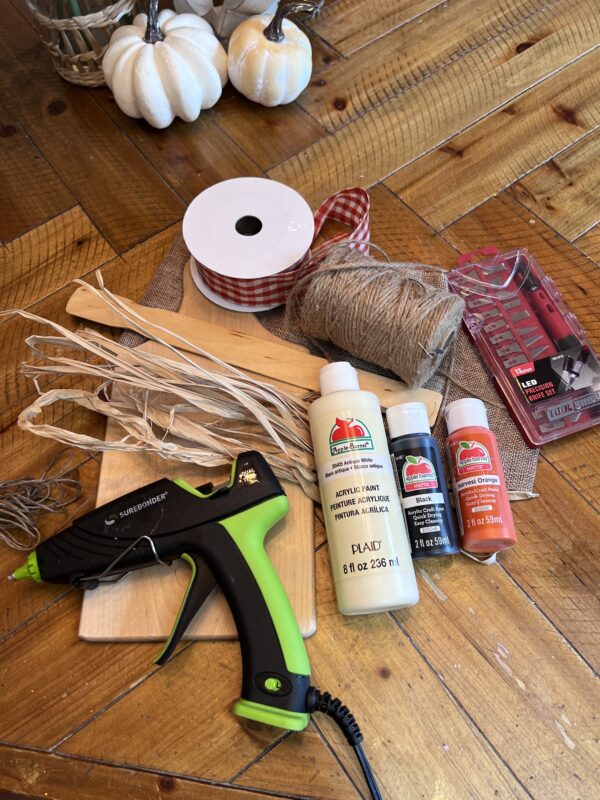
Let’s grab your supplies, channel your inner artist, and let’s get crafting!
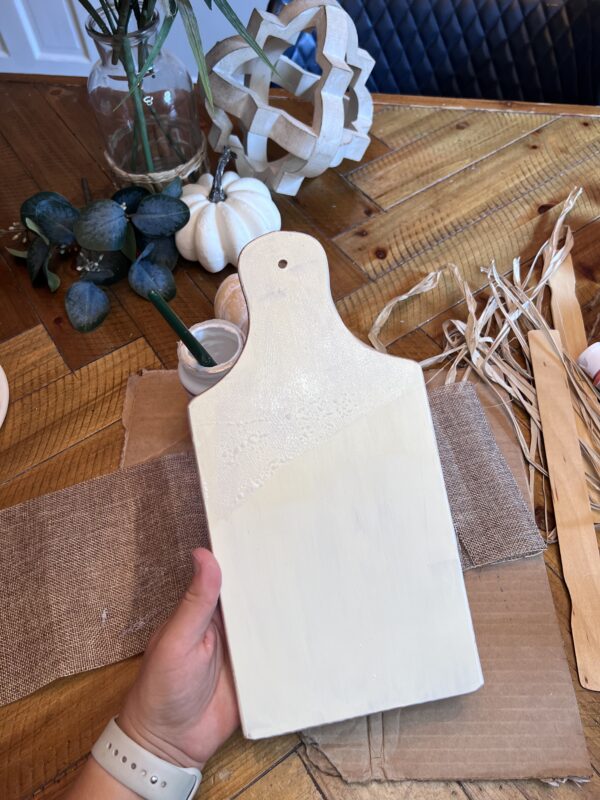
Step 1:
Take your unfinished cutting board and apply a layer of Antique White Apple Barrel Acrylic Paint to both the front and back. After the paint dries, determine how much of the surface you want to cover with the burlap ribbon for the hat.
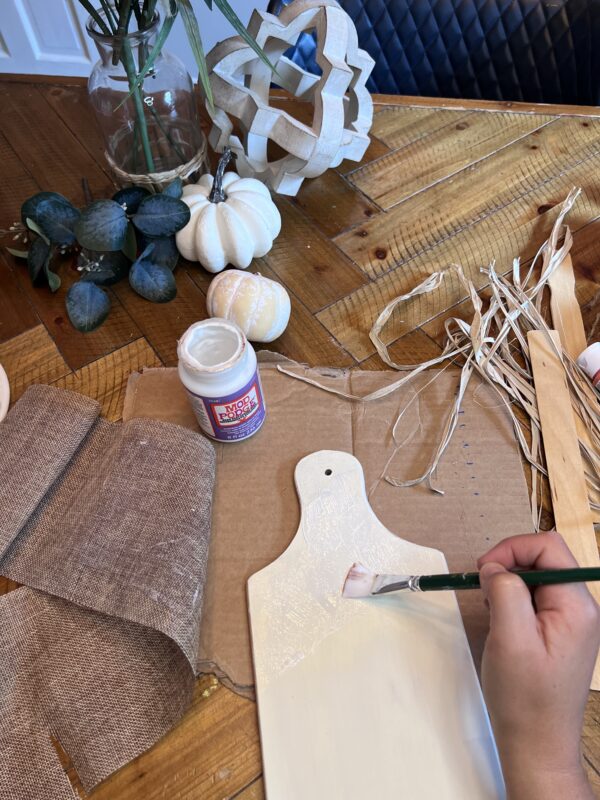
Step 2:
After deciding on the area you want to cover with burlap to create the hat, apply a layer of Mod Podge and then place the burlap on top.
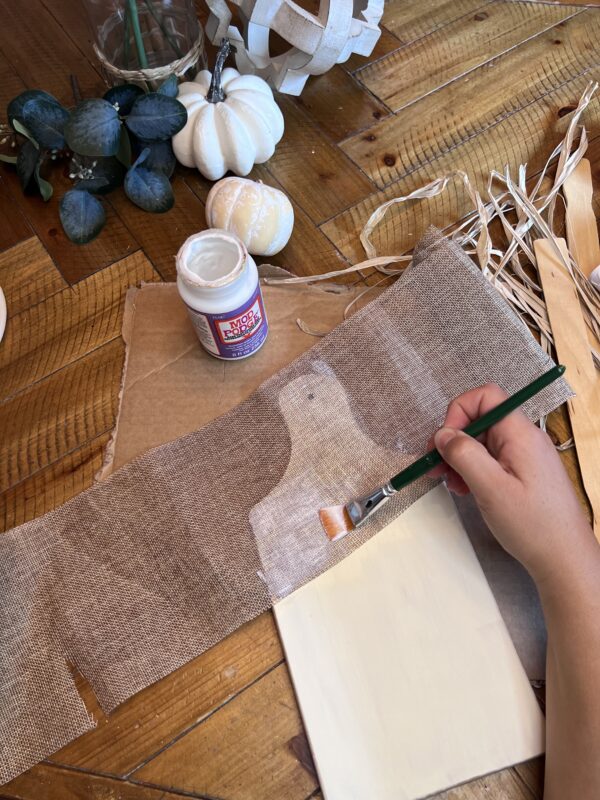
Then add another layer of mod podge on top of the burlap. Use a hairdryer to dry it in place.
Step 3:
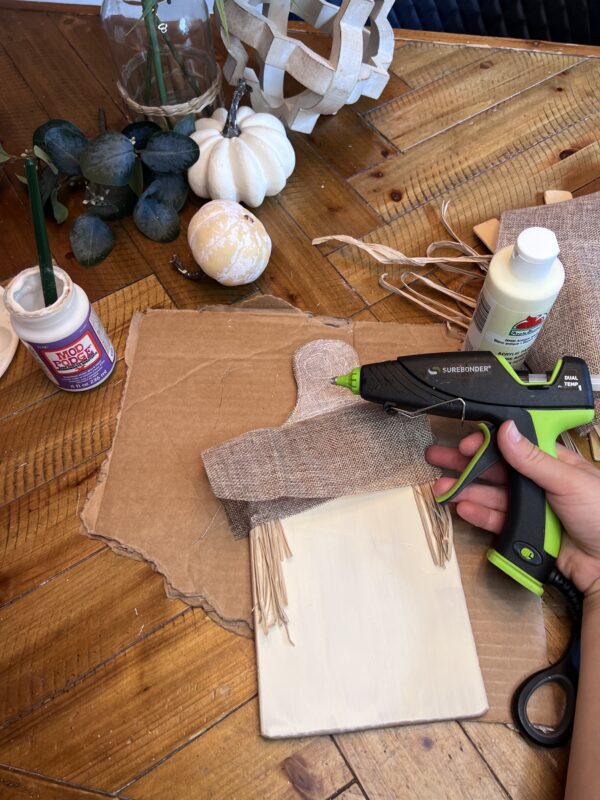
I took some dried raffia and cut a few pieces to position on either side where the cutting board meets the burlap ribbon for the hat. Then, I added a second layer of burlap ribbon and secured it in place with hot glue.
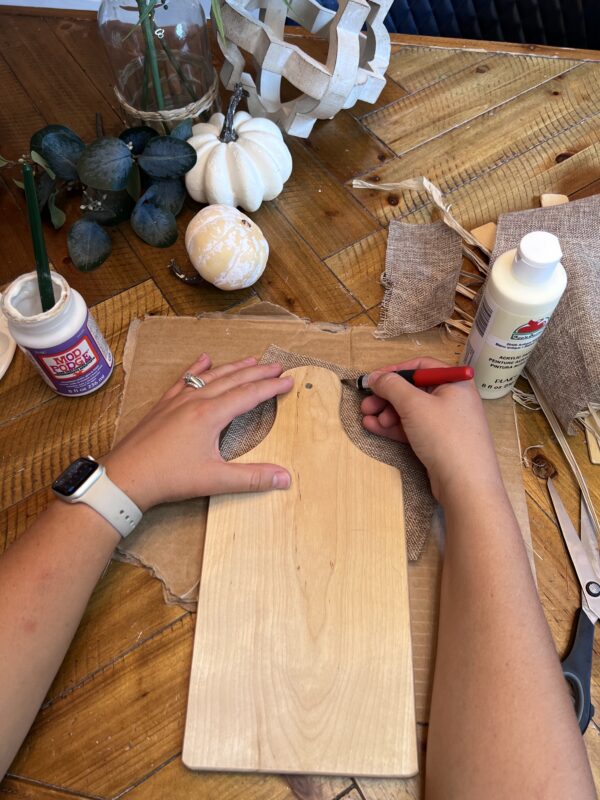
Flip your cutting board over and lay a piece of cardboard underneath. Use an X-Acto knife to trim away any excess burlap from the edges of the cutting board.

Step 4:
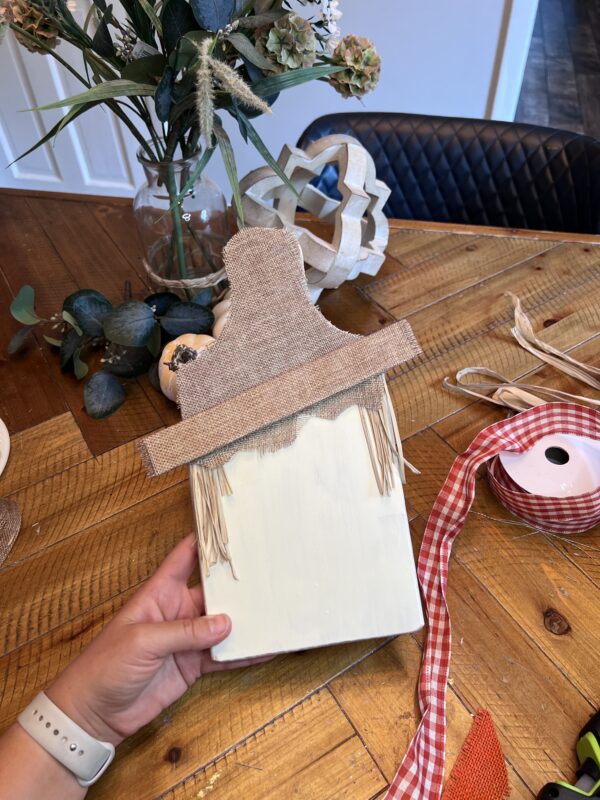
Take one of the stir sticks and measure the desired length for the “hat brim,” angling it as needed. Then, use an X-Acto knife to cut the stir stick to your preferred length. Then wrap the stir stick in the same burlap used for the hat.
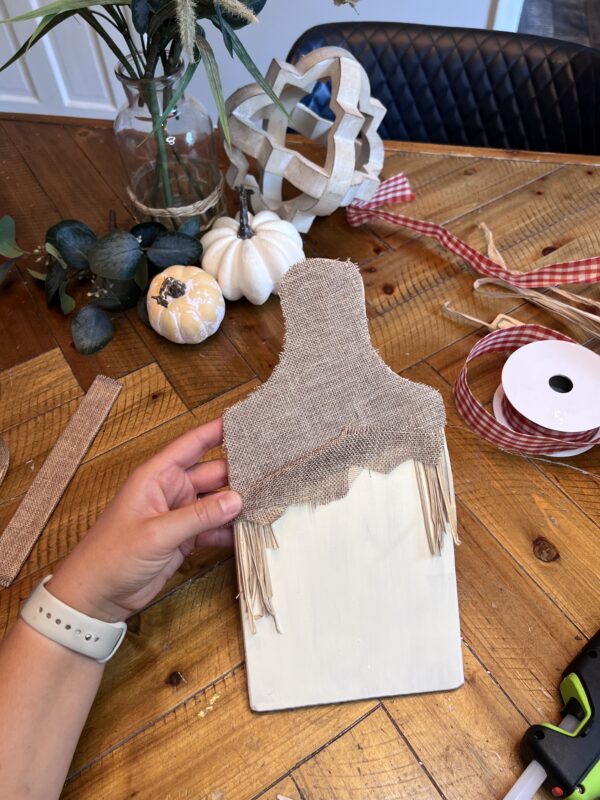
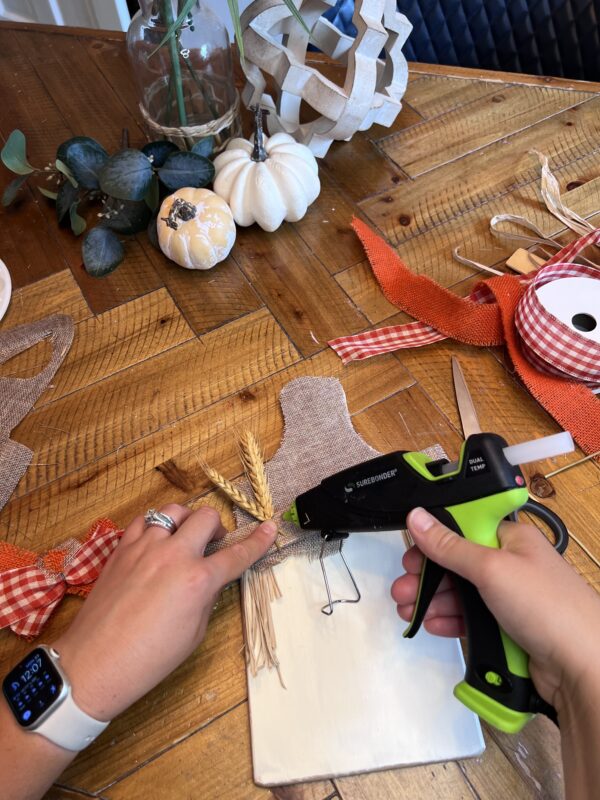
Here i took a scrap piece of burlap and folded it up to give a little texture to the hat. Then hot glue in place on the cutting board.
Step 5:
Now it’s time to add the accessories to the hat. Take a few pieces of wheat heads and hot glue them on either side of the hat.
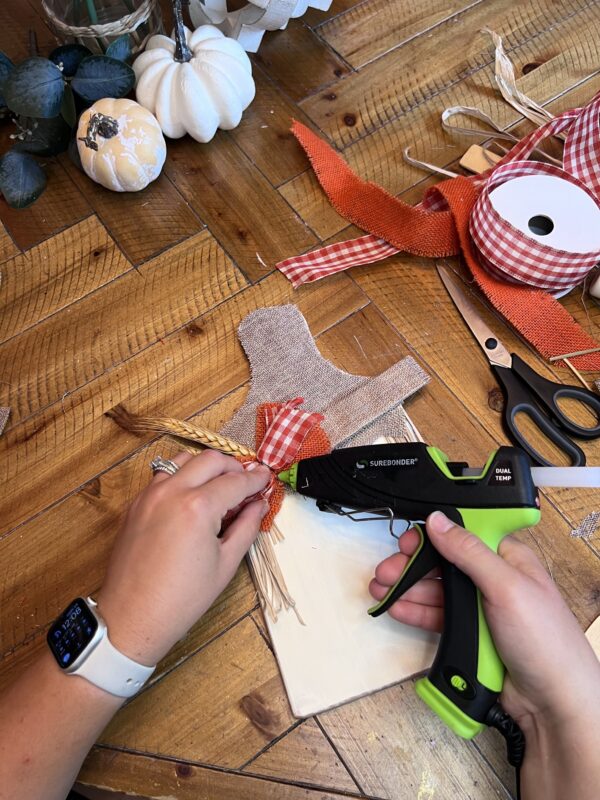
I selected two different types of ribbon for contrast: a 1 1/2 -inch-wide orange burlap ribbon and a gingham check wired ribbon. I cut four pieces of each ribbon to the same length, layered them on top of one another, and secured them together with floral wire.
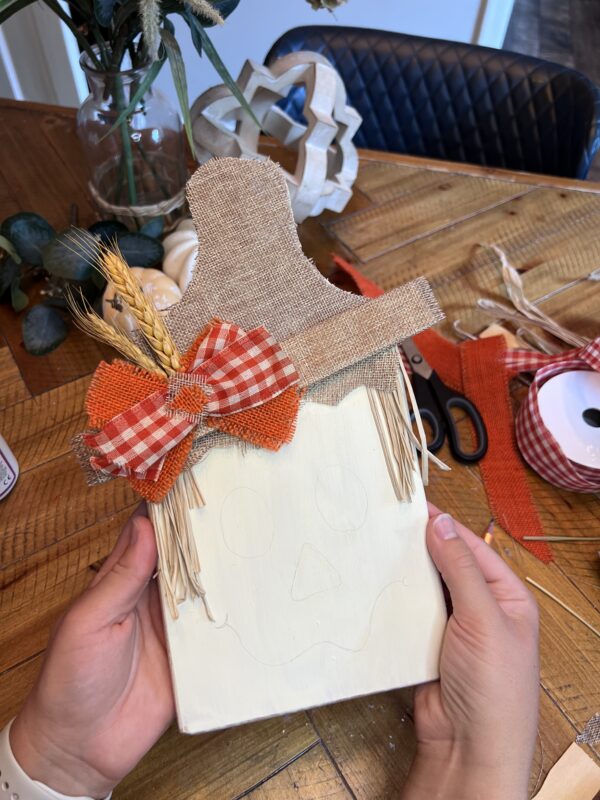
I had a few pieces of the ribbon left over and created a “patch”. I then glued then in the center of the bow.
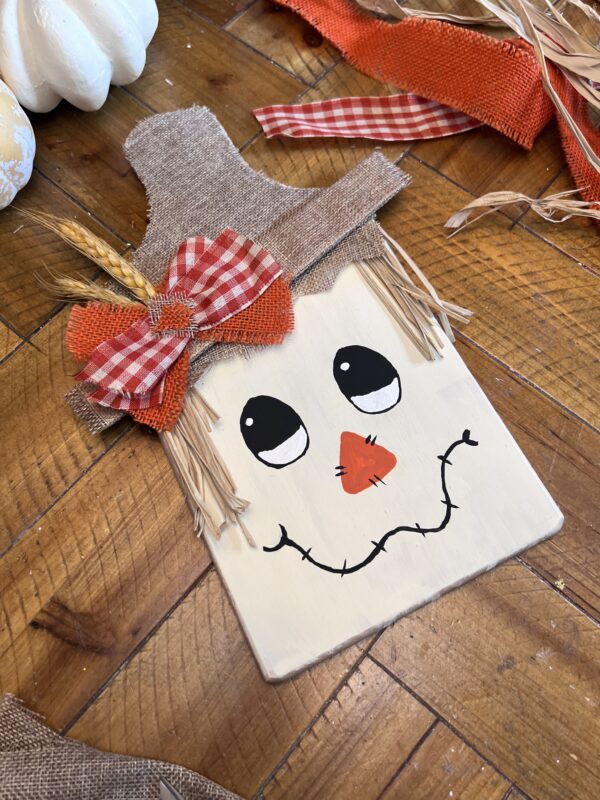
Step 6:
Finally, paint on the scarecrow face. I started by using a pencil to outline the placement, then painted over it. Allow it to dry, and your scarecrow is ready to be displayed for the fall season!