
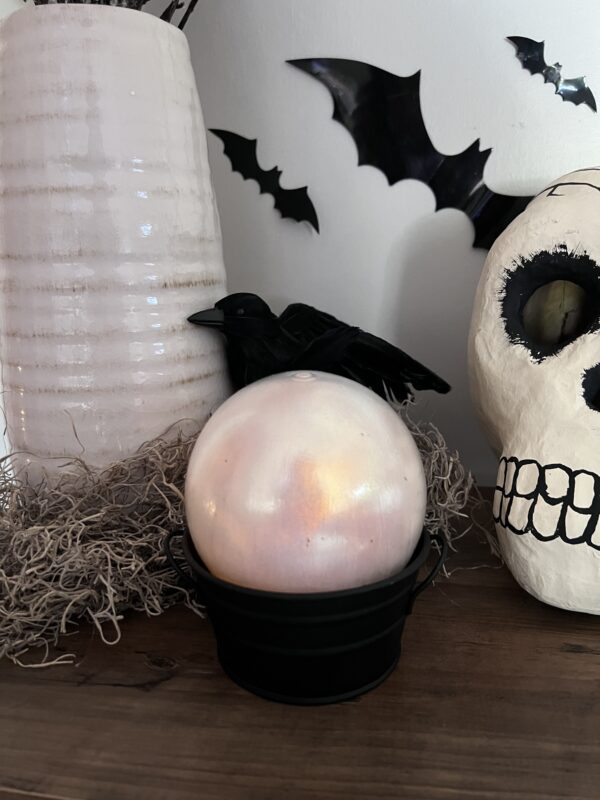
Creating a DIY Halloween crystal ball using a snow globe jar is a fun and creative project that adds a spooky, mystical touch to your Halloween decorations. Whether you’re hosting a party or just want to get into the Halloween spirit, this project is both simple and customizable. Here’s a step-by-step guide to making your very own crystal ball.
Needed supplies:
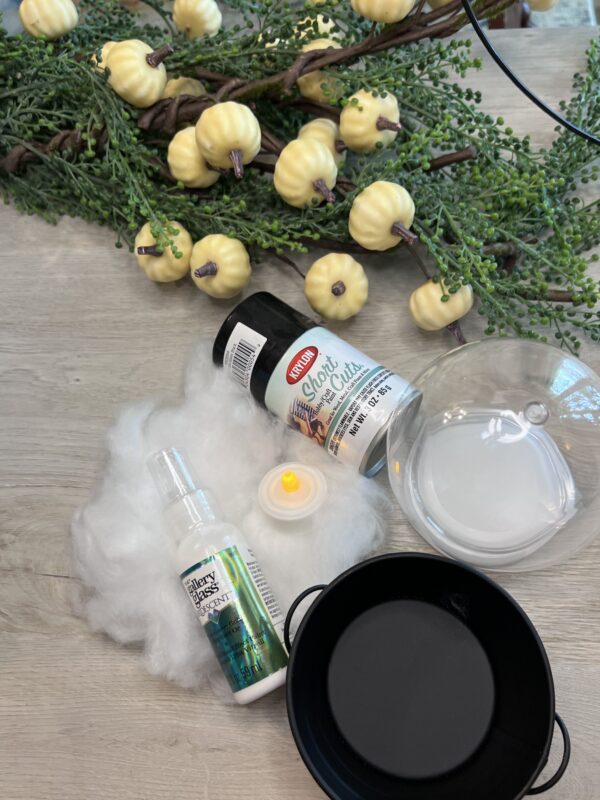
4″ Clear Acrylic Snow Globe Jar
LED Battery Operated Flickering Tea Light Candle
Primitive Black Tin Round Tub
2 Fluid Oz. Iridescent Blue, Green and Gold Iridescent Gallery Glass Window
Krylon Short Cut Black Gloss Enamel Spray Paint
Paint brushes
Glue dots
Fake snow – https://amzn.to/4deRTsN
Shop the needed material here:
https://factorydirectcraft.pro/catalog/advanced_search_result.php?keywords=+FBcrystlbllcrfthllwn
Let’s grab your supplies, channel your inner artist, and let’s get crafting!
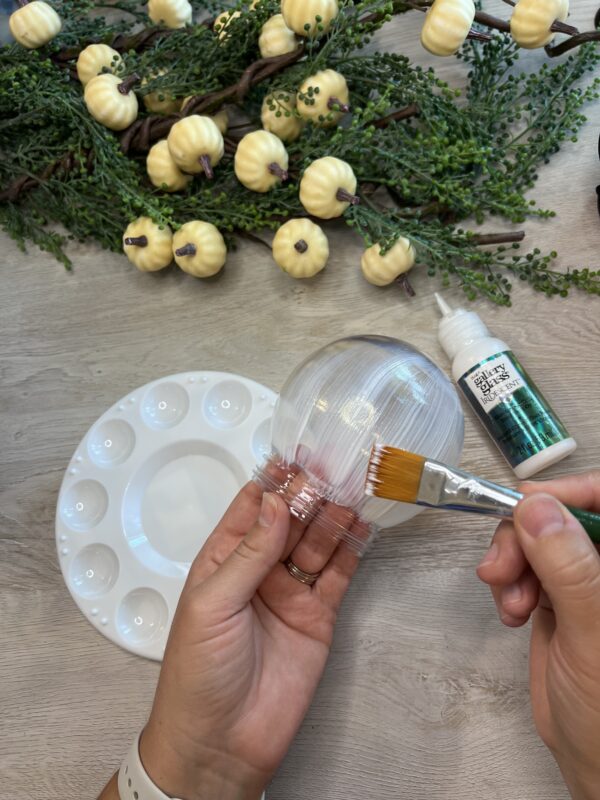
Step 1 – Prepare the Snow Globe Jar:
Start by disassembling your snow globe jar. Begin by applying a generous coat of Iridescent Blue, Green and Gold Iridescent Gallery Glass Window paintto the clear ball portion of the snow globe. You’ll want to build up the color, so I recommend applying about three coats.
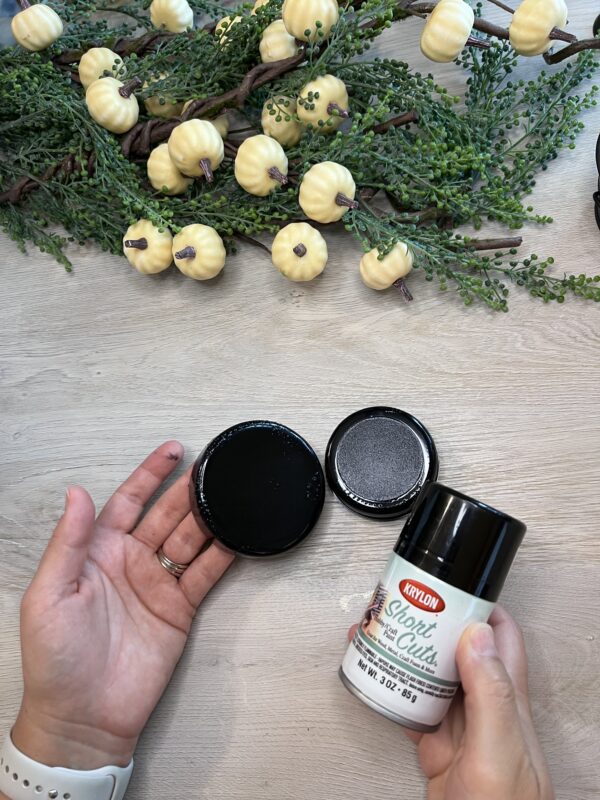
Step 2 – Blend the bottom portion
Grab your Black Gloss Enamel Spray Paint cover the bottom portion of the snow globe. This will include the tight insert and the screw on lid.
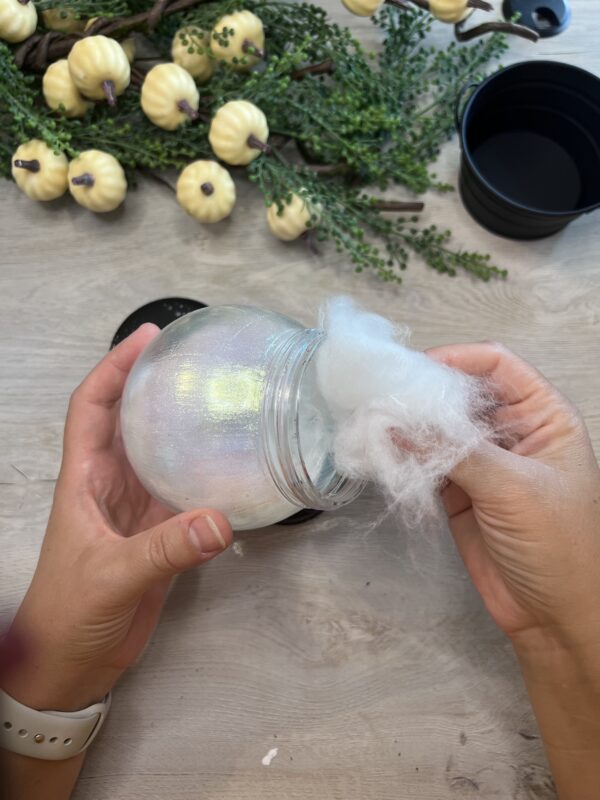
Step 3 – Create the Scene Inside the Globe
Grab a bit of the fake snow, found here – https://amzn.to/4deRTsN,
then stuff the inside.
- Note- you do not want to much as the light will not be able to make it through to shine. It will just be a thin layer.
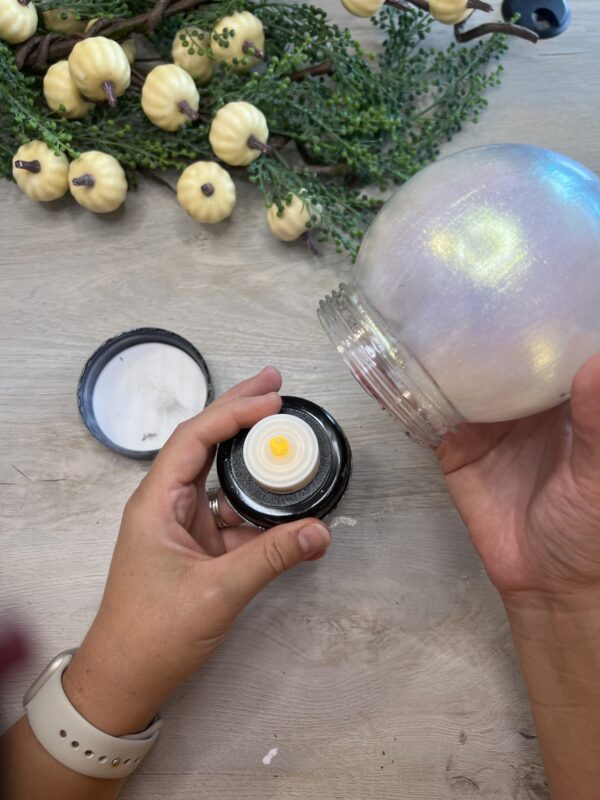
Step 4 – Add the Light
Here i used glue dots to hold ourFlickering Tea Light Candlein place on the insert of the snowglobe. This allows it to be easily removed to turn on and off, but holds it in place.
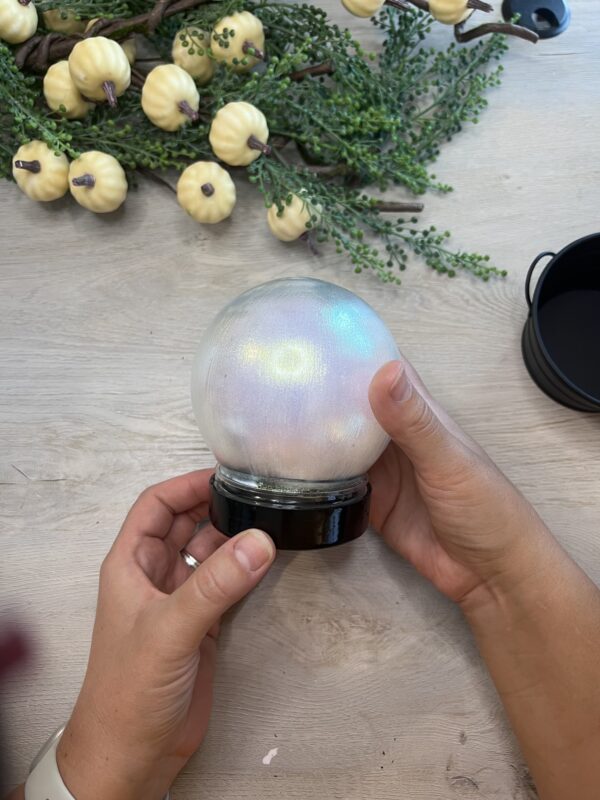
Step 5 – Assemble the SnowGlobe
Push the insert with the tealight added on into the globe portion. Then screw the cap back on.
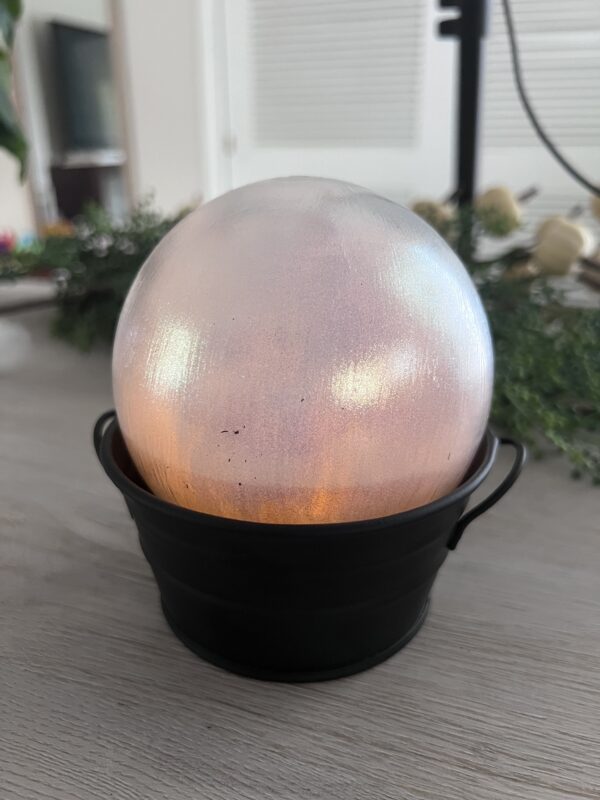
Step 6 – Finished Product
Lastly, place the globe inside the Primitive Black Tin Round Tub. This is the final step and now you can enjoy the glow of your new Halloween Crystal ball!
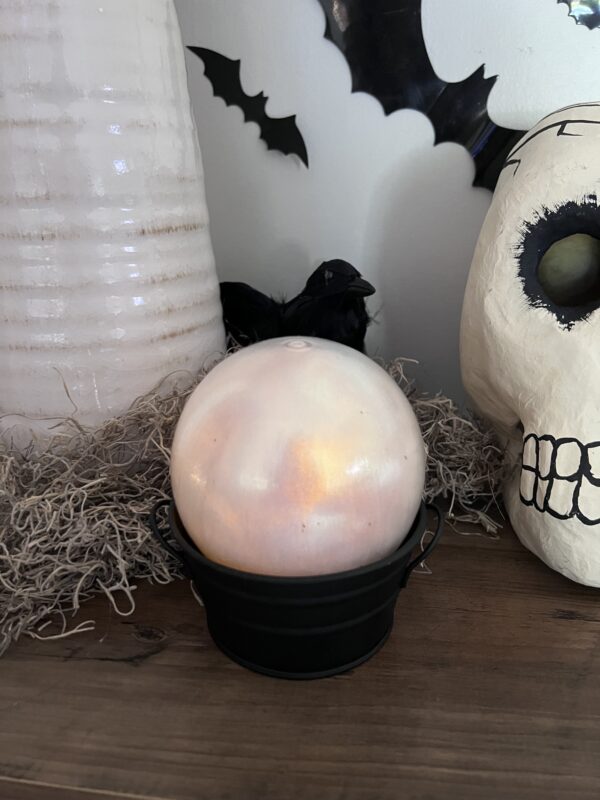
This DIY Halloween crystal ball is an easy, fun project that can be done in an afternoon and enjoyed for years to come. It’s also a fantastic way to get creative with family or friends as you prepare for the spooky season. Happy crafting!