Skip to search Skip to navigation menu Skip to main content Selecting option will reload page

Category: Spring Crafts

DIY Succulent Gnome Watering Pails

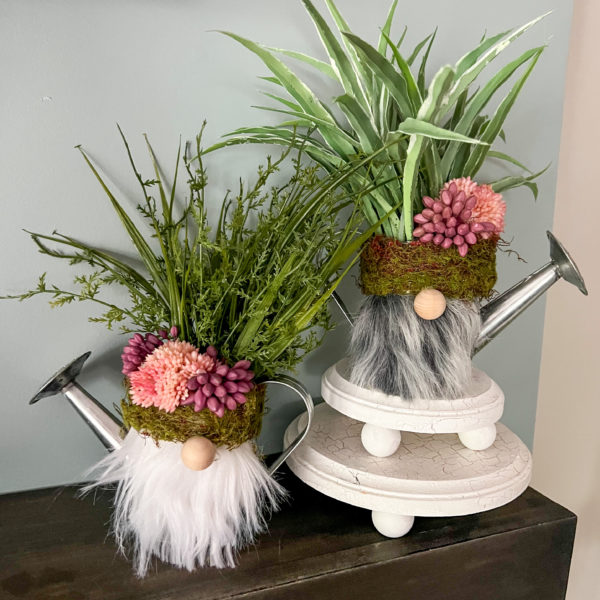
Add a sprinkle of enchantment to your decor with a whimsical twist! Craft your own DIY faux succulent gnome using our petite watering can as the gnome’s charming base!
Difficulty level:Beginner
Time to complete: 25 minutes

Things you’ll need:
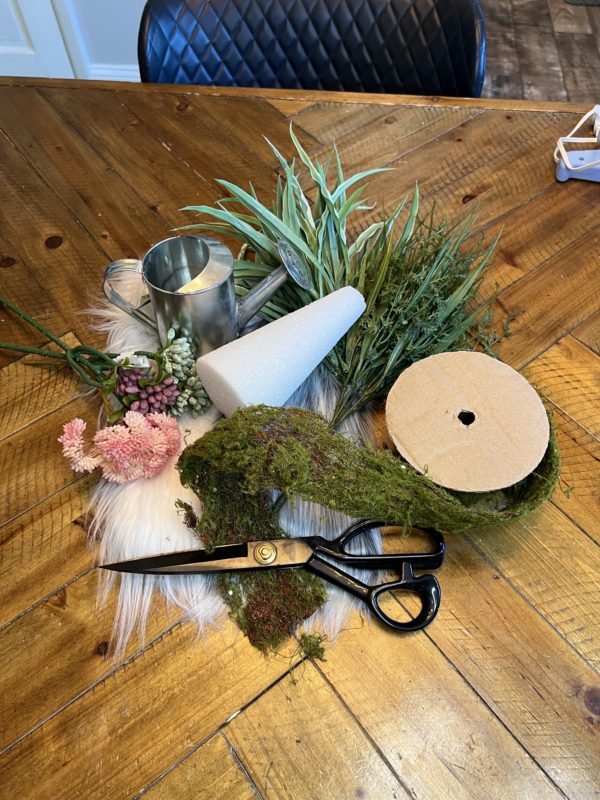
2 – Galvanized Watering Can
2 – Small Artificial Grass Bush
1 – Artificial Moss Wire Ribbon
1 – Lavender Artificial Sedum Succulent Pick
1 – Artificial Soft Light Pink Sedum Pick
1 – Long Pile Grey Frost Faux Fur
1 – White Craft Faux Fur
Glue Gun and Glue sticks
Scissors
Let’s grab your paintbrushes, channel your inner artist, and let get crafting!
This image has an empty alt attribute; its file name is Facebook-Post-5-600x600.png

Step 1: Creating the bread

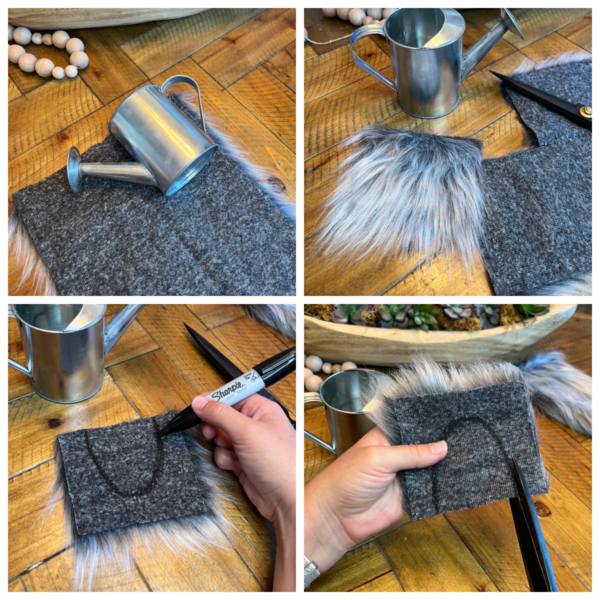
To start -Place the watering can on top of the grey faux fur. Carefully, cut a small square out – about 4.5 inches. Repeat this process with the white fur.

Step 2: Shaping the Bread

Grab the 2 square cutouts from the faux fur. Begin drawing the desired shape of the bread onto the material. The widest part will be approximately 3.5 inches a crossed. Then gradually cut inward for a rounded shape.
Step Three: Attaching

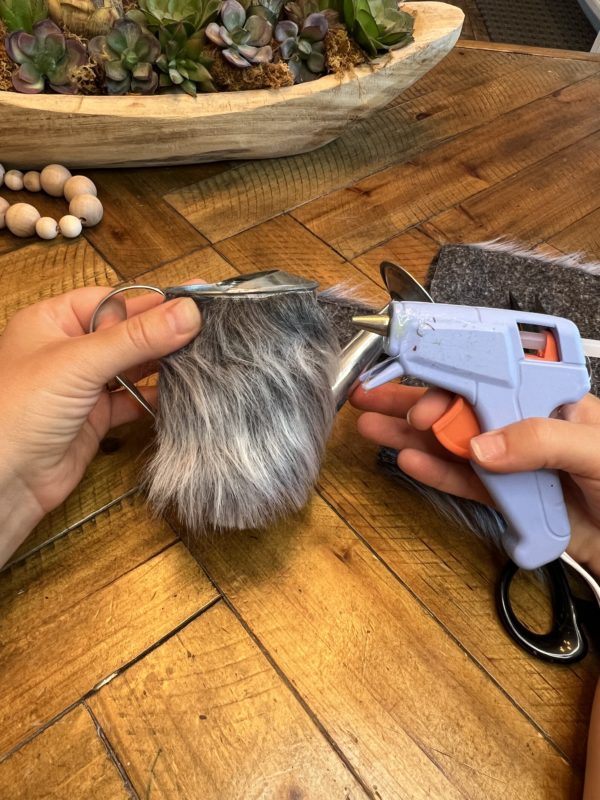
Take your hot glue and secure the bread on the front the of pail between the spout and the handle.
Step Four: Moss ribbon

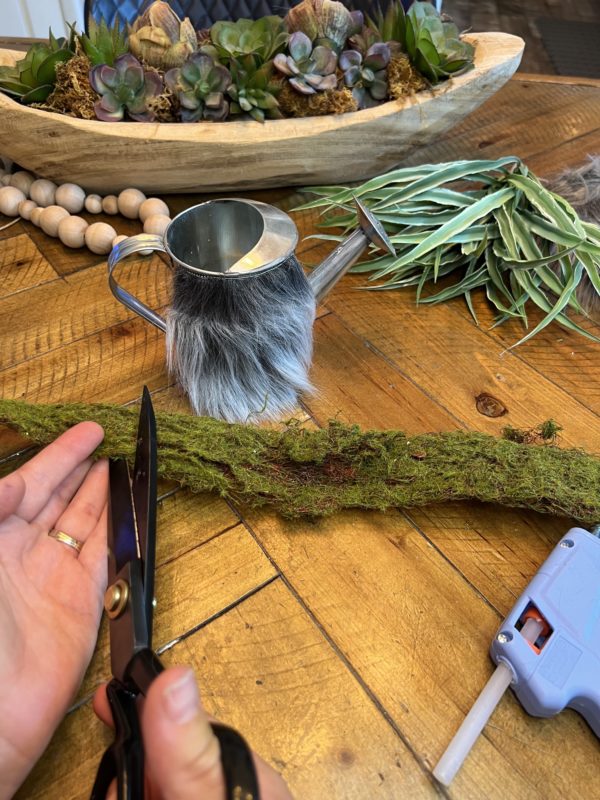
Grab the moss ribbon and cut off a piece that is about 12 inches long.
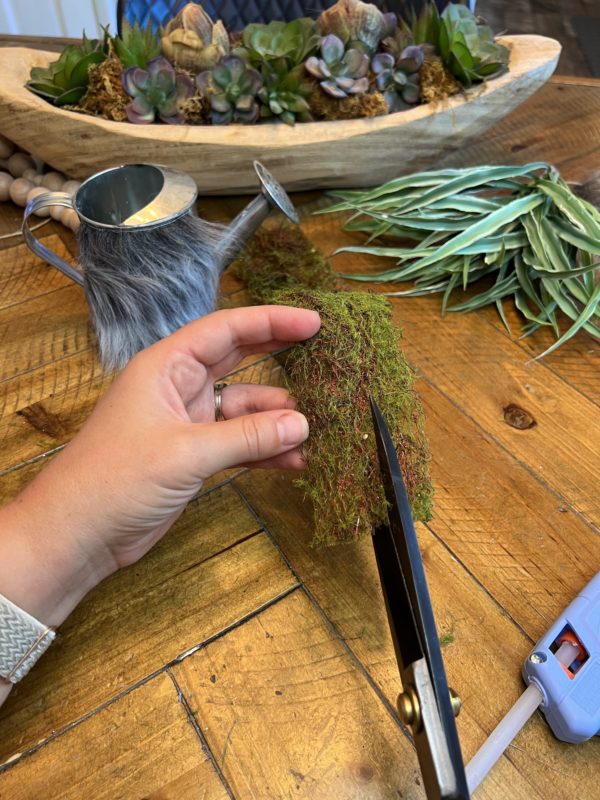
Next – take that moss piece and cut it straight down. Depending the amount of moss you want to show, you can remove a strip that is approximately 1/2 to 1 inch. For this use, i cut off about a 1/2 inch from the moss.
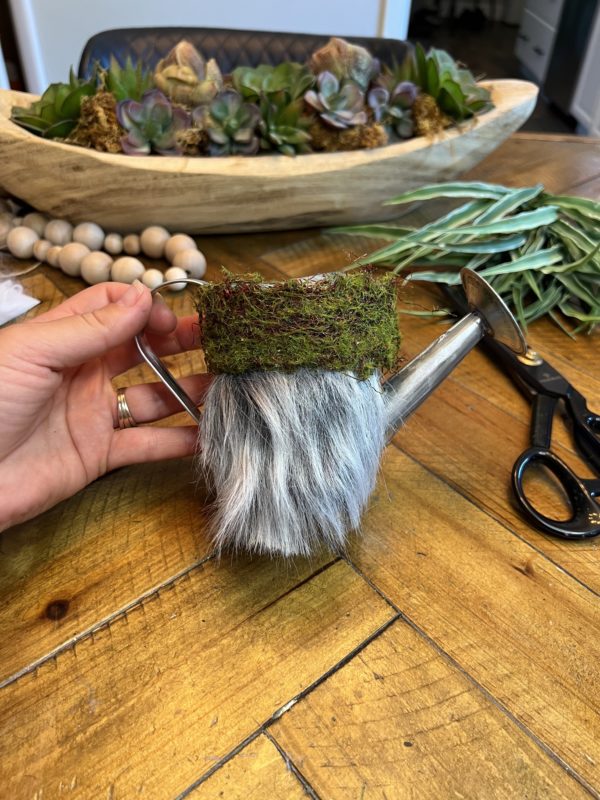
Once you have the moss trim to the size of your liking, you will now secure it with hot glue around the top part of the pail.

(Take the ribbon through the inside of the handle.)
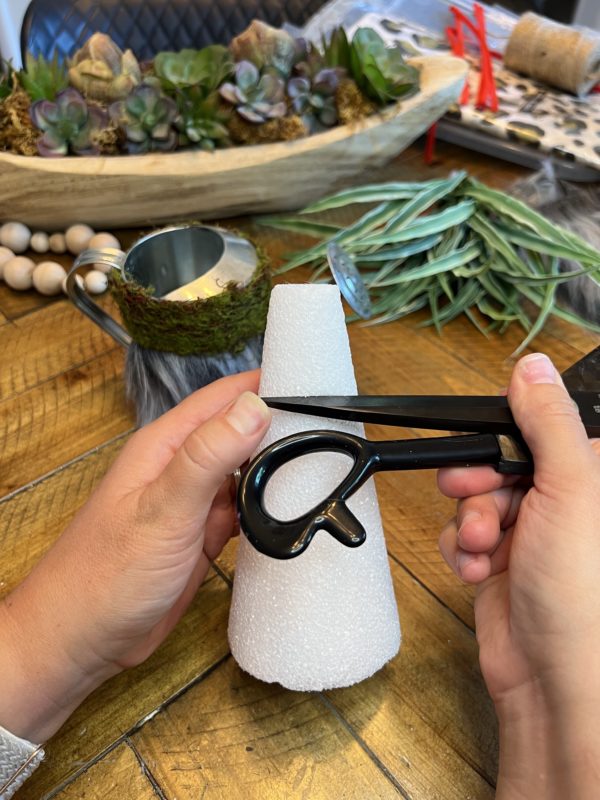
Step Five: Create you inside base for greenery

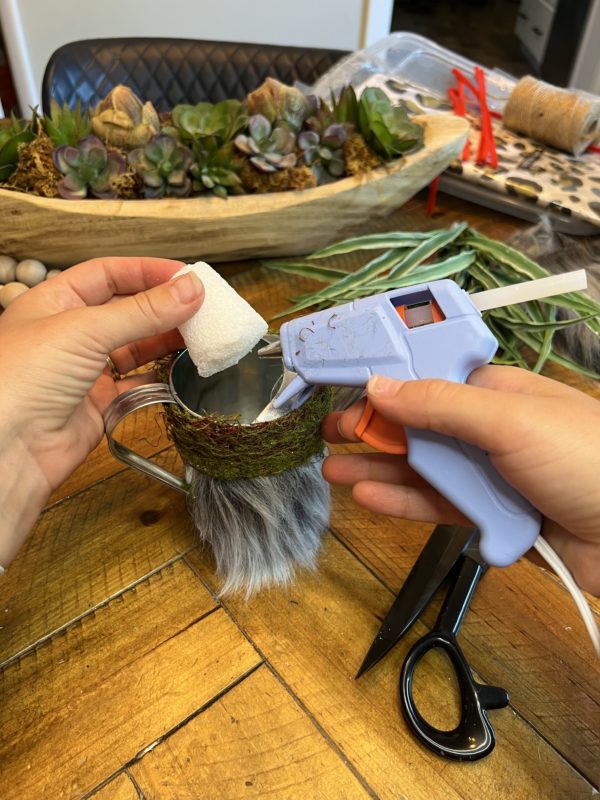
I grabbed a small Styrofoam cone laying around and cut off a small piece to hot glue in the inside center of the pail. This will allow you to to have a holder for your greenery stem allowing it to stay upright and in place.
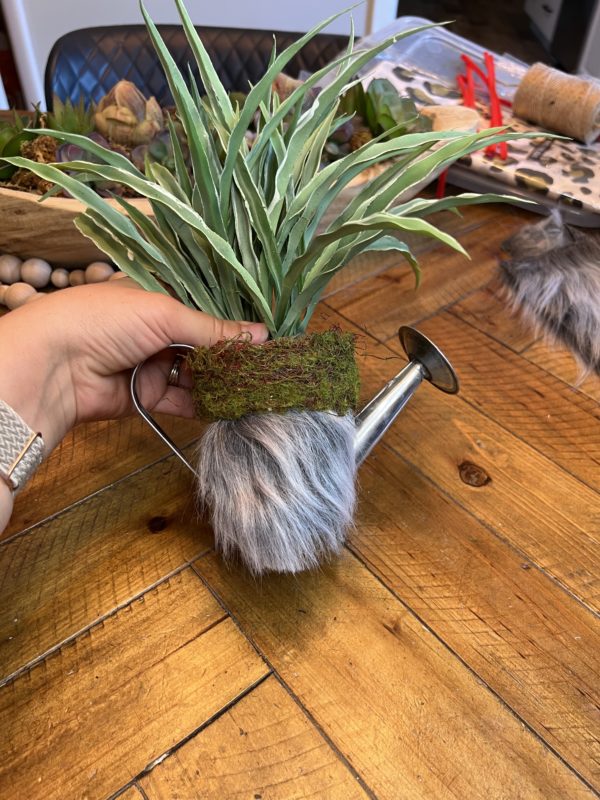
Depending on the the grass spray, you may need to trim the stem back a bit. Then glue in place.
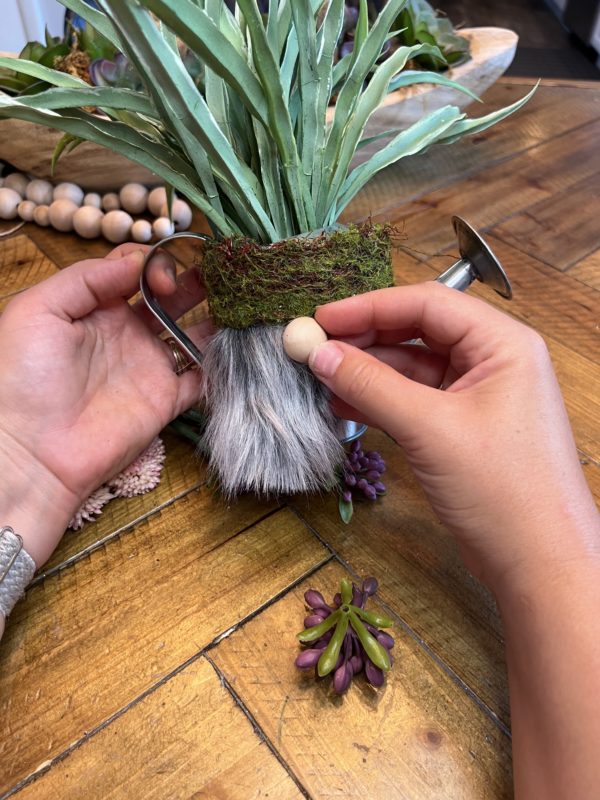
Step Six: Apply the nose

I used a 3/4″ wooden ball for the nose and glued it in place with the hot glue gun.
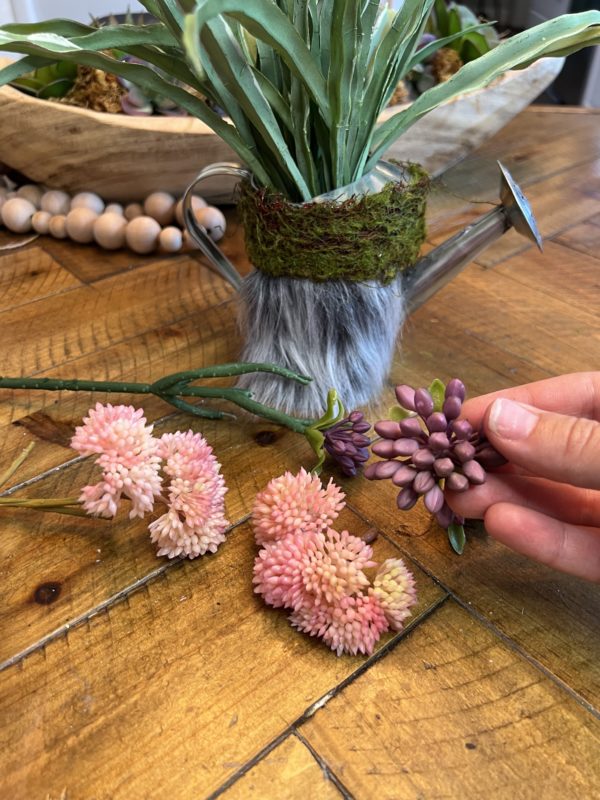
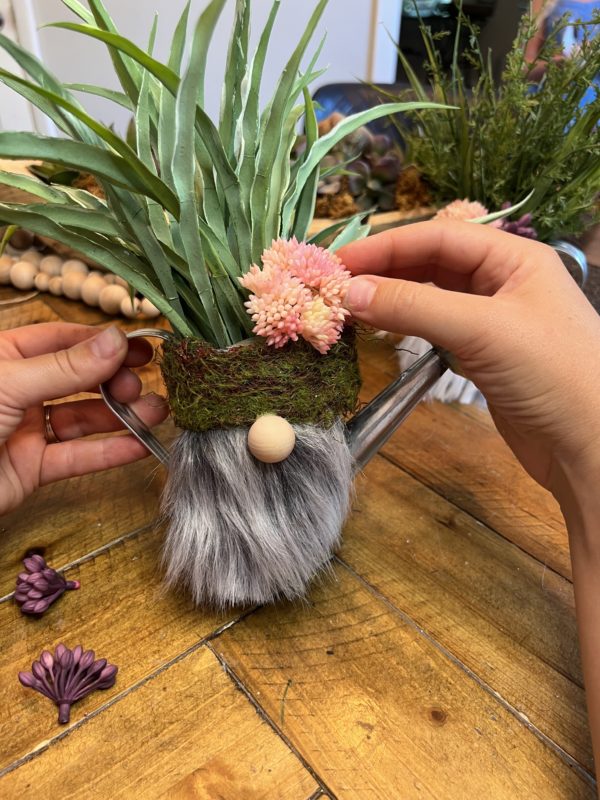
Step Seven: Add the Finishing Touches

Grab your succulent sprays and snip off a few for each gnome.

Each pail has a small little lip by the spout, which helped allow more space to glue the succulent buds in place.
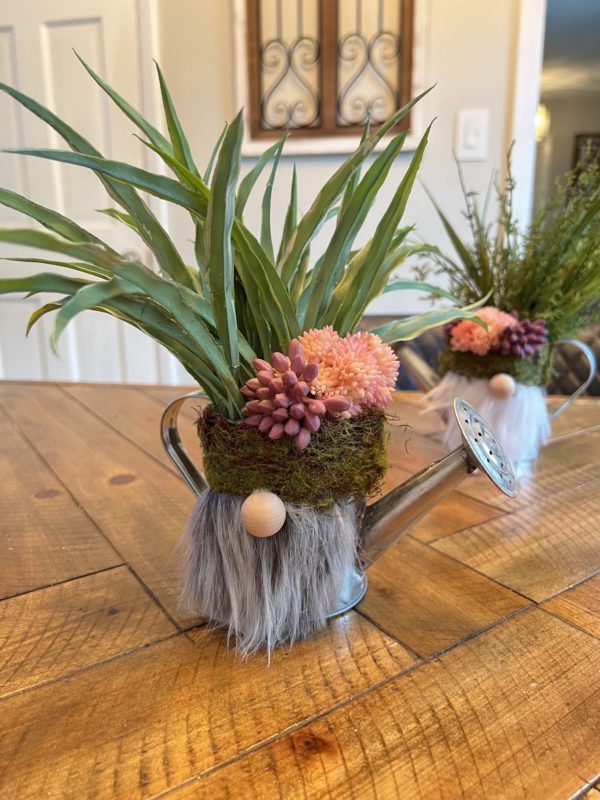
Now you are able to enjoy your little creation. Add into your fairy gardens or place through your home to add that whimsical touch!

How to video

Want to see more? Find more beautiful and unique projects by subscribing to our YouTube Channel here

  • https://www.youtube.com/@FactoryDirectCraft
Continue Reading

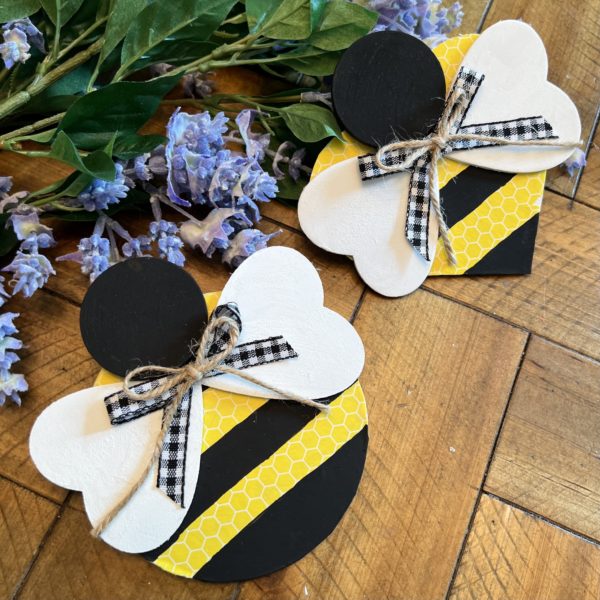
DIY Wooden Bumblebee for Decorating

This is a EASY, yet fun project to help add cute and whimsical touches to your home decor, parties, and school settings! Add these bumblebees to table decors, centerpieces, or even attach to your wreath forms for a special touch for the warmer days ahead! These are fun for kids and adults- customize to your liking. Add faces or antennas for more of a cute look!

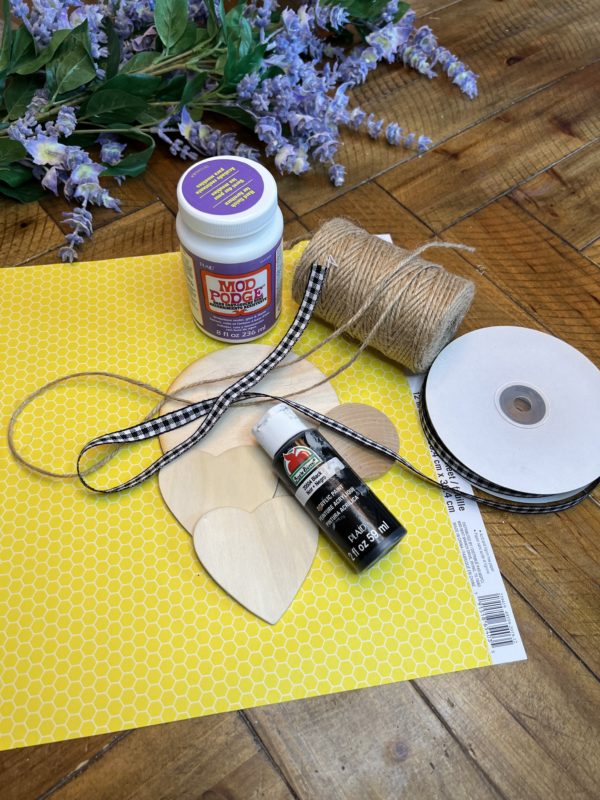
Things you’ll need:

Let’s gather your supplies and let’s get crafting!

First step – Applying the mod podge

Grab the round and/or Heart cutouts that are about 4.5 inches. You will apply a even coat of the Mod Podge to the cutout.

Second Step – Add your wallpaper

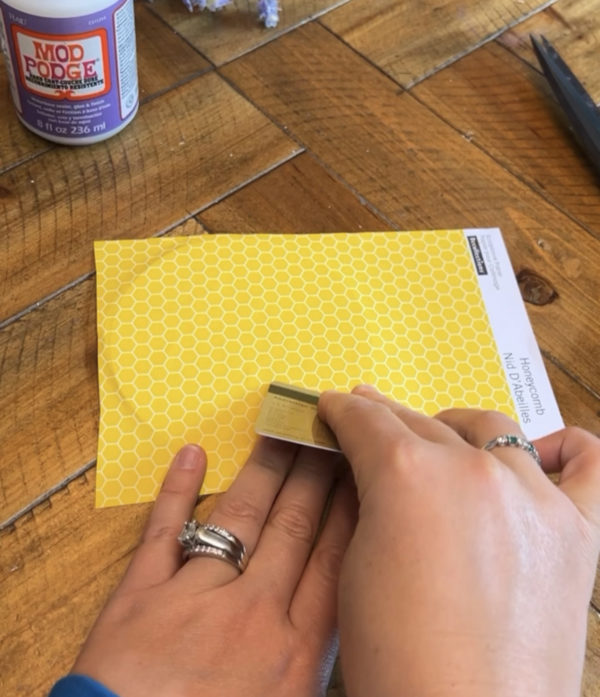
You will take the honeycomb wallpaper and apply it on the top of the cutouts that you painted the layer of mod podge to. Take a credit card to help even out the bumps and wrinkles.

Third Step – Trimming

Here i tried the damp paper towel to help get a nice close tear off with the paper but it took to long. I took a pair of scissors and was able to cut the paper at a angle to get nice and close.

Next apply a coat of mod podge on top to allow the paper to seal.

Fourth Step – Create the stripes

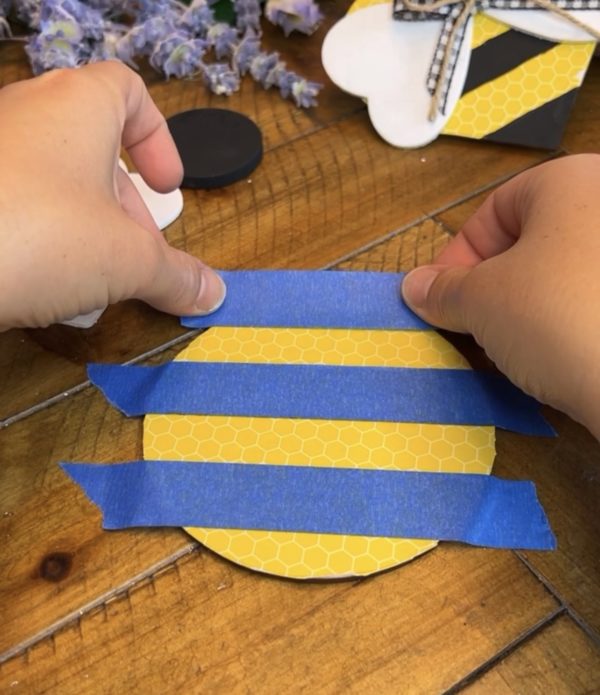
Here you will take 3 stripes of painters tape to lay out the “bee” strips on the cutout.

Fifth Step – Paint the stripes

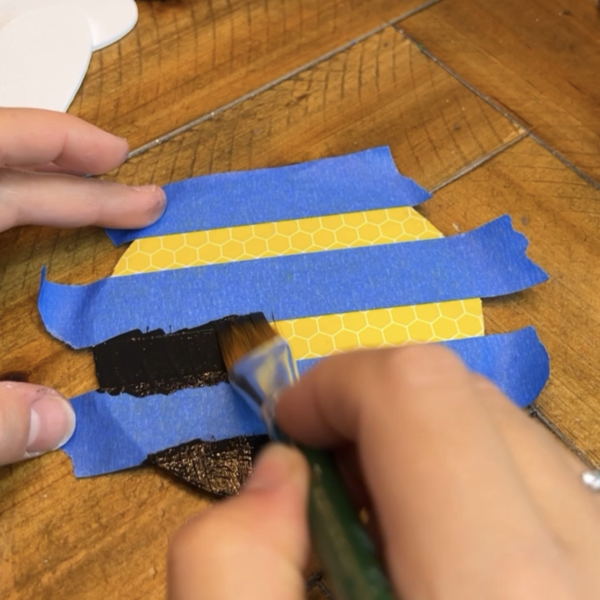
Come in with your black paint and paint the yellow areas showing on your cutouts. This will help create a nice straight line.

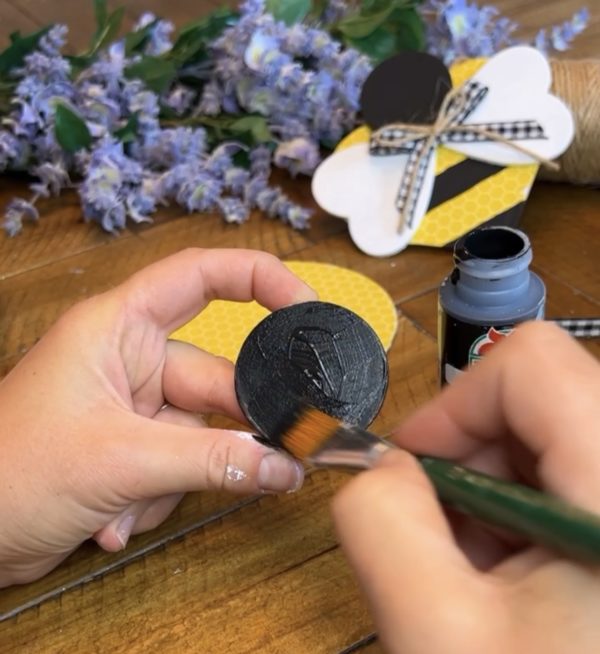
Sixth Step – Paint the body parts

Here you will grab the smaller size circle and heart cutouts. I used a 2 inch round cutout for the head and 2 heart cutouts that measured at 2.5 inches.

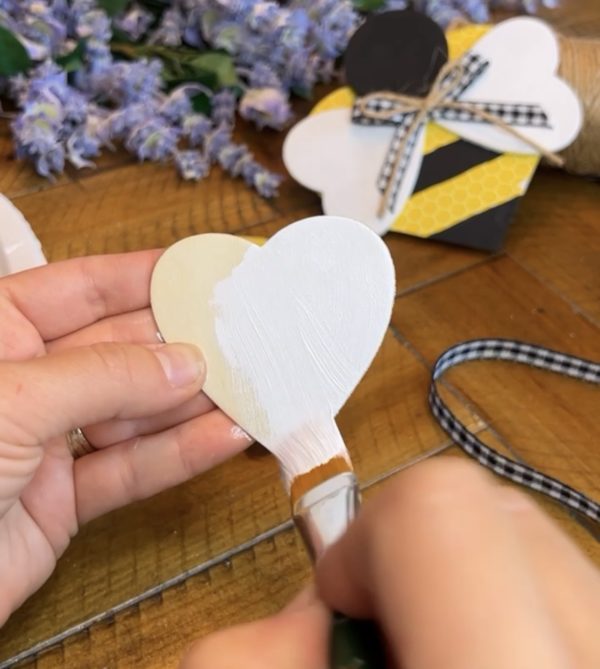
The round cutouts i painted black for the heads. Then white for the 2.5 inch heart cutouts for the wings.

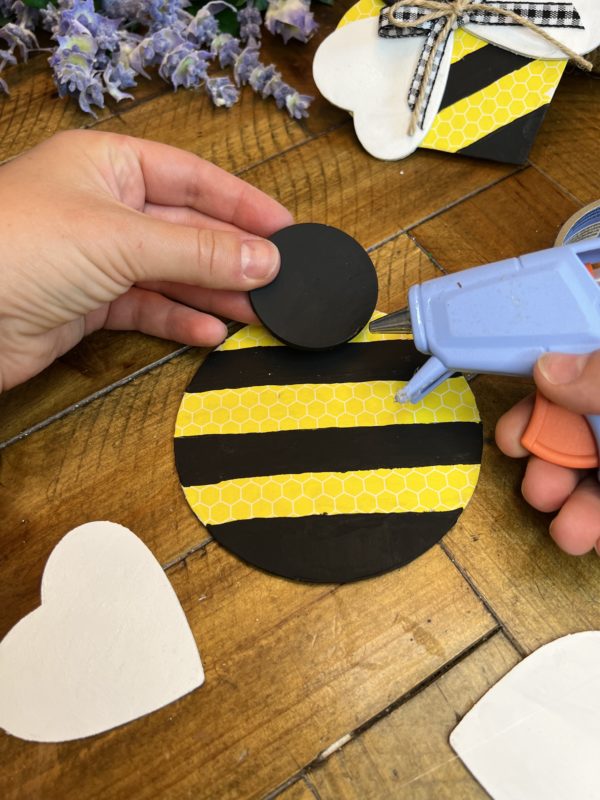
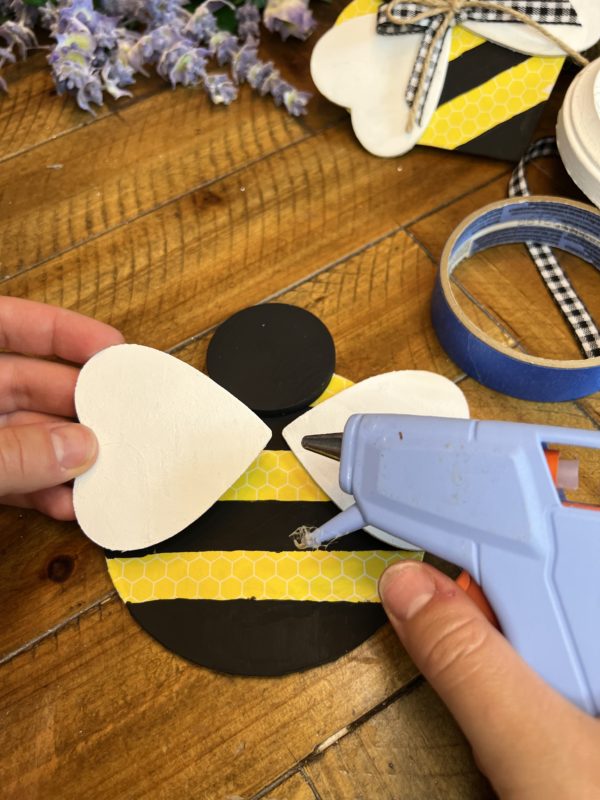
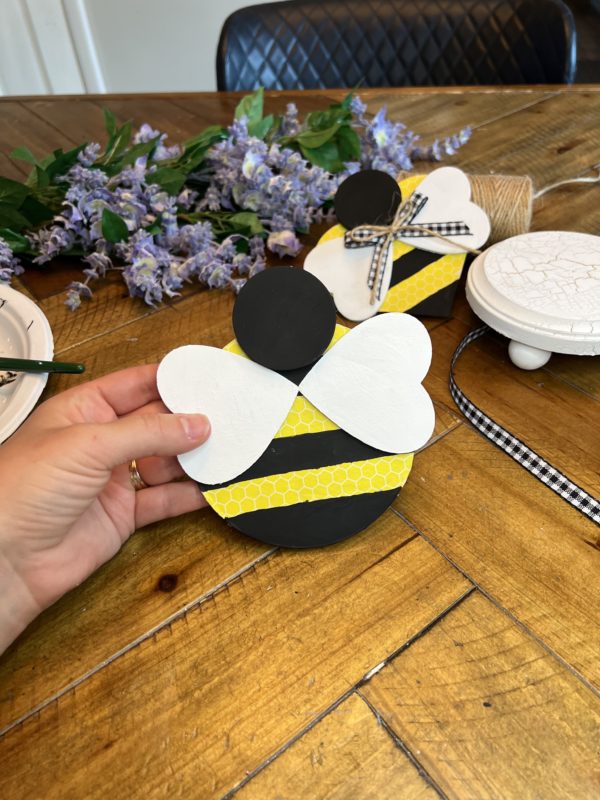
Seventh Step- Assemble the bee

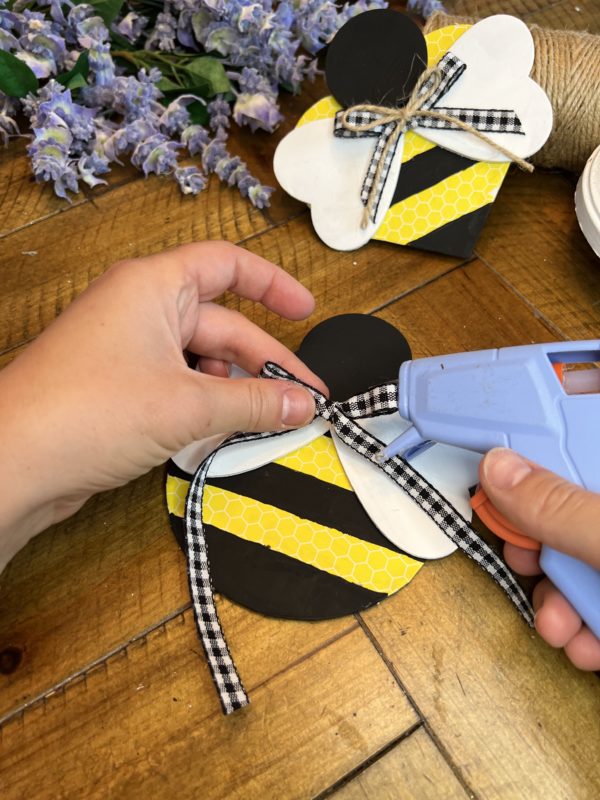
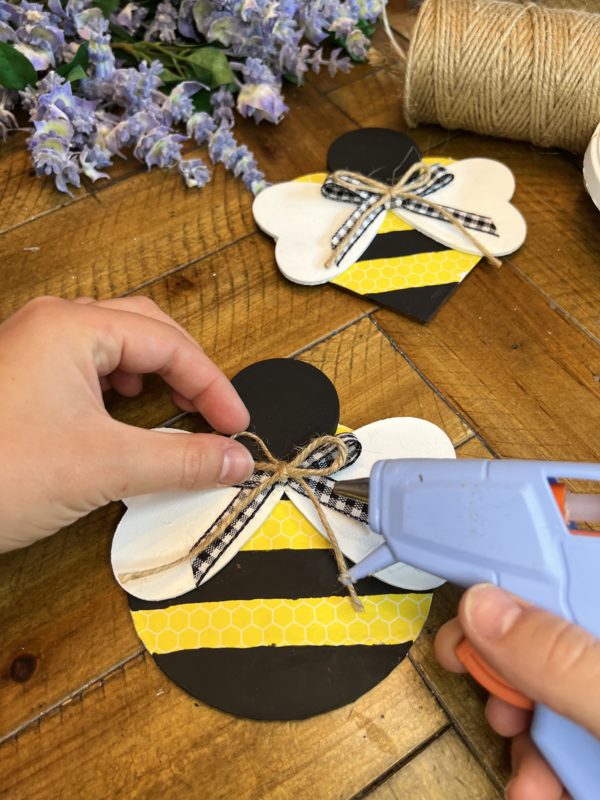
You will take your hot glue gun and glue the head and the wings in place.

Eighth Step – Attach the accessories

I grabbed some left over ribbon that i had from other projects. This was a 3/8″ black and white ribbon that went well. Tied this into a nice fancy bow. Then i added a bow out of twine to help add more contrast.

Here you can also add a face or antennas. Customize this to your liking.

This is great for wreath makers or and summer themed decor/parties.

How to video

Want to see more? Find more beautiful and unique projects by subscribing to our YouTube Channel here

  • https://www.youtube.com/@FactoryDirectCraft
Continue Reading
Change Your Country
Please select your country, this will change the site to your country's currency:

Cancel