Skip to search Skip to navigation menu Skip to main content Selecting option will reload page

Category: Fall Crafts

DIY Yarn Pumpkin Tutorial


This is a great project for upcycling all those plastic bags you have around the house.

Difficulty level: Beginner
Time required: 30 minutes
Age range: 8 and up

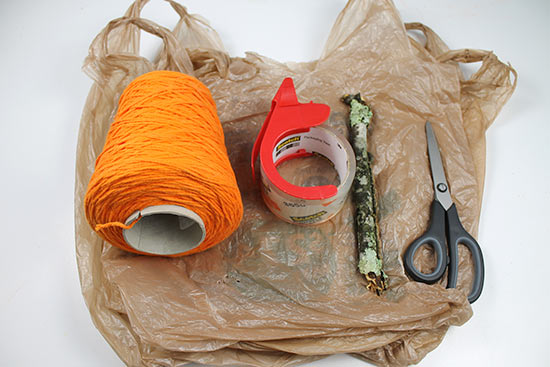
Things you’ll need:
Plastic bags
Packing tape or masking tape
Scissors
Thick branches from the yard
Orange yarn
Glue (optional)
Things to do:
1. Lay a plastic bag flat on your work surface. Begin rolling the outside edges toward the center to create a round shape.

2. Tape the bag in the center of the fold to hold the circular shape of the pumpkin.

3. Repeat steps 1-2 two more times with two more bags.
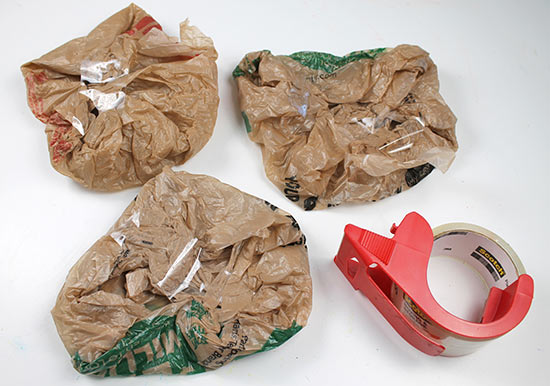
4. Stack the three plastic bags together, then tape them together to secure them.

5. Scrunch and fluff the bags with your hands to create a round shape.
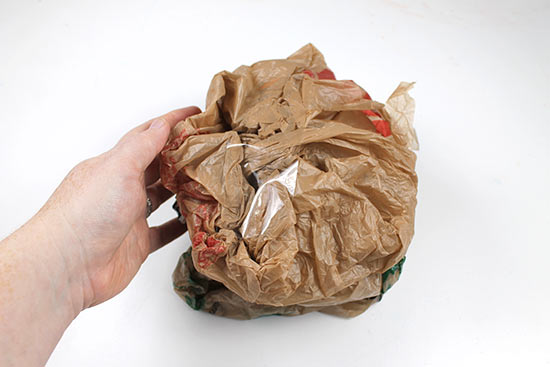
Tip: If you want to create a smaller pumpkin, use only one or two bags. To create a larger pumpkin, use as many bags as you’d like.
6. Using scissors, cut a slit into the top center of the stack of bags where you want the stem to go.
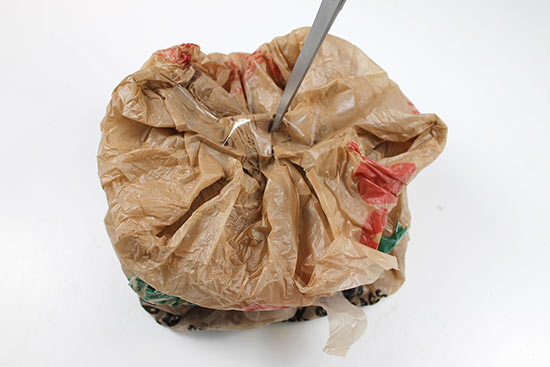
7. Insert the short branch into the cut. Remember that the yarn will cover part of the branch later, so don’t worry about choosing the perfect branch length just yet.
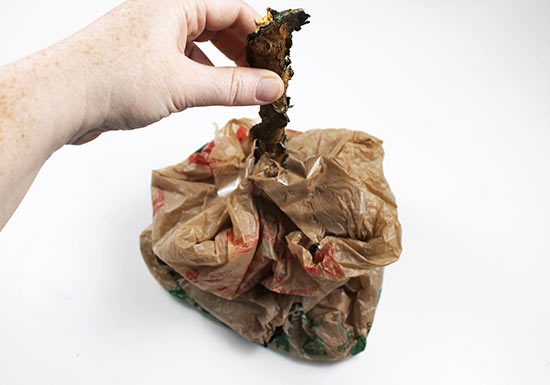
8. Tape around the branch to secure it.
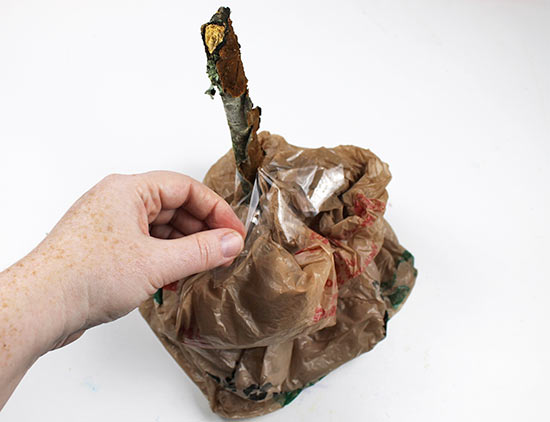
9. Grab the end of the yarn and begin wrapping around the plastic bag, wrapping over the yarn end to hold it in place.
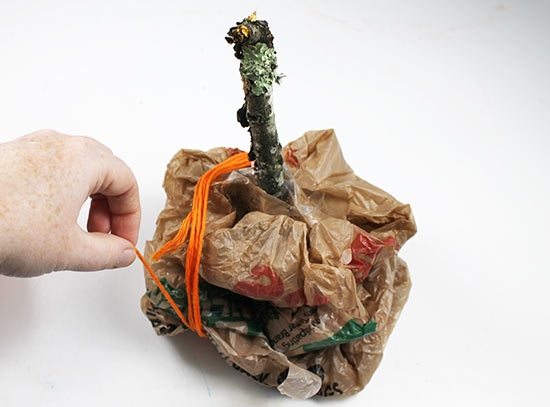
Tip: Try not to wrap too tightly, otherwise your plastic bags will collapse and make the pumpkin smaller.
10. Continue wrapping, changing the direction of the yarn after several dozen wraps and rotating the pumpkin. If your wraps appear loose, that’s ok. The more you wrap, the more the pumpkin will take shape.

11. As you wrap, try to fill in spaces where the plastic bag is showing. When the pumpkin has a nice shape and you have covered all the open gaps where the plastic is showing, you’re finished wrapping.
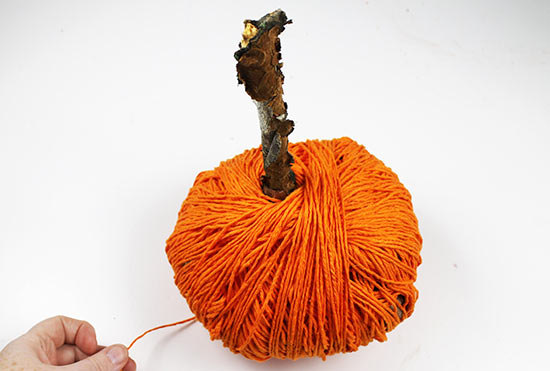
12. Then the entire bag is covered with yarn, cut the yarn.

13. Tuck the yarn end into the nearby wraps.

14. Optional: Secure the yarn end with a dab of glue.

Tip: If, after wrapping, your branch seems too long for a stem, you can break part of it off to shorten it.
Continue Reading

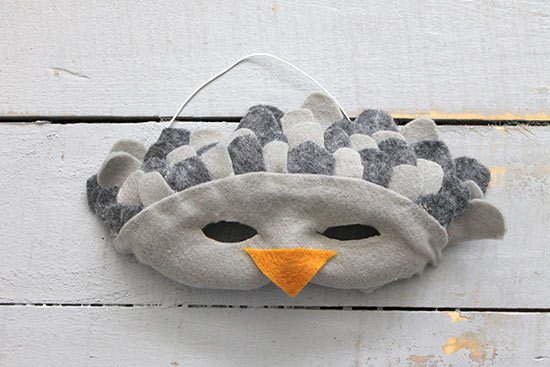
DIY Felt Owl Mask Tutorial


Difficulty level: Beginner
Time required: 45 minutes
Age range: 12 and up

Things you’ll need:
Paper Mache Domino Mask
Scissors
Sewing pin
White elastic jewelry cord
Tracing tool such as pen or marker
Glue gun and glue sticks
Charcoal Felt Sheets
Gray Felt Sheets
Yellow Felt Sheet

Things to do:
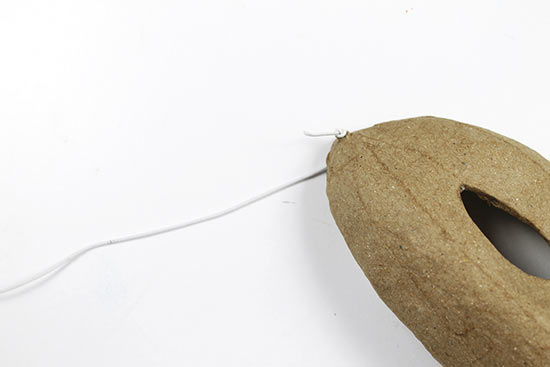
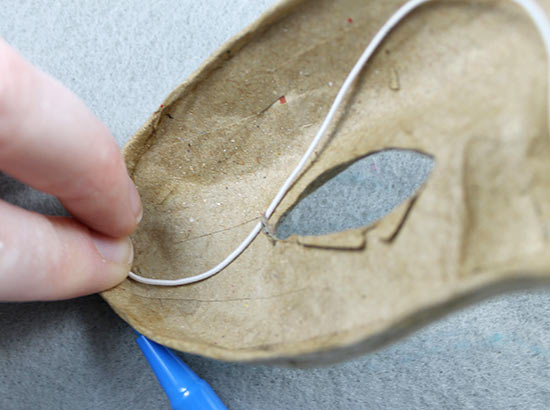
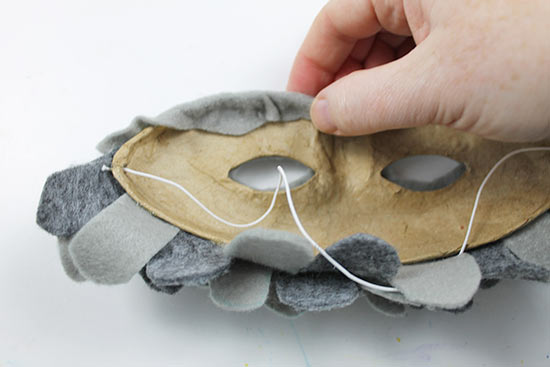
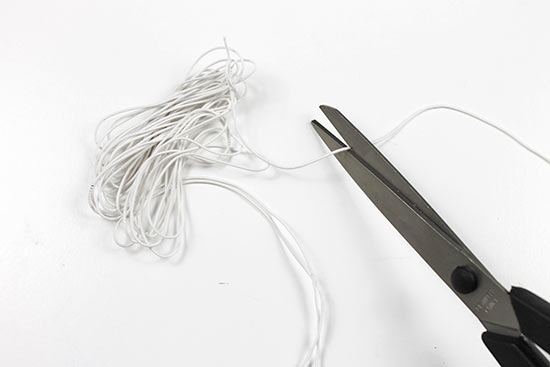
1. Cut a piece of elastic that fits snugly from one edge of the mask to the other around the back of your head.

2. Using the sewing pin, poke a hole in the mask on the outside of the eye, close to the edge. You may need to wiggle the pin around just a bit to make the hole bigger.

3. Insert the elastic into the hole, then knot it.

4. Pull so that the knot rests against the mask.

5. Repeat steps 2-3 for the opposite side of the mask.

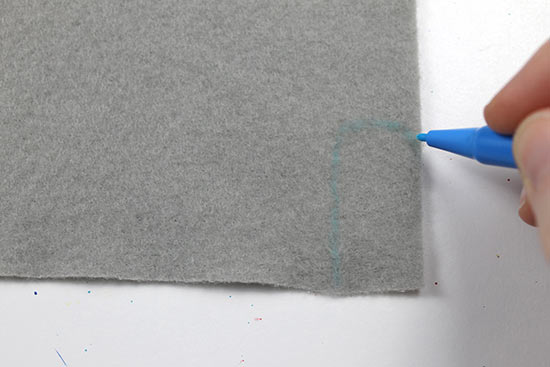
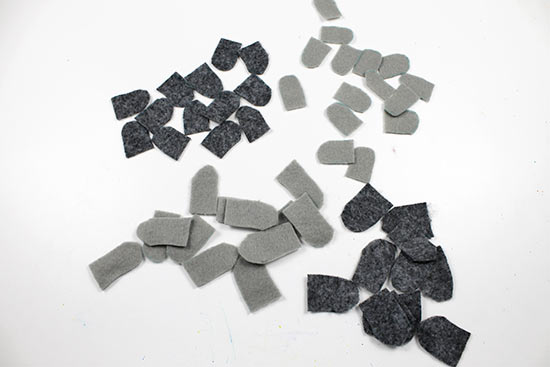
6. Using the tracing tool, draw a feather shape onto the light gray felt and cut it out. We drew two different feather sizes: Our feather shapes measured about 7/8″ wide and were 1 1/4 ” and 1 3/4 ” tall. The feathers do not have to be perfect!

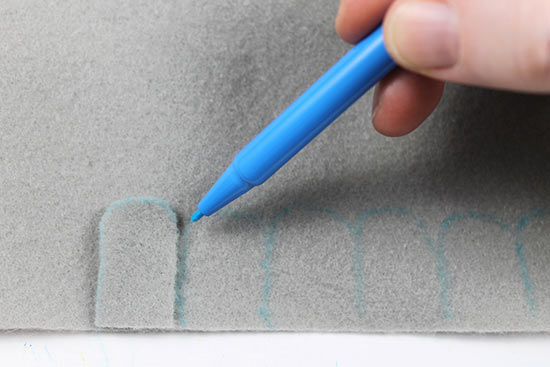
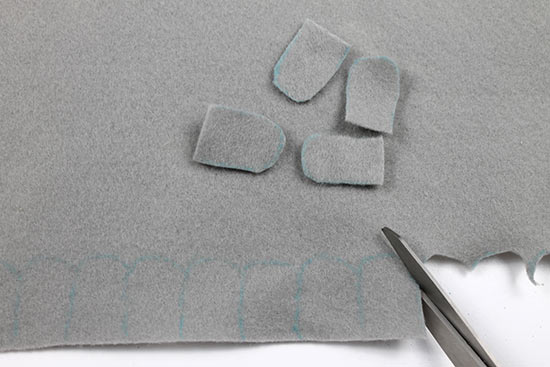
7. Using the cut feather as a template, trace additional feathers onto the light gray and charcoal sheets.

8. Cut out all the traced feather shapes.

9. We drew around 13 feathers in each size and color, but if you need more feathers later you can always cut out more. Set these feathers to the side for now.

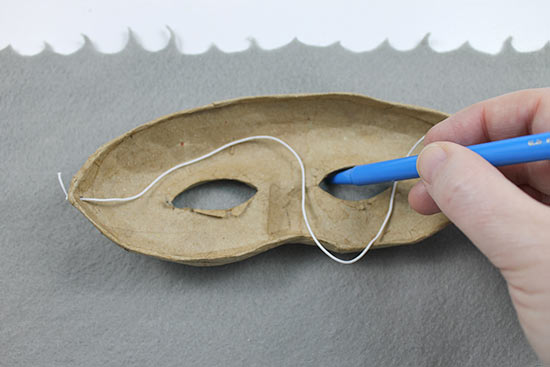
10. Place the mask flat on the gray felt. Using the tracing tool, trace around the top of the mask, tracing just above the eyes. You do not need to tilt the mask as the top part will not be covered.

11. Trace the eyes of the mask.

12. Trace around the sides and the bottom of the mask, this time tilting the mask to make sure you’re tracing the entire surface. It’s best to trace a larger outline, since you can fold over the excess felt later when you’re attaching it to the mask.

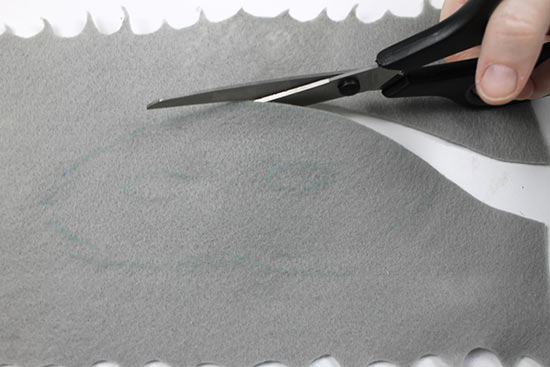
13. Cut around the outline of the mask.

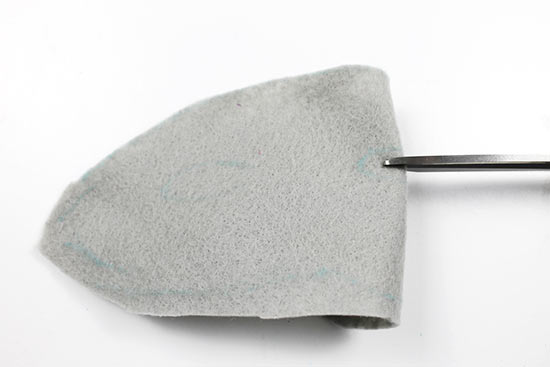
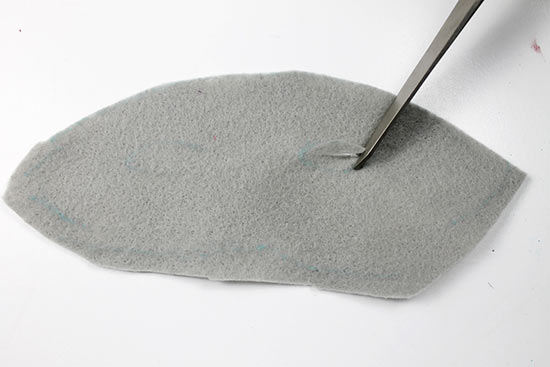
14. To cut the eyes, fold the felt over and use the scissors to create a small snip in the fold.

15. Insert the scissors through the slit and cut the eyes. Set the felt outline aside for now.

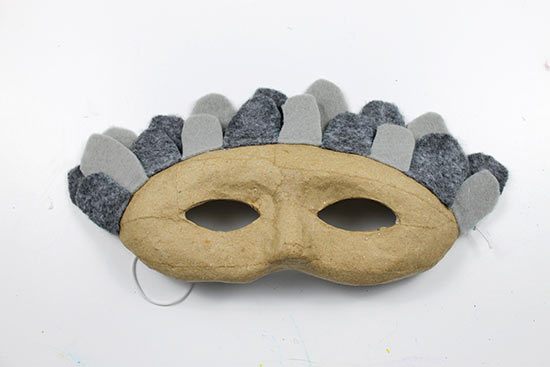
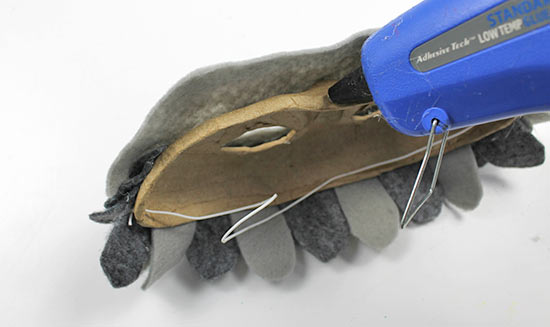
16. Begin layering the felt feathers by hot gluing the first layer across the top of the mask. Glue feathers side by side without any space between them.

17. Add a second layer of feathers just below that, again gluing the feathers side by side.

18. Add two more rows of felt, this time overlapping the feathers as you glue.

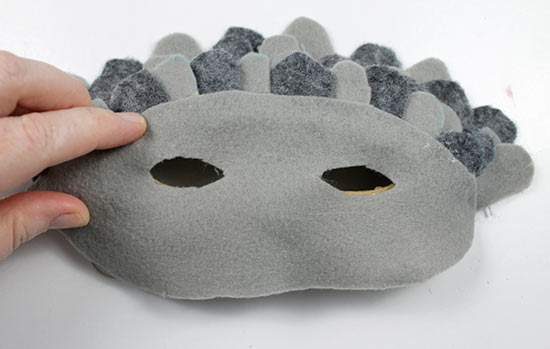
19. When you are happy with the feather placement, glue the felt mask onto the paper mache starting with the top part of the mask.

20. Hot glue the felt mask around the eyes.

21. Hot glue the felt mask around the bottom.

22. If you have excess felt along the edge, hot glue the excess felt to the inside of the mask to hide it.

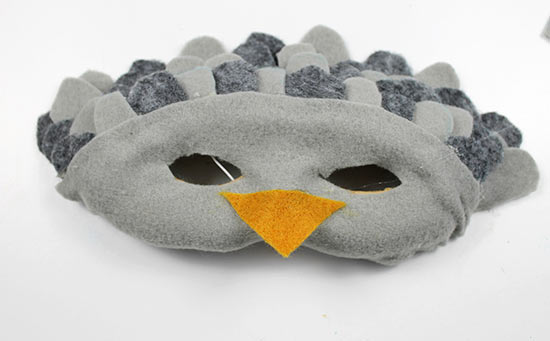
23. To create the owl’s nose, use scissors to clip across the corner of the gold felt.

24. Hot glue the nose to the mask.

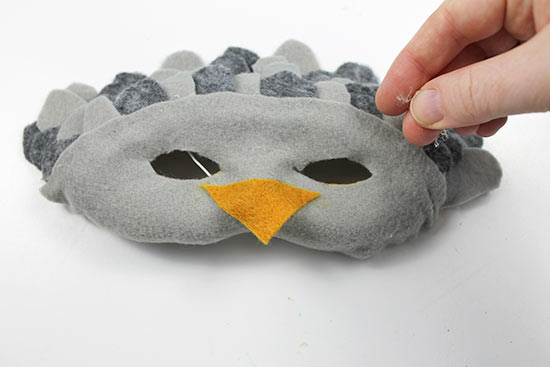
25. Remove any excess hot glue from the mask.

Continue Reading
Change Your Country
Please select your country, this will change the site to your country's currency:

Cancel