Difficulty level: Beginner
Time required: 45 minutes
Age range: 12 and up
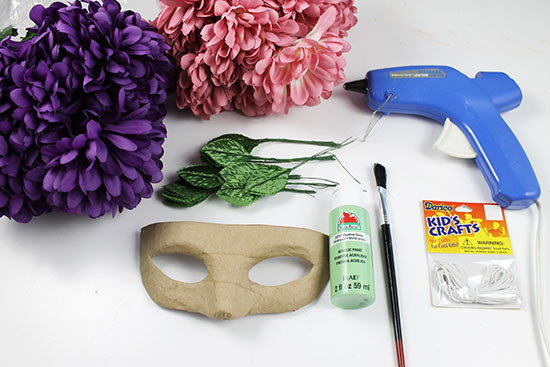
Things you’ll need:
Paper Mache Mask
Meadow Green acrylic paint
Paintbrush
Scissors
Wire cutters
Purple Mum Bush
Mauve Mum Bush
Green artificial rose leaves
Glue gun and glue sticks
Sewing pin
White elastic jewelry cord
Things to do:
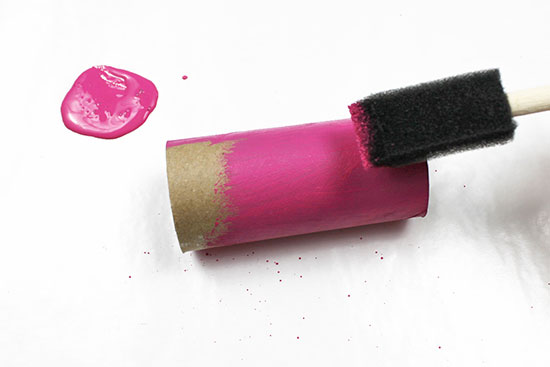
1. Using the green acrylic paint and a paintbrush, paint one coat of paint onto the mask.

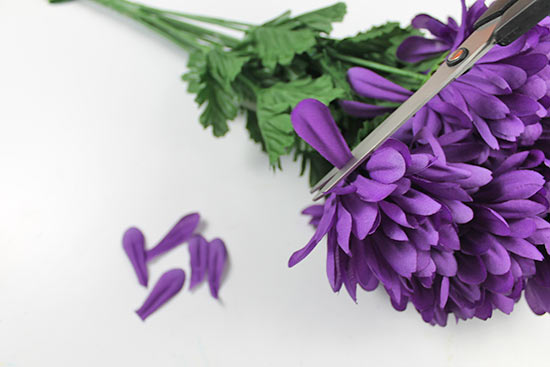
2. While the mask is drying, begin cutting the flower petals. Cut petals close to the stem, cutting about 32 purple petals and 7 mauve petals. (You can always cut more later if you need them.)
3. Using wire cutters, trim the stems away from the rose leaves.

4. When the mask is dry, hot glue the rose leaves to the mask one at a time, making sure the right side of the leaf is facing out. Start by filling in the top of the mask, filling from the outside edges in toward the middle.
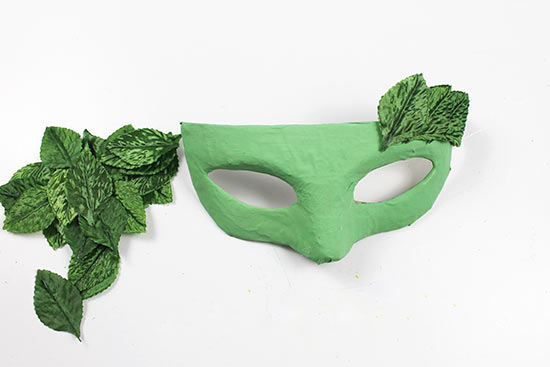
5. When you reach the inside edge of the eye, begin to glue rose leaves from the outside in on the other side of the mask.
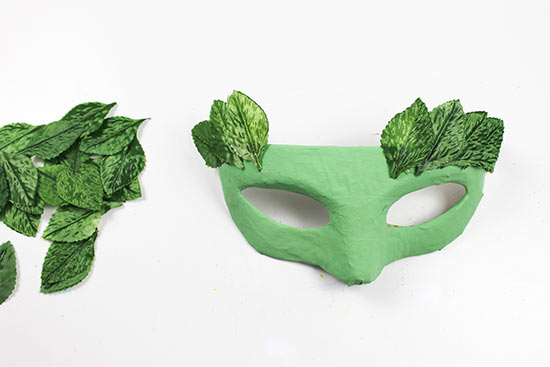
6. When you reach the inside edge of the eye, hot glue two rose leaves in the top center of the mask.
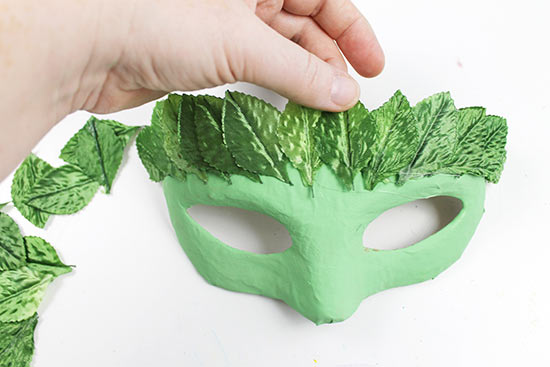
7. Begin to hot glue leaves along the bottom of the mask, starting from the inside and working your way outside on one side.
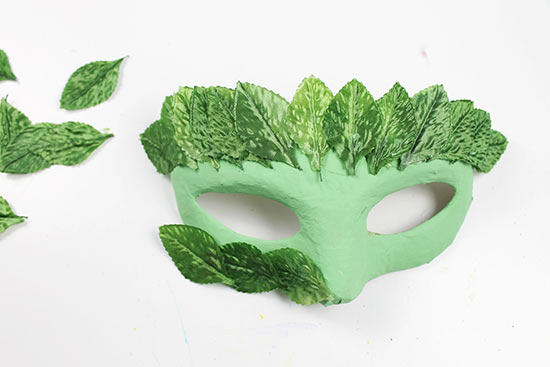
8. When one side is full, repeat step 7 on the opposite side of the mask.
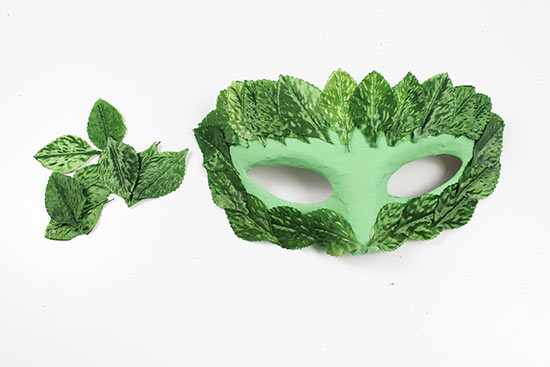
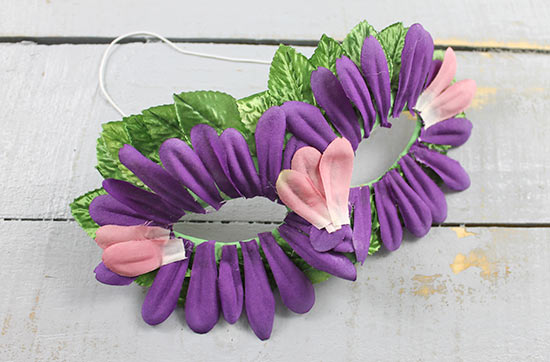
9. Glue purple petals around the one eye, again making sure the right side of the petals is facing out so that the petals lie flat.
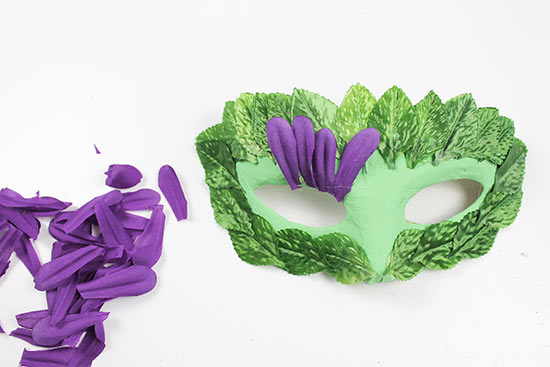
10. Repeat step 9, gluing petals around the opposite eye.
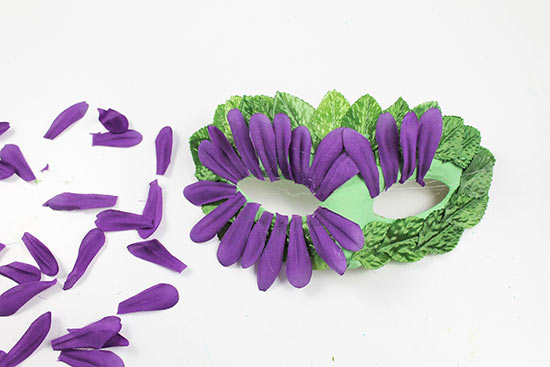
11. Hot glue flower petals until you have covered the entire circumference of both eyes.
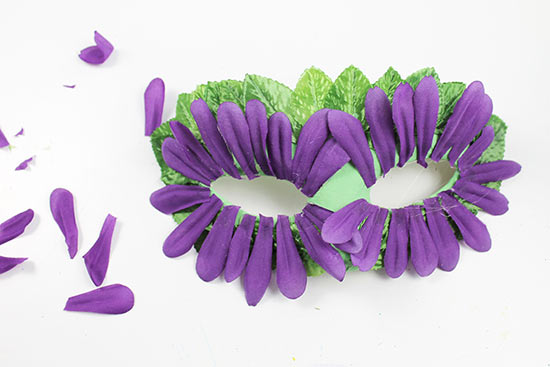
12. Hot glue three mauve petals to the center of the mask between the eyes.
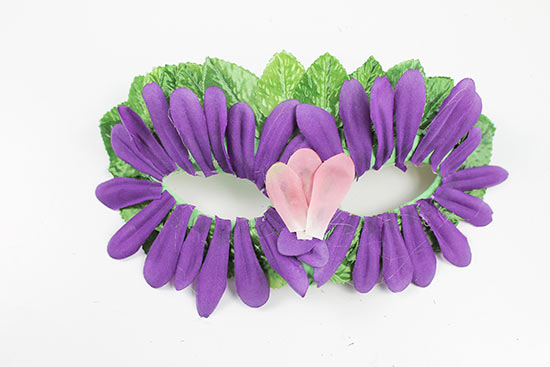
13. Using the mauve petals again, hot glue two petals to the outside edge of each eye.
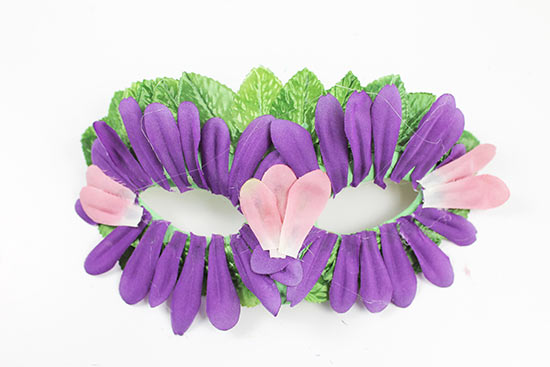
14. Use your fingers to remove the excess hot glue from the mask.
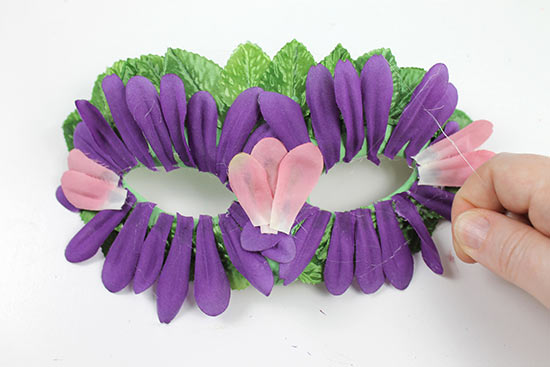
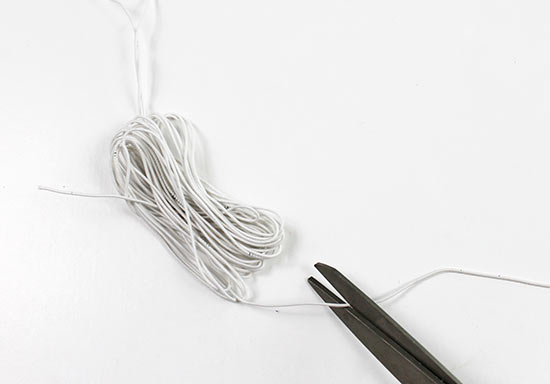
15. Cut a length of elastic that’s long enough to fit snugly around your head, measuring from one outside edge of your eye, around the back of your head, and to the other eye.
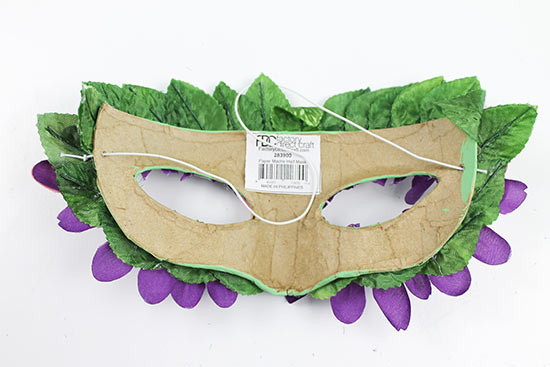
16. Flip the mask over and using the sewing pin, punch a hole through the mask just beside the top outside edge of the eye. You may need to wiggle the pin around just a bit to make the hole bigger.
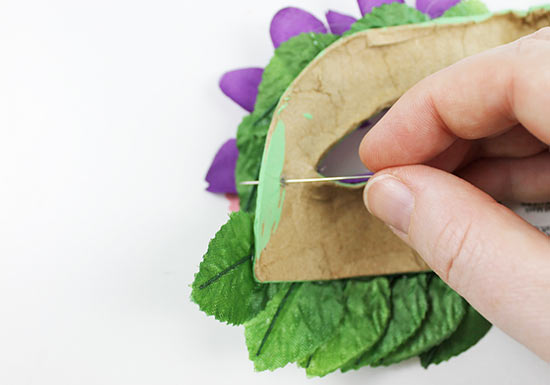
17. Insert the elastic from back to front through the hole, then tie a knot in the end of the elastic to secure it, then pull the elastic so that the knot rests on the front of the mask.
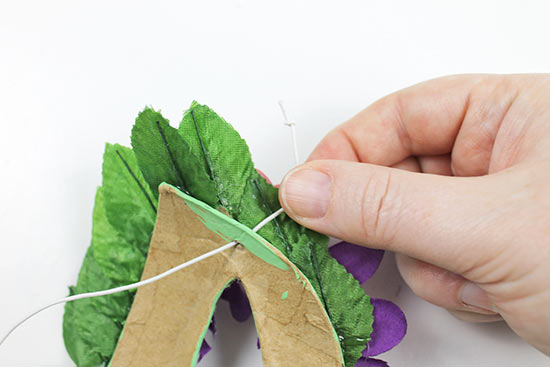
18. Repeat steps 16-17 on the opposite side of the mask.