Skip to search Skip to navigation menu Skip to main content Selecting option will reload page

Category: Kid's Arts and Crafts

DIY Bunny Headband

Your little one will look adorable in this bunny headband! In just a few simple steps, you can create a cute costume that’s perfect for Easter or a great addition to your dress up bin!

Difficulty level: Beginner
Time to complete: 15 minutes
Age range: 12 and up

Things you’ll need:
Headband
Felt
Pom pom
Hot glue gun and hot glue sticks
Thread
Lavender tulle
Scissors
Pencil

Things to do:

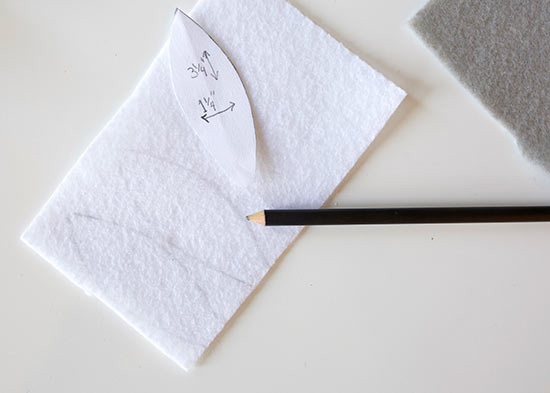
  1. First, make a pattern for your ears. Our pattern was 4 1/4 ” tall and 1 3/4 ” across. The smaller pattern is 3 1/4 ” tall and 1 1/4 ” across.
  2. Trace your patterns onto two different colors of felt and cut out the shapes.
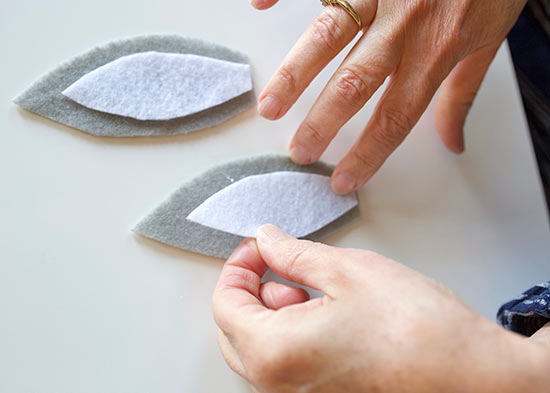
  3. Use hot glue to attach the smaller ears to the larger ears.
  4. Cut a 1″ slit up the center of the ear.
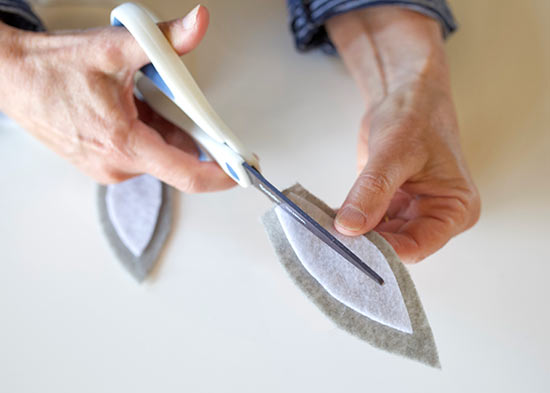
  5. Run a line of glue just above the slit and fold the base of the ear in half, giving it dimension.
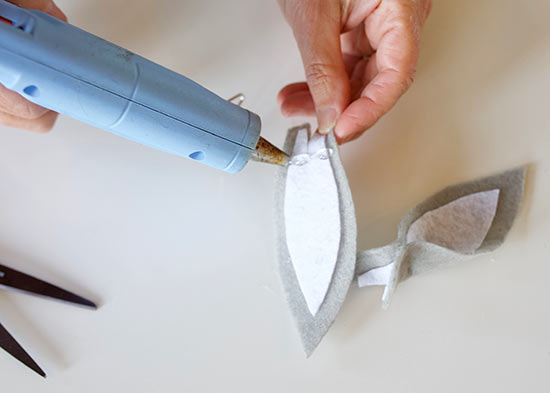
  6. Use glue to attach the ears to the headband.
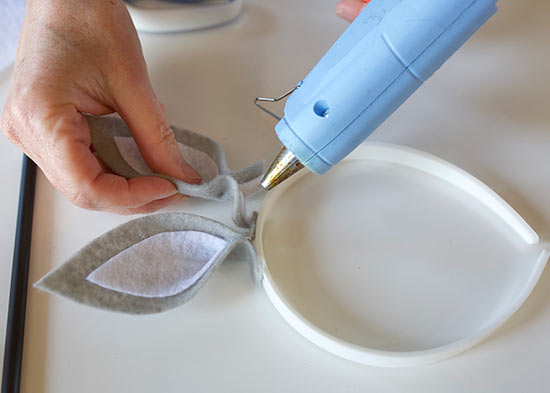
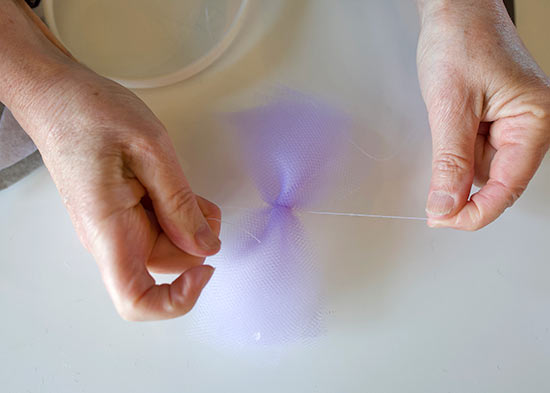
  7. Cut ten 2″ strips of tulle and stack them. Tie a piece of thread around the tulle and knot it tightly so the tulle stays together, creating a bow.
  8. Use glue to attach the tulle bow to the headband, between the ears.
  9. Glue a pompom to the center of the tulle bow.

Continue Reading

DIY Valentine’s Day Heart Wand for Kids


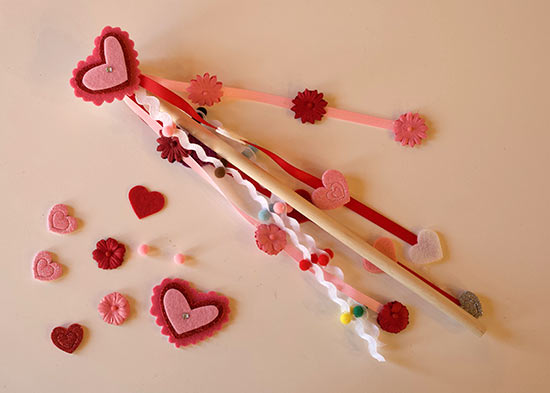
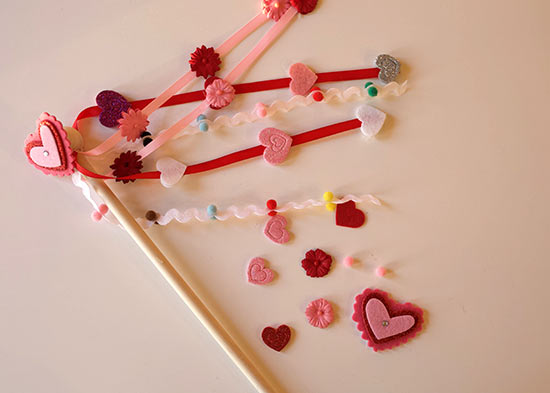
There’s love and magic in the air! Celebrate Valentine’s Day with your little ones by creating a magical Valentine’s Day wand! This project is great for children’s parties or craft time in the classroom!

Difficulty level: Beginner
Time to complete: 15 minutes
Age range: 6 and up *Younger ages may need assistance

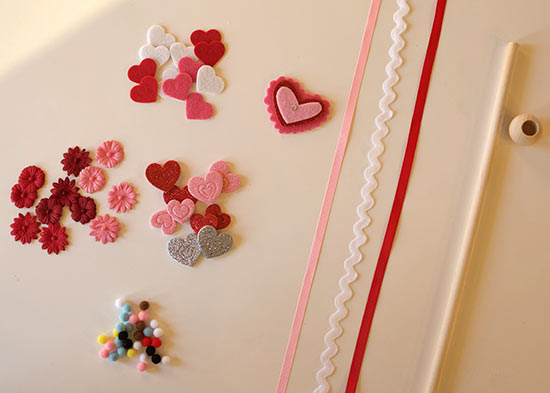
Things you’ll need:
Dowel
Wooden bead
Ric rac trim
Ribbon (pink and red)
Pom poms
Heart stickers
Foam Stickers
Floral embellishments
Hot glue gun and hot glue sticks
Scissors

Things to do:
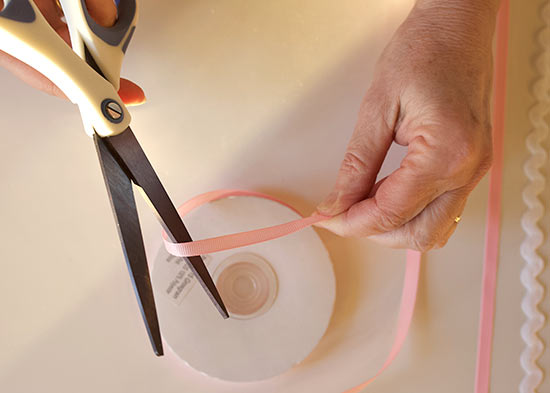
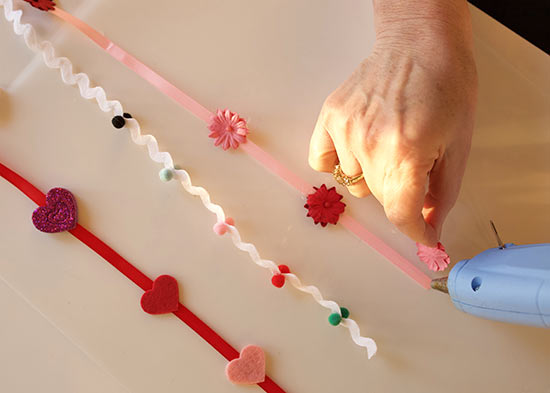
1. Cut 2-foot pieces of your ribbons and ric rac trim.


2. Attach foam stickers, pompoms, floral embellishments and heart stickers along the center of the ribbons.

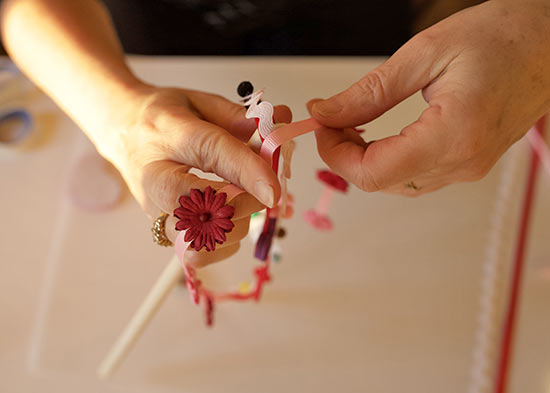
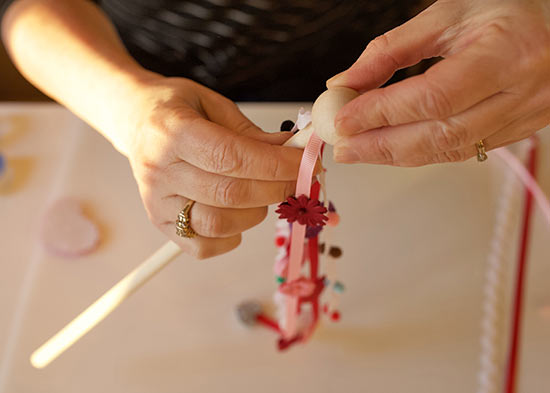
3. Grab the center of your decorated ribbons and use hot glue to attach them to the top of your dowel. Alternate ribbon placement to create a nice and full look.

4. Slide a wooden bead onto your dowel, over the top of the ribbons.

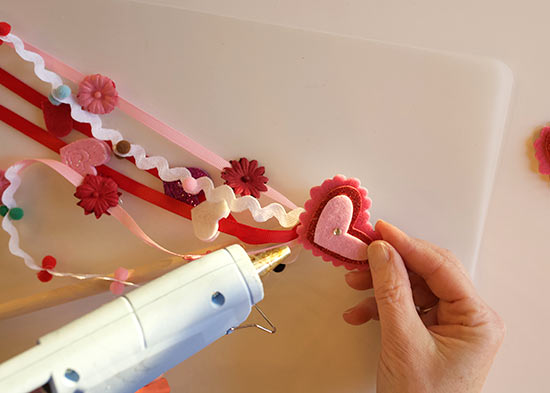
5. Complete your wand by gluing a heart embellishment to the front of the wooden bead.

Continue Reading
Change Your Country
Please select your country, this will change the site to your country's currency:

Cancel