Skip to search Skip to navigation menu Skip to main content Selecting option will reload page

Category: "How to" Videos

DIY Seasonal Magnets


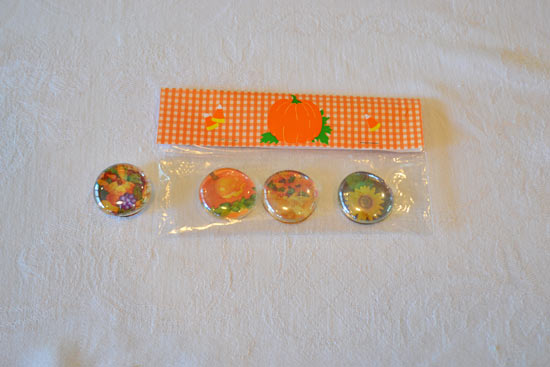
Organize your refrigerator doors with these cute, seasonal magnets. They’re the perfect way to incorporate some fall themed decorations into your kitchen space. You’ll love the way they bring an element of cohesion to your refrigerator, making it look put together and absolutely fabulous!

Difficulty level: Beginner
Time to complete: 5 Minutes
Age range: 5 and Up

Things you’ll need:
Paper or Cardstock
Seasonal stickers
Glass beads
Strong magnet
Clear craft glue

Things to do:
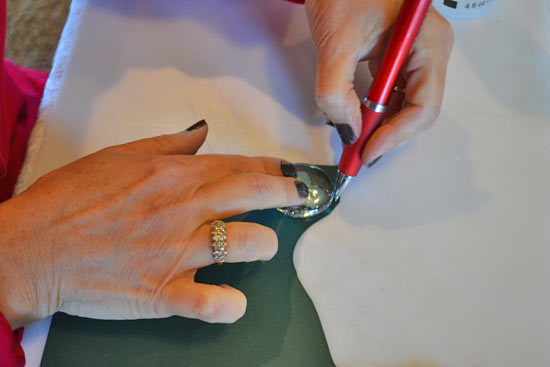
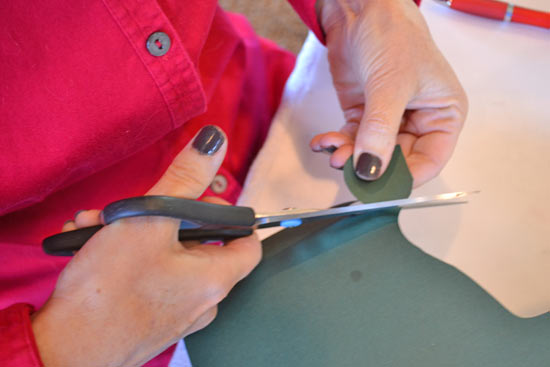
1. Trace the circumference of a glass bead onto a piece of cardstock, creating a circle. Cut out the circle.
2. Place stickers on the circle, incorporating them however you would like.
3. Apply a thin layer of clear gel craft glue to the bottom of the glass bead. Be sure to cover all edges.
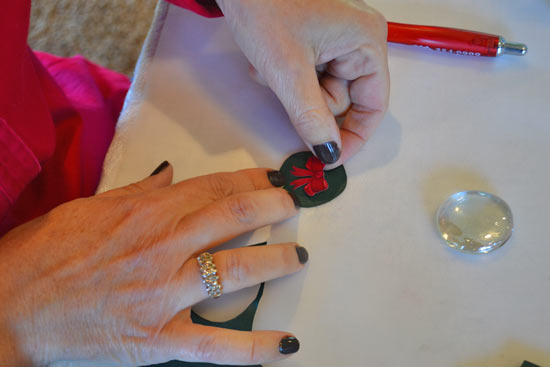
4. Attach the circle of cardstock to the glass bead and give it adequate time to dry.

5. Use craft glue to attach a strip of magnet to the back of the glass bead and allow it to dry.
6. Enjoy your adorable magnets!

Have fun experimenting with a variety of papers and stickers to create a customized magnet set. These make great gifts, and are super easy to make.
Continue Reading

DIY Mini Card and Envelope


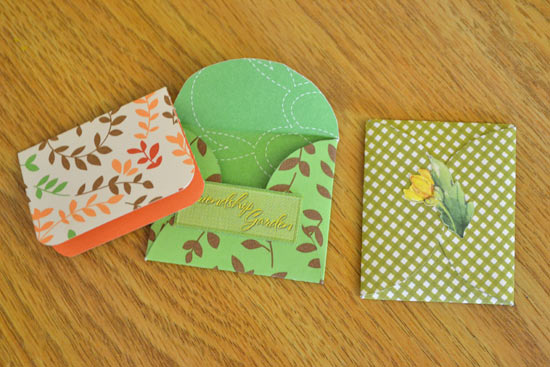
Sometimes a note is the best way to let a friend know that they’ve been on your mind. These cards are just the right size for a short and sweet message. It’s fun to find just the right paper to compliment the envelope and give an added surprise inside. Customizing your paper selections for your recipient is a great way to show them just how much you care. Your friend is sure to appreciate the time you took to tell them you love them in a personalized way.

Difficulty level: Intermediate
Time to complete: 15 minutes
Age range: 10 and up.

Things you’ll need:
Cardstock with a pattern of your preference.
Scissors
Craft glue
Stickers
Corner punch (Optional)

Things to do:
Envelope
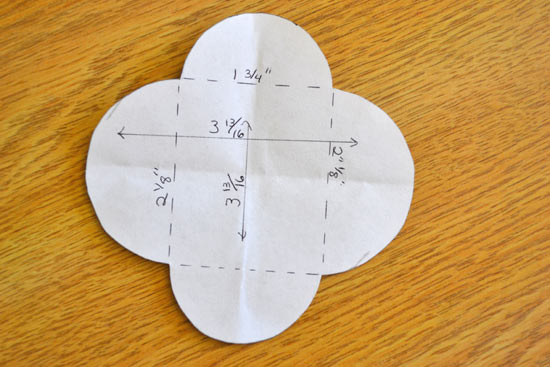
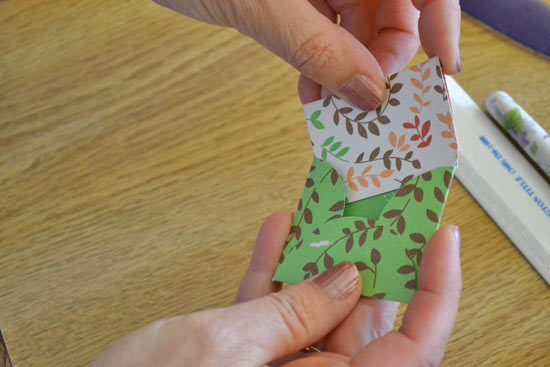
1. Create template by drawing and cutting out a square that is 3 3/16 inches. Refer to pattern pictured and cut half-circle flaps .


2. Trace the template onto the back of the paper. A patterned piece looks best, adding an interesting twist to the traditionally plain envelope.

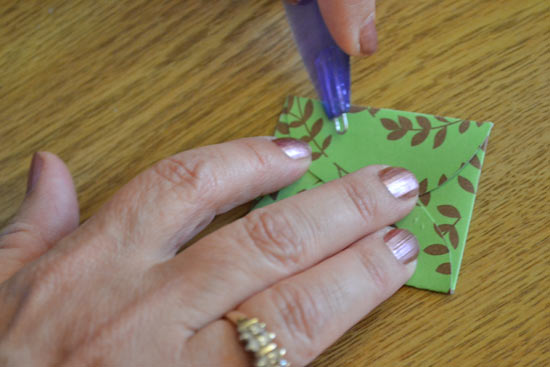
3. Score along the dotted lines using card tool.
4. Cut out the envelope and fold along the scored lines.

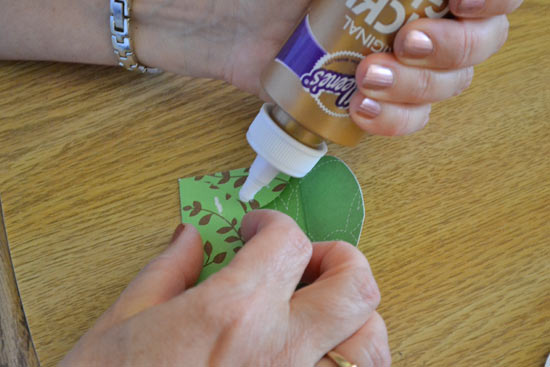
5. Glue the flaps down to create the envelope. Wait until glue dries entirely to ensure envelope is secure.

Card
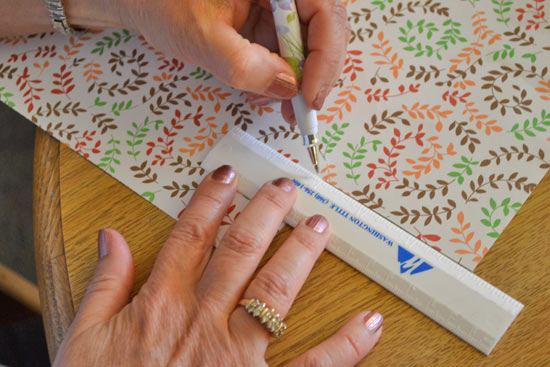
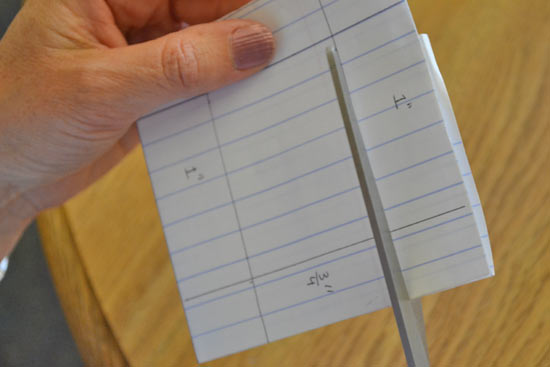
1. Choose a piece of paper that compliments the envelope. Cut the card, measuring 3″ in length and 2″ wide. If you are making more than one card, consider cutting a pattern to ensure consistency.

2. Fold the cut paper in half, creating a card.

3. Round the edges using a corner punch (optional)

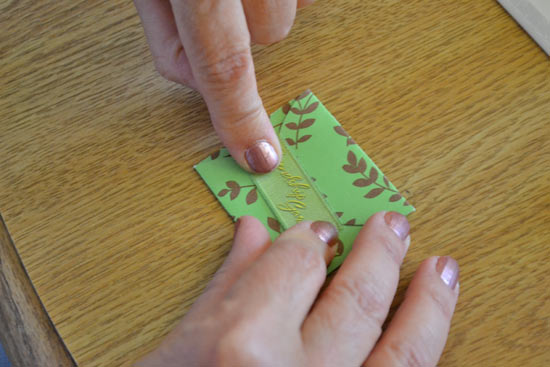
4. Use a sticker to seal your envelope after writing on your card.

Continue Reading
Change Your Country
Please select your country, this will change the site to your country's currency:

Cancel