Skip to search Skip to navigation menu Skip to main content Selecting option will reload page

Category: For the Home

DIY Embroidery Hoop Loom and Weaving Wall Hanging


This is a great project for scrap yarns. You can use a variety of weights and colors. The heavier your yarn, the faster you’ll complete this project.

>Difficulty level: Intermediate
Time required: 3-4 hours
Age range: 12 and up

Things you’ll need:
6″ embroidery hoop
Tape
Yarn in a variety of colors
Scissors
Tapestry needle

Things to do:
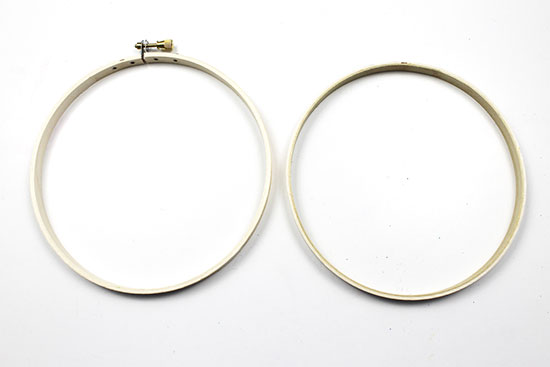
1. Separate the two pieces of the embroidery hoop. Set aside the piece with the screw for now.
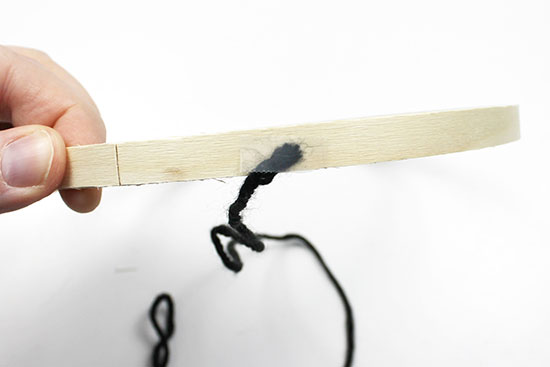
2. Tape a yarn tail to the outside edge of the hoop.
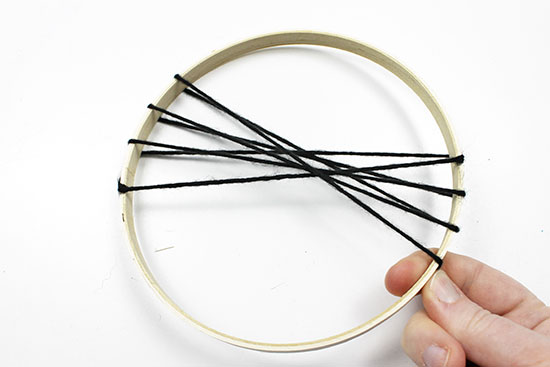
3. Begin crisscrossing the yarn across the hoop, making the space between the wraps as even as possible. As you wrap, pull tightly.
4. Continue wrapping until you have filled the entire hoop with wraps.
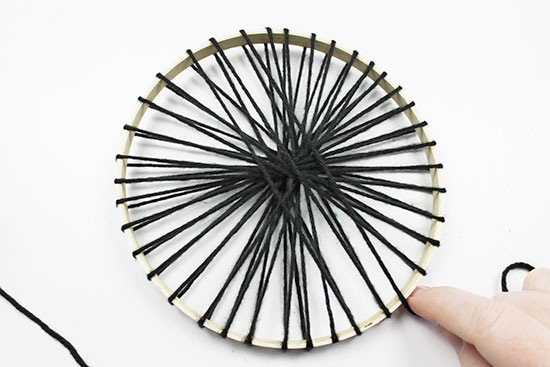
5. Cut the yarn near the edge of the embroidery hoop, then tape the tail in place.
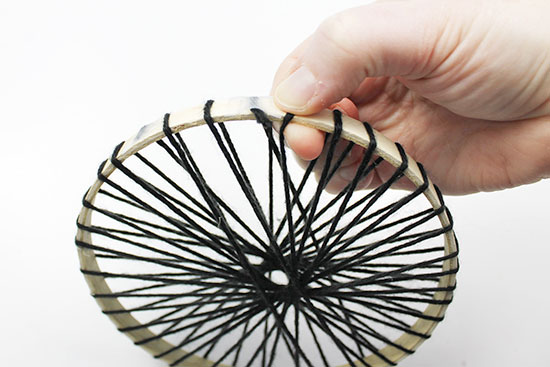
6. Cut a long strand of yarn and thread it through the tapestry needle. Insert the needle from back to front through the wraps, leaving a long tail on the back for weaving in later.

7. Working only on the front wraps of the hoop, begin weaving the tapestry needle through the wraps, alternating over and under each wrap.
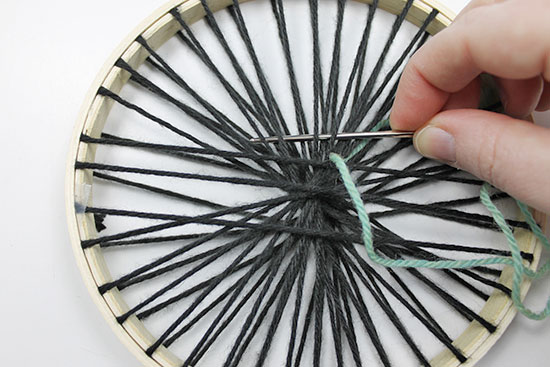
8. Pull the tapestry needle through the wraps, being careful not to pull the excess tail through.

9. Using the tapestry needle, push the woven yarn toward the middle of the wraps.

10. Continue weaving the yarn around the center. The weaving should alternate so that if the yarn went over a wrap in the previous round, it should now go under the wrap. This is a bit tricky at first since the center wraps are so close together, so just do the best you can.

11. Keep weaving until you have a few inches left in your strand of yarn. Thread the embroidery needle through the back, leaving a long tail that you’ll weave in later.
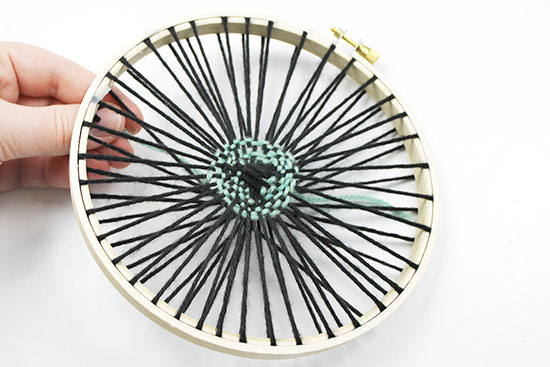
12. Cut a second strand of yarn, then thread it through the tapestry needle. Insert the tapestry needle from back to front through the weaving, leaving a long tail for weaving in later.

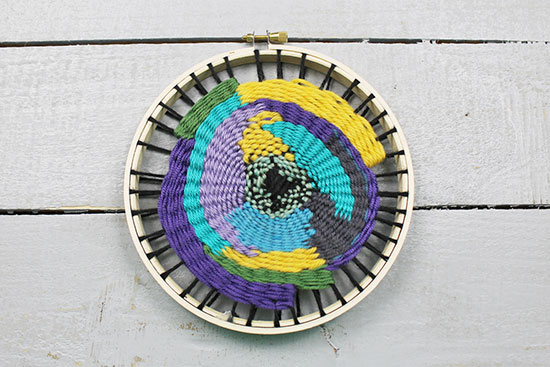
13. This time, instead of moving around in a circle, if you’d like you can work in small sections. We started this purple strand with just a couple of wraps, then slowly picked up wraps on each side as we progressed toward the edge of the hoop.

14. Continue weaving different colors, working either around the hoop or in small sections like we did here.

15. Weave until you have filled as much of the hoop as you’d like. We left some space around the outside edge of our weaving.

16. Flip the weaving over to the wrong side where all the yarn tails are. Using the tapestry needle, weave the tails into the wraps on the back of the hoop to secure them. Trim the tails, if necessary.

Continue Reading

How to Make a Doily Plant Hanger Tutorial


Difficulty level:
Intermediate
Time required: 20 minutes
Age range: 12 and up

Things you’ll need:
Two doilies
Sewing machine and coordinating thread
Sewing pins
Butcher’s craft twine
Scissors

Things to do:

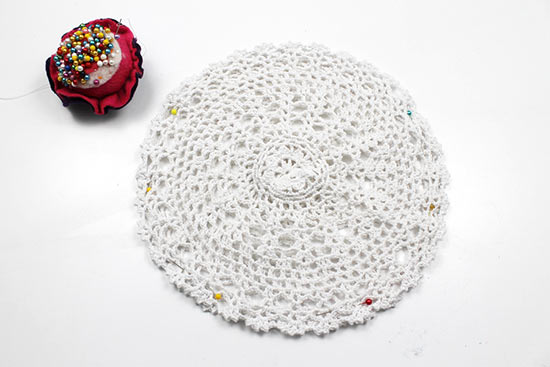
  1. Lay one doily on top of the other, aligning the edges as best you can.
  2. Using sewing pins, pin around the sides and bottom of the doily, leaving just enough room at the top for your planter to be inserted.
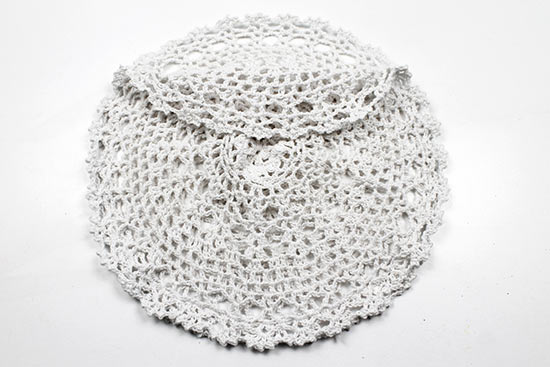
  3. Set the stitch length on your sewing machine to 1.5. Sew around the pinned section of the doily. We sewed around the part of the doily that has continuous stitches that are close together, avoiding sections that have larger holes. This keeps the seams more stable and secure.
  4. When you’ve finished sewing the seam, trim the thread ends. Notice that part of the doily may be folding down a bit, so don’t worry if that happens!
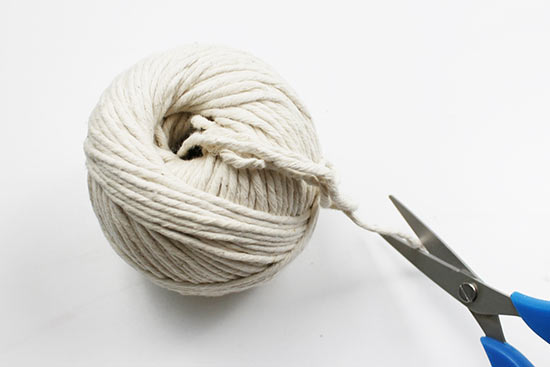
  5. Cut four 46″ long strands of twine.
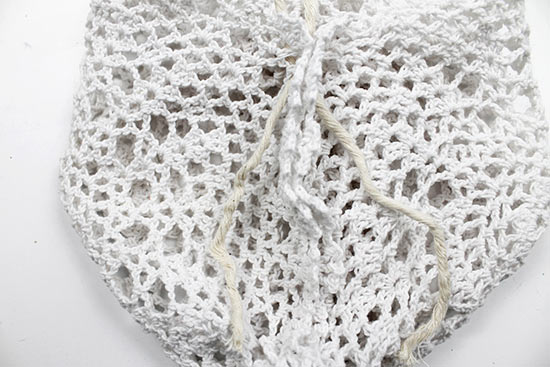
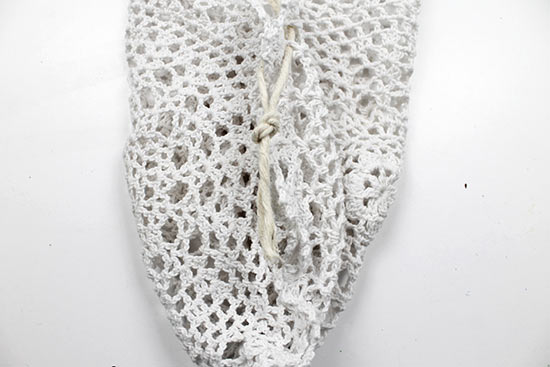
  6. Turn the doily so that one of the side seams is facing you. Insert one end of a length of twine on one side of the seam near the top of the seam, through one of the doily holes. Insert the other end of that same twine strand through the other side of the seam, making the twine ends as parallel as possible.
  7. Tie a knot to secure the twine ends.
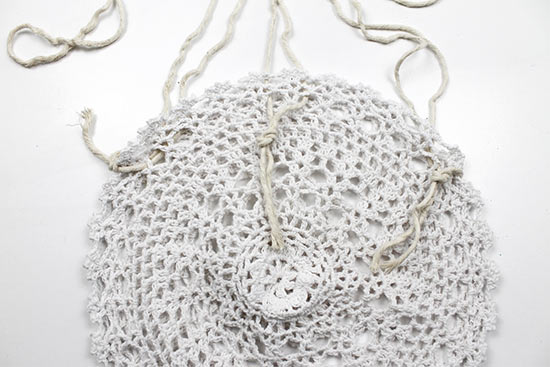
  8. Repeat steps 6 and 7 on the other side of the doily.
  9. Repeat steps 6 and 7, this time knotting the twine in the top center of the doily, between the two seams.
  10. Repeat steps 6 and 7, again knotting the twine in the top center of the doily on the opposite side. You should now have a total of four tied lengths of twine: one on each seam and one in each doily center.
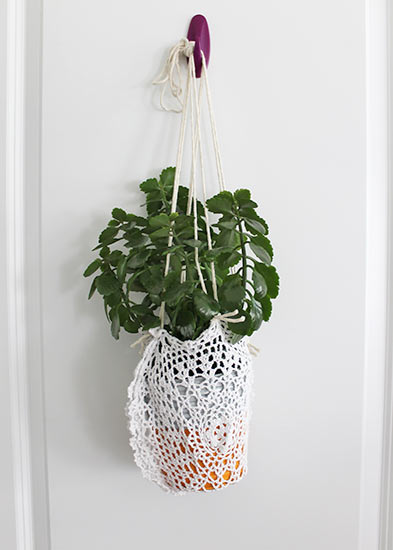
  11. Insert the plant into the doilies. If the plant seems loose inside the doilies, use a sewing pin to mark where the seam should end. Break out the sewing machine one more time and add a bit of length to tighten the fit. If the plant seems to tight, remove part of the seam to loosen the fit, then go back over the edge of the seam with the sewing machine to secure it.
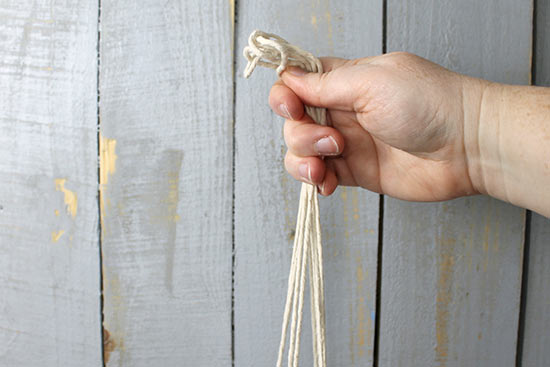
  12. Once the fit is secure, gather all the strands of twine in your hand. Balance the plant to make sure all the strands are even and that the plant is balanced. If the plant is tipping to one side or the other, adjust the twine. You can place the plant on a table to do this if you find that easier.
  13. When you’re sure the twine is balanced correctly, tie an overhand knot to join all the strands together.
  14. Using scissors, trim the ends of the twine neat and evenly.
Continue Reading
Change Your Country
Please select your country, this will change the site to your country's currency:

Cancel