Skip to search Skip to navigation menu Skip to main content Selecting option will reload page

DIY Upcycled Rope and Tassel Pencil Holder Tutorial

Dress up your desk storage with this rope and tassel basket! It’s the perfect size for storing pencils or scissors and looks super cute in any workspace.

Difficulty level: Beginner
Time to complete: 15 minutes
Age range: 12 and up

Things you’ll need:
Braided jute rope
Grey yarn
Hot glue gun and glue sticks
Scissors
Can
Ruler

Things to do:
1. Use hot glue to attach a piece of braided jute rope to the edge of the can. Wrap the entire surface, securing the rope occasionally with hot glue.
2. Next, cut 6″ pieces of yarn for your tassels. You’ll need 10 pieces for every tassel.
3. Wrap the yarn around the can two times and glue it in place. Slide the tassel bundle on the yarn and wrap around the center and fold it in half to secure it in place.
4. Tie a piece of yarn around the bundle 1″ from the fold and tuck the ends into the tassel.
5. Repeat steps 3-4 until all of your tassel are attached.

Continue Reading

DIY Merry & Bright Christmas Banner Tutorial


Brighten up your home this holiday season with this “Merry & Bright” banner. This felt decoration adds a fun, mid-century modern vibe to your Christmas decor. Display it over your fireplace or near your front door and spread holiday cheer.

Difficulty level: Beginner
Time to complete: 1 hour
Age range: 13 and up

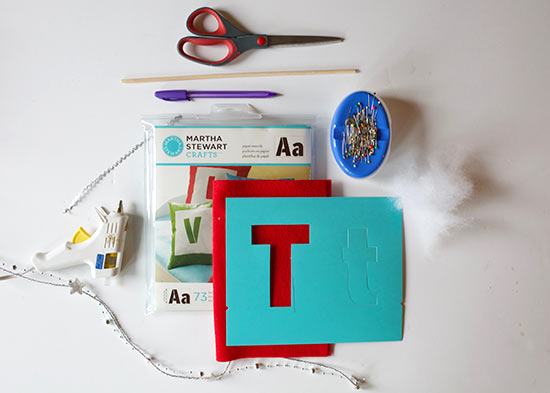
Things you’ll need:
Red Felt
4-inch Letter Stencils
Two-Strand Silver Garland
Scissors
Pen
Straight Pins
Sewing Machine
Dowel
Hot Glue Gun and Hot Glue Sticks
Silver Ribbon
Fiber Fill

Things to do:
1. Fold your felt sheets in half and secure them with a straight pin. Trace your letters onto the felt, using your 4-inch stencils. Trace them backwards, so the ink outline does not show on the front.


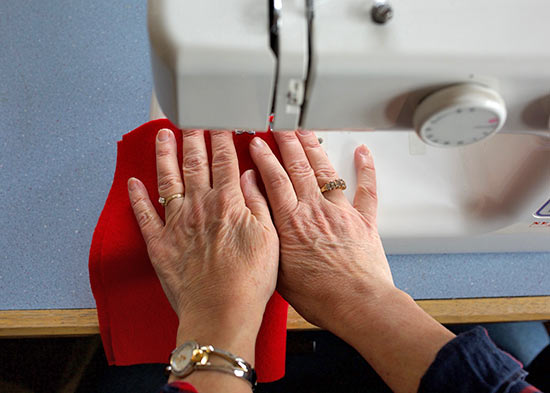
2. Leave the felt folded in half and sew along the letter outline. Leave the end of the letter open, so you can stuff it with fiber fill.

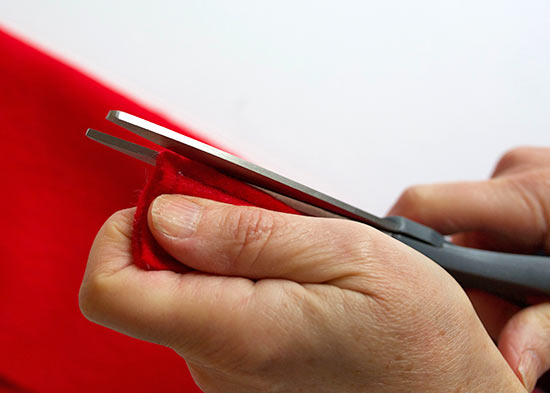
3. Trim around the outline of the letter.

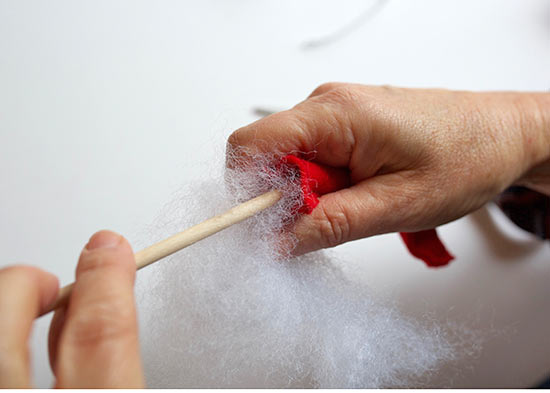
4. Use a dowel to stuff the letters with fiber fill.

5. Sew the opening closed.
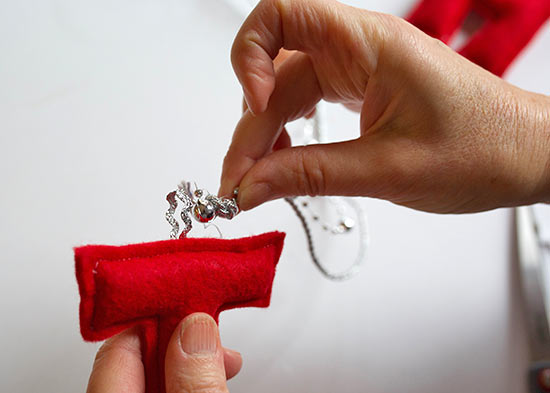
6. Cut a 2 1/4 inch piece of silver rick rack and use hot glue to secure it to the top of your letter. This will be your hanger.

7. String the letters onto your two-strand silver garland, leaving even spacing between each letter.

Continue Reading
Change Your Country
Please select your country, this will change the site to your country's currency:

Cancel