
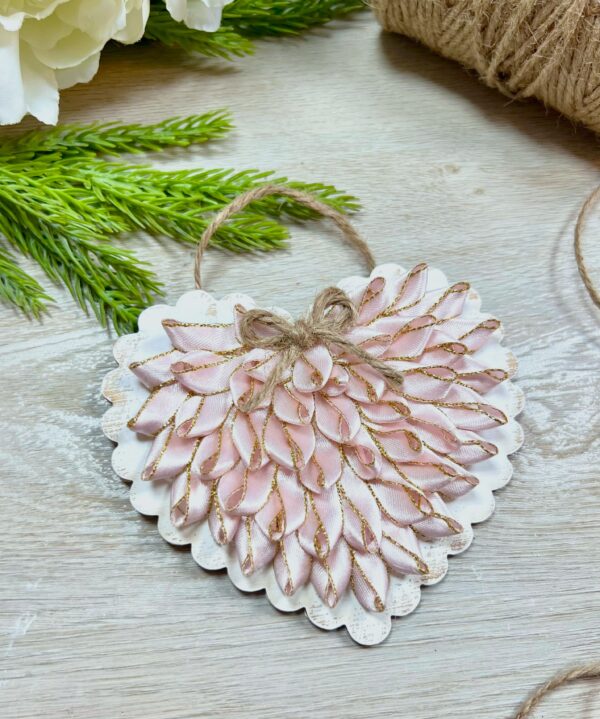
Valentine’s Day is just around the corner, and what better way to celebrate than by crafting a beautiful 3D Ribbon Heart Ornament? Inspired by the festive charm of our popular Ribbon Tree Ornament for Christmas, this project is perfect for adding a handmade touch to your Valentine’s Day decor. It’s simple, stylish, and a wonderful way to show your love. Here’s how you can make your own!
Difficulty level: Beginner
Time required: 25 Mins
Age range: 8+
Materials Needed:
4-3/4″ Unfinished Wood Scalloped Heart Cutout
3″ Unfinished Wood Heart Cutout
4 yd Natural Jute Twine
3/8″ Pink with Gold Edge Satin Ribbon
FolkArt Home Decor White Adirondack Chalk Paint
Hot glue gun and glue sticks
Paint brush
Scissors
Find all materials here:
https://factorydirectcraft.pro/catalog/advanced_search_result.php?keywords=FBvlrbbnornmnthrt
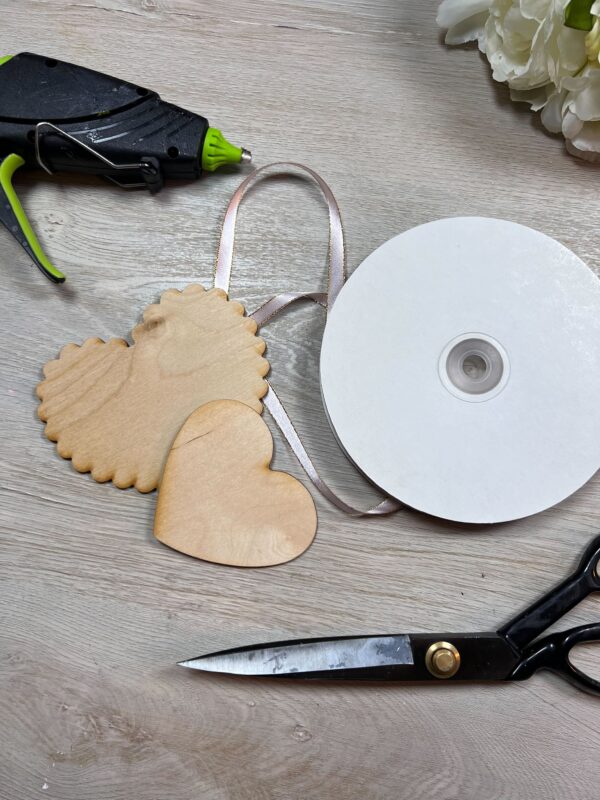
Let’s grab your supplies, channel your inner artist, and let’s get crafting!
Step 1: Prepare Your Wood Heart Cutouts
Start by selecting two wooden heart cutouts in different sizes. For this project, I used a 4-3/4″ unfinished scalloped wood heart and a 3″ unfinished wood heart. The larger heart will serve as the base, while the smaller heart will help guide the ribbon arrangement.
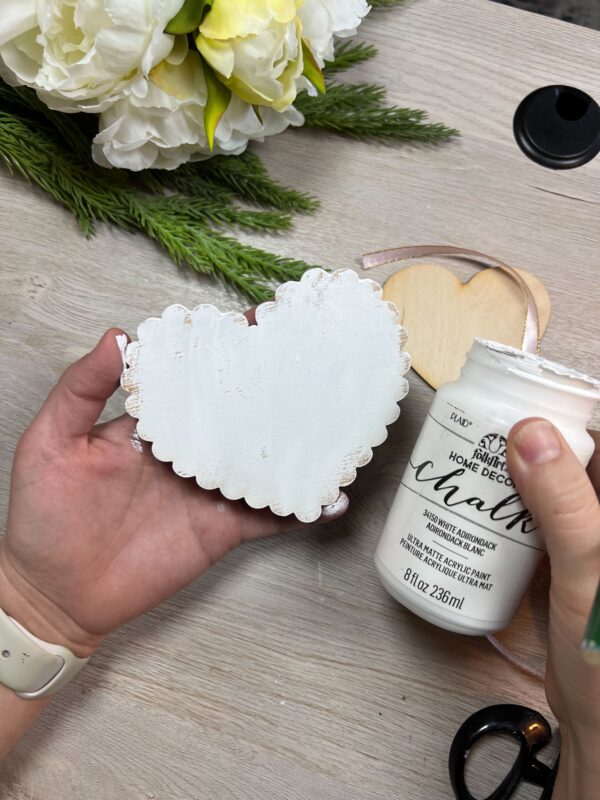
Step 2: Add your desired paint
I chose to use white chalk paint, lightly brushing it onto the surface to create a distressed look by allowing some of the natural wood to show through.
Step 3: Cut the Ribbon
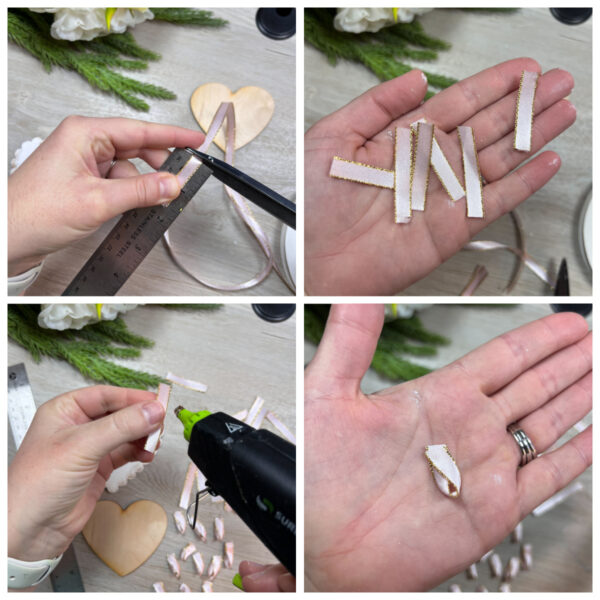
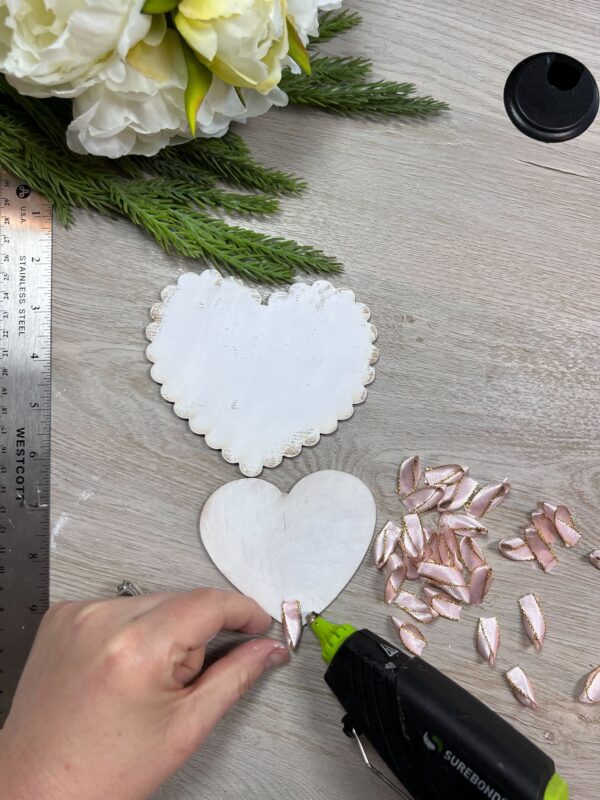
Cut your 3/8-inch ribbon into 1.5 to 2 inch strips. You can use a single color for a sleek, modern look or alternate colors for a playful, vibrant effect. You will need about 40-50 strips to cover the heart.
You will then fold each strip and hot glue the ends together to form loops.
Step 4: Attach the Ribbon
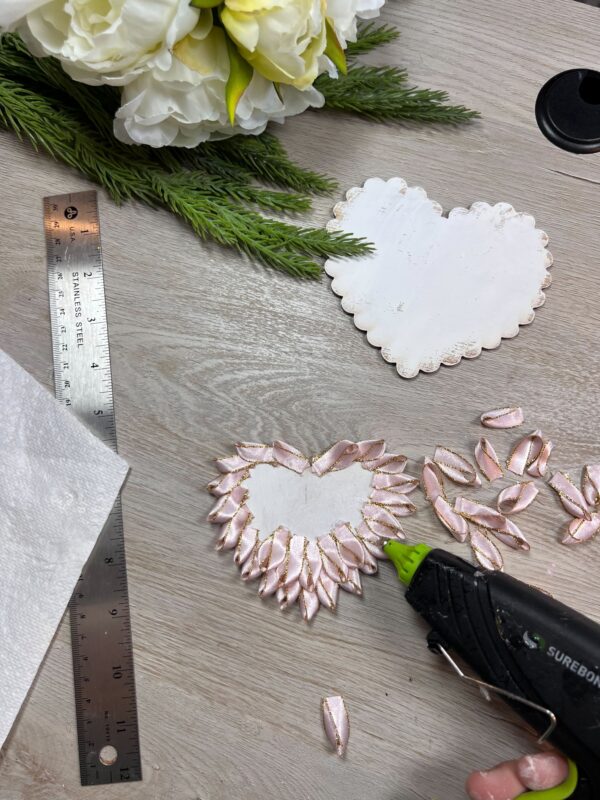
Using your hot glue gun, attach the ribbon strips around the outline of the smaller heart. Lay each ribbon piece flat along the line, gluing as you go.
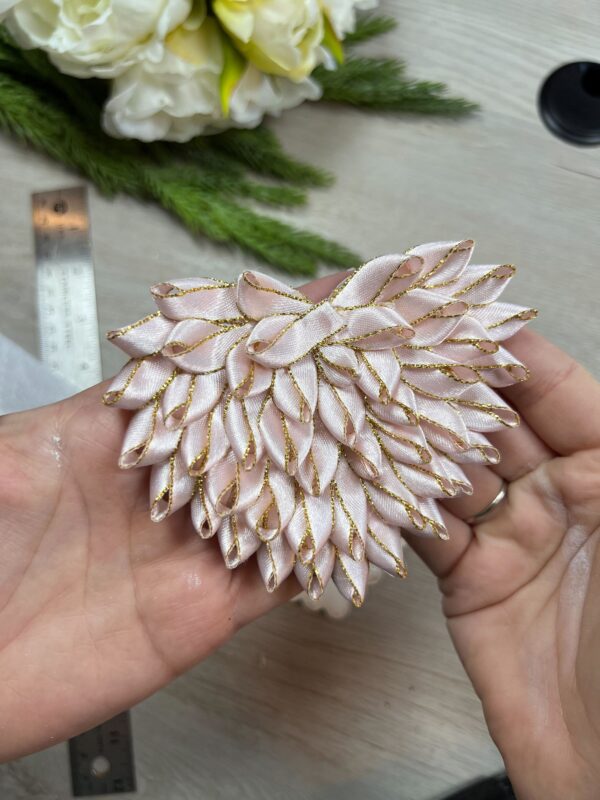
Once the outline is complete, start layering ribbon pieces over the base heart to create a 3D effect. Continue this process until the desired fullness is achieved.
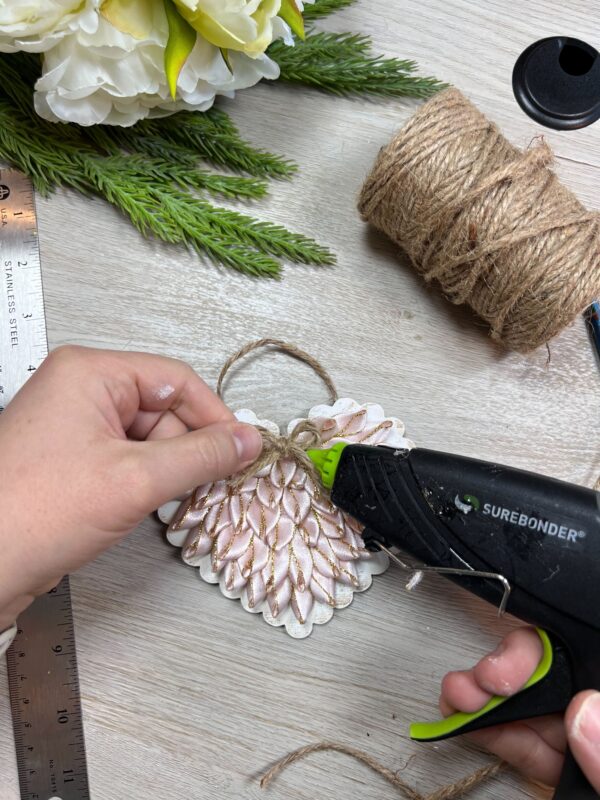
Step 6: Add the Hanging Loop
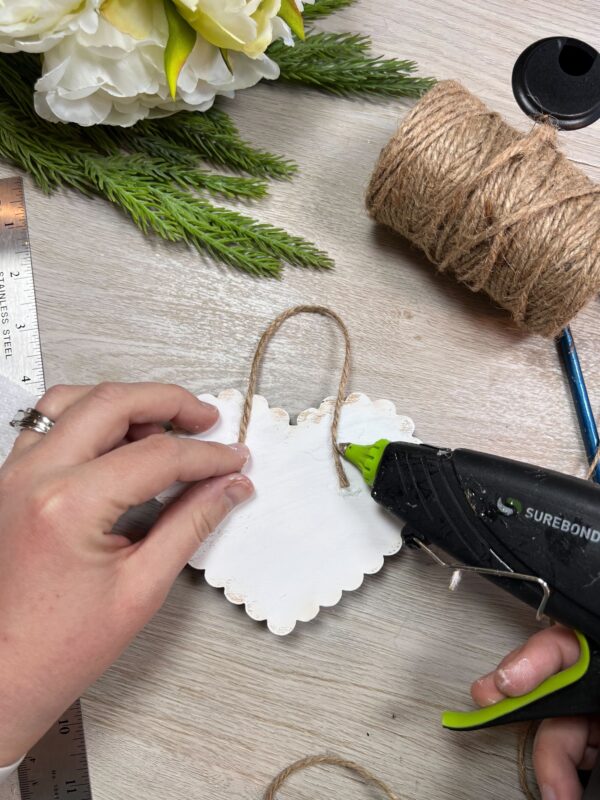
Cut a small piece of twine or thin ribbon, loop it, and glue it to the back of the ornament for hanging. Make sure the loop is secure before moving on.
Step 7: Final Touches
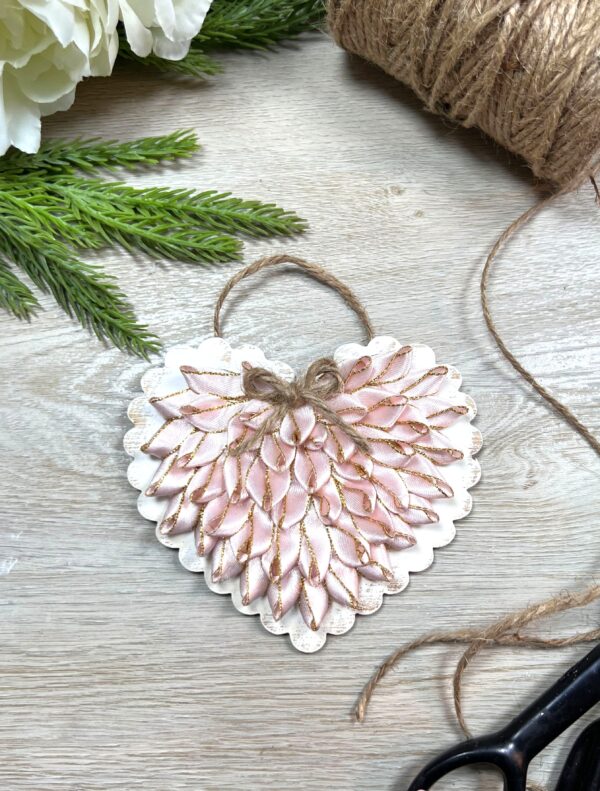
Here you can add any additional accessories you desire. I chose to just tie a simple twine bow to glue at the top of the heart.
Display Your 3D Ribbon Heart Ornament
Your beautiful 3D Ribbon Heart Ornament is now ready to be displayed! Hang it on a door, a Valentine’s tree, or use it as part of a romantic centerpiece. These ornaments also make lovely gifts for friends and family, showing just how much you care.