Skip to search Skip to navigation menu Skip to main content Selecting option will reload page

Category: Spring Crafts

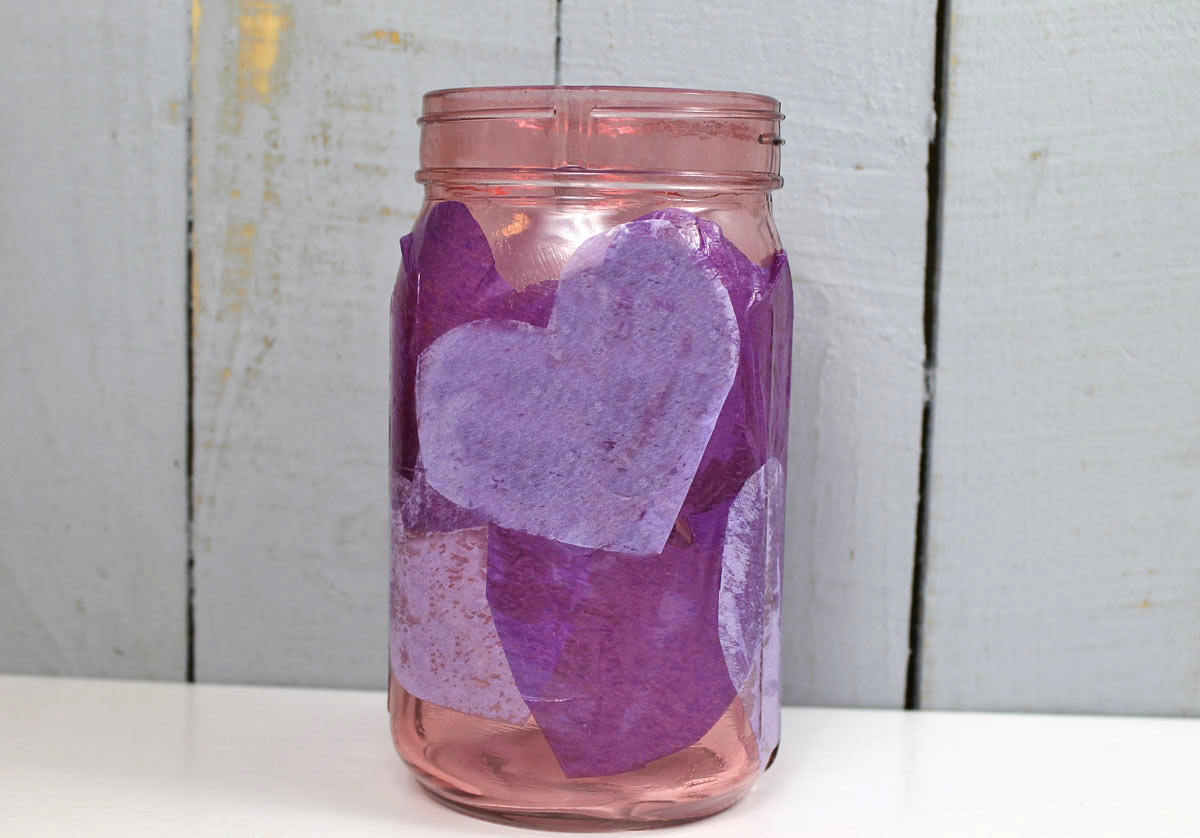
Tissue Paper Heart Votive Tutorial


Difficulty level: Beginner
Time required: 30 minutes, plus time for drying
Age range: 8 and up

Things you’ll need:
Lavender tissue paper
Violet purple tissue paper
Mod Podge
Translucent pink mason jar
Foam brush
Scissors
Heart cookie cutter
Pencil

Things to do:
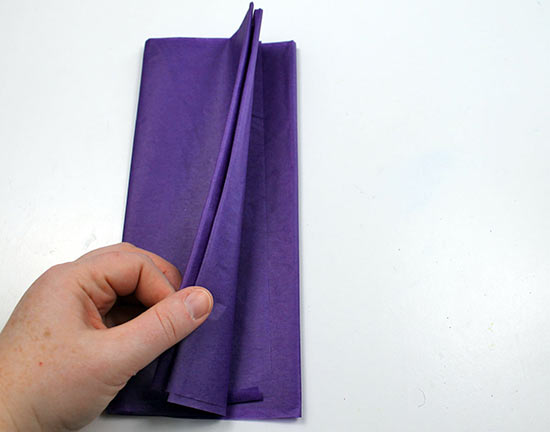
1. Fold the tissue paper so that you’ll be able to trace several layers at once.
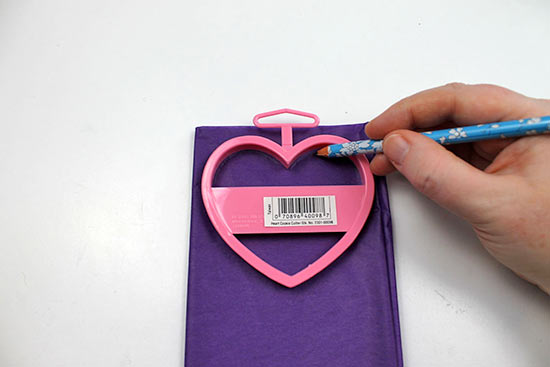
2. Place the heart cookie cutter at the top of the layered tissue paper, then use a pencil to trace the heart.
3. Repeat step 2, tracing a total of three hearts onto the tissue.

4. Use scissors to cut out each heart, cutting through all the layers at the same time.

5. Repeat steps 1-4 with as many colors of tissue as you plan to use.
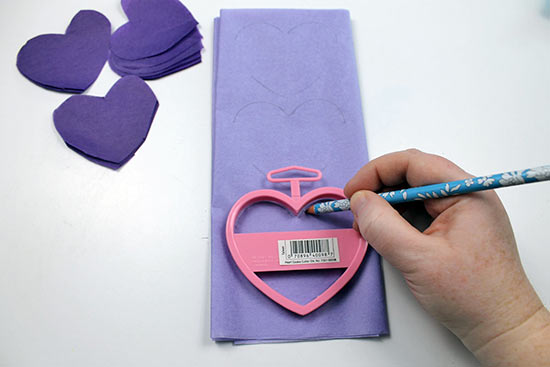
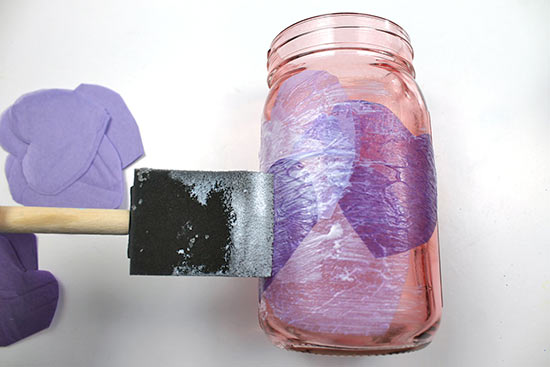
6. Peel apart the tissue hearts. Place one heart anywhere you’d like on the jar.
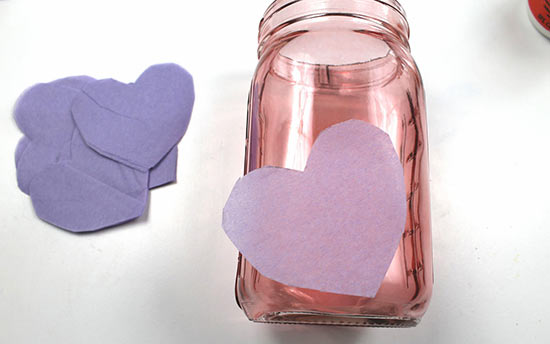
7. Hold the heart in place as you use a foam brush to apply Mod Podge to the heart.
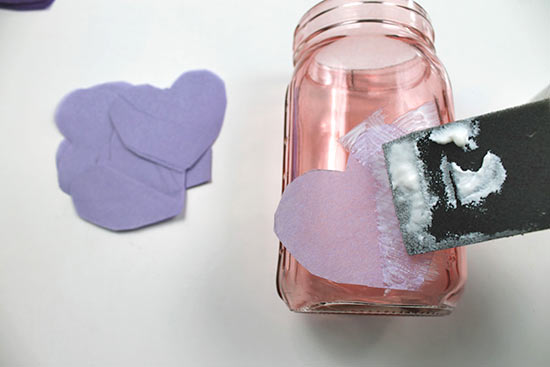
8. Apply the Mod Podge until you have covered the entire surface of the heart.
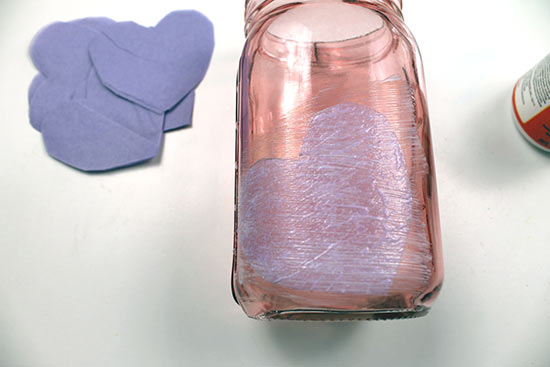
9. Add a second heart anywhere you’d like on the jar. You can layer hearts on top of each other like we did, or you can place them in neat rows around the jar. It’s up to you! Tip: As you apply the hearts, be sure your foam brush is moist. If the brush is too dry, it may rip the heart as you brush it.
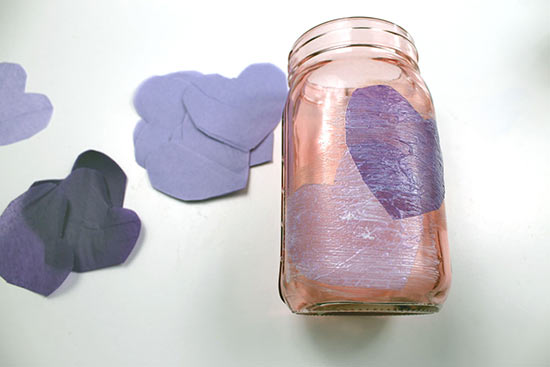
10. Continue to add hearts until you’ve covered the jar or until you’re happy with your design. Allow the hearts to dry for 24 hours, then add anything you’d like to the jar such as a candle or a bouquet of your favorite flowers.
Continue Reading

DIY Doily Heart Garland Tutorial


Difficulty level: Beginner
Time required: 30 minutes (or more depending on the number of doilies used) plus 24 hours for drying
Age range: 12 and up

Things you’ll need:
Doily hearts
Straight pins
Foam mat
Plastic wrap
Foam brush
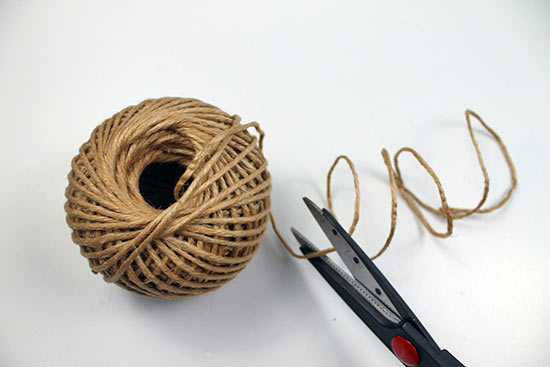
Jute twine
Scissors
Fabric stiffener

Things to do:
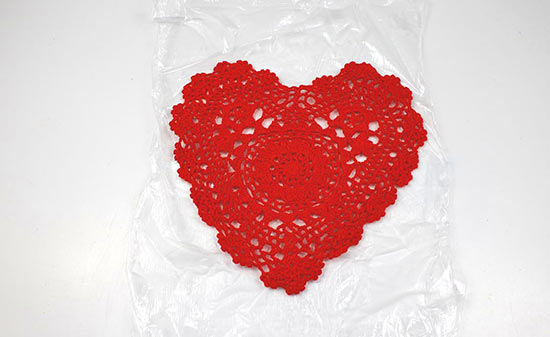
1. Tear off a sheet of plastic wrap that’s slightly larger than the doily.

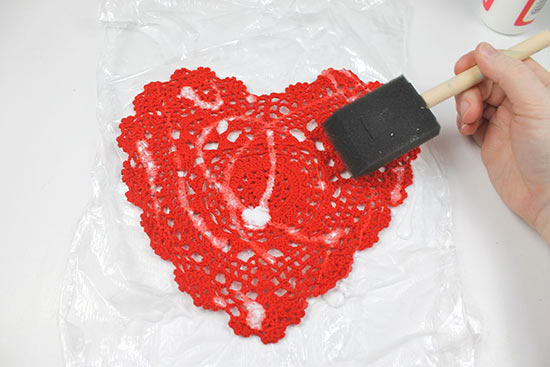
2. Place the doily on the plastic wrap sheet. Using the fabric stiffener and foam brush, apply stiffener all over the doily. Be sure the entire surface is covered, especially the edges.

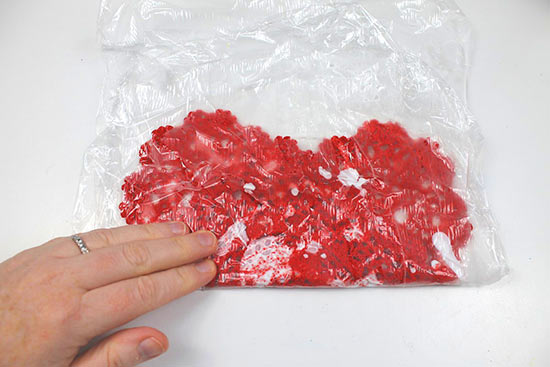
3. If you do not feel like the foam brush sufficiently covered the doily, you can add fabric stiffener straight from the bottle, then fold the plastic wrap and doily in half, using your fingers to apply the stiffener. (If you are not afraid of getting messy, you can also do this with your hands.)

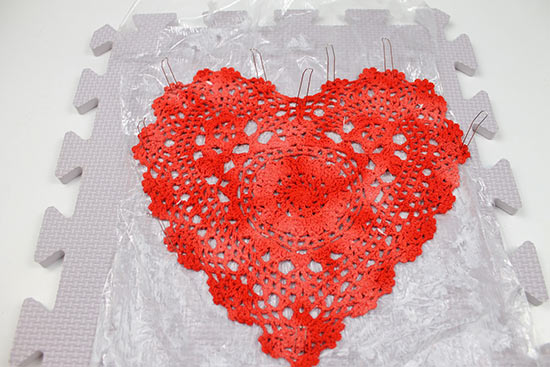
4. Place the plastic wrap on top of your foam mat.

5. Begin placing straight pins around the edges of the doily, stretching out the edges as you pin to make sure the doily is laying flat.

6. Continue to pin around the edges of the doily, especially around the curves. Repeat steps 1-6 for each doily you plan to use for your garland. Allow 24 hours for the doilies to dry.

7. When the doilies are dry, peel each one carefully from the plastic wrap. Discard the plastic wrap.


8. Cut a length of twine that’s the length you’d like your garland to be.

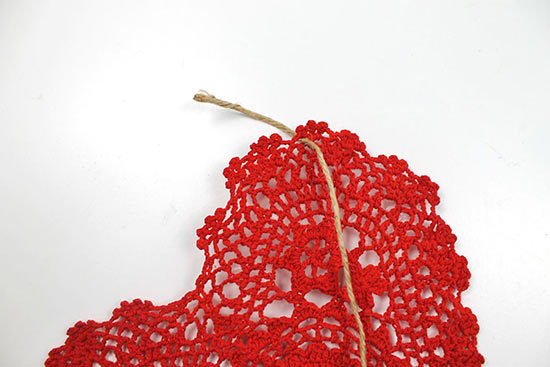
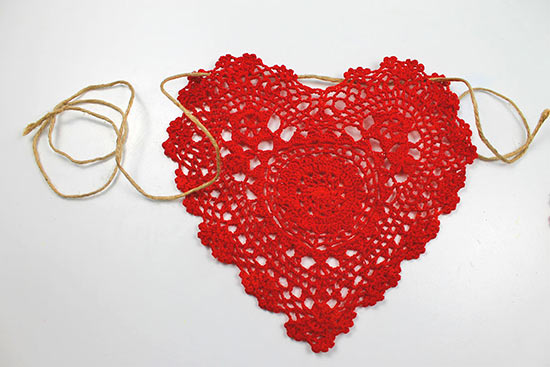
9. Insert the twine from front to back through any hole in the doily edge.

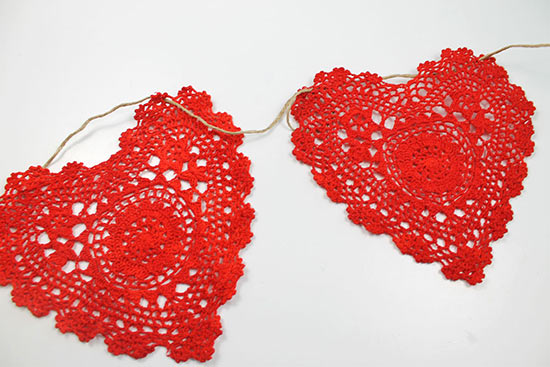
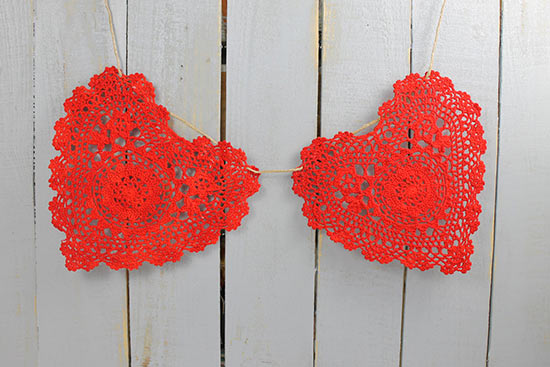
10. String the twine along the back of the doily, then bring it from back to front through the corresponding hole on the other side of the doily. Threading the twine through the same hole on the other side to ensures it hangs straight across the twine from side to side.

11. Repeat steps 9-10 for each doily on the garland. When you’re finished, hang the garland and feel the love!

Continue Reading
Change Your Country
Please select your country, this will change the site to your country's currency:

Cancel