Skip to search Skip to navigation menu Skip to main content Selecting option will reload page

Category: Party and Special Occasion

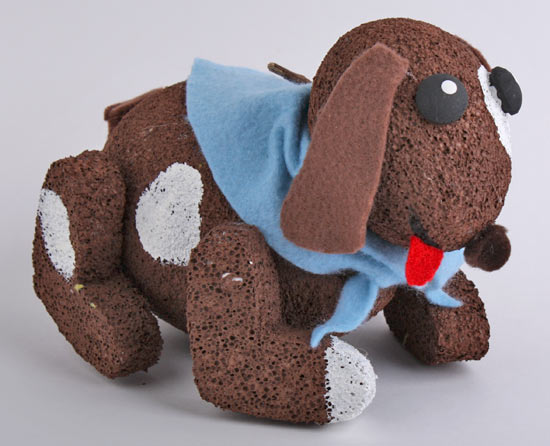
Spot the Styrofoam Dog

Spot_the_Styrofoam_Dog
Things you need:
White Apple Barrel Acrylic Paint
Black Apple Barrel Acrylic Paint
Brown Oxide Apple Barrel Acrylic Paint
4-3/4″ Styrofoam Egg
3″ Styrofoam Egg
6″ Round Styrofoam Disc
Dowel Rods
1/2″ Brown Craft Pom Poms
1 – Cocoa Brown Felt Square
1 – Red Felt Square
1 – Light Blue Felt Square
Unfinished Wood Plugs

Things to do:
1. Cut 4 legs out of the foam disc. Then paint the legs and the 2 styrofoam eggs with the brown oxide apple barrel paint. Let them dry.
2. Using the coca brown felt square and cut the 2 ears out and use the left over to make a tail by cutting a 4″x1″ strip and fold in half. Cut slits along the felt.
3. Take the white apple barrel paint and put white spots on dog’s body where ever you would like. Paint on the mouth using the black apple barrel paint.
4. Glue on the Eyes, tail and the brown pom pom for the nose. Cut a little tongue out of the red felt and glue on the side of the mouth. Pain dots on both of the eyes with the white paint.
5. Taking the dowel rods and cut four of them 2″ long. The dowel rods will be used to stick into the legs and into the body of the dog to connect them. Glue to secure the legs. Take another 2″ dowel rod to stick into the head and connect to the body of dog.
6. To finish it off, choose a color felt of you choice to tie around the dog’s neck.
Continue Reading

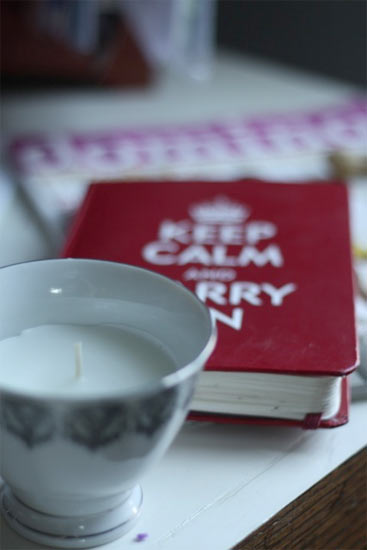
Upcycle Old Teacups into Elegant Candles

Teacup_Candles
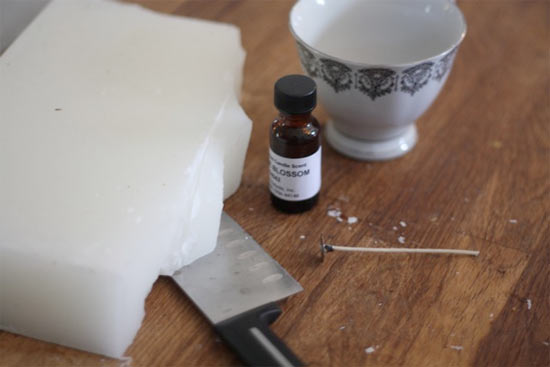
These romantic little candles are perfect for any occasion and oh so easy to make. Look for mismatched teacups at charity shops and yard sales. You can choose to color the wax with candle dye or to leave them simple, elegant and natural with plain wax.

Things you’ll need:
Candle wax
Candle scent (optional)
Candle Wicks
Double boiler
Teacups
Dowels rods or chopsticks

Teacup_Candles2

Things to do:
1. Rinse and dry the teacups.
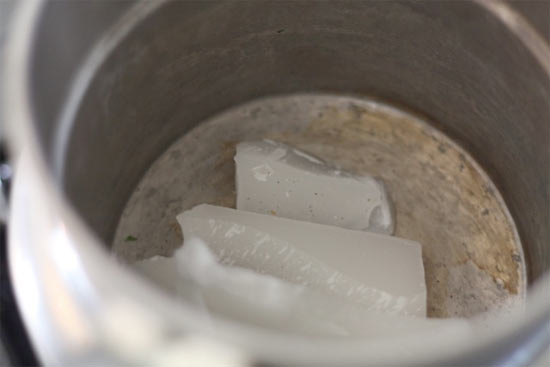
2. Break off enough wax to half fill the teacups and melt in the double boiler.
Teacup_Candles3
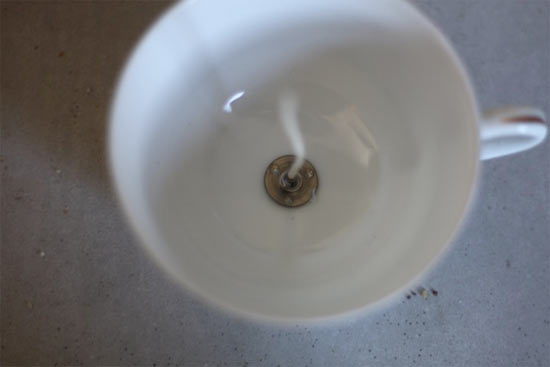
3. Dab the end of the wick in the melted wax and affix it to the center of the bottom of the cup.
Teacup_Candles4
4. Add a drop of scent and stir (the dowel is great for this job).
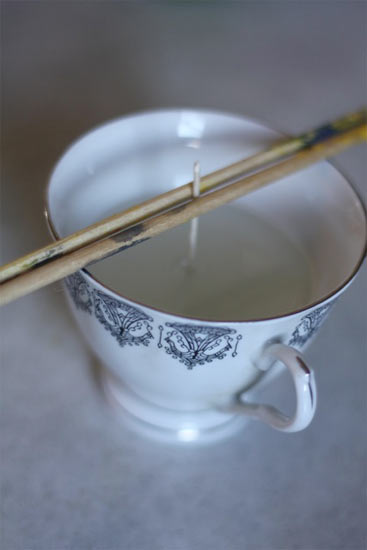
5. Place a dowel on either side of the wick to hold it in place.
6. Carefully pour the wax into the cup, filling it about half way.
7. Allow the wax to set up completely, it will form an indent around the wick as it cools.
Teacup_Candles5
8. Break of a small chuck of wax and melt, heating it just a little warmer than the first batch of wax. (you wont need to add scent here as there will be a small amount left in the pot from the first batch)
9. Pour this second pour” on top of the cooled wax, making sure it covered the entire top and fills in the indent.
10. Allow the wax to harden completely and trim the wick to 1/4 inch before burning.

Continue Reading
Change Your Country
Please select your country, this will change the site to your country's currency:

Cancel