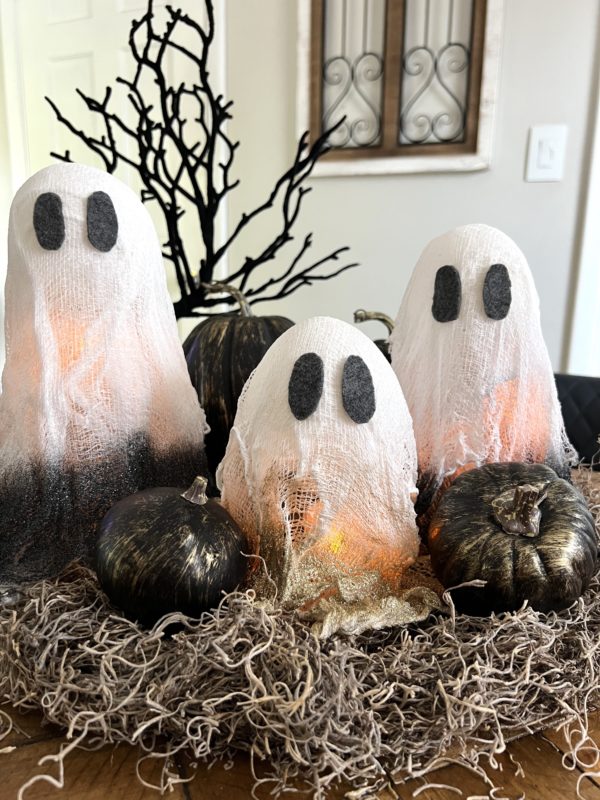
This ghostly craft is a EASY and FUN way to add a charmingly spooky element to your Halloween decor. The best part, there are only a few simple materials that is needed for this DIY project! Make these your own. If you are more of a colorful person – use bright colors to set alongside your colorful pumpkins.
Difficulty level: Beginner
Time to complete:2 days
Needed supplies:
- 2 packages ofWhite Cheese Cloth
- 5 inch Unfinished Wood Oval Beveled Edge Plaque
- 3 – LED Battery Operated Flickering Tea Light Candle
- Multi-Purpose Glueor Fabric stiffener
- Krylon Glitter Blast Starry Night Glitter Spray Paint
- Krylon Glitter Blast Golden Glow Glitter Spray Paint
- Felt Sheet
- Tub
- Dowel rod / stir stick
- Balloons
- Jars or cups
- pencils
- Paper
- Scissors
- Hot glue gun
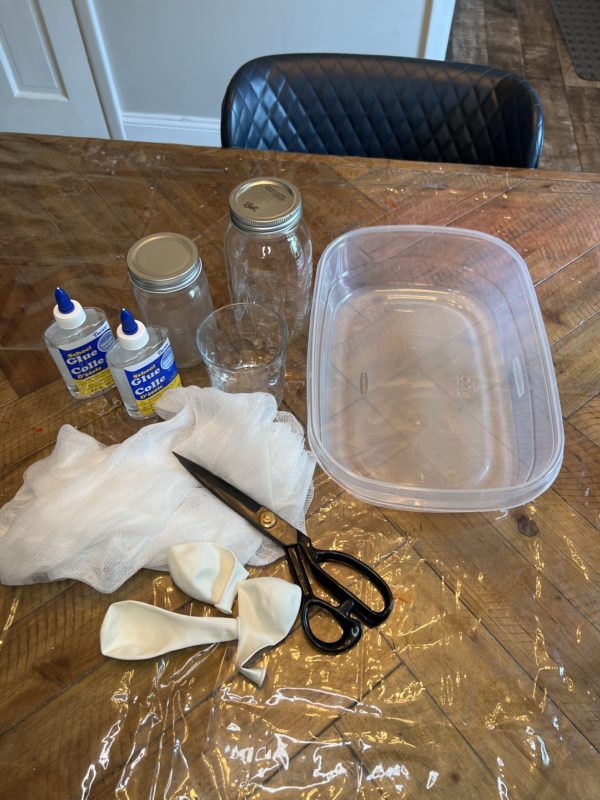
Let’s grab your supplies, channel your inner artist, and let get crafting!
Step 1: Setup and Create the mixture
Set up a workspace that you don’t mind getting a bit messy. This craft is a lot of fun but can get a little sticky!
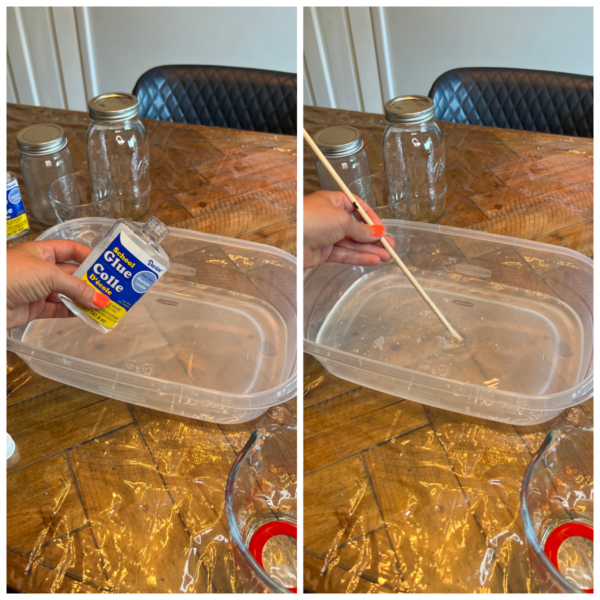
Grab your tub to start creating your mixture to help harden the cheesecloth. Here i used 2 parts glue to 1 part water. If you have fabric stiffener, then you can just use this instead. Mix together with a stir stick or a dowel rod.

Step 2: Create the ‘mold’ for the Ghost
Here i grab 3 different height in mason jars and/or cups. Take your balloon and blow up to the desired size you wish to have the head of the Ghost.
*The balloons no matter what i did ended up being egg shaped, but that did not cause a point at all to the ghost.
**Note you do not want to have the balloon to big, if you do not want them wide.
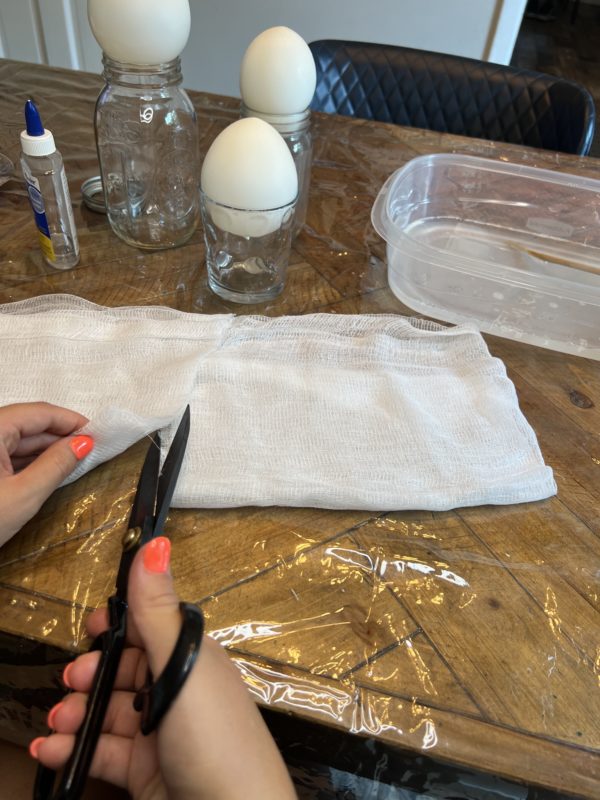
Step 3: Preparing the Cheesecloth
Take the cheesecloth and lay over the jar frames that you have created with the jar and balloon. Make sure you have plenty of overhang to play around with. Once you dip the cheesecloth in the solution, you will need the cloth to gather at the bottom for it to stand up properly.
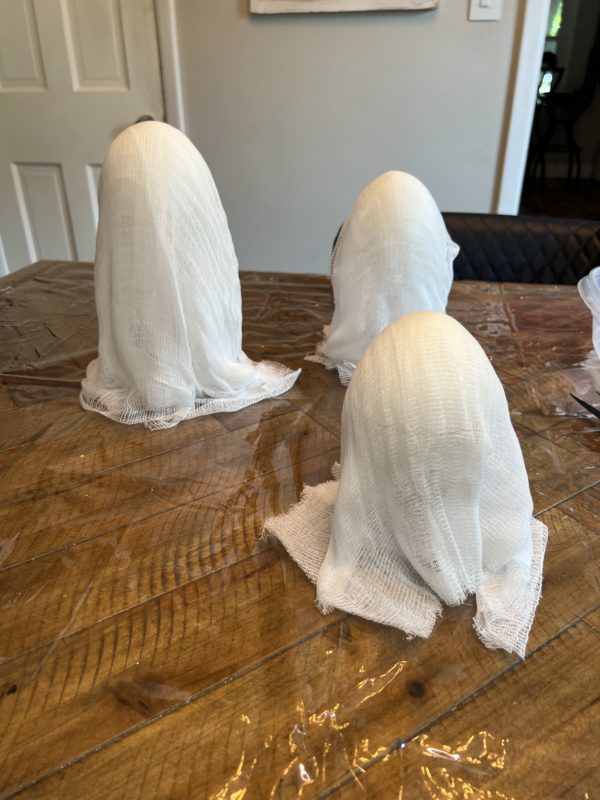
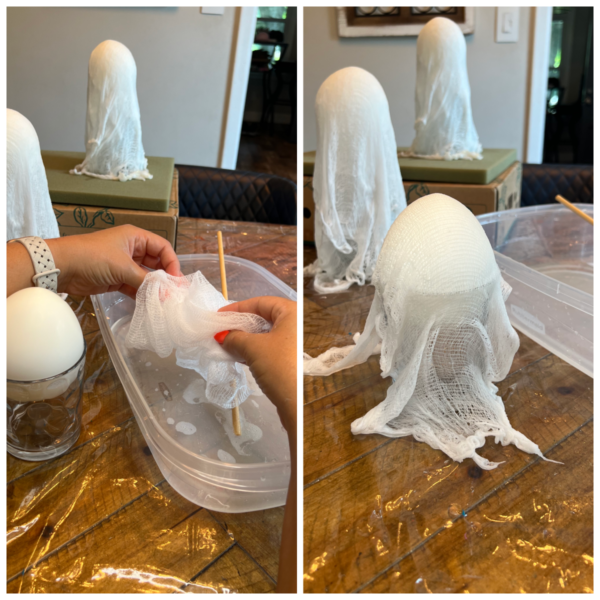
Step 4: Time to get messy
Take piece by piece. Dip into the solution and then you will have to squeeze out the extra. If you do not, then they fabric will take forever to dry. Carefully drape the cheesecloth over the frame. Depending on the coverage, you may need at least 2-3 pieces to cover.
Make sure to have at least 3 sides of the cheesecloth bunched up and touching the flat surface. This will be the ‘feet’.

Step 5: Let it dry
You will need to find a safe place to set these aside to completely dry. I let mine sit overnight, i was then able to finish the rest of the steps very quickly the next day.
Once it is dry, you then can peel the cheesecloth carefully off the jars. Once off, you can then pop the balloon or leave it in. Since my balloons were white and couldn’t see, i just left them in.
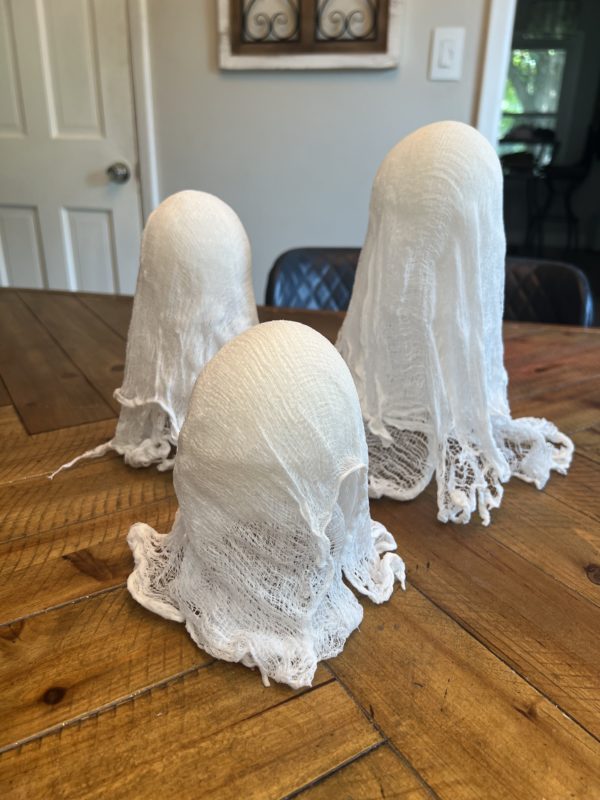

Step 6: Time to decorate
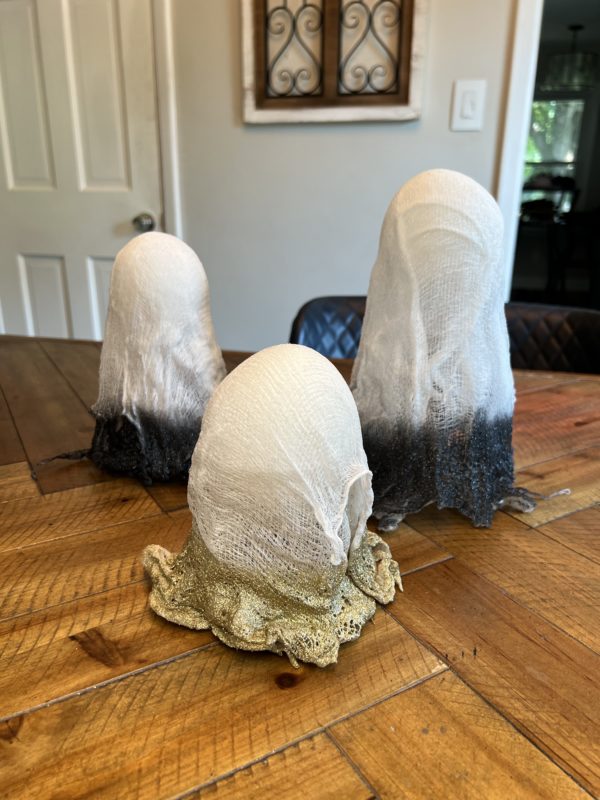
I wanted to add a little bit of color to my Ghost. This will help fit into my black and gold theme. I took the Krylon Glitter blast in black and gold. I sprayed the bottom about 2-3 inches up.
Step 7: Creating the eyes
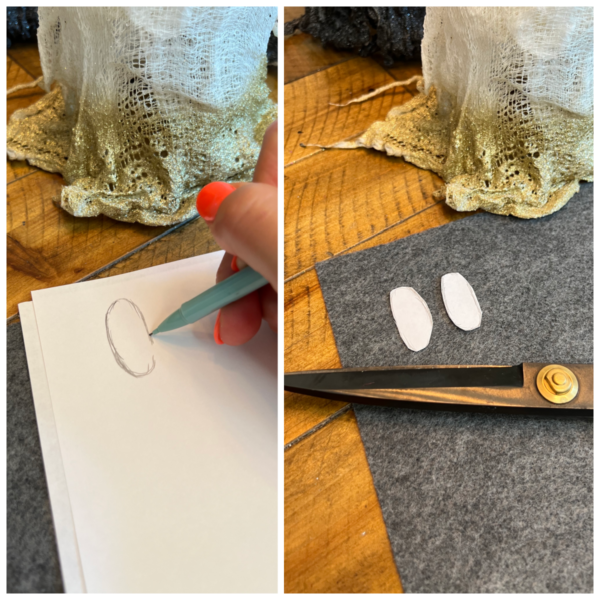
Grab your pencil, paper and felt. Trace out the eye shape that you desire. Here i went for more of a long oval eye shape. Once finished i was then able to cut out the 3 set of eyes for my ghost.
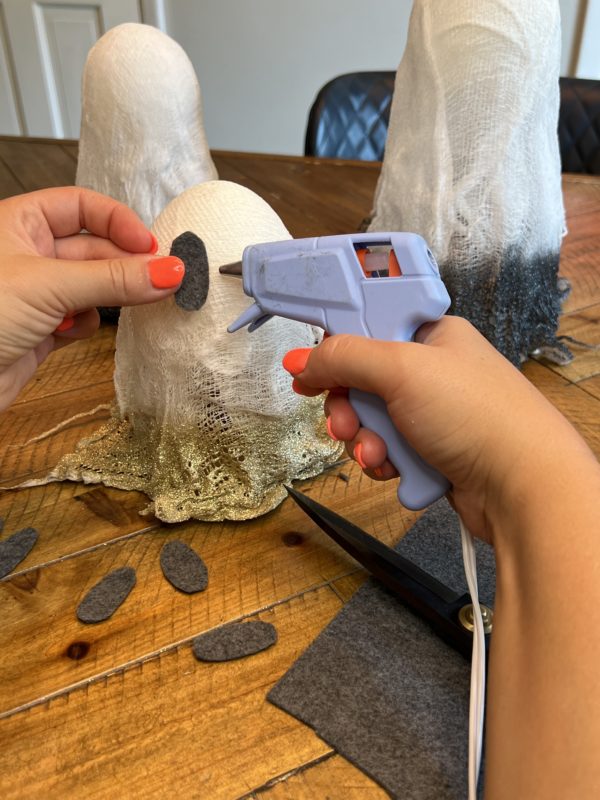
Simply hot glue the eyes onto the face.
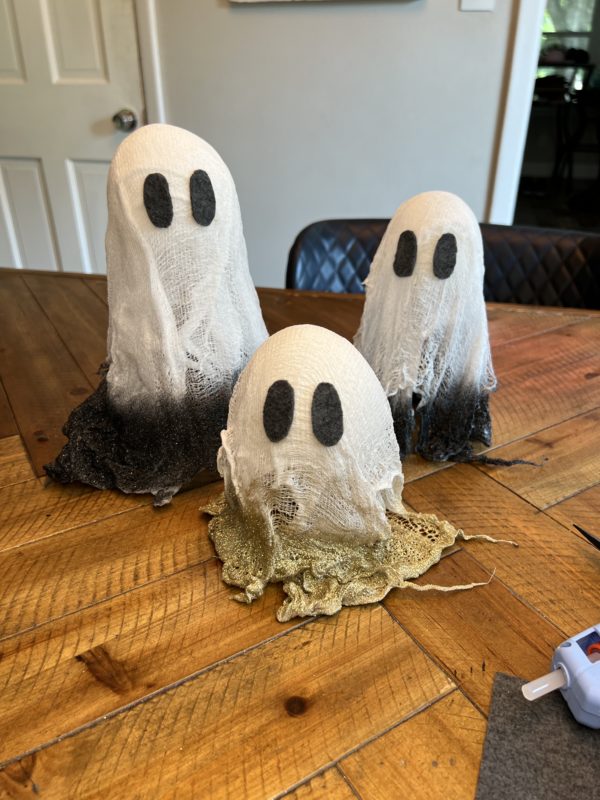
The flowing ghost form and eerie glow (if you used lights) will surely capture the Halloween spirit.
Happy haunting, and have a spooktacular time creating your very own DIY cheesecloth ghost!