Skip to search Skip to navigation menu Skip to main content Selecting option will reload page

Category: General Crafts

Kettle Dyed Wool Roving and Yarn

Kettle_Dyed_Wool_Roving
Creating your own color for wool yarn and roving can open up a wide range of choices for your crafting needs. Being able to create just the color you want is a satisfying project in and of its self and can make your crafts more successful. This simplified version of Kettle dying, a process where wool is dyed and cooked, creating a slightly mottled look, is a great way to get started with wool dying. While you can easily dye with two or more colors with this process, it’s a good idea to start with just one.

Things you’ll need:
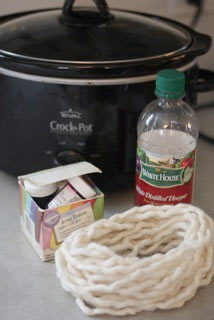
Wool roving (undyed) or bare yarn
Crockpot
Food coloring
Clean jar
White vinegar
Skewer
Water
Kettle_Dyed_Wool_Roving2

Things to do:
1. First mix your dyes. You can purchase commercial acid dyes but once you have used these dyes in your crockpot, you can no longer use it for food. Pour 1 cup of vinegar into your jar and add enough food color to achieve the color you desire.
Kettle_Dyed_Wool_Roving3
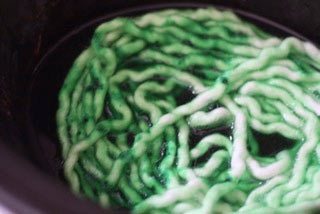
2. Wrap you roving into loops that will fit into the bottom of the crockpot. Add enough water to almost cover the wool. The goal is to saturate the wool without having too much excess water.
3. Pour the dye onto your roving. The dye will basically stay where you put it, so you can pour in small amounts to create spots, add more on one side than the other to create a difference in shade or have one color on one side and another on the other.
Kettle_Dyed_Wool_Roving4
4. Turn the crockpot to high and let it cook for 2 hours. Allow it to cool
5. Drain and rinse the yarn, most of the color will absorb into the yarn, but be sure to rinse well.
6. Allow the roving or yarn to dry before using.

Continue Reading

Upcycling: T-shirt Yarn

T-shirt_Yarn
Instead of tossing out those old t-shirts or sending them to the charity shop, add to your yarn stash by turning them into t-shirt yarn. Perfect for a variety of projects and fun to make in itself, this technique is a great addition to any crafter’s knowledge.

Things you’ll need:
T-shirt
Scissors
Ruler

Things to do:
1. Cut the t-shirt off just under the armpits so that you have one large rectangle. T-shirts with no side seams work best, but any shirt will do.
T-shirt_Yarn2
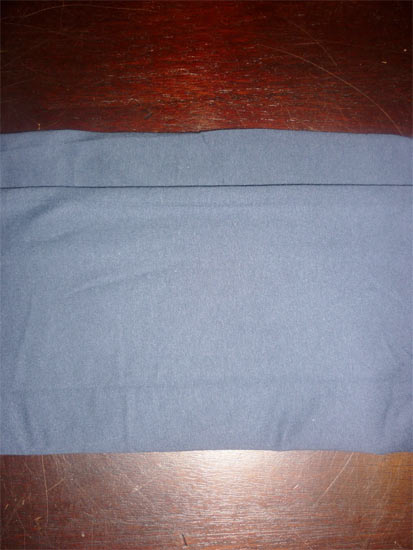
2. With one folded edge facing away from you, fold the other almost up to meet it, leaving 1 inch of shirt uncovered. Fold the end closest to you up again to meet the same edge.
T-shirt_Yarn3
T-shirt_Yarn4
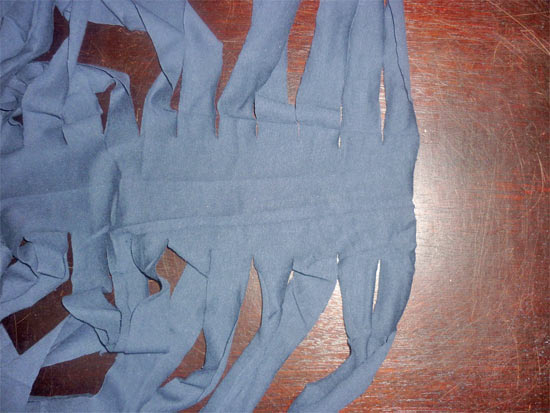
3. Using your ruler as a guide, cut strips through the layers, stopping short at that 1 inch of fabric that hasn’t been covered with the layers. Cut all along the t-shirt to the other edge so that you have a row of strips connected at the top.
T-shirt_Yarn5
4. Open up the fabric so that the uncut area is in front of you. Cut from one strip to another at an angle to create one long continues strip. Trim the ends to create one long strip of fabric.
T-shirt_Yarn6
T-shirt_Yarn7
T-shirt_Yarn8
5. Starting at one end, tug firmly on the fabric. Pulling will lengthen and curl the jersey fabric to create a yarn like material. Work down the length of the fabric until you have pulled” the whole strip.
T-shirt_Yarn9
6. Roll into a ball as you would yarn, ready for use.

Continue Reading
Change Your Country
Please select your country, this will change the site to your country's currency:

Cancel