Skip to search Skip to navigation menu Skip to main content Selecting option will reload page

Category: Fun Stuff

Hop Into Spring With This Egg-citing DIY Topiary Tree

What a fun and festive way to decorate your home for Easter! This easy to make DIY topiary tree is Simple and Colorful for adding that POP of color to any room!

Difficulty level: Beginner
Time to complete:25 minutes

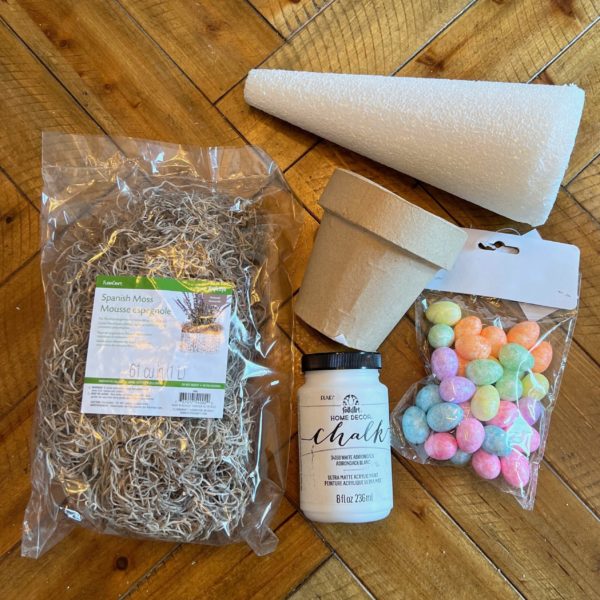
Supplies needed:

Now that we have the materials – Let’s get crafting!
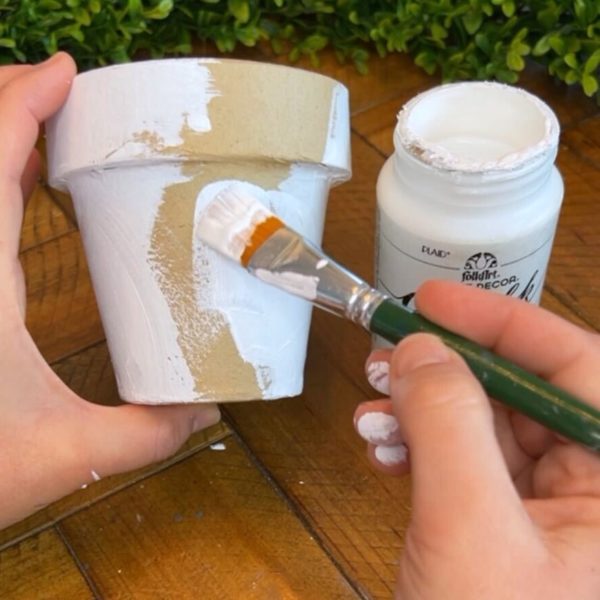
This first step we will take the chalk paint and cover the paper Mache pot with a coat or two.
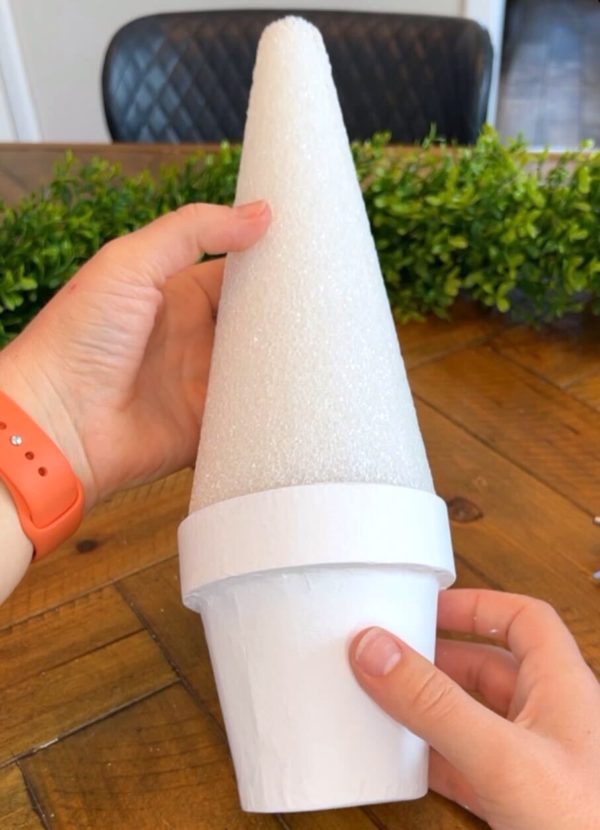
Once the paint is dry, grab your Styrofoam cone and make some indents by pressing your pads of fingers tips into the bottom of the Styrofoam base. This will help allow the cone to fit nicely in the pot.

Then take your glue gun and add some on the inside lip of the paper mache pot to secure the cone in place when placed in.
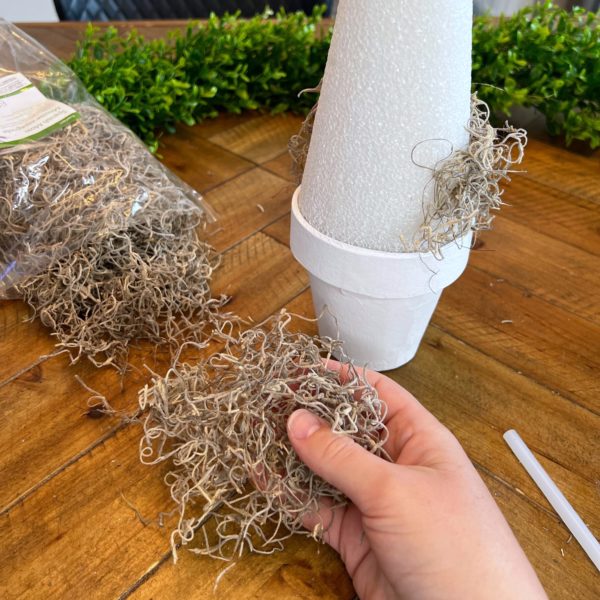
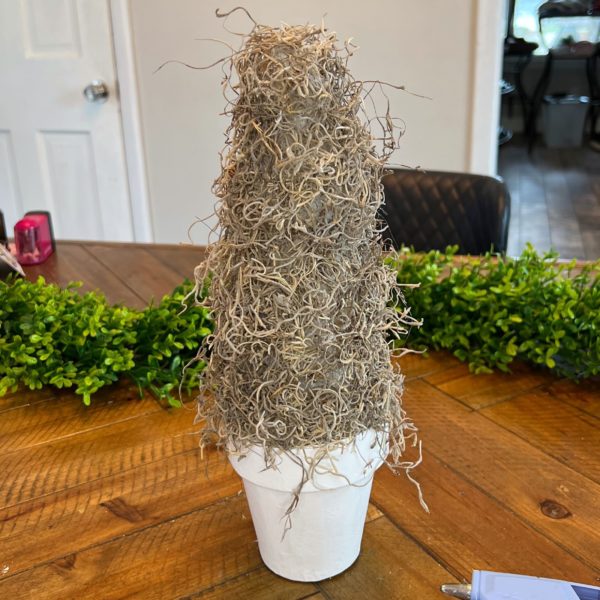
I loved this moss. It is messy, but there is so many possibilities with the natural moss. I pull apart pieces and glue all throughout the cone until covered
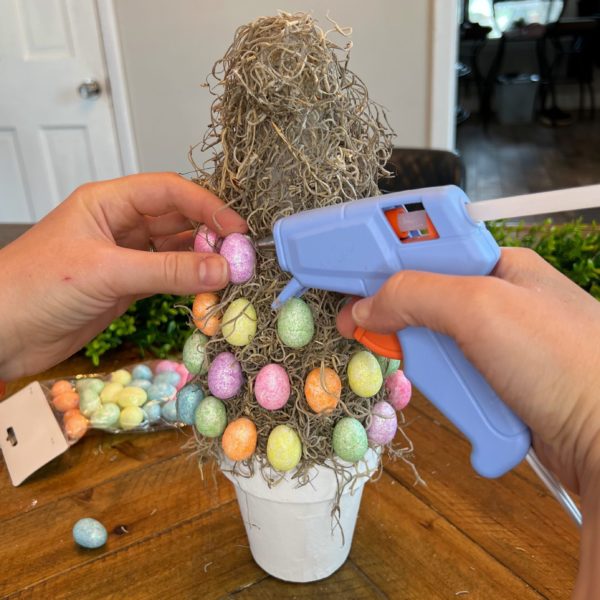
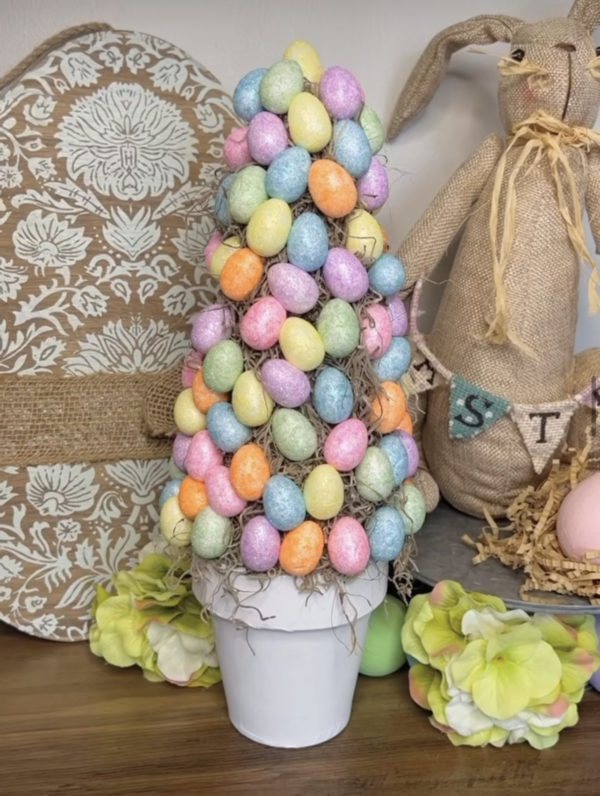
Now we add the fun pops of color from the glittered eggs! I started gluing them in rows with spaces in-between. Once the cone was covered, I then came back and add the eggs in at a diagonal in the spaces between to help fill all the gaps. This helped the topiarytree to no be so uniform.
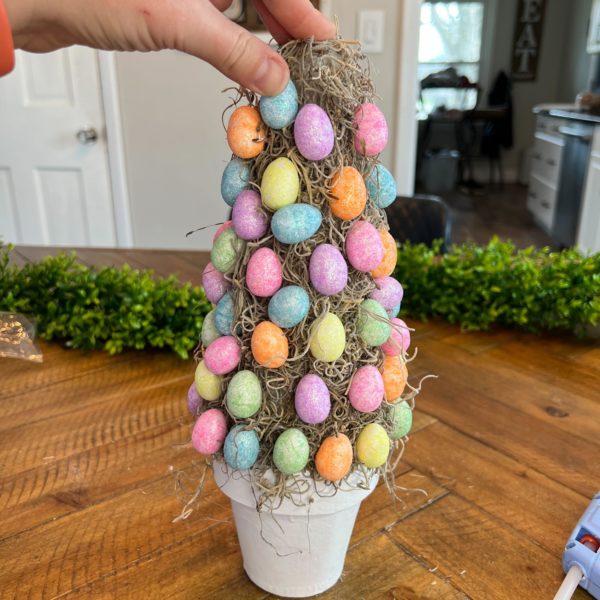
This project is customizable, so feel free to get creative with the colors and patterns of the eggs you use. You can also vary the size of the cone and the number of eggs you use to create a larger or smaller topiary tree.

Overall, this DIY Easter Egg Topiary Tree is a fun and easy project that is sure to add a festive touch to your home this Easter season. Happy crafting!
Continue Reading

DIY St. Patrick’s Day Rainbow Wreath: A Bright & Cheerful Door Decor

It’s about that time to embrace all things green, gold and rainbow!! This bright and colorful DIY will be a great way to add cheer to your home this St. Patrick’s Day!

Difficulty level: Beginner
Time to complete: 30-45 minutes

Supplies needed:

  • Styrofoam Wreath ( 12 inch used)
  • Ribbon ( i used the colors of the rainbow)
  • Paper Mache Half Flower Pot
  • White pom poms
  • Oval cutout
  • 1 inch wood round disc
  • DecoArt Glamour Dust Gold Glitz Glitter Paint
  • Xacto Knife
  • Hot glue gun
  • Scissors

Let’s grab all the supplies and get crafting!

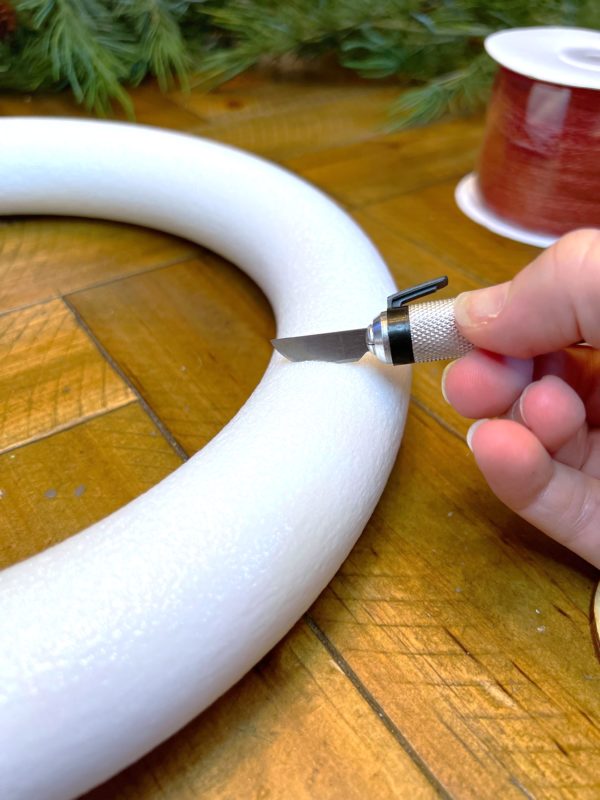
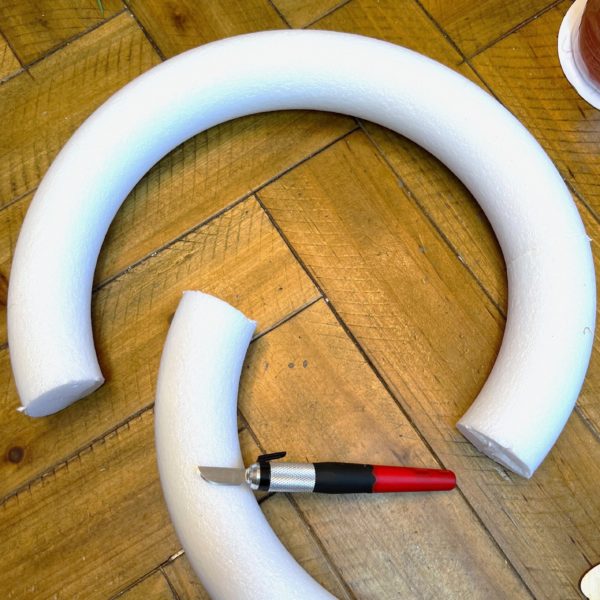
First things first, we are going to cut off the bottom of the Styrofoam wreath with the xacto knife. I cut off about 11 inches. This allowed me enough room to wrap with the ribbon and connect the cloud and pot of gold at the end.

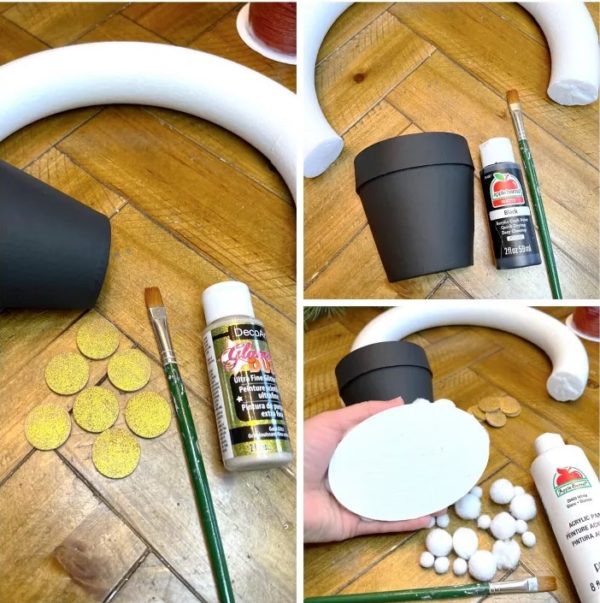
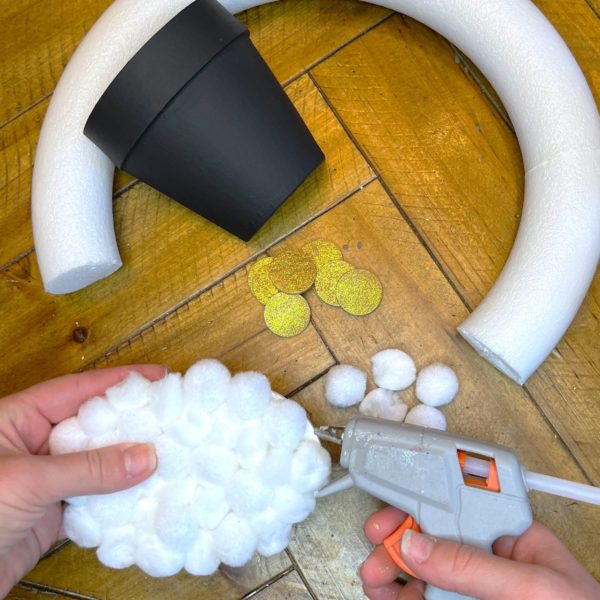
Once you have got the wreath cut to your liking. We will move on to the painting. I went through and painted the wooden round disc with the DecoArt Glamour Dust Gold Glitz Glitter Paint. This will be the ‘coins’ in our pot of gold! This paint was like magic. Beautifully covered all areas in about 2 coats or less.

I moved on to paints the oval cutout with the white apple barrel paint. This will be turned into our ‘cloud’. I took the black apple barrel paint and covered the paper mache half flower pot.

Allow all the paint to dry.

Once the paint has dried – I came in with my pom poms to help finalize the ‘cloud’. I simply just hot glued the white pom poms to cover all square inches. Now you have a fluffy cloud!

Here comes the fun part! Let’s create the rainbow.

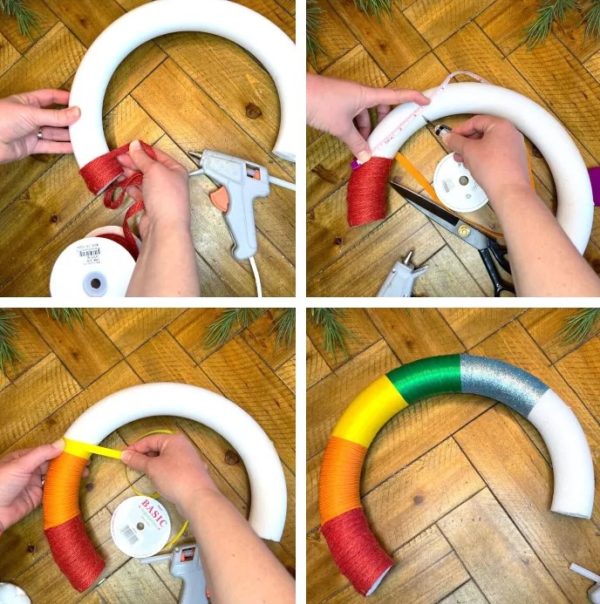
I measured about before beginning to find how much space each ribbon color was going to take. I measured approximately 3.25 to 3.5 inches for each color. I went through and marked with with the xacto knife.

For the ribbon, i choose to do colors of the rainbow! But feel free to mix it up and use leftover ribbon you have around the house.

I started with the red ribbon and hot glued it into place at the one end of the wreath. I then glued every couple wraps, this allow for minimal movement. Once i reached my marked spot, I then cut and glued that in place and moved on with the orange. You will keep doing so until all the wreath is nicely covered in ribbon.

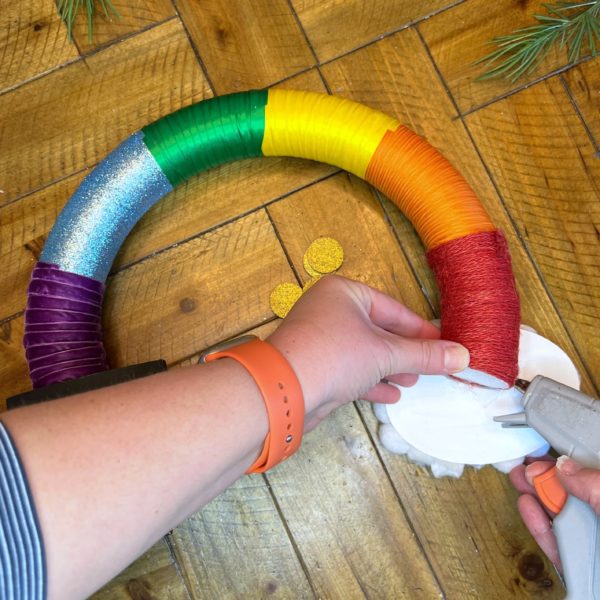
Here is the part the wreath really started to come together. We will grab the dried ‘cloud’ made from the oval cutout and pom poms. I glued that to the left side of the wreath. Make sure you put enough to help adhere to the wreath.

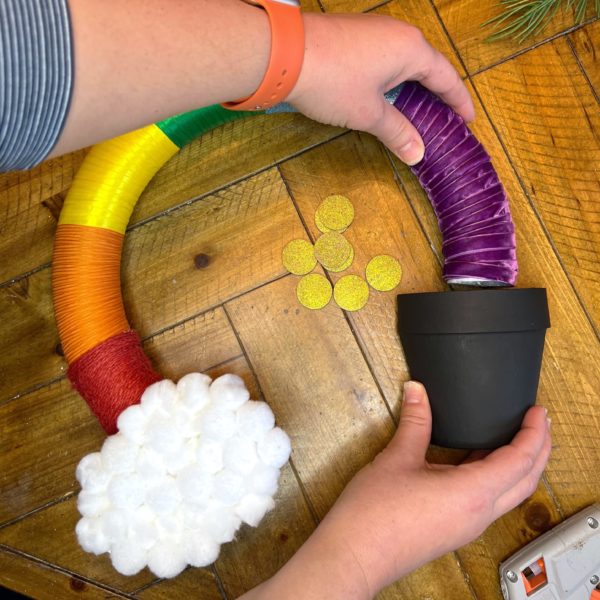
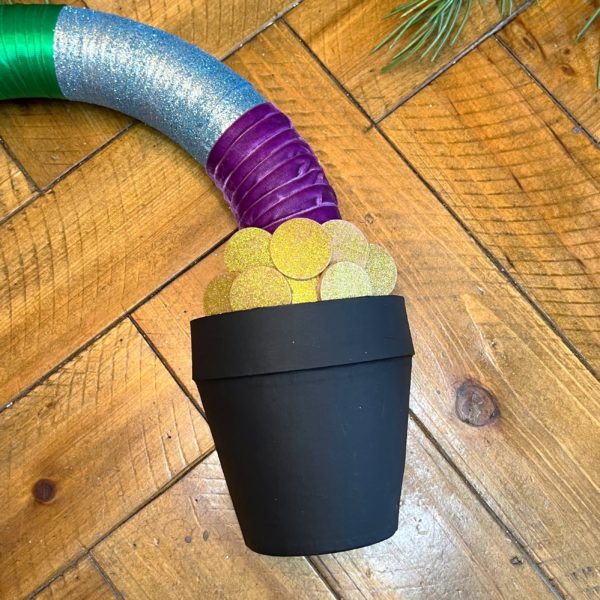
Take the black paint paper mache pot and not slip that onto the right side of the wreath, then glue into place.

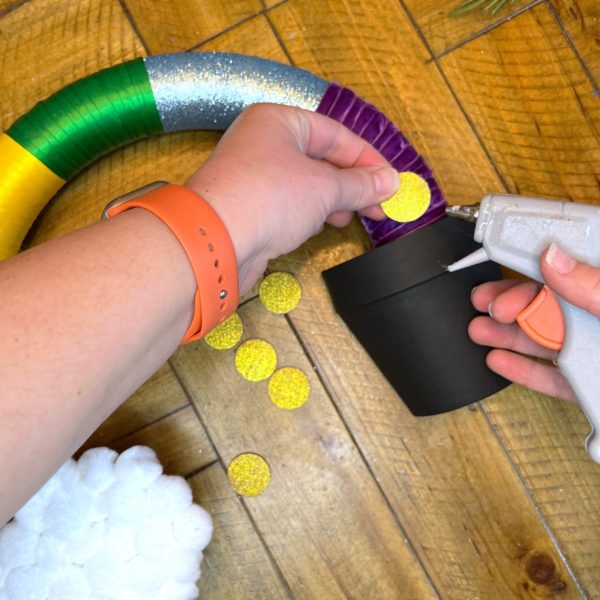
Lastly, you will take you painted ‘coins’ and glue them into place on the pot. You will layer them to help give that mound look for the coins.

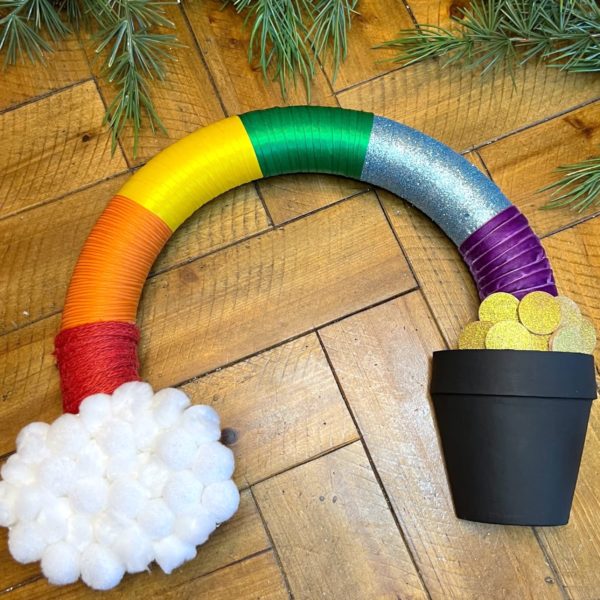
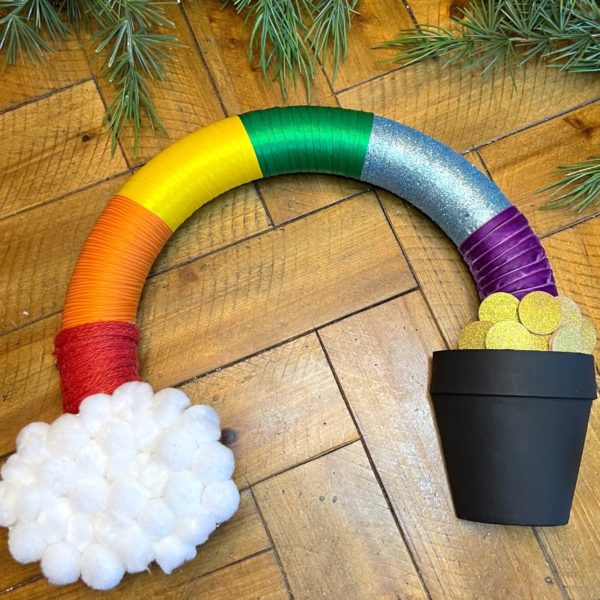
And that’s it! Your St. Patrick’s Day rainbow is now complete. Add a wire or ribbon to hang on your front door or in a prominent location in your home for a touch of festive cheer.

With its bright colors and cheerful design, this DIY rainbow wreath is sure to bring a smile to the face of everyone who sees it. So grab your supplies and get started on your own St. Patrick’s Day wreath today!

Continue Reading
Change Your Country
Please select your country, this will change the site to your country's currency:

Cancel